Add users
Adding your team to Mailmeteor lets you shares resources more easily and simplify your billing. Here’s how to add someone to your team:
- Sign in to Mailmeteor Dashboard.
- Go to the Billing section. In the top-right corner of the Dashboard, click on your profile icon or account name. From the dropdown menu, select Billing.
-
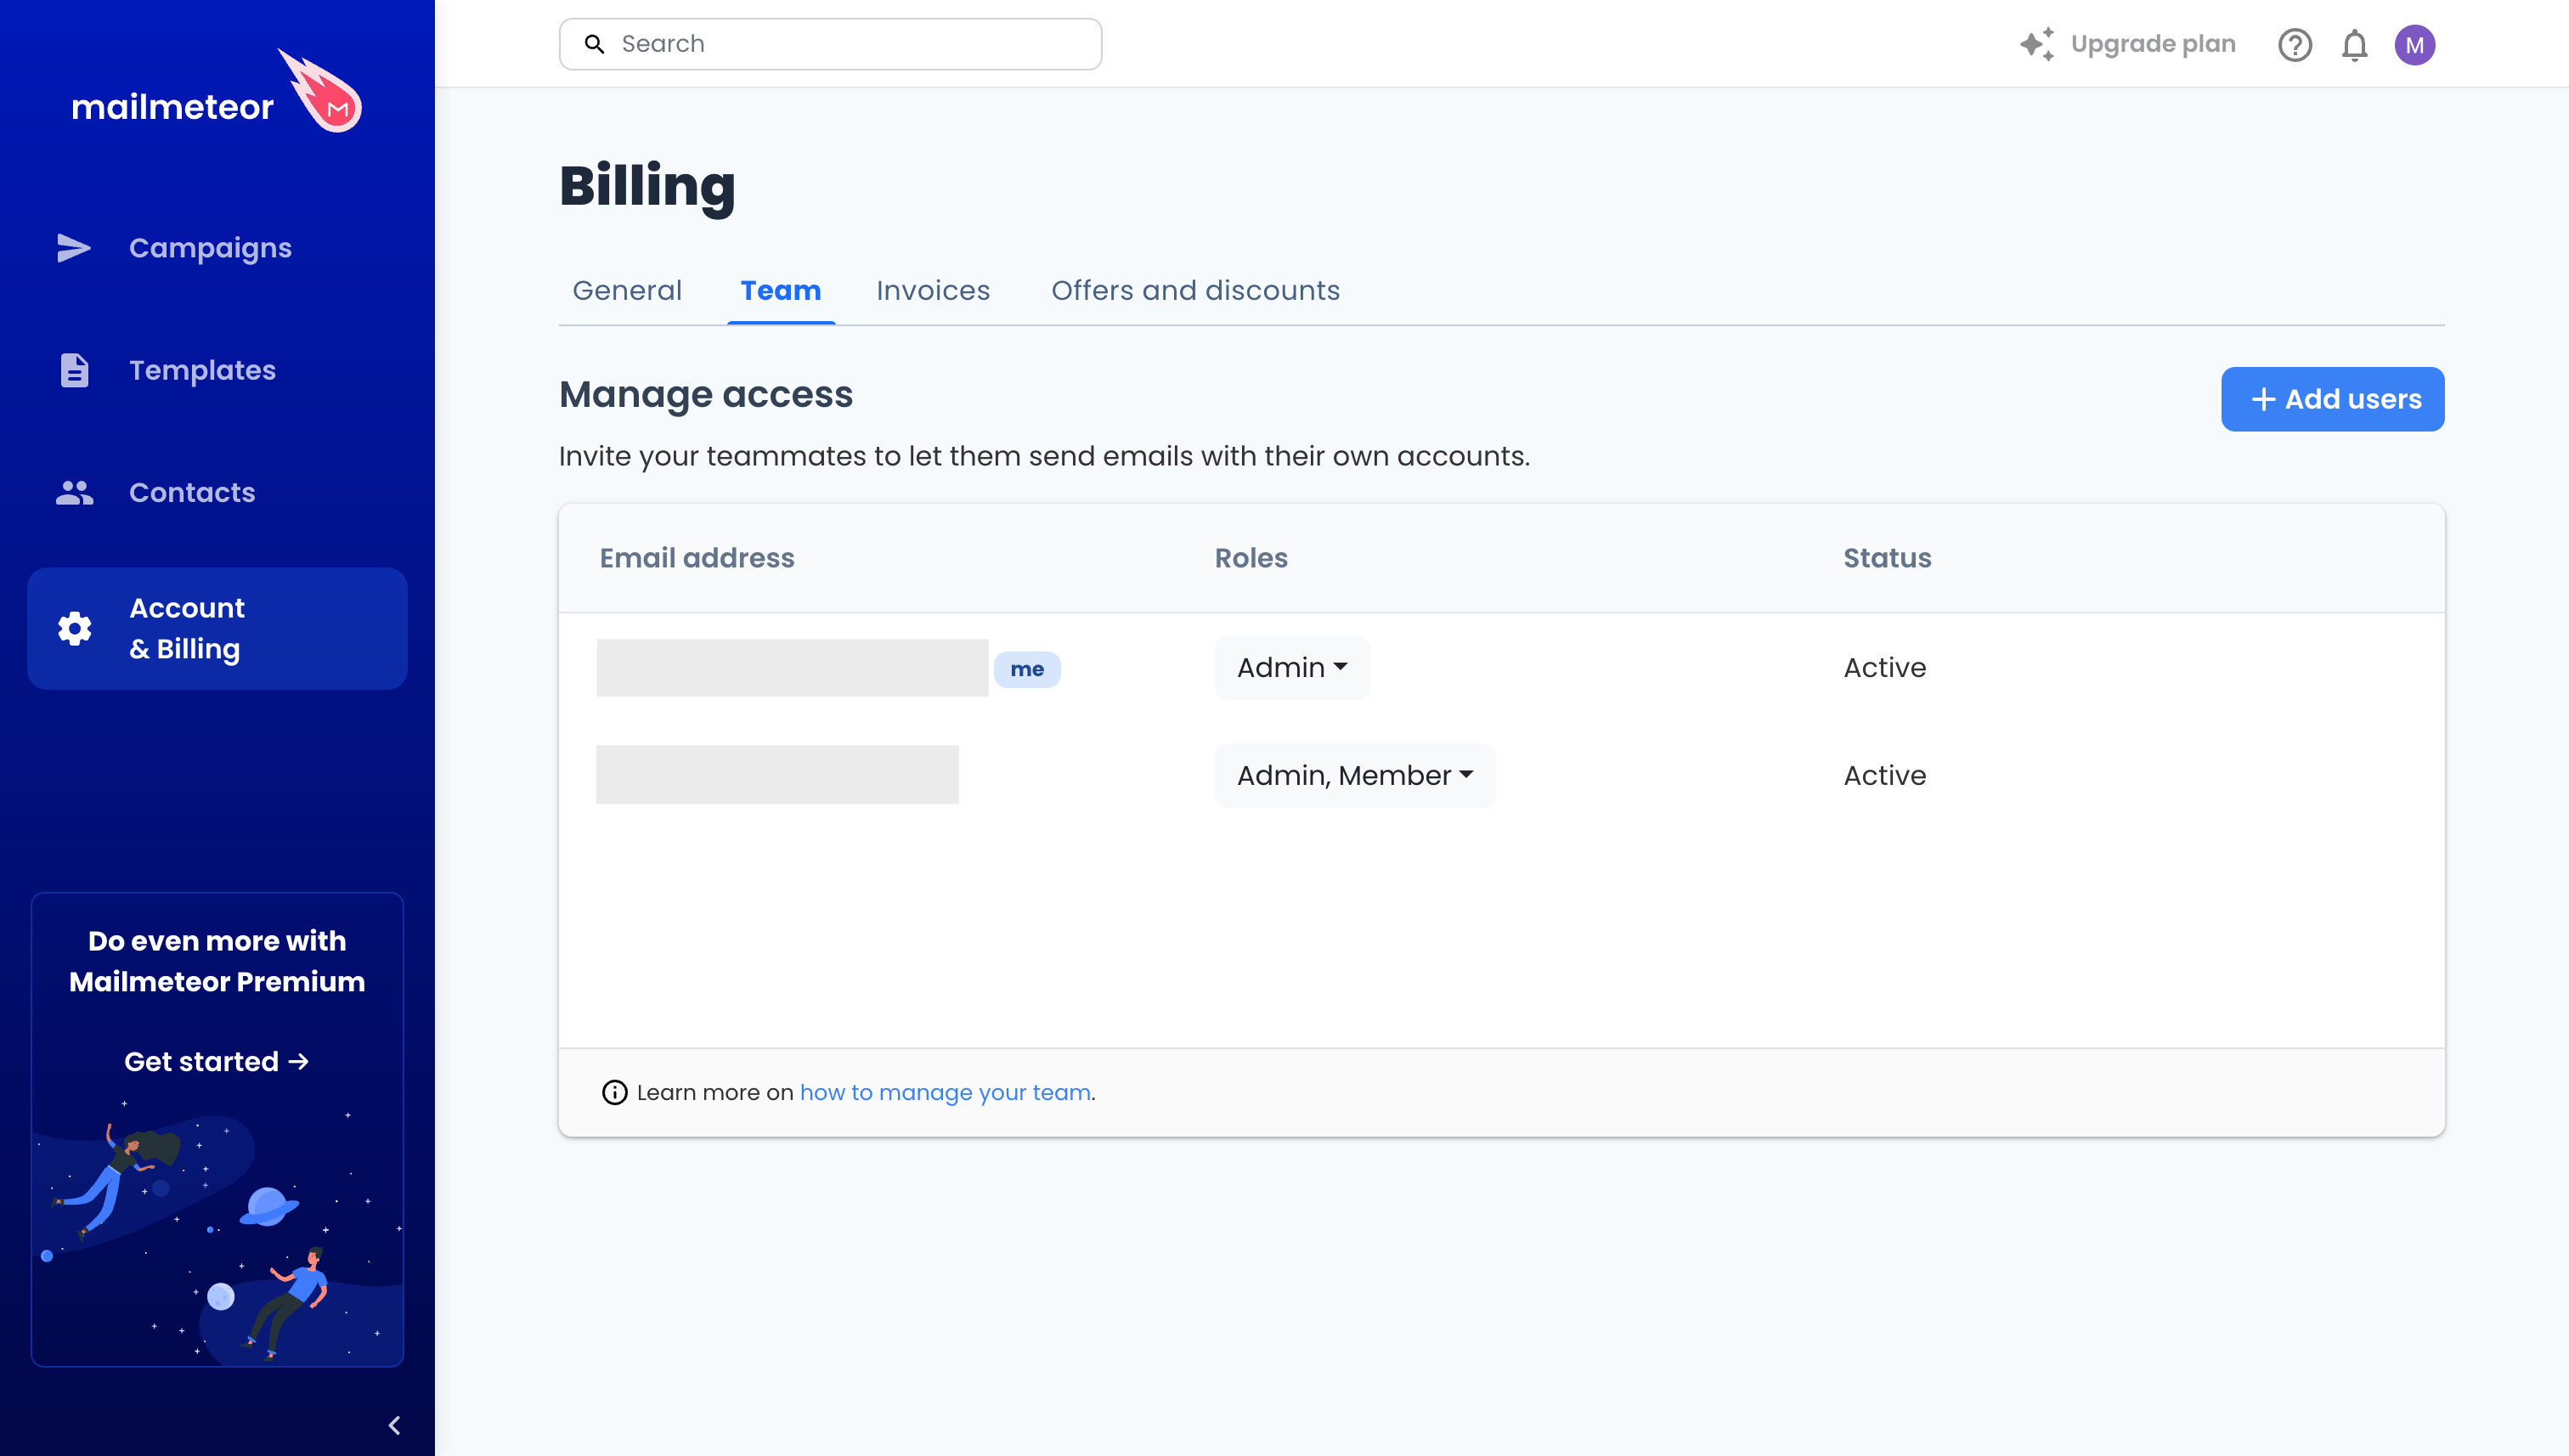
Navigate to the Team. Once in the Account & Billing page, click on the Team tab. This is where you can manage your team.

-
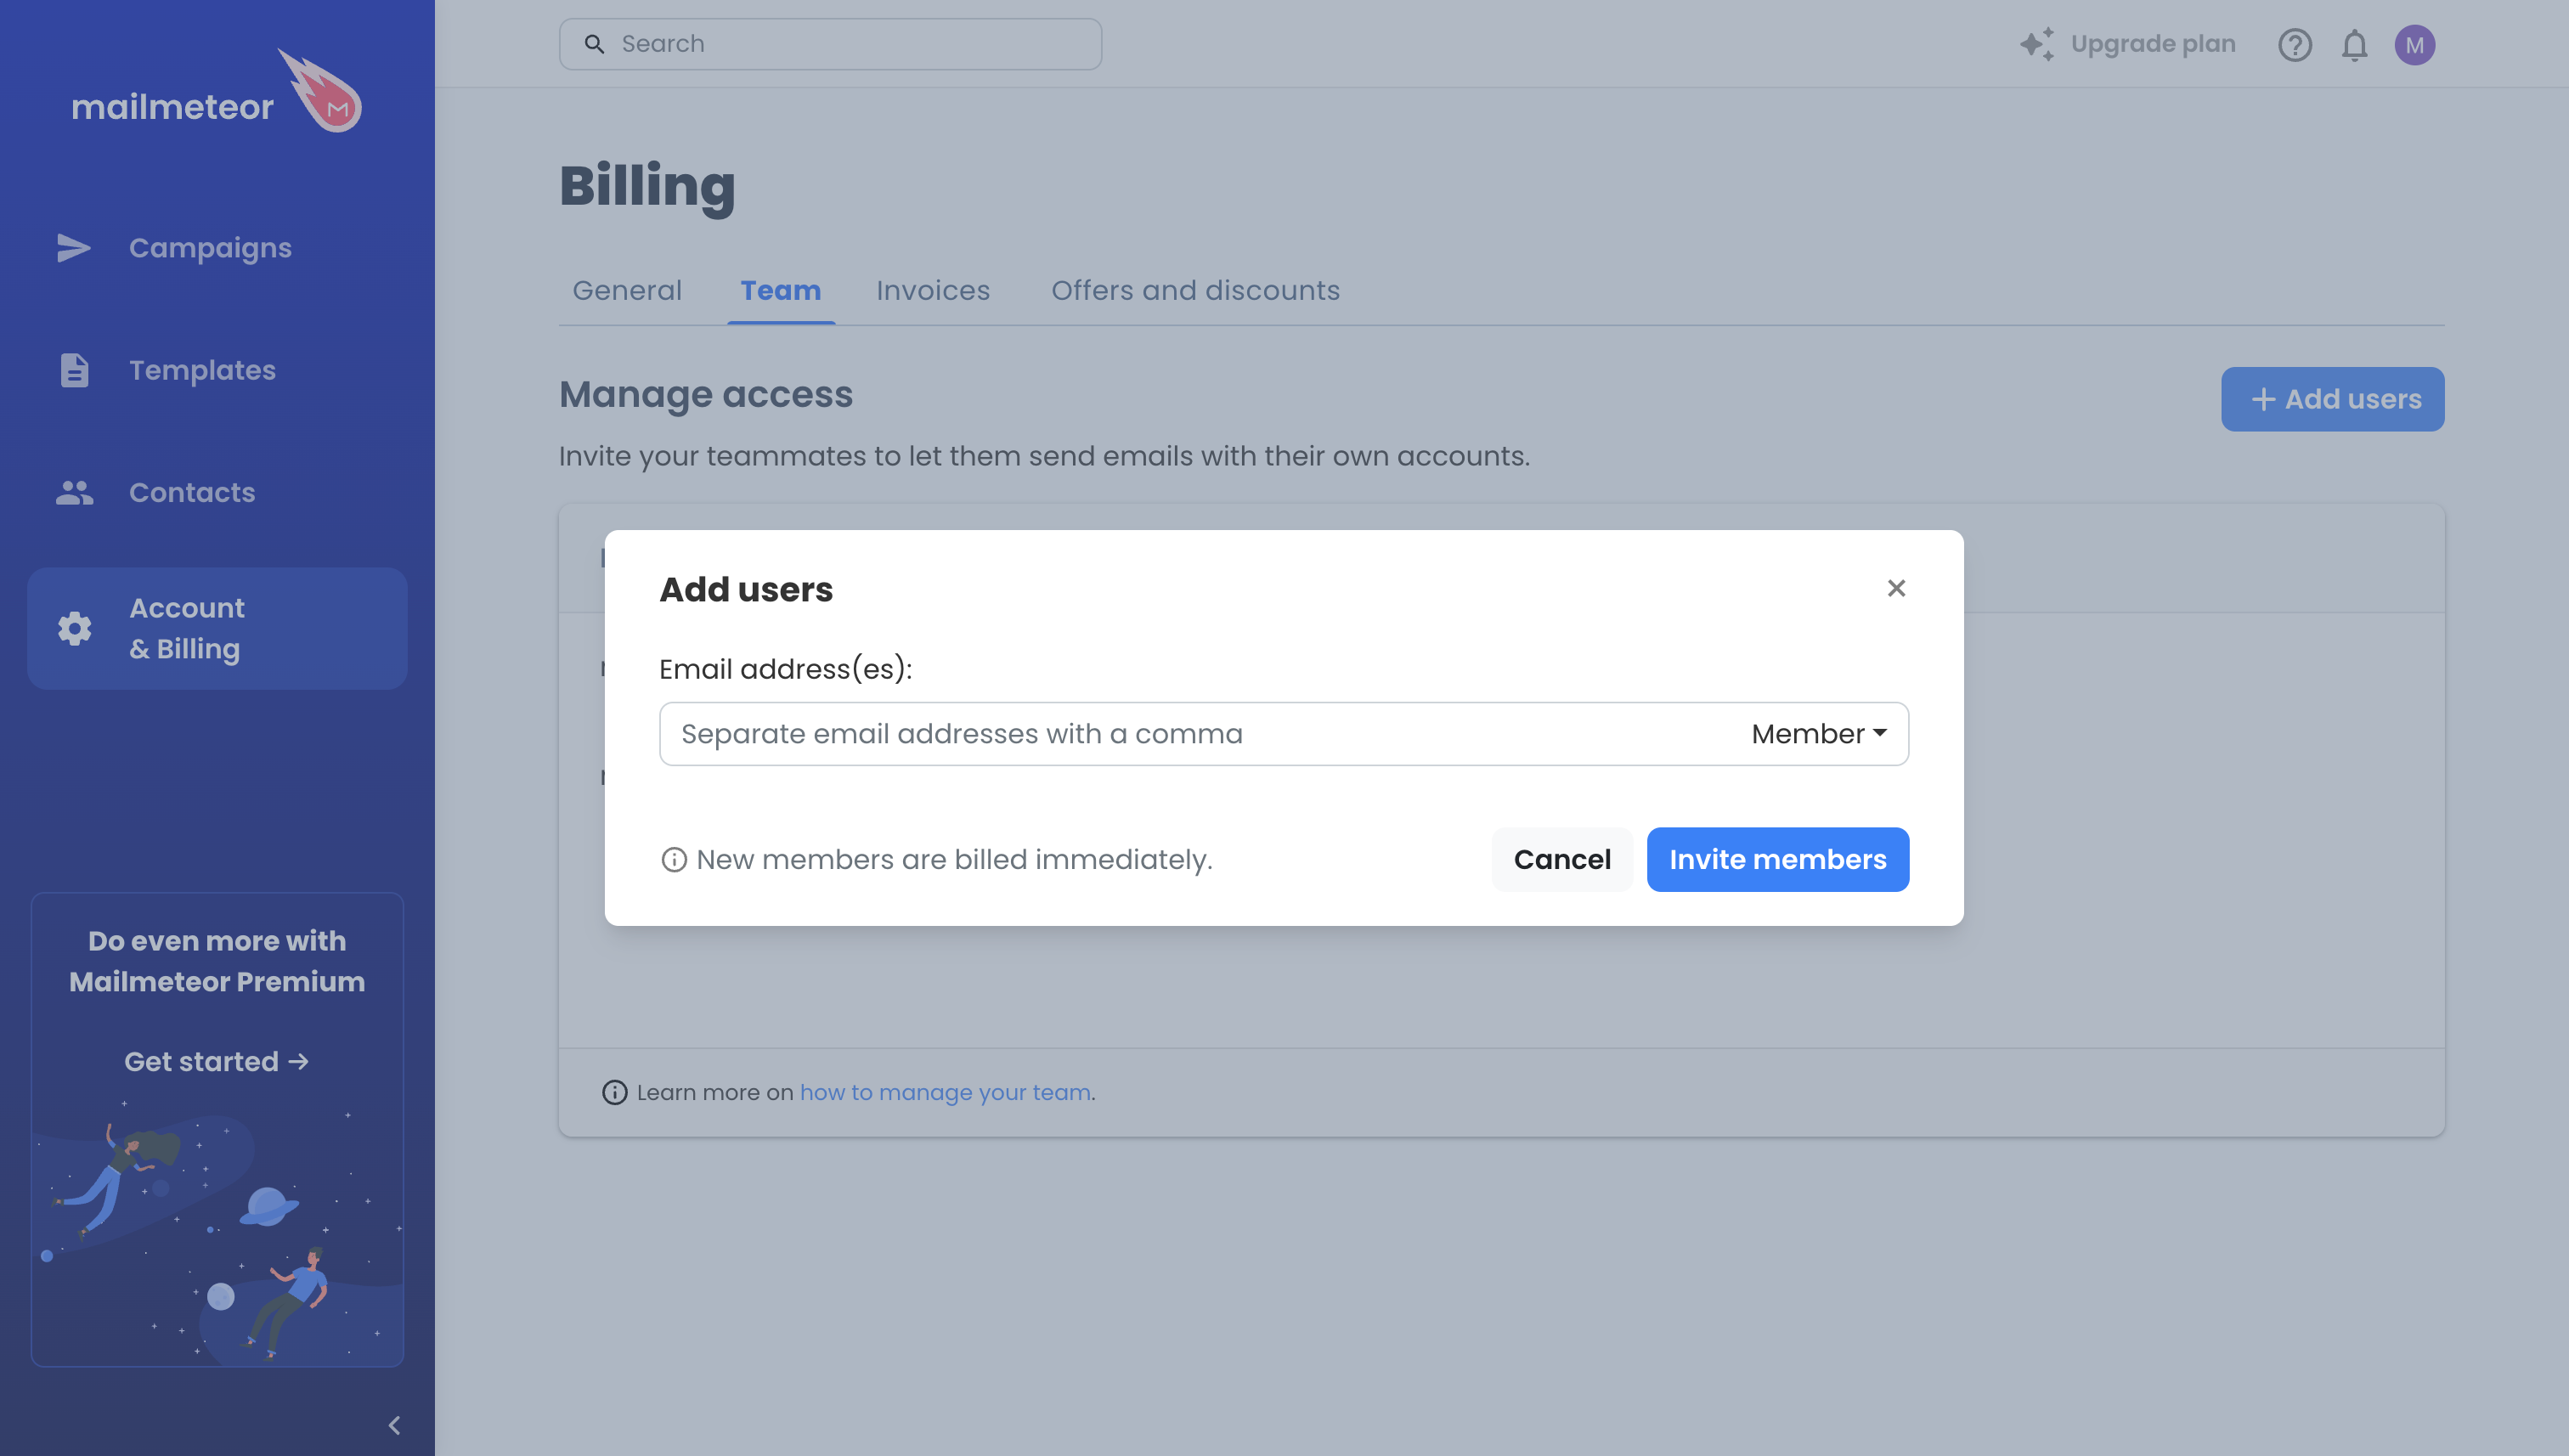
Click “Add users”. You will be prompted to enter the email addresses of the users you want to invite.

- Confirm the upgrade. After adding the email addresses, you will be asked to confirm the upgrade. Each invited user will automatically reflect on your billing, and their license will match your own. For example, if you are using a Pro plan, added teammates will also be added as Pro users.
- Complete the process. Once confirmed, the users you’ve invited will receive an email invitation to join your team.
When adding a user, please remember the following:
- To add a member to your team, you must have admin privileges. If you’re a member, please contact your team’s admin, and they can add the new user for you.
- New users are immediately charged. Your subscription will adjust based on the number of licenses.
- Everyone on your team must be on the same license. For example, if your account is linked to a Pro plan, any users you invite will also be added as Pro users.