Preview emails
Mailmeteor lets you preview your mail merge before sending emails. This is a great way to make sure everything looks right and prevent merge failures.
- Open the Dashboard.
- Create a new campaign.
- Click “Show preview”.
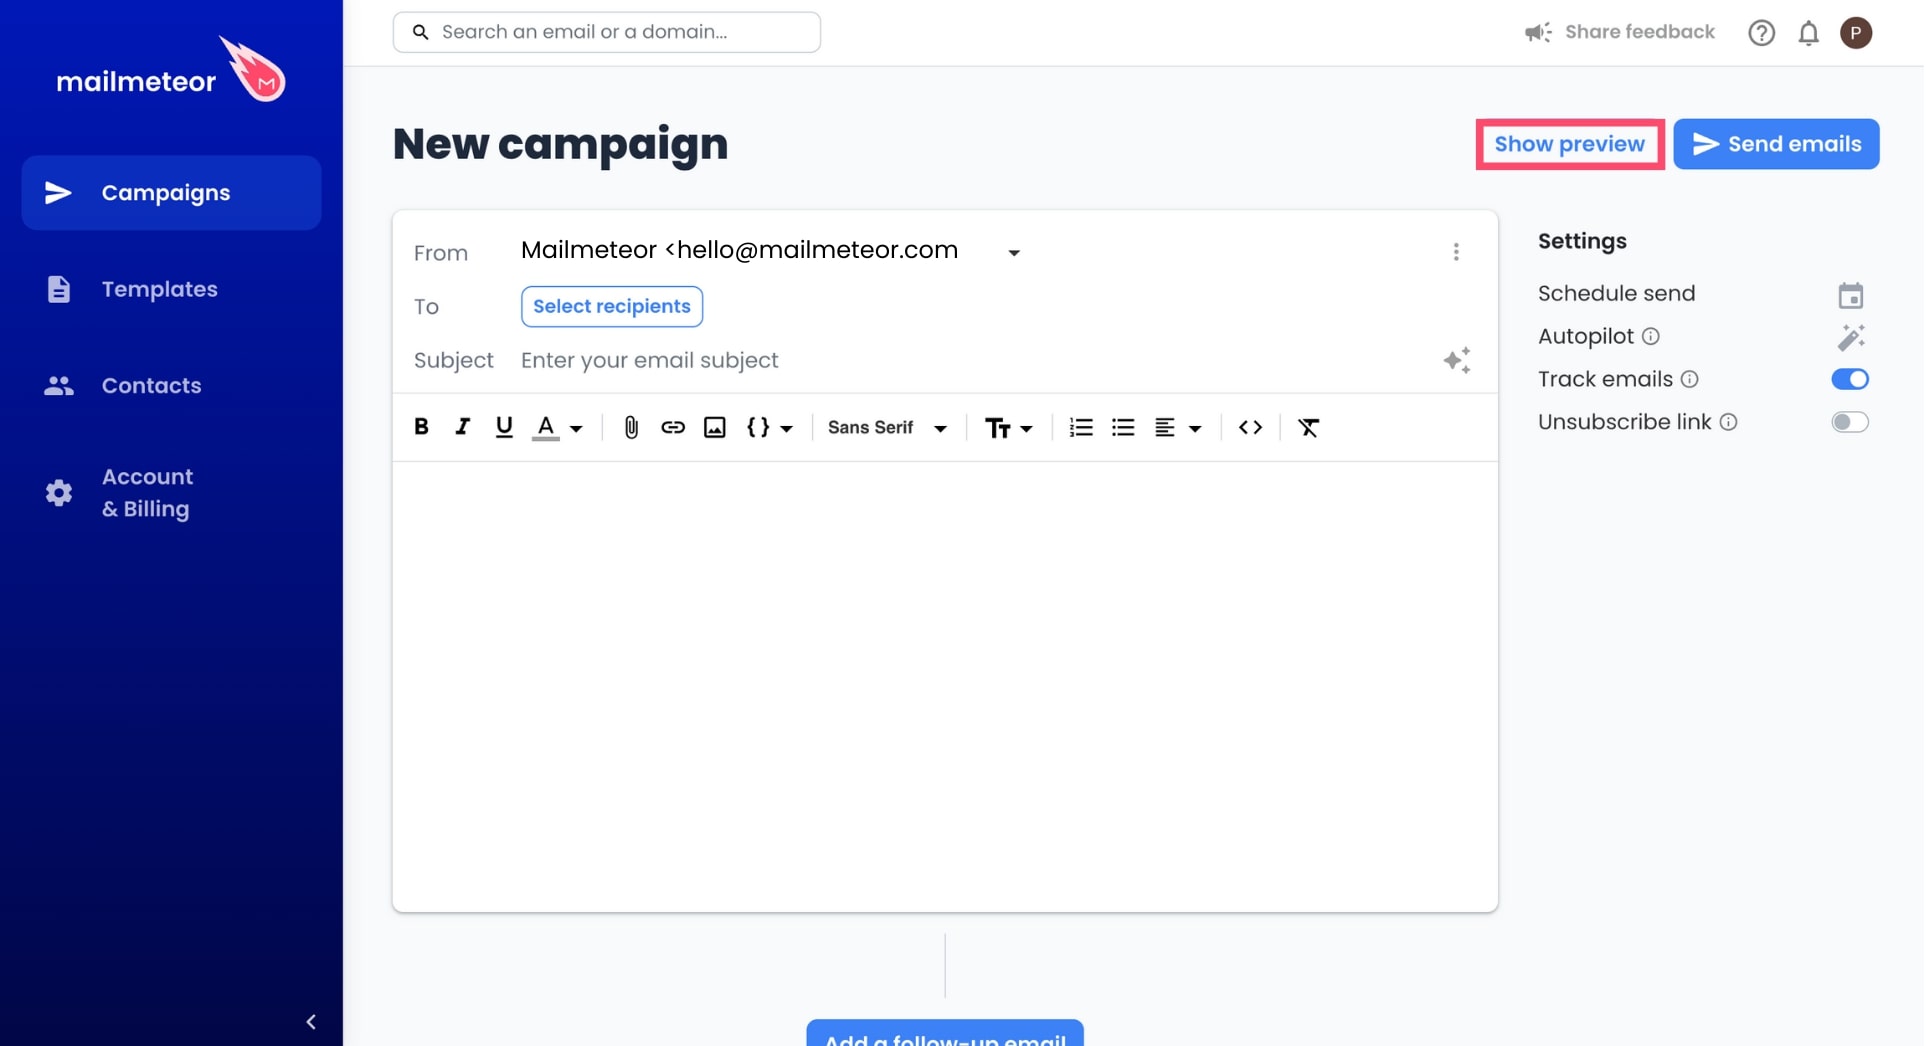
When using personalization, Mailmeteor automatically replaces a variable (such as {{ firstname }}) with the corresponding value from the spreadsheet (e.g. Sally).
If the value is not set in the spreadsheet, Mailmeteor will replace the variable with an empty string. This prevents you from merge failures (learn more)
Video tutorial
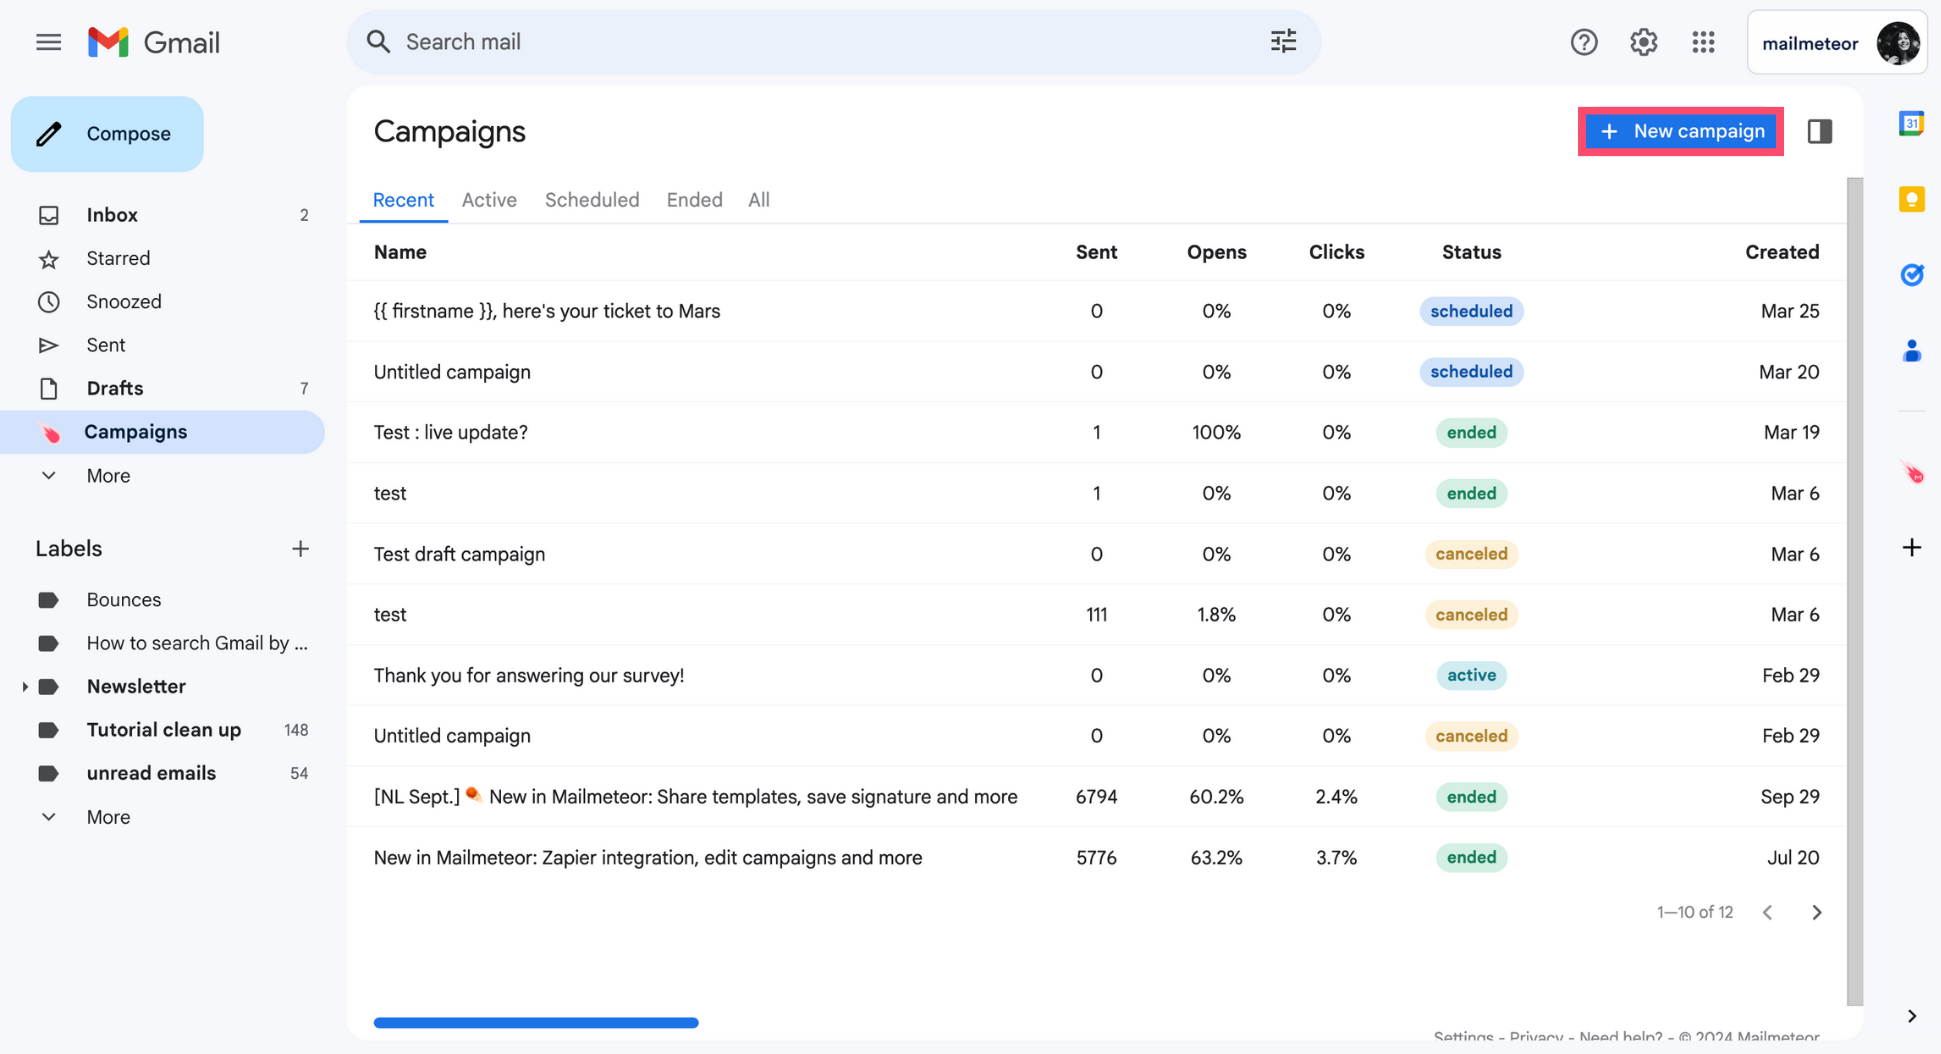
- Sign in to your Gmail account.
-
Go to Campaigns.

-
Create a New campaign.
-
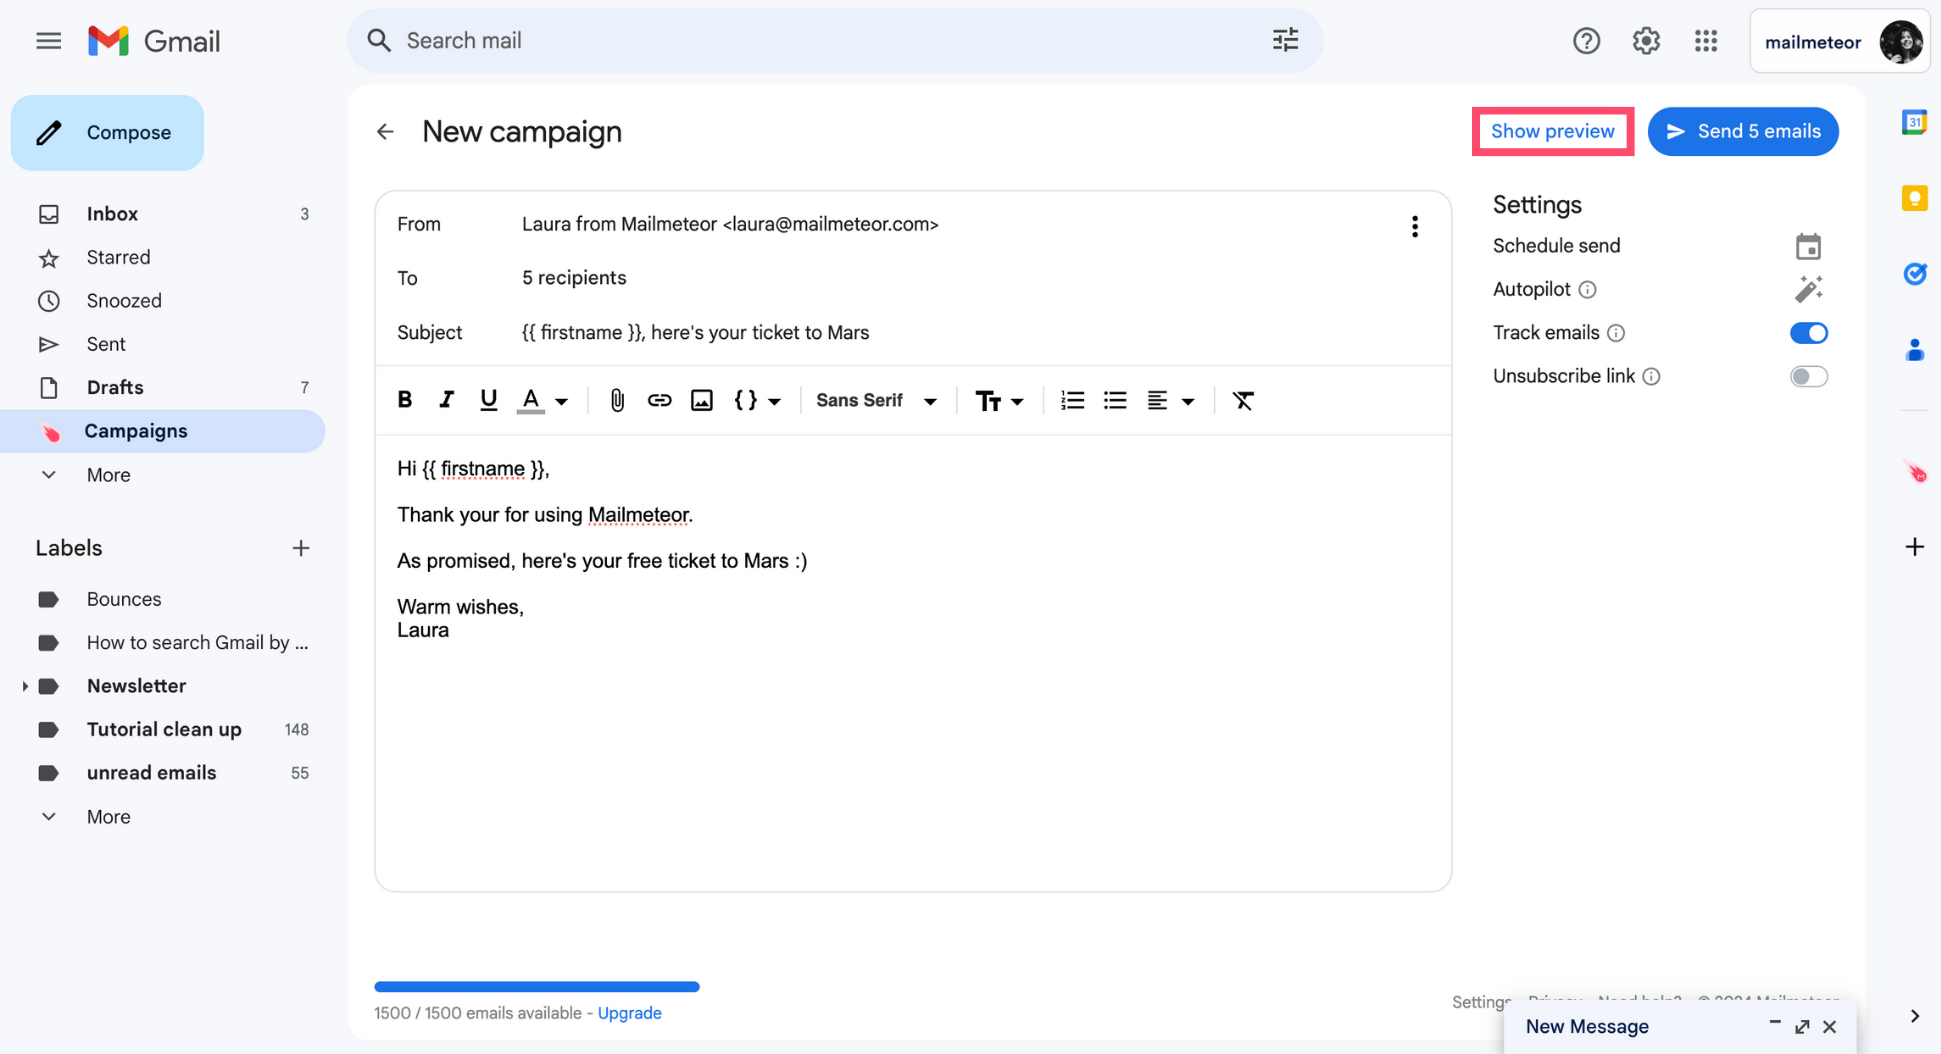
Compose your email, add some merge tags to personalize your email, and select your recipients. Then click Show preview.
-
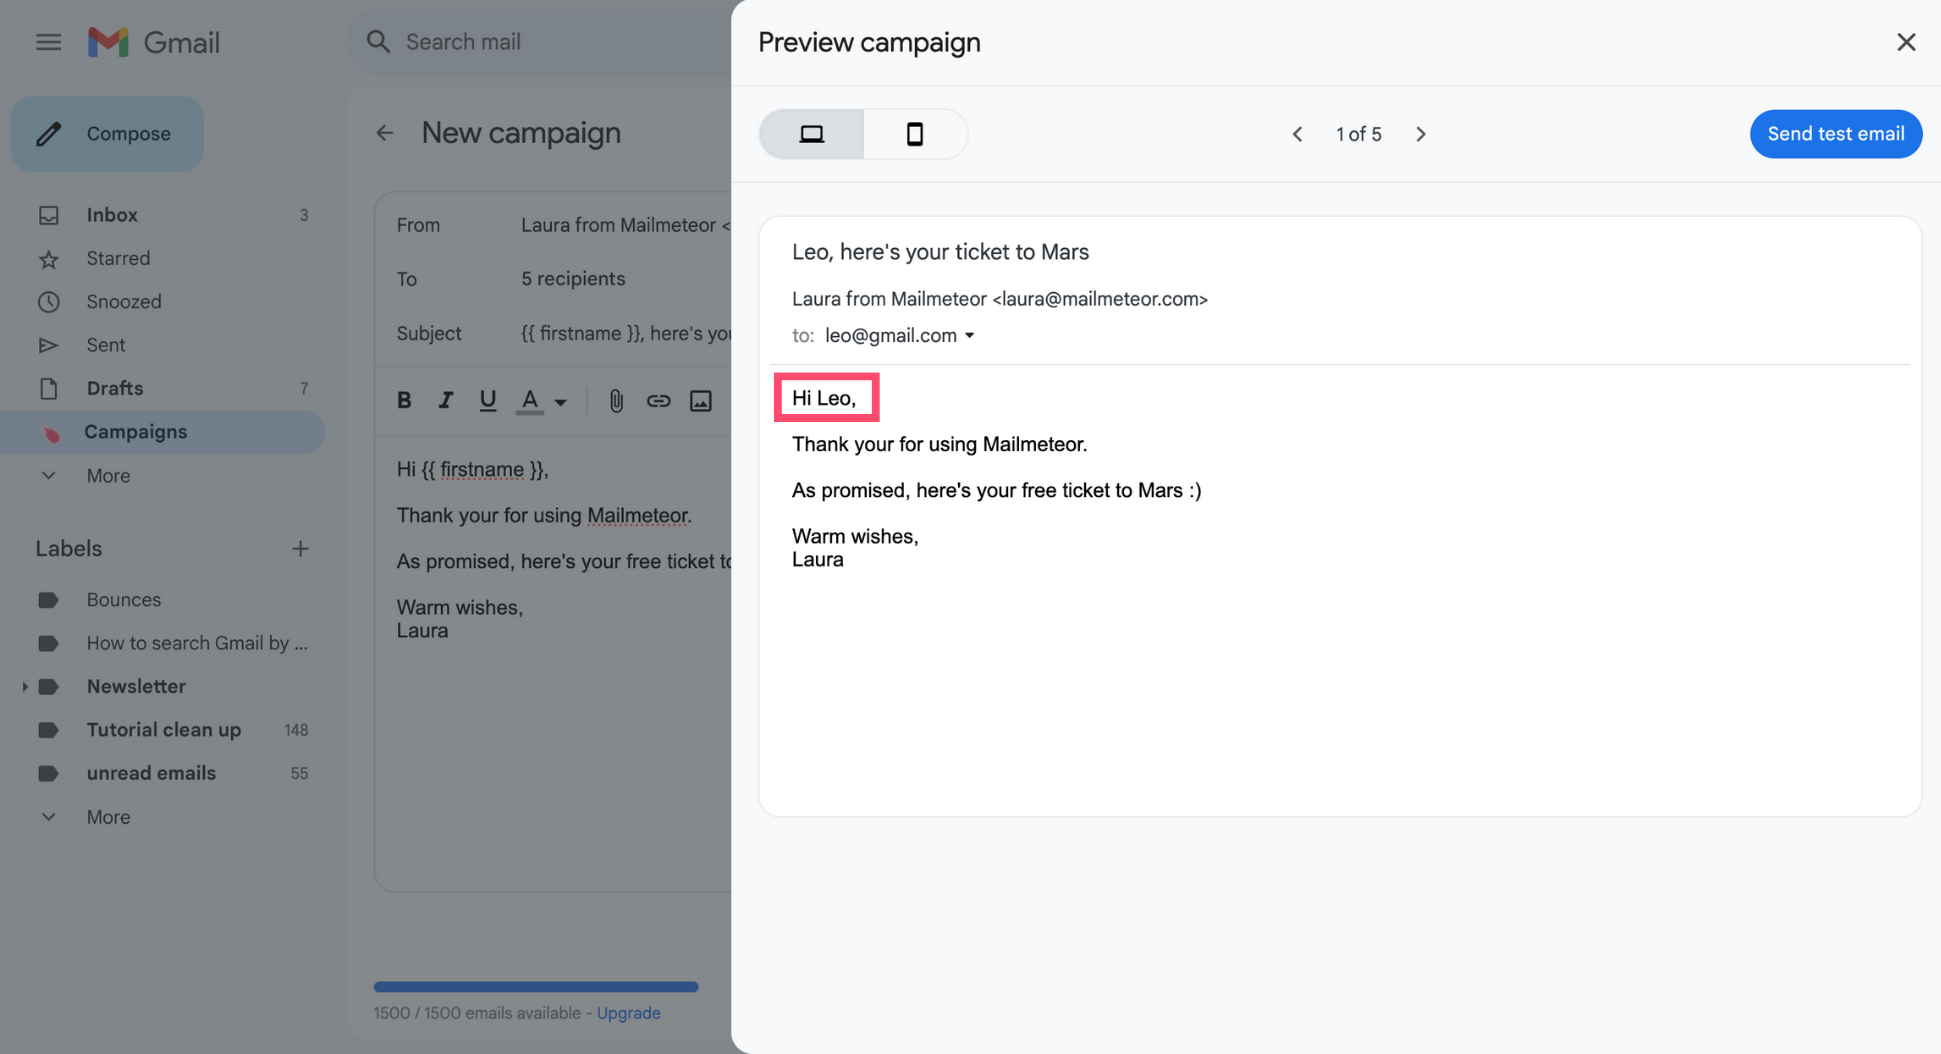
The preview feature lets you get a sneak peek of what your emails will look like in your recipients inbox. You can use it to check that your merge tags are working properly.
-
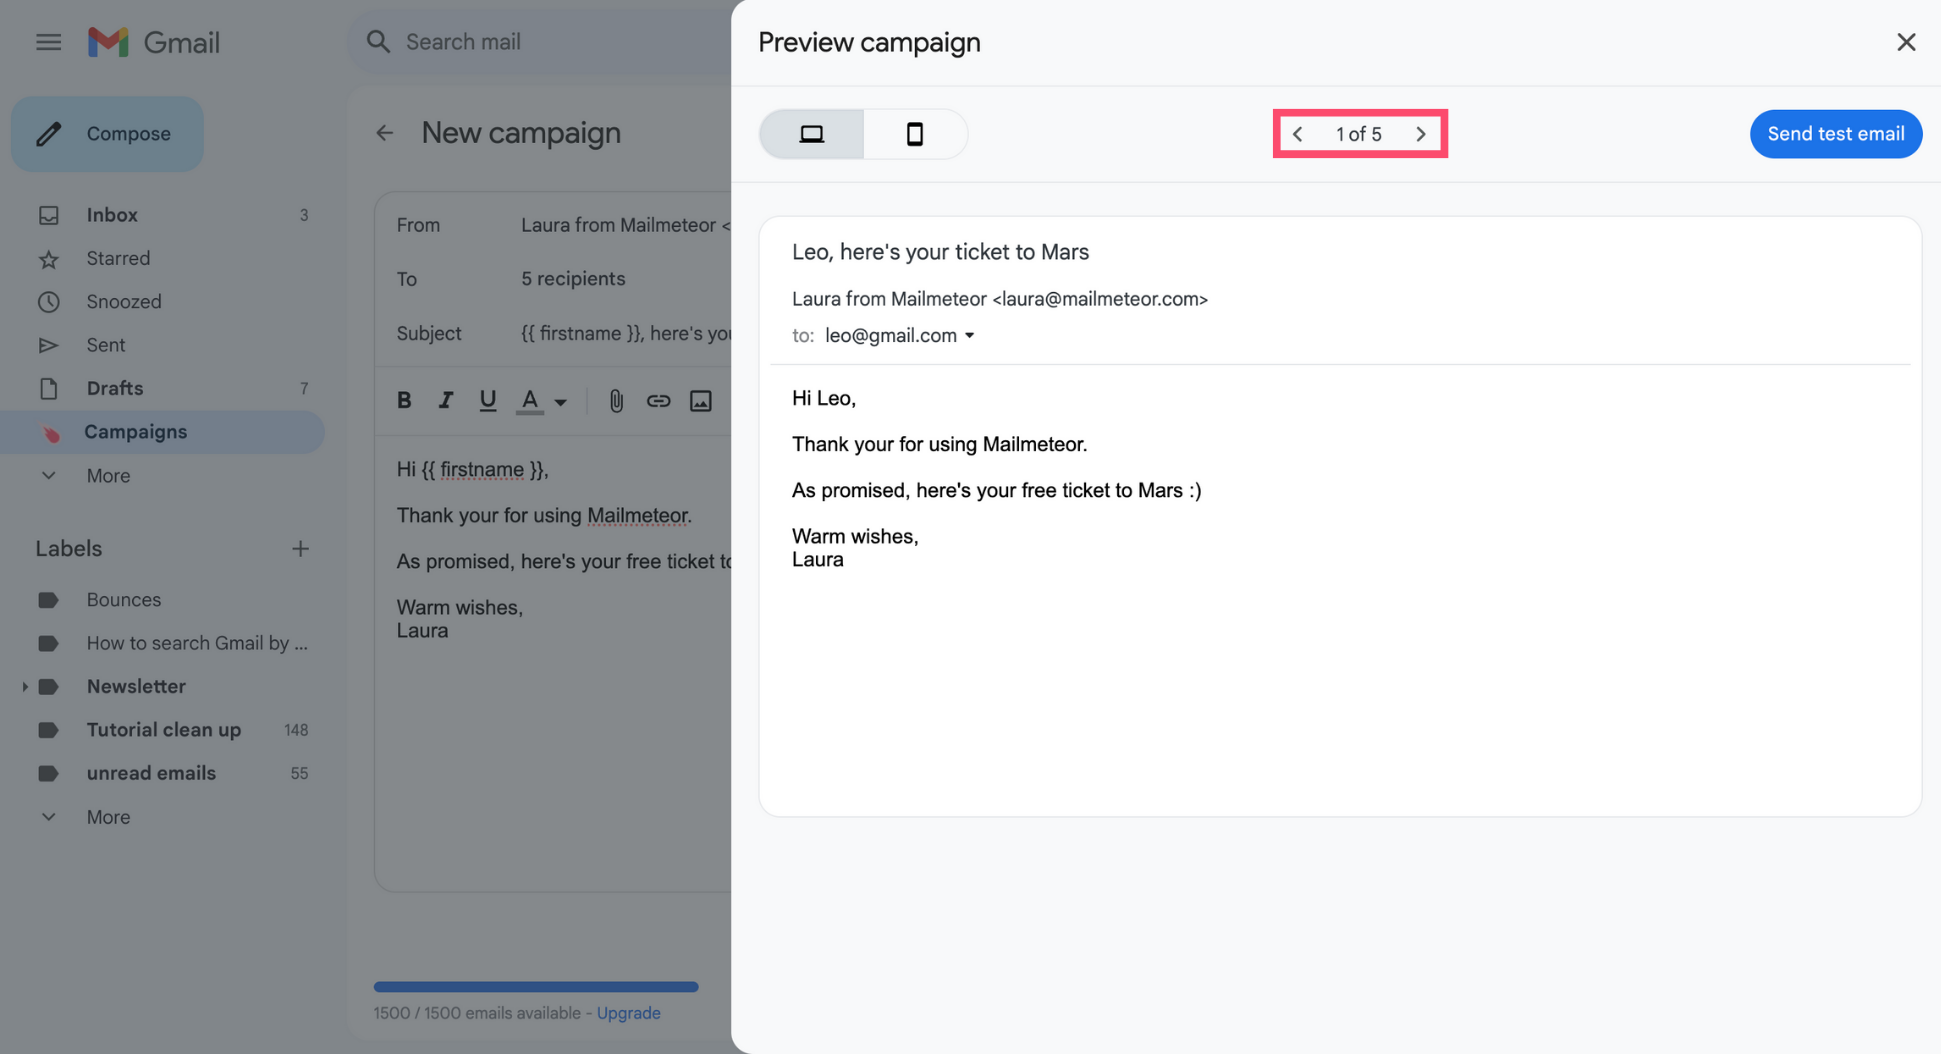
Click the arrows at the top to review how your emails will look for each recipient.
-
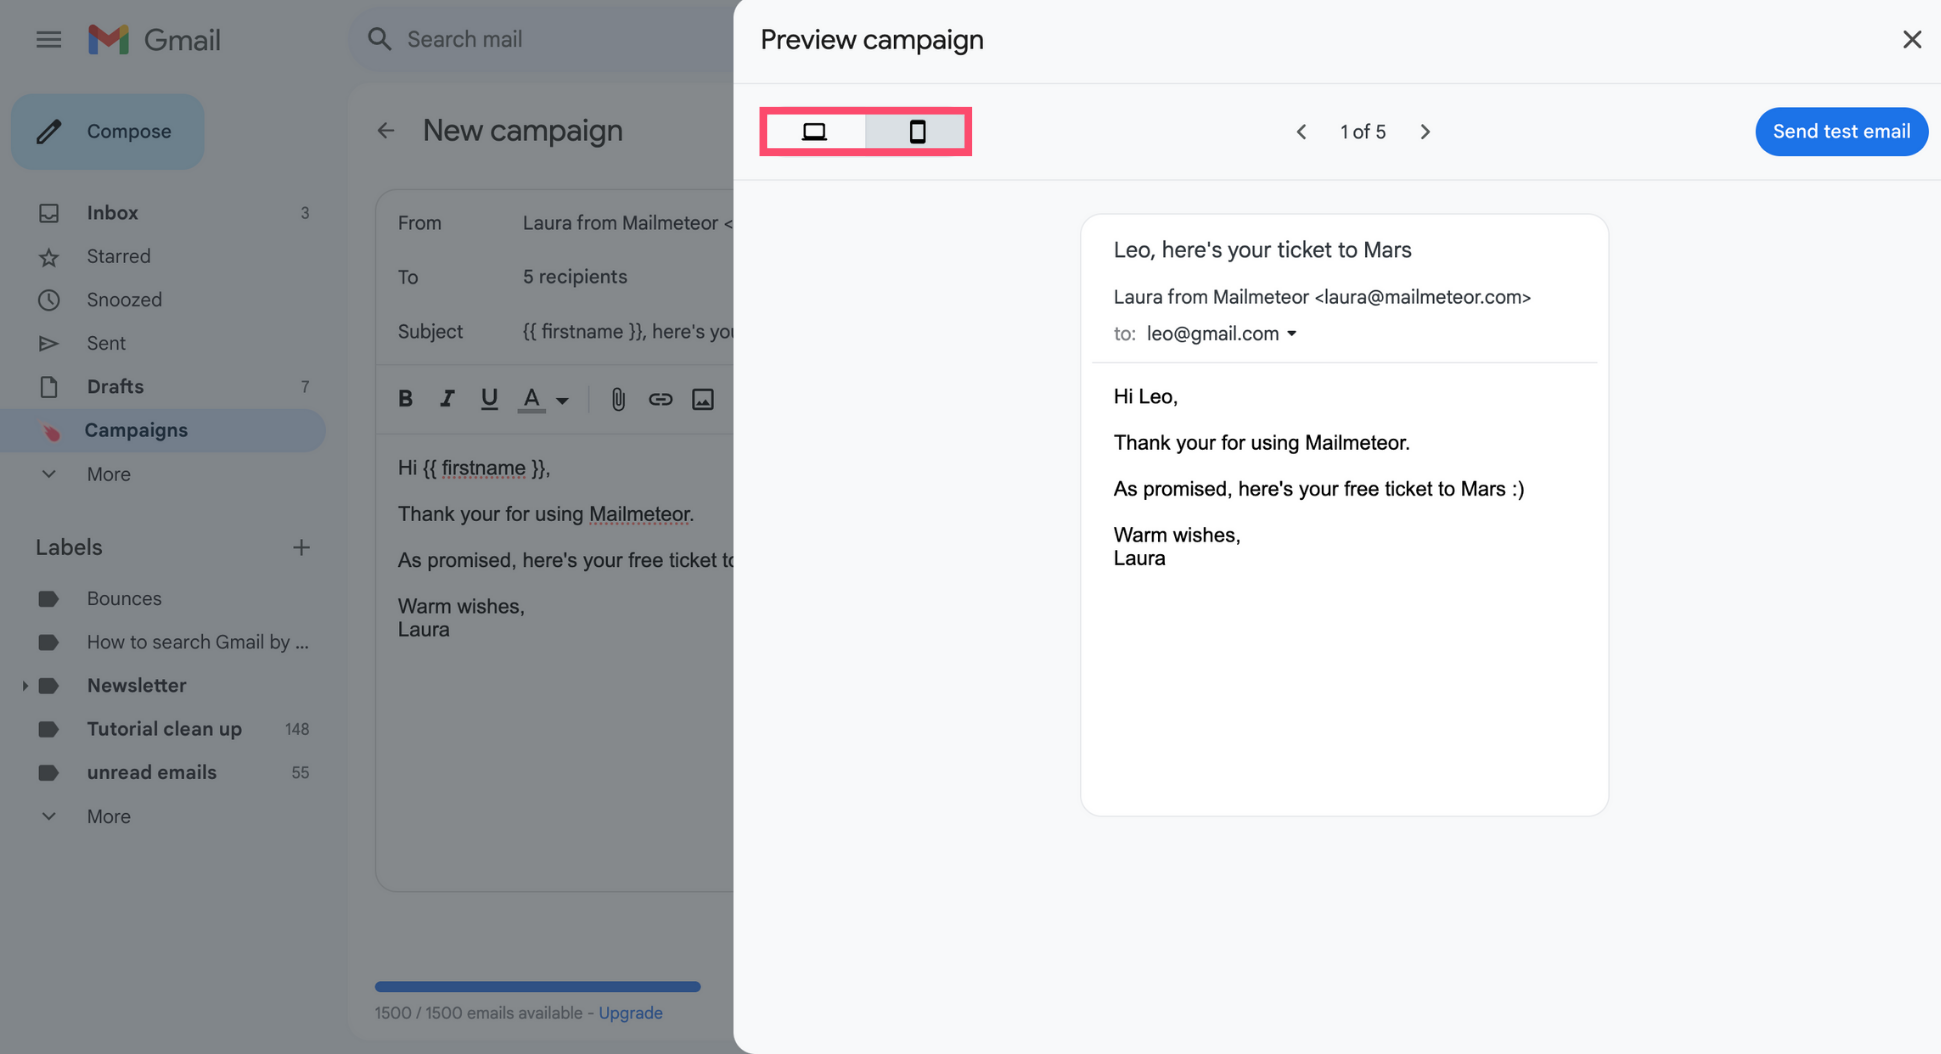
Preview your emails on both desktop and mobile to ensure they display well across all types of devices.
-
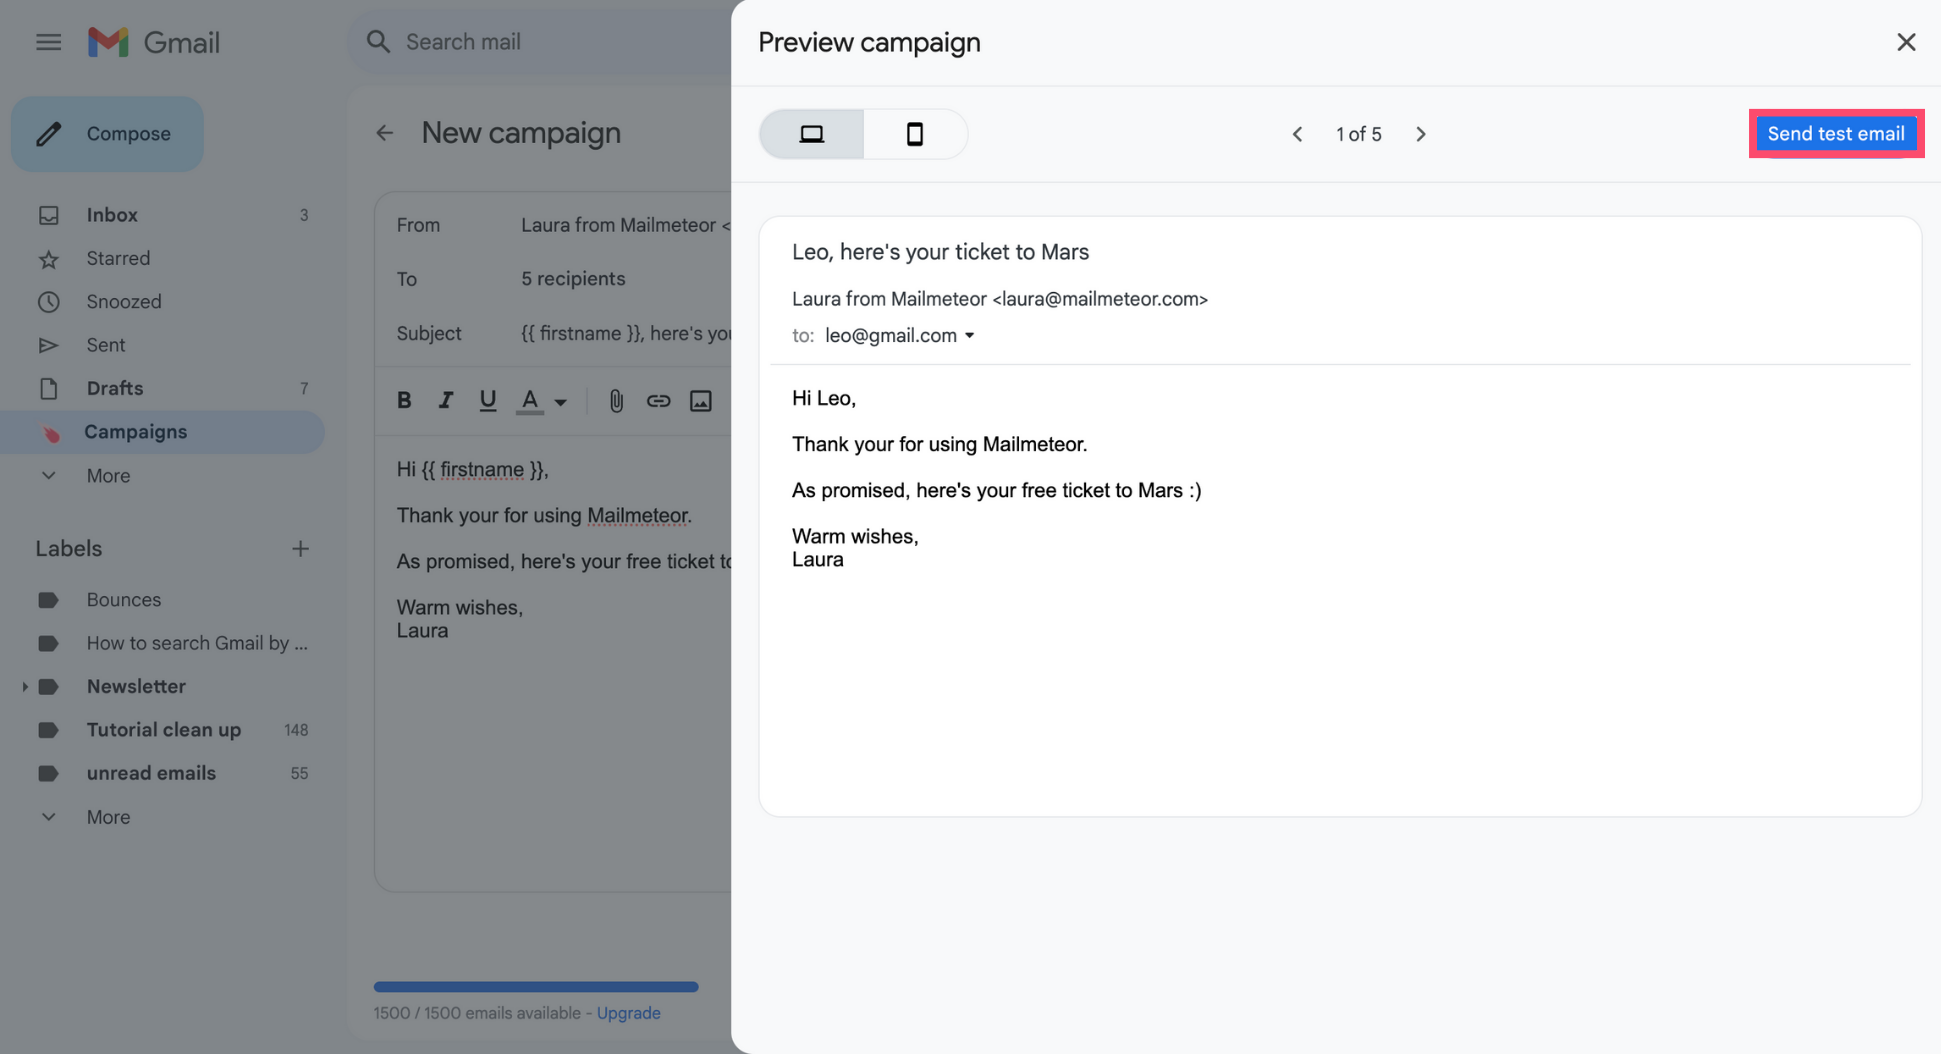
Lastly, you can also send yourself a test email to make sure your emails are spotless before launching your campaign.
- Open your Google Sheets spreadsheet.
-
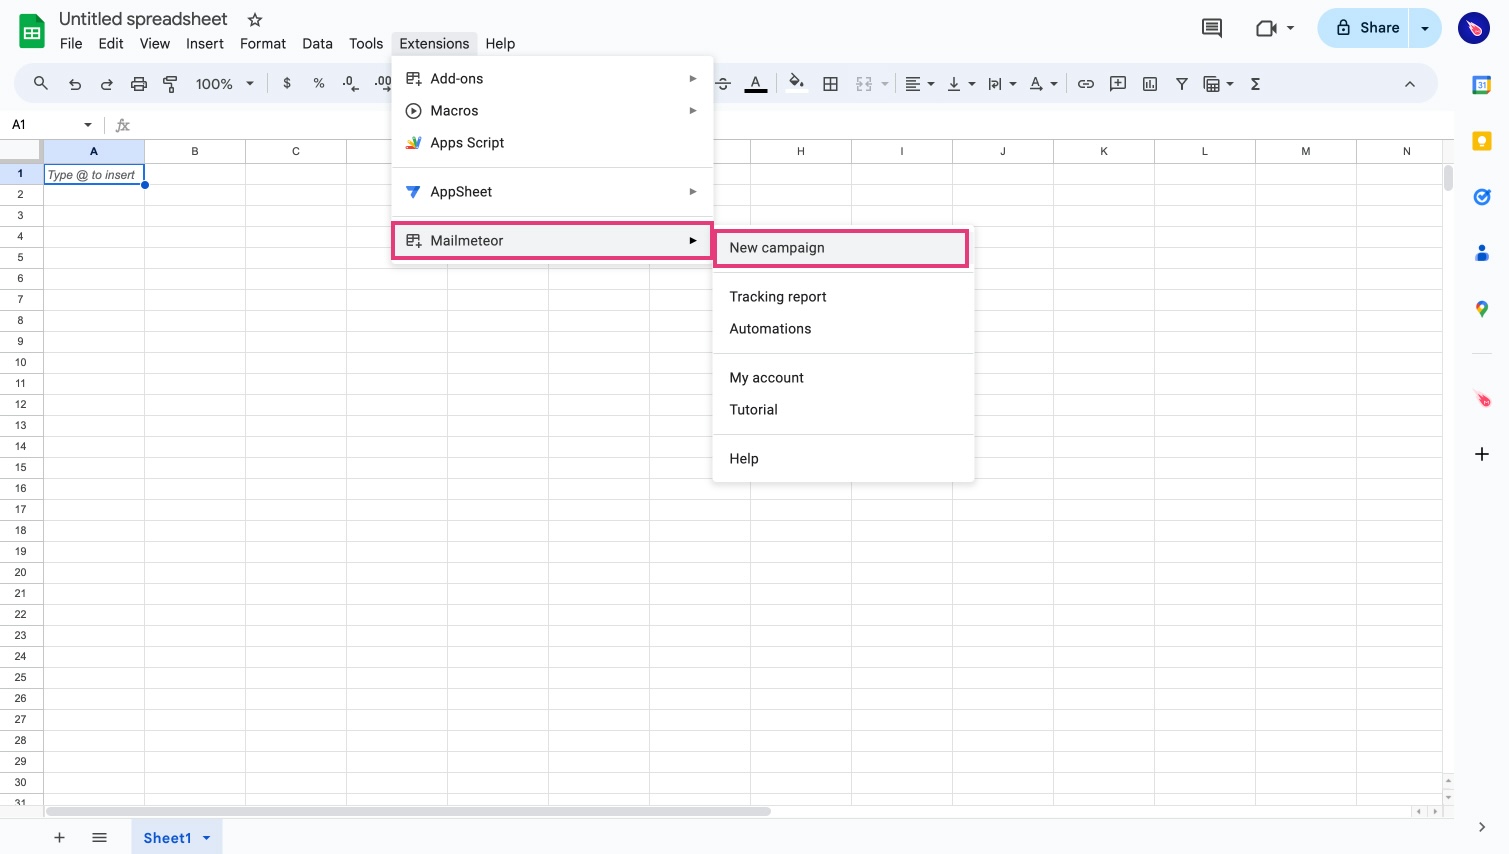
In the menu, select Extensions > Mailmeteor > New campaign.
- Compose your email or import a template.
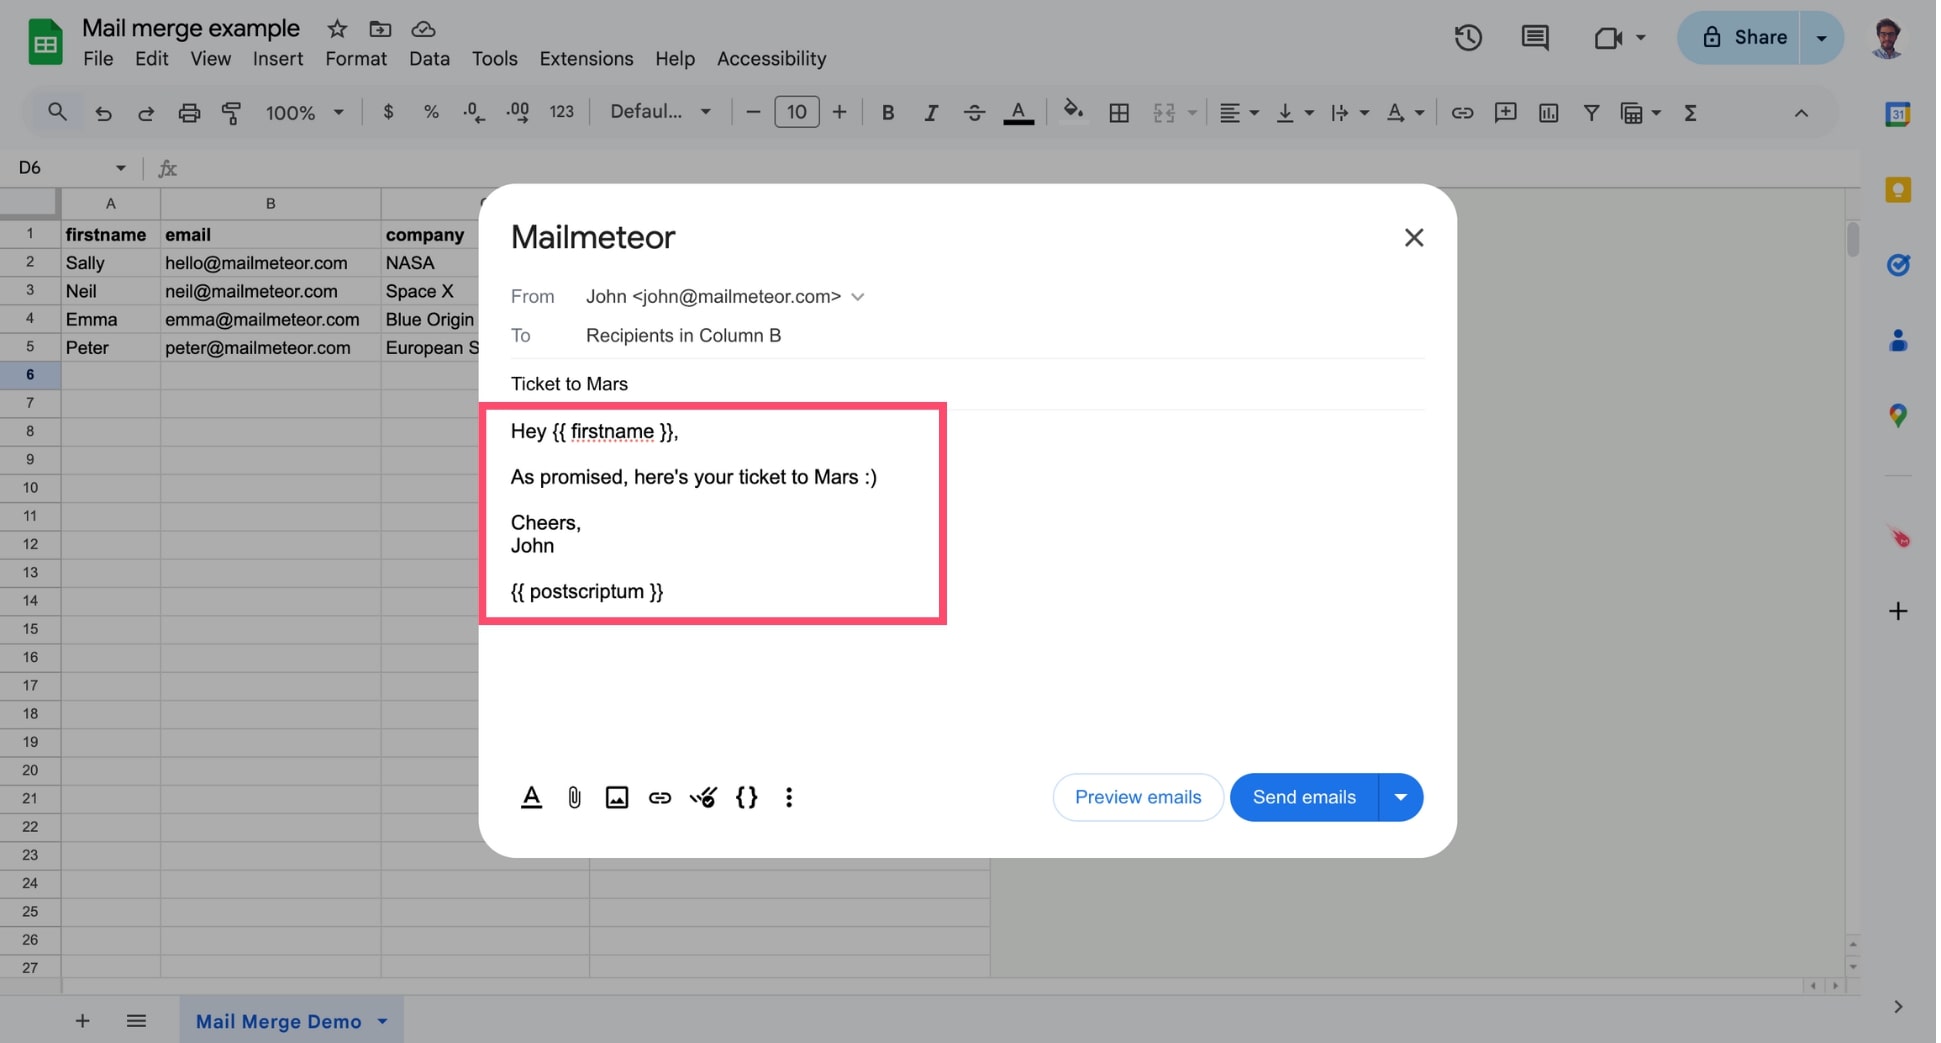
- Click Preview emails.
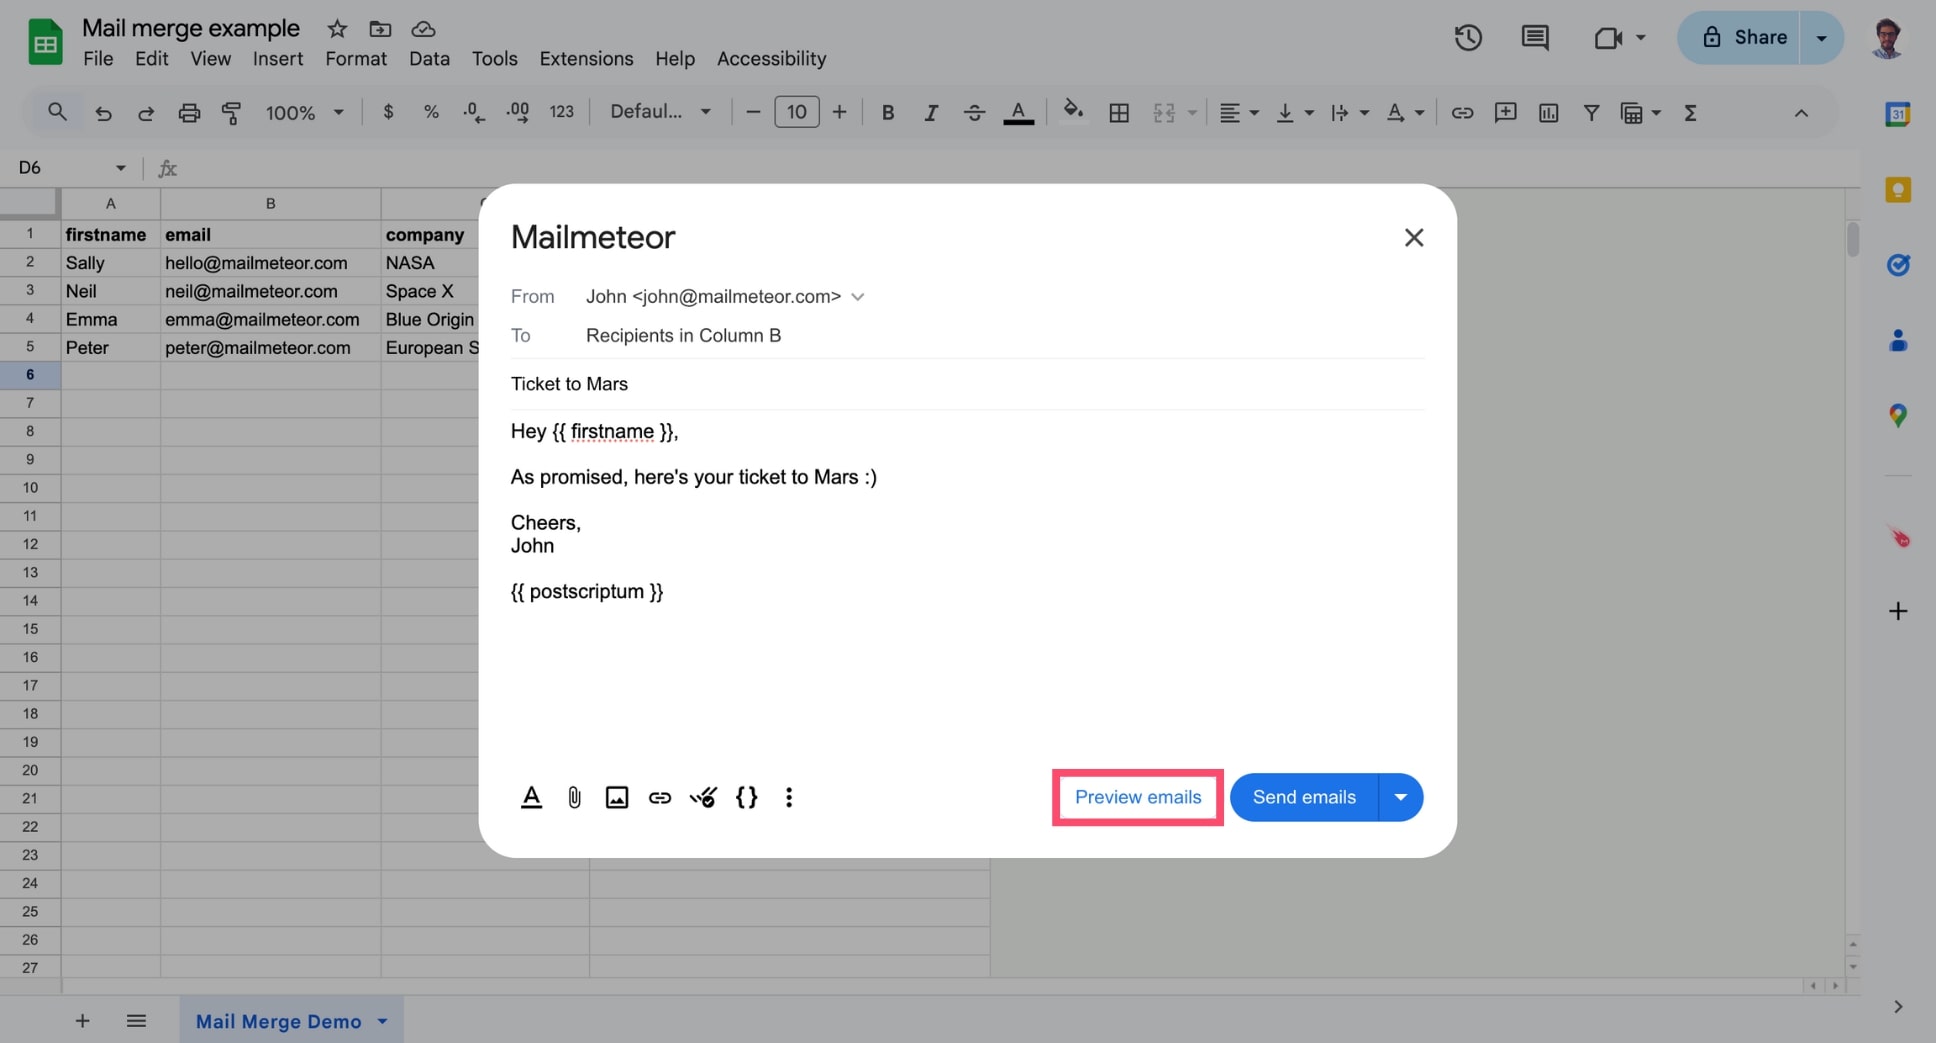
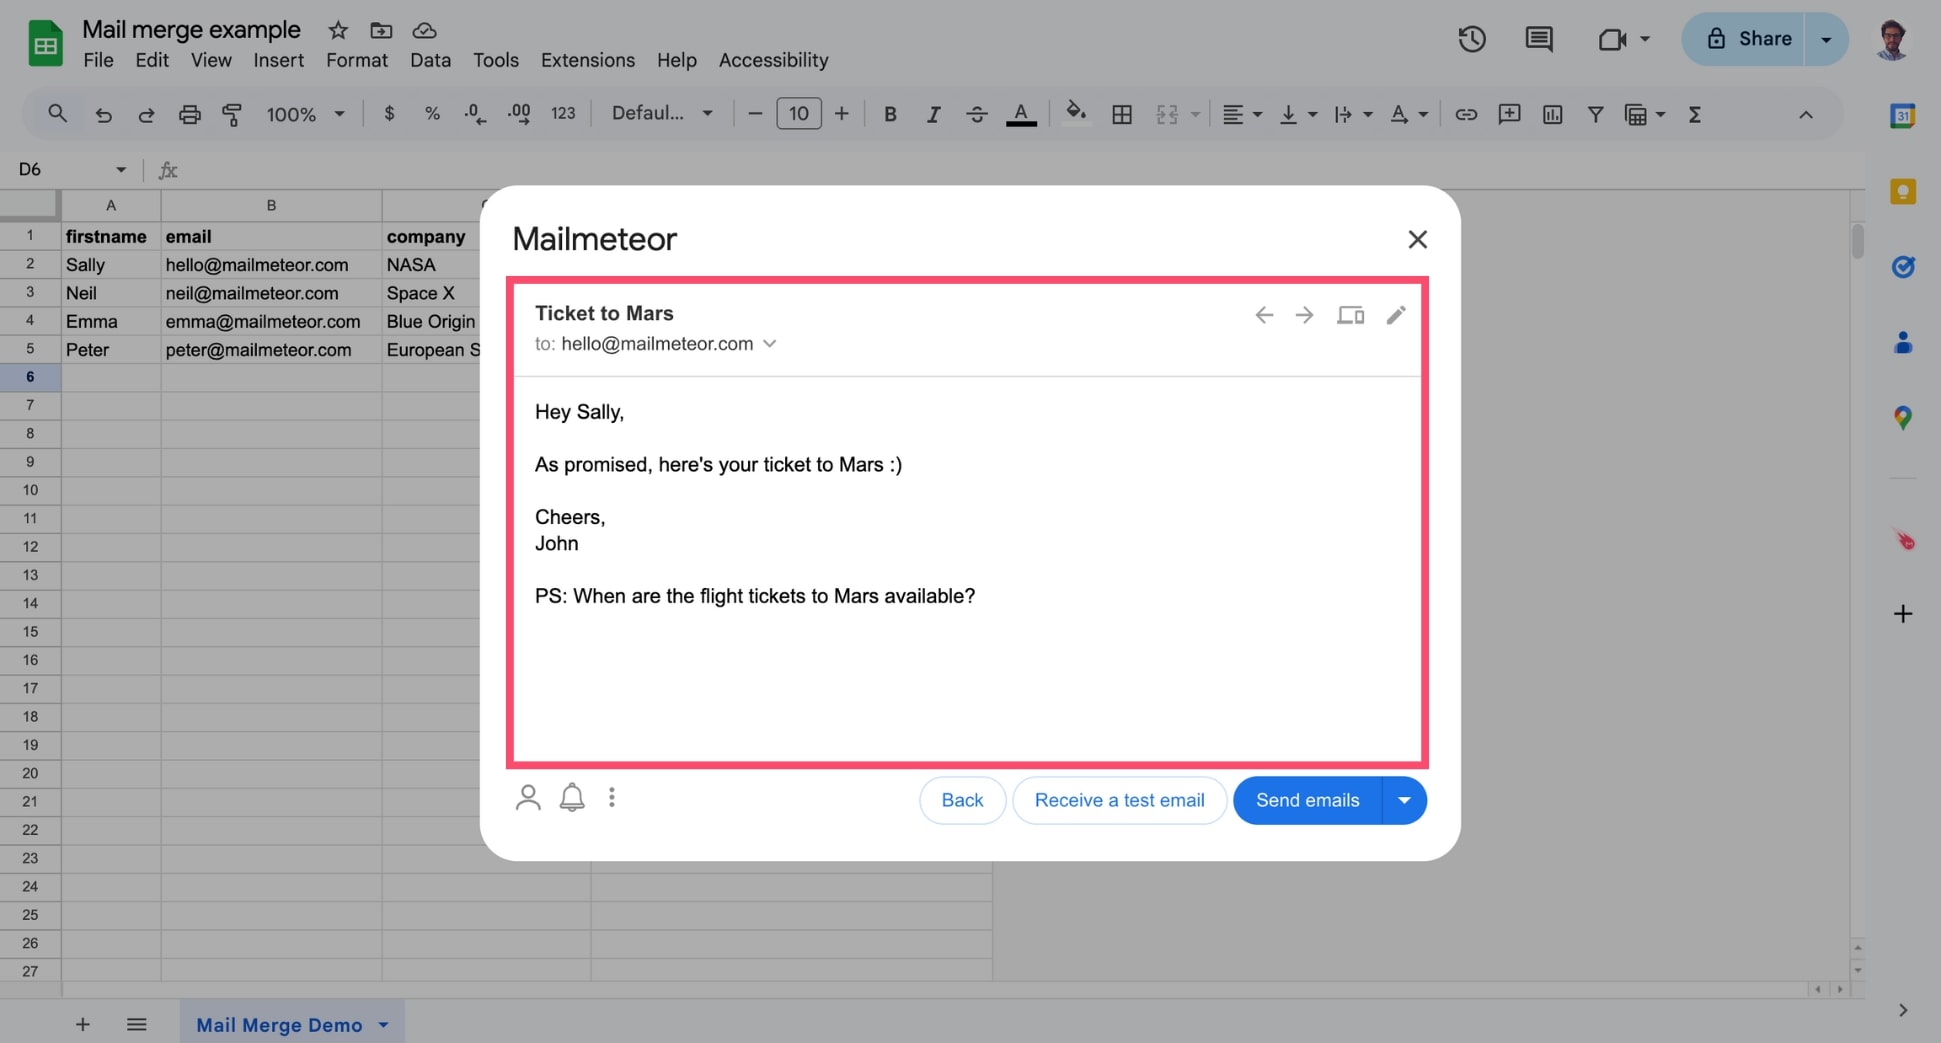
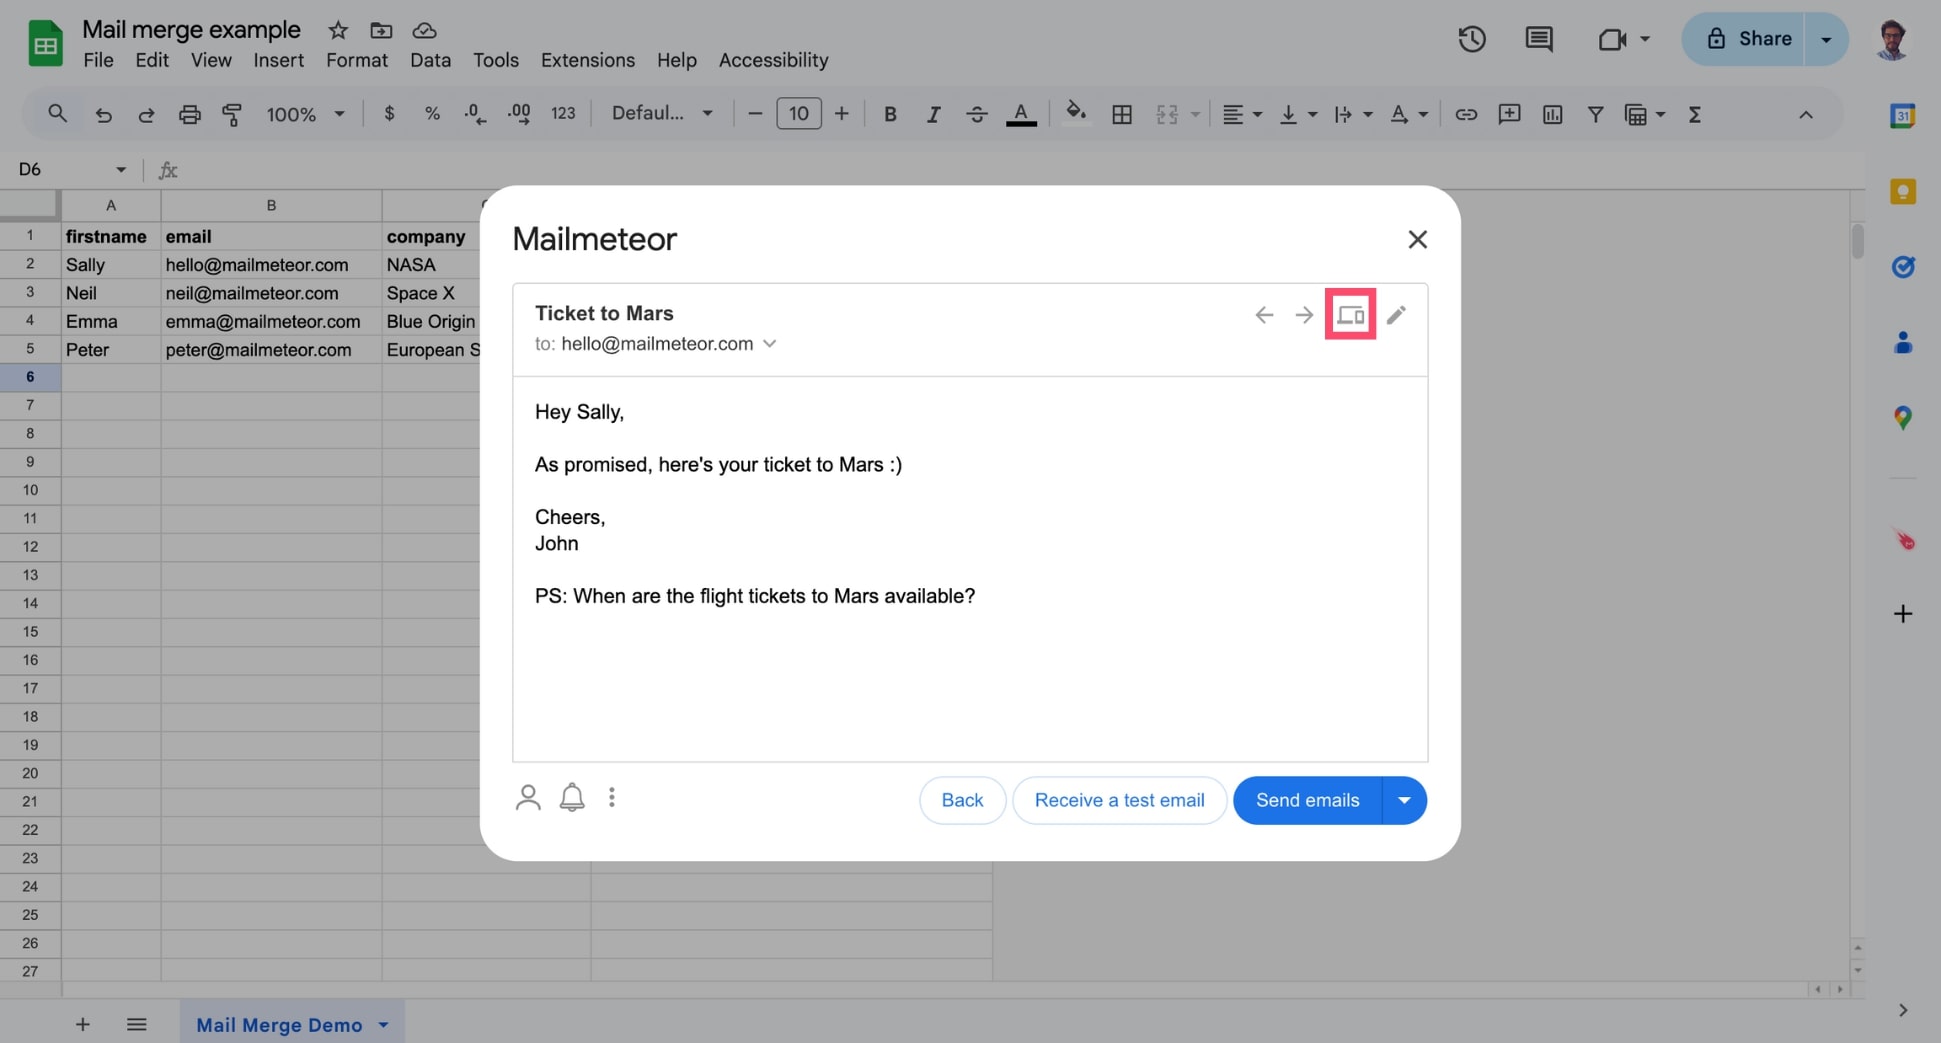
Here’s what the preview mode looks like:
When using personalization, Mailmeteor automatically replaces a variable (such as {{ firstname }}) with the corresponding value from the spreadsheet (e.g. Sally). If the value is not set in the spreadsheet, Mailmeteor will replace the variable with an empty string. This prevents you from merge failures (learn more).
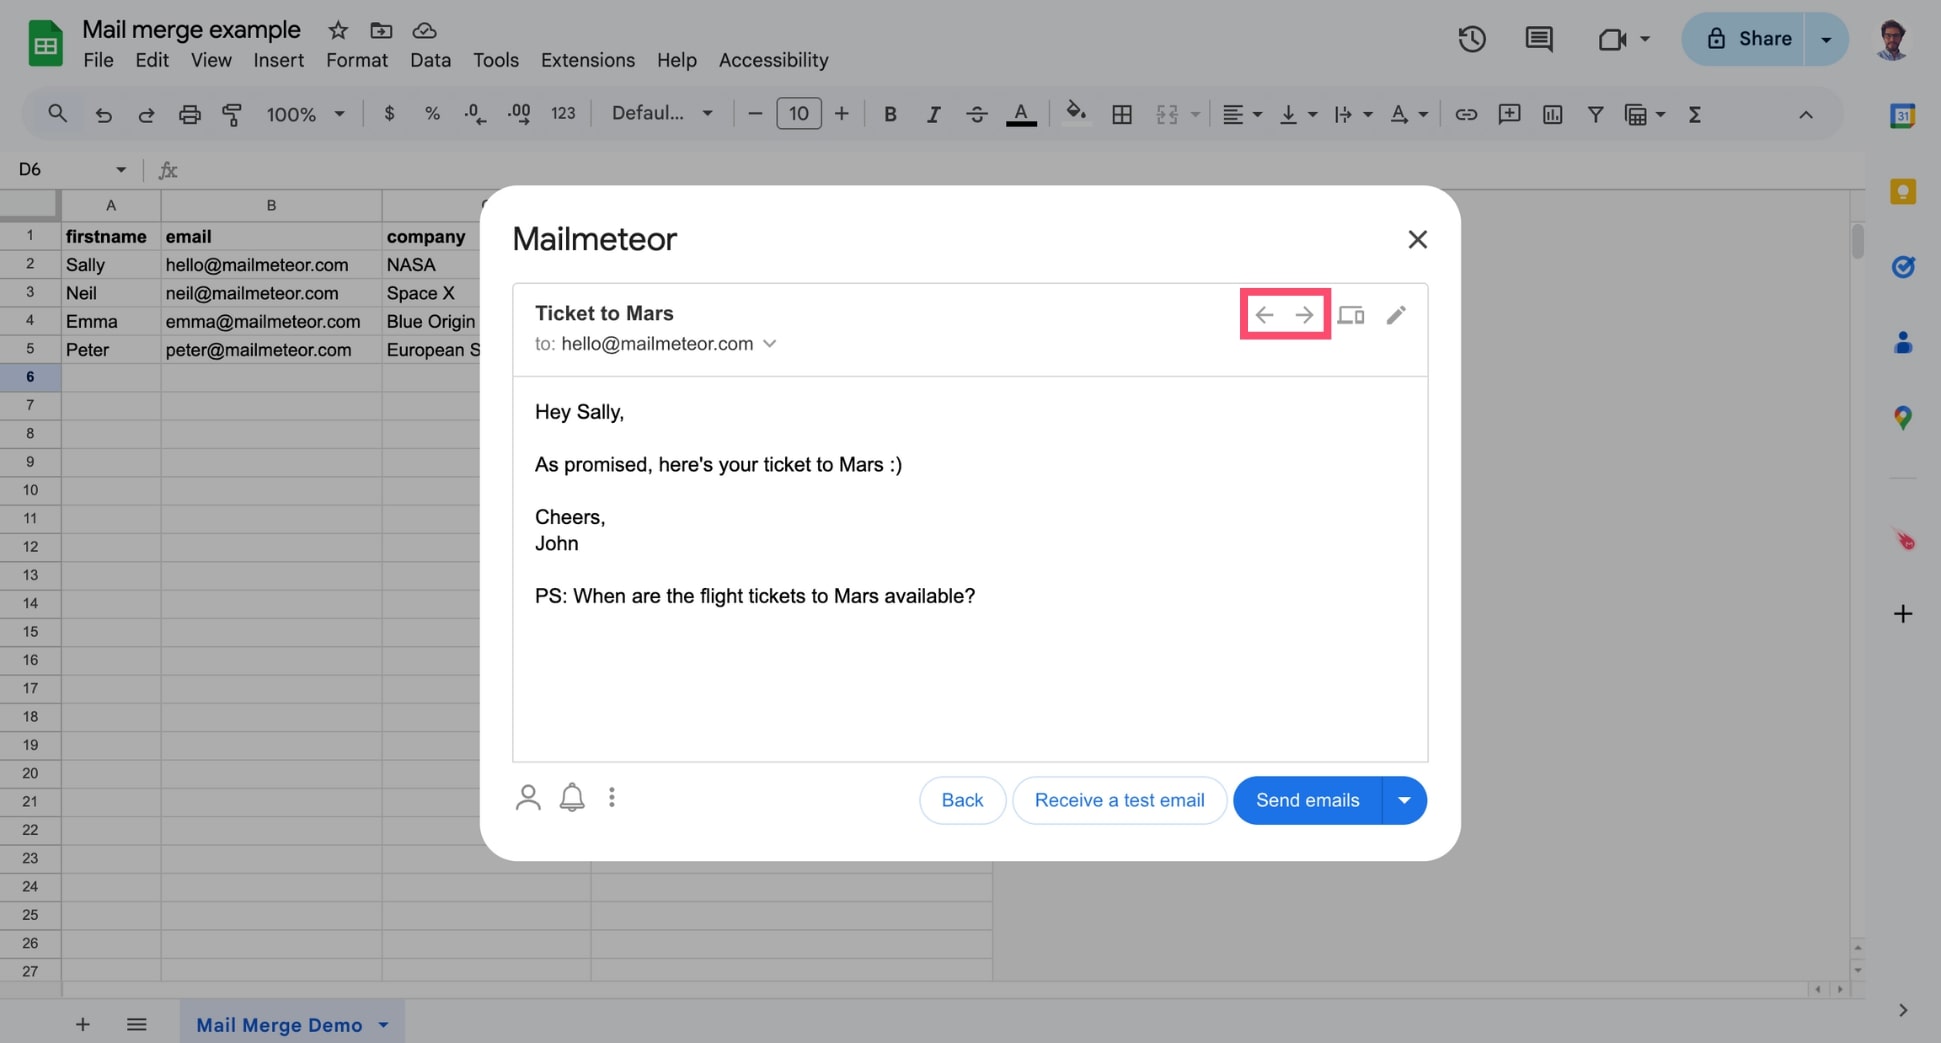
While in preview mode, you can use “←” or “→” to navigate spreadsheet rows and preview how your email will appear for each recipient.
You can also click Switch to mobile view to check how your email will look on mobile devices and small screens.
If something doesn’t look right, you can edit your template in just a few clicks to make last-minute changes.
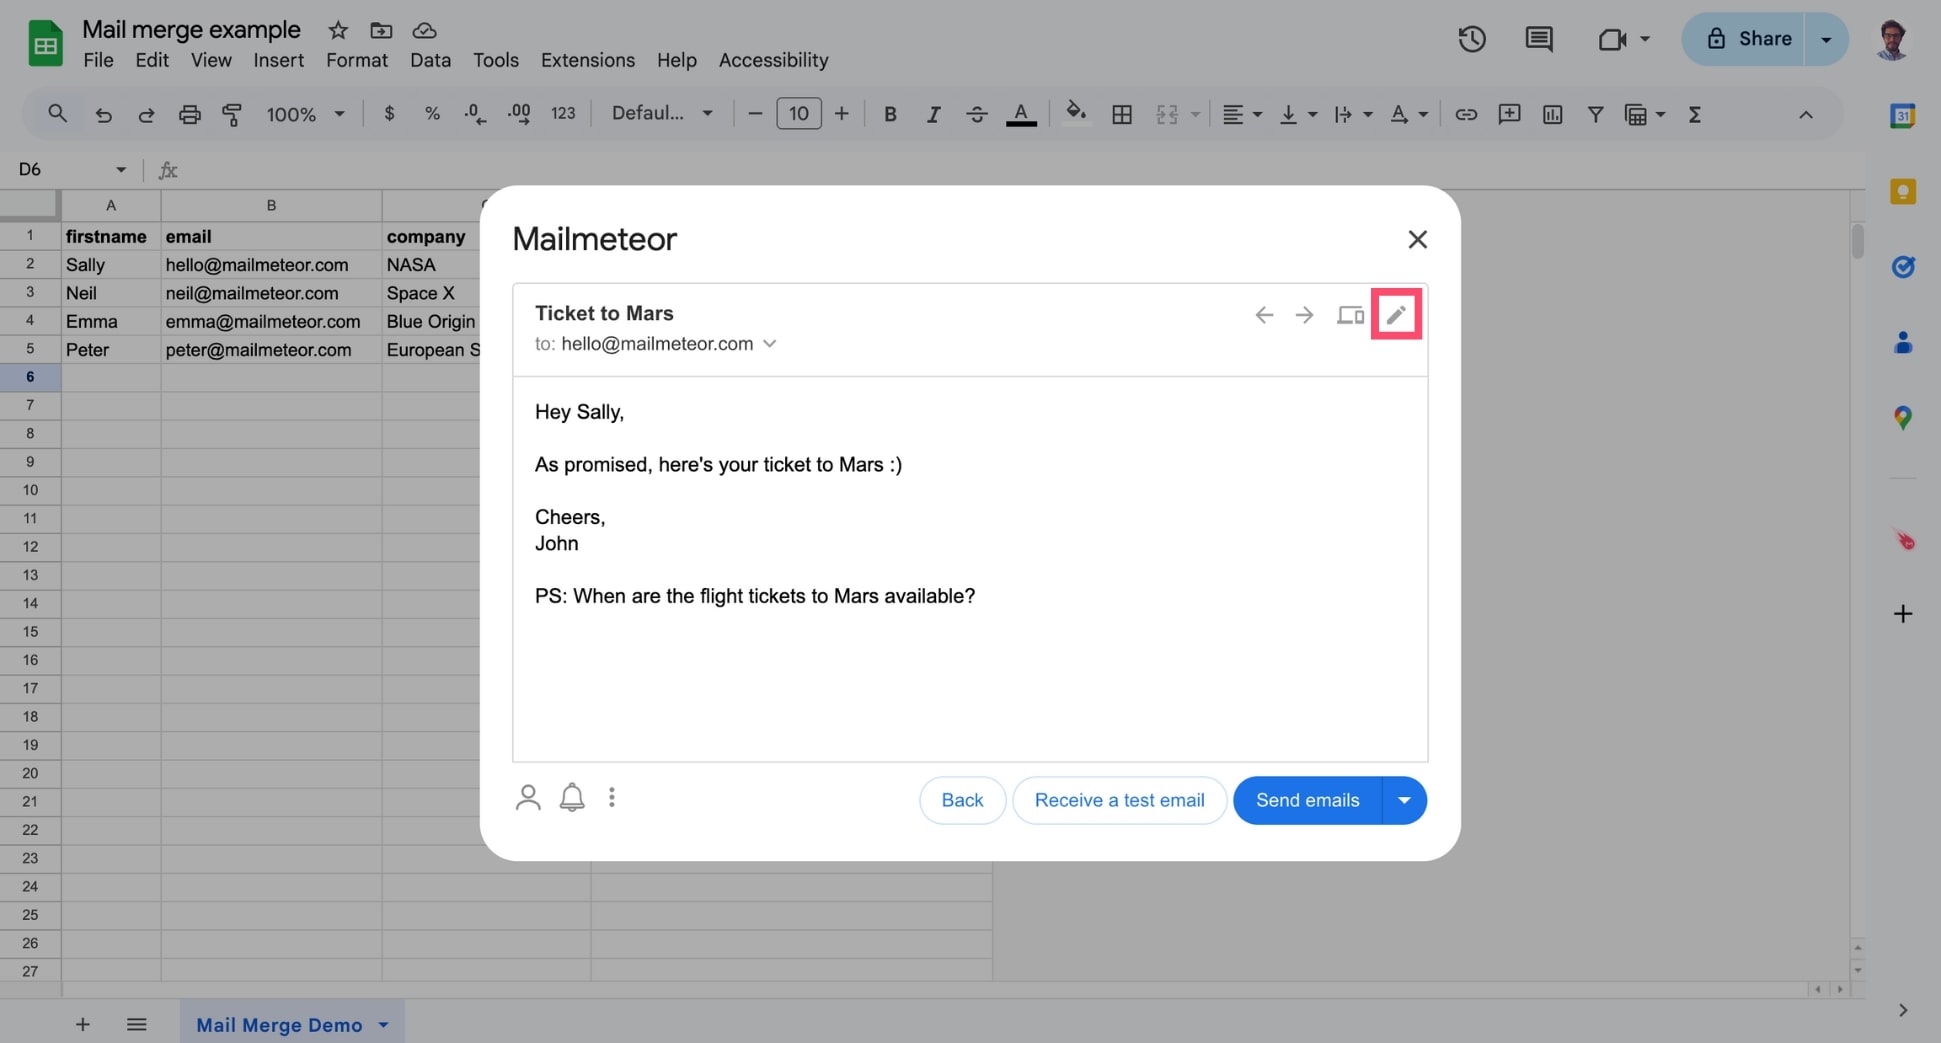
You can also ask Mailmeteor to send you a test email to ensure your mail merge looks great in your recipient’s inbox.

Finally, you can click on the small caret symbol (“▼”) located next to the email address of the recipient to access additional information about the email that is being sent.
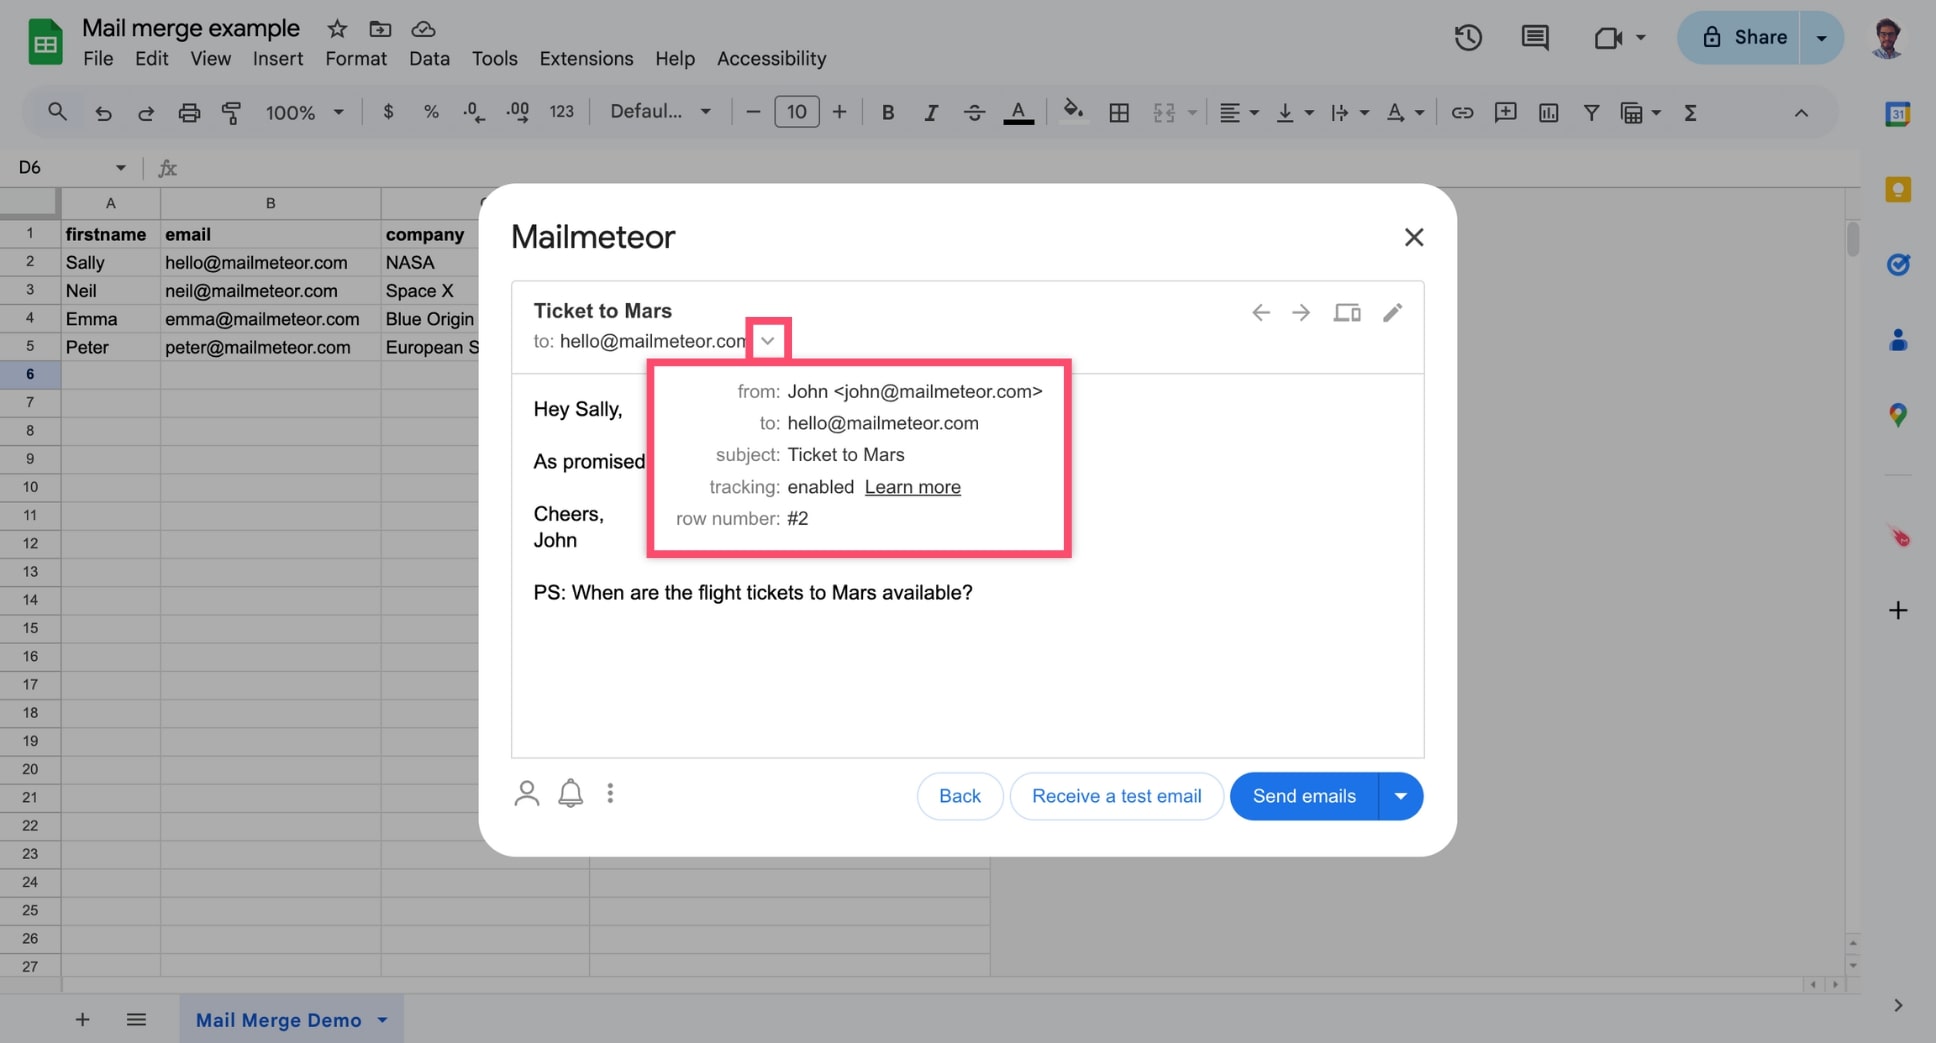
This information includes details about any cc/bcc recipients, whether tracking is enabled, and which row on the spreadsheet is being merged, among other things.
Video tutorial
- Open your Google Docs document.
-
In the menu, select Extensions > Mailmeteor > New campaign.
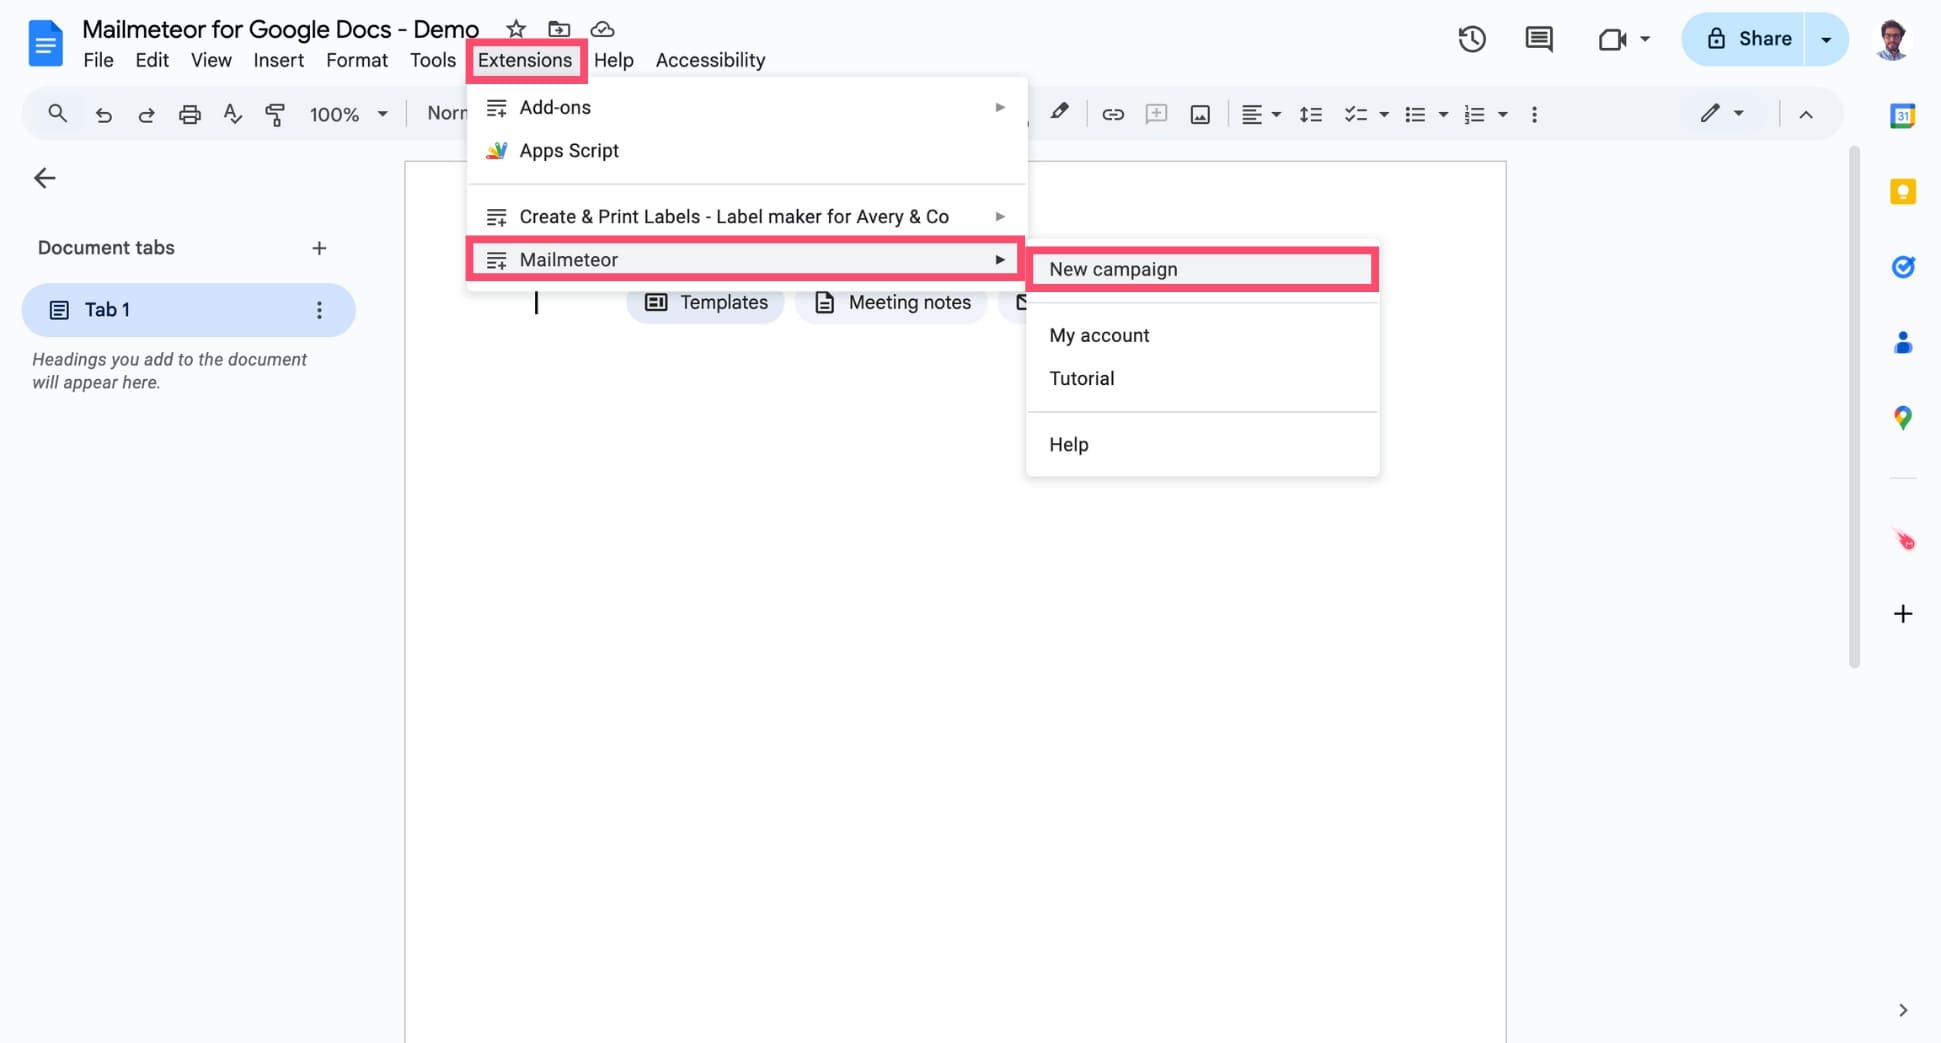
-
Click Preview to enter the Preview mode.
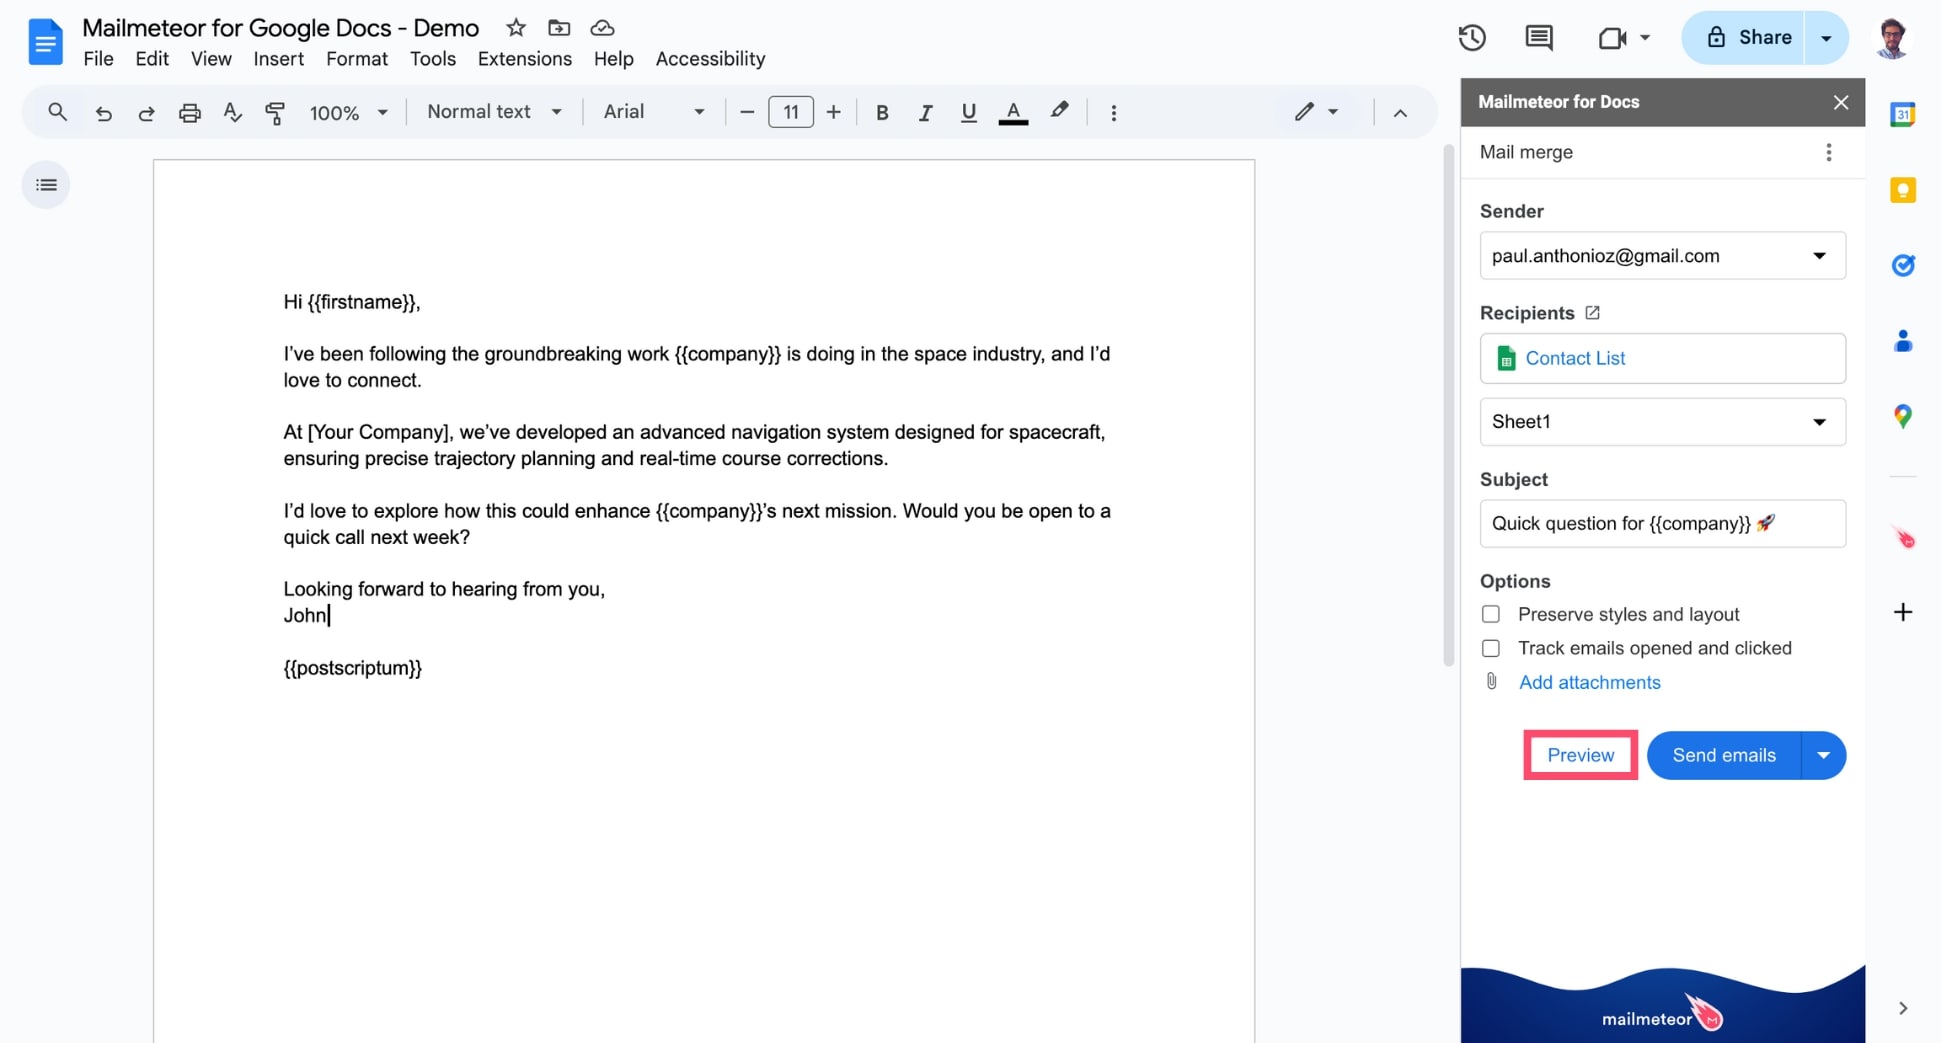
This lets you get a sneak peek of exactly how your emails will appear in your recipients’ inboxes. Here’s how it looks:

If something doesn’t look right, go back to your Google Docs template or your Google Sheets to edit them in just a few clicks.
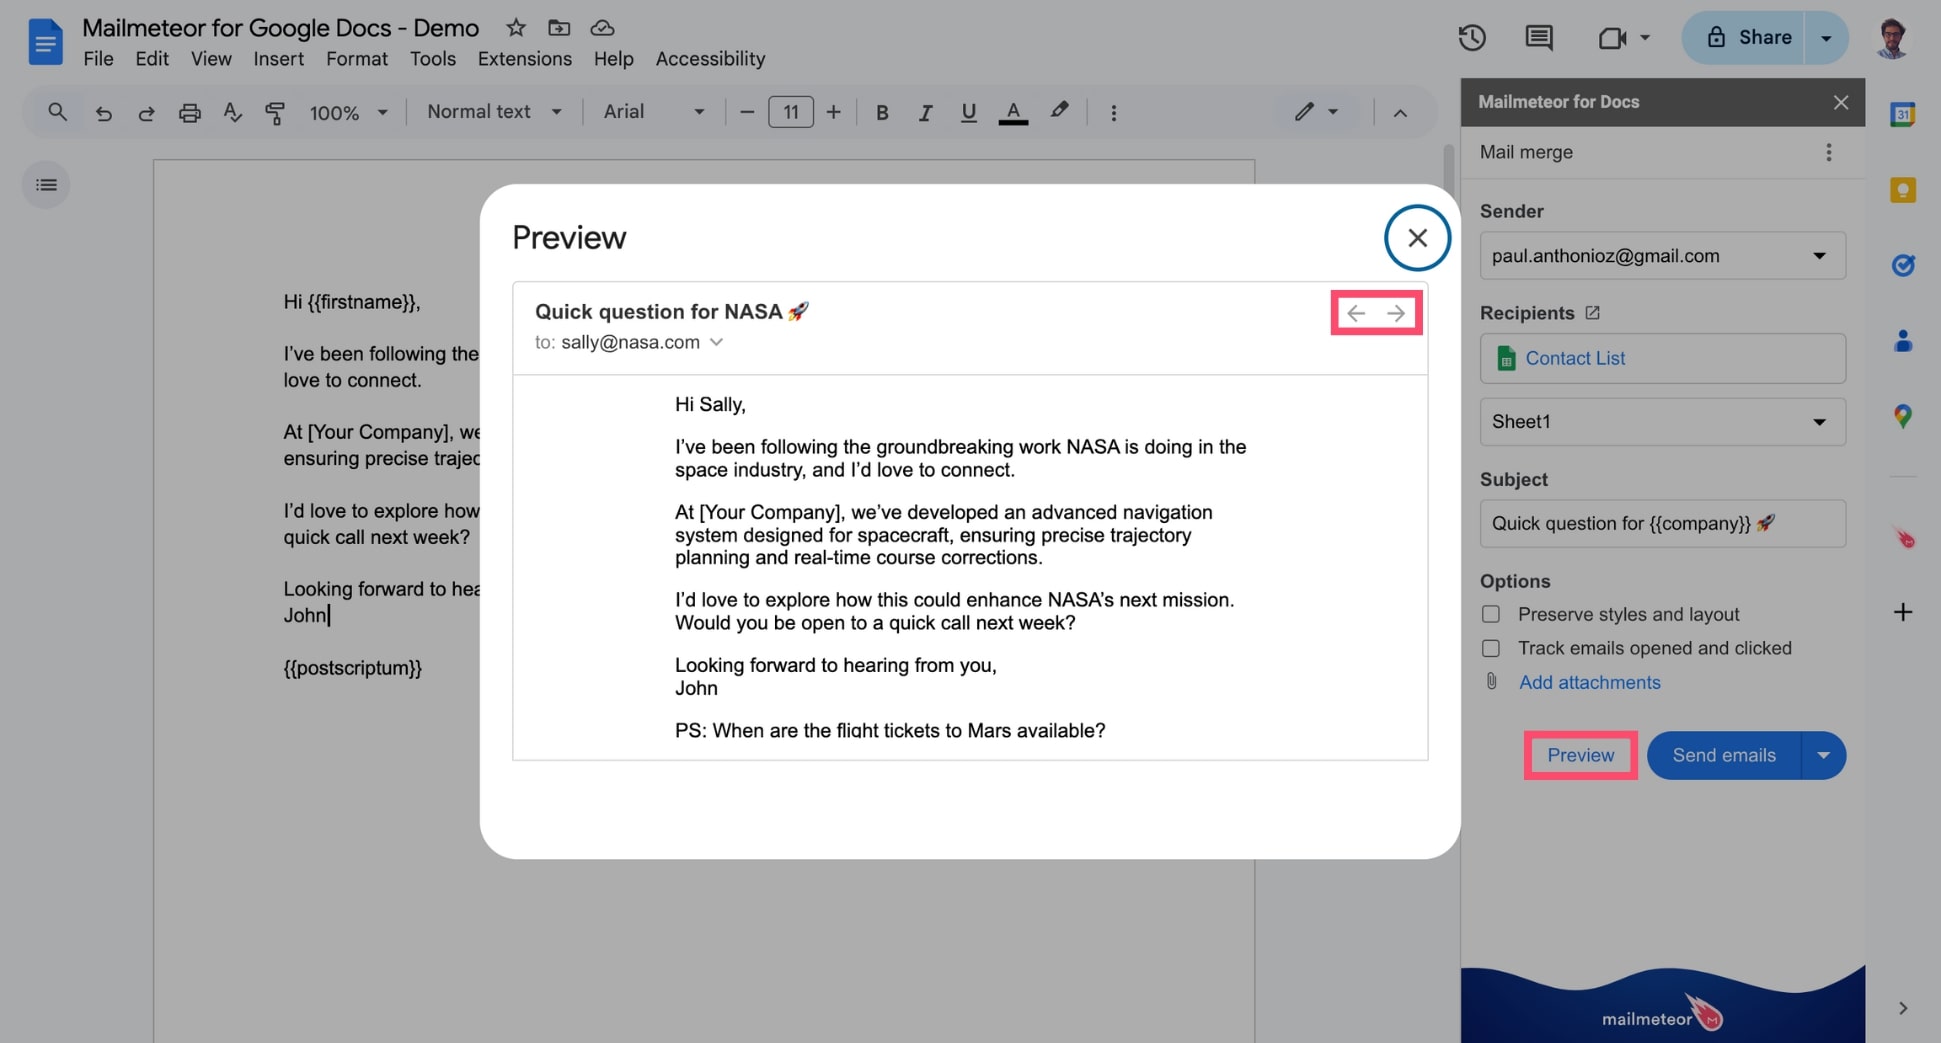
Preview each email individually
You can use ← or → to navigate spreadsheet rows and preview how your email will appear for each recipient.
If a variable is missing, Mailmeteor will warn you with a small orange warning pictogram. Here’s how it looks:
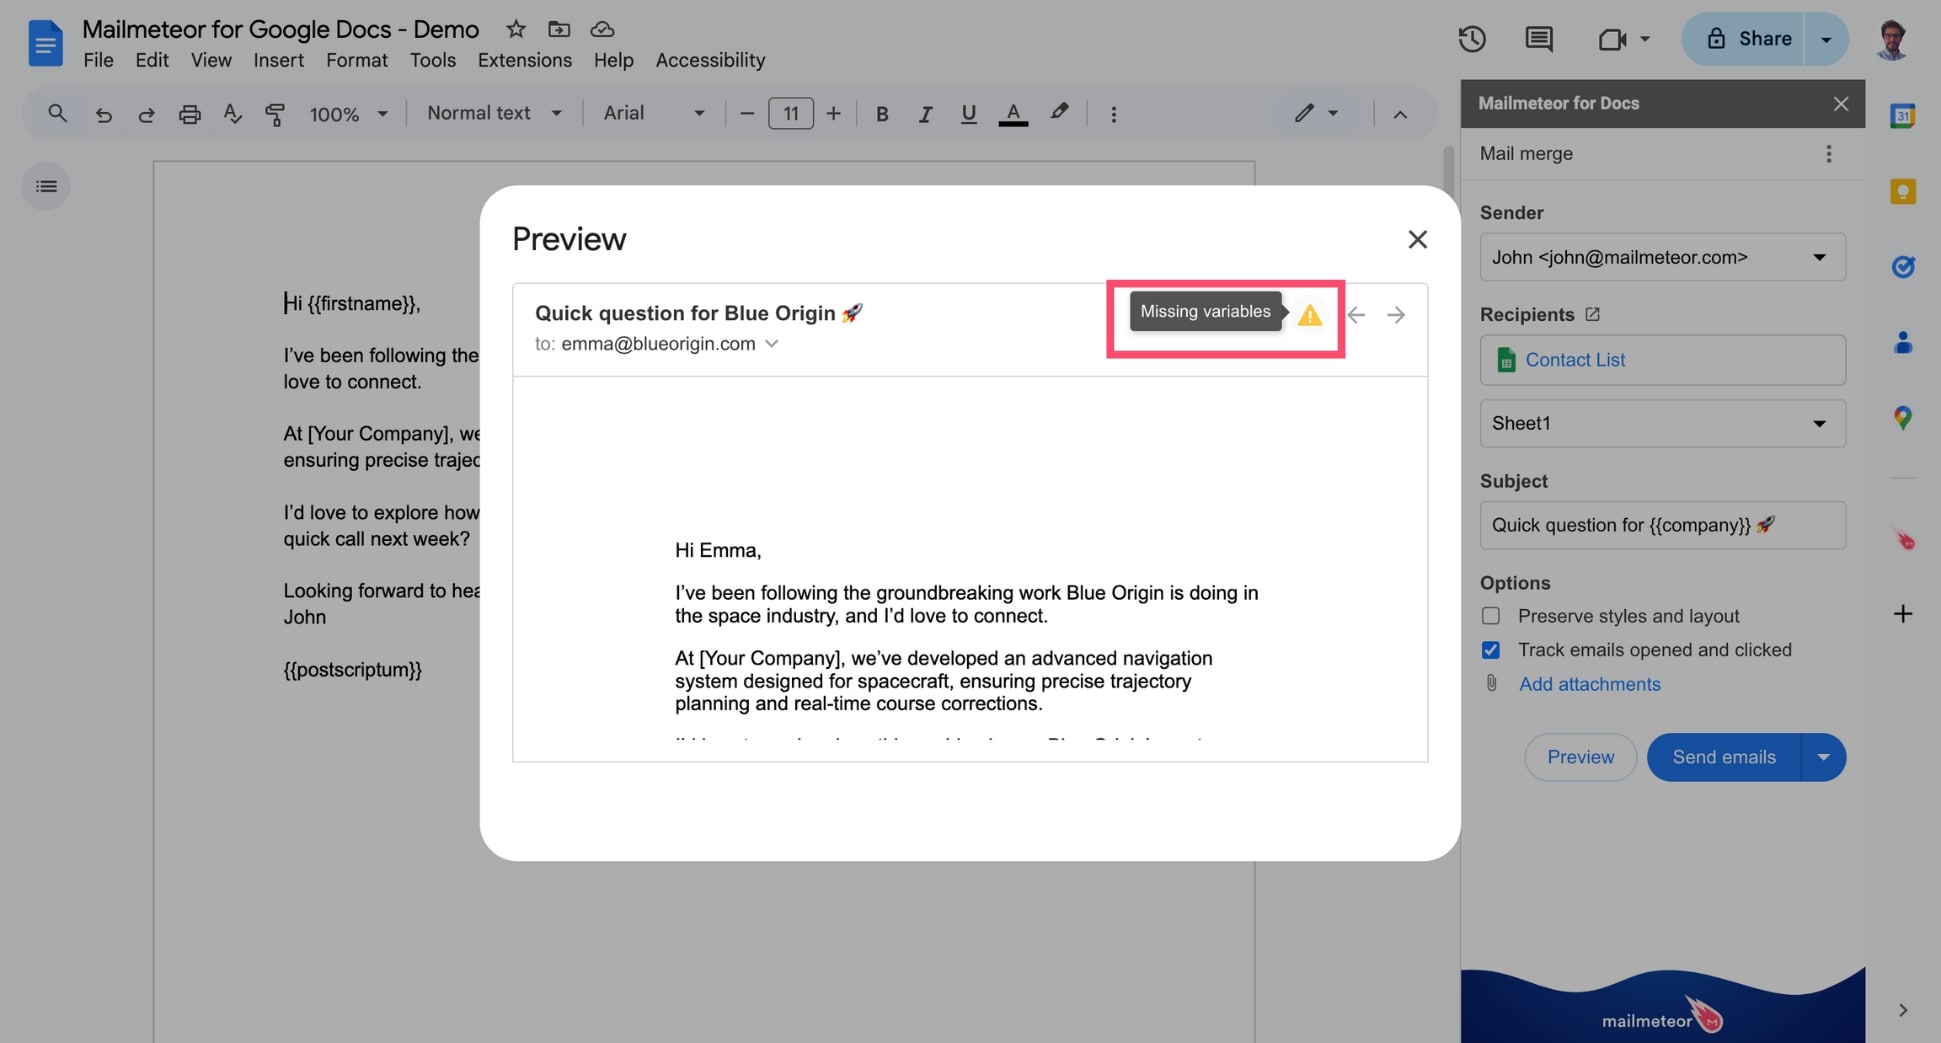
If a value is missing in your spreadsheet, no worries — it will be replaced with a blank space to prevent merge errors. You can send emails even if some variables are missing, but the email address field must never be left blank.