
If you’re trying to keep your team updated, pitch to new leads, or share exciting news with your colleagues, Outlook’s group emailing capabilities is what you’re missing.
If you’re looking for mass emailing, then instead check out our guide on how to send a mass email using Outlook.
Have you ever found yourself writing an email to the same group of people, day after day, and having to type out their emails every single time? You really don’t need to.
Instead of going through robotically typing out each email address one by one, let us streamline the process.
In this guide, we’ll walk you through three easy ways (and a bonus solution at the end!) to create group emails in Outlook, so you can focus on what really matters: perfecting the content of the email itself.
Let’s dive in! ⤵️
Method 1: Outlook Contact Groups
Contact groups in Outlook are a handy feature designed to simplify the process of sending emails to multiple recipients at once.
They solve the exact problem we mentioned in our opening: Instead of manually entering individual email addresses every time you want to reach out to a team, club, or group of friends, you can create a contact group and assign a unique name to it.
This lets you group relevant contacts together in one place for quick access.
When you need to send an email, you just type in the group name, and Outlook will automatically put in the email addresses of everyone in your group, here’s why we love contact groups:
- Time Savings: Contact groups allow you to send emails to multiple people with just one click.
- Less Mistakes: You minimize the chances of forgetting recipients or entering incorrect email addresses, everyone receives the message, as intended!
- Organized: Contact groups help keep your email contacts sorted and organized, making management easier and communication seamless.
When you create a contact group, Outlook generates a new contact with its own email address and links all the members’ addresses to this contact.
You can then send emails to that contact and every member of the group will receive your message.
Contact groups are helpful if you regularly send messages to the same group of people.
For example, you could create a contact group with:
- Your project team
- Your family members
- Your company department
How to create a Contact Group in Outlook
So you want to create a group of contacts in Outlook and send emails to the members of that group?
Here’s how you can do it ⤵️Step 1: Sign in to your Outlook account.
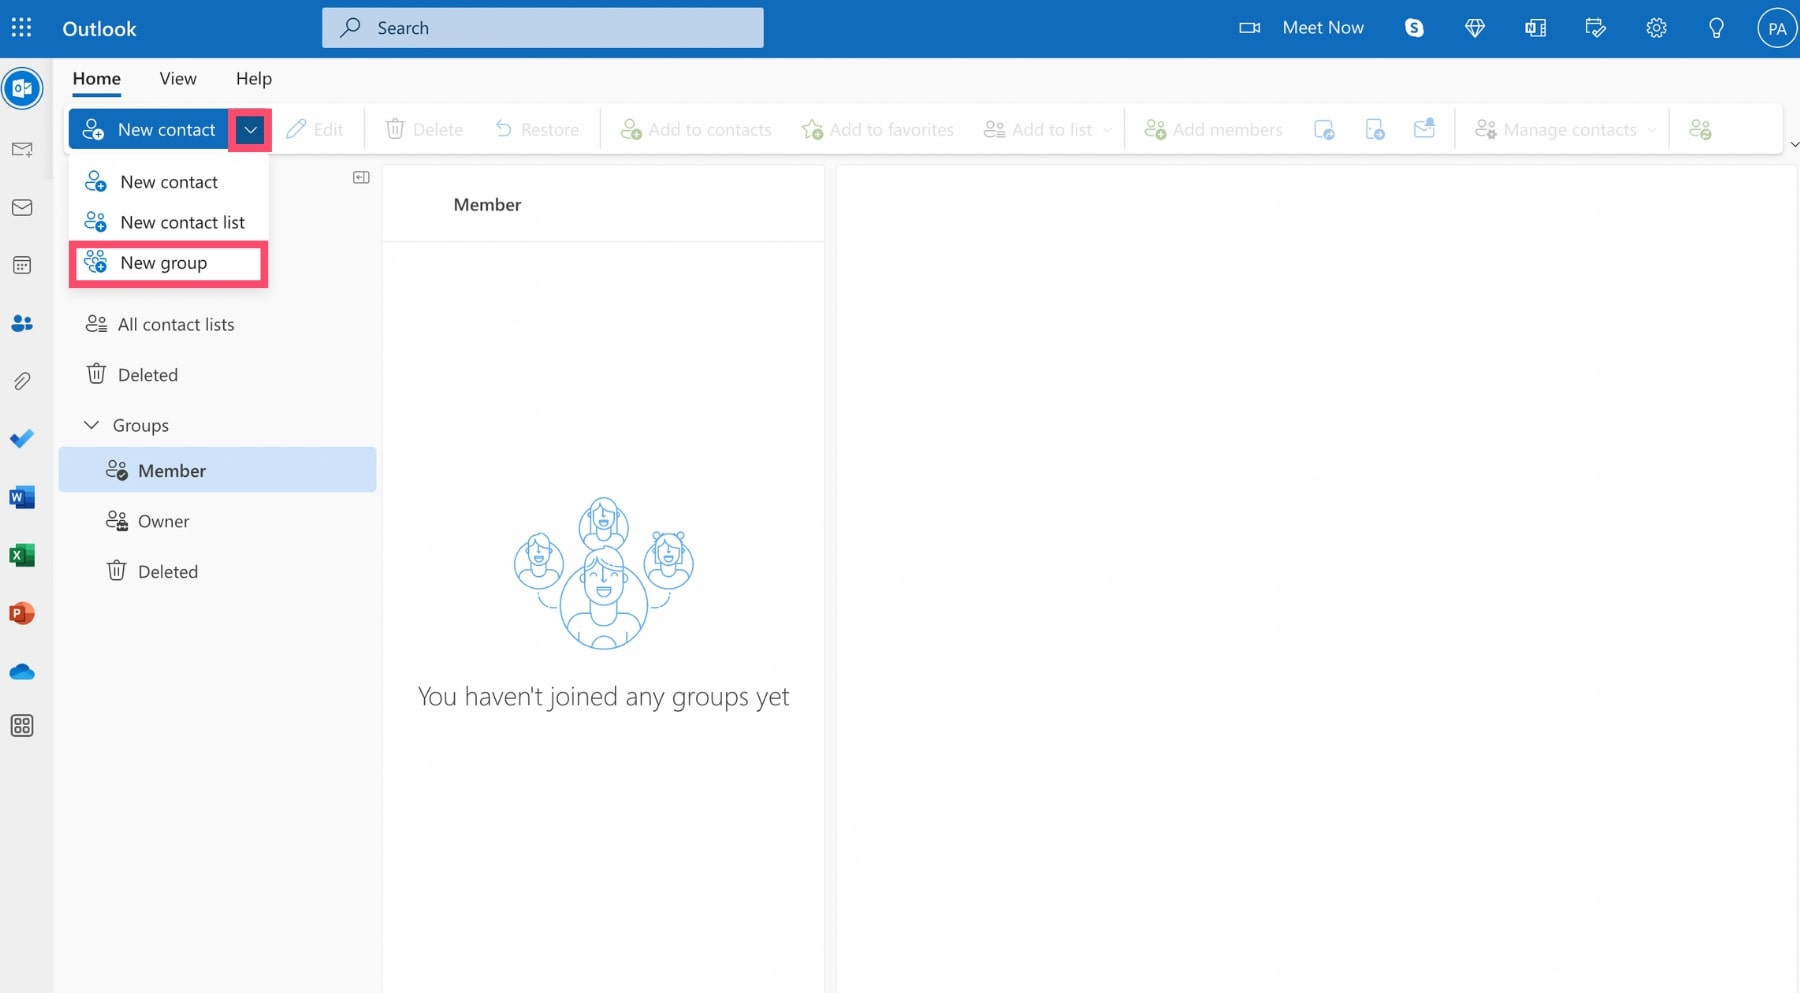
Step 2: In the left-hand menu, go to People.
Step 3: Click the arrow next to New contact. A dropdown menu will appear. From there, select New group.
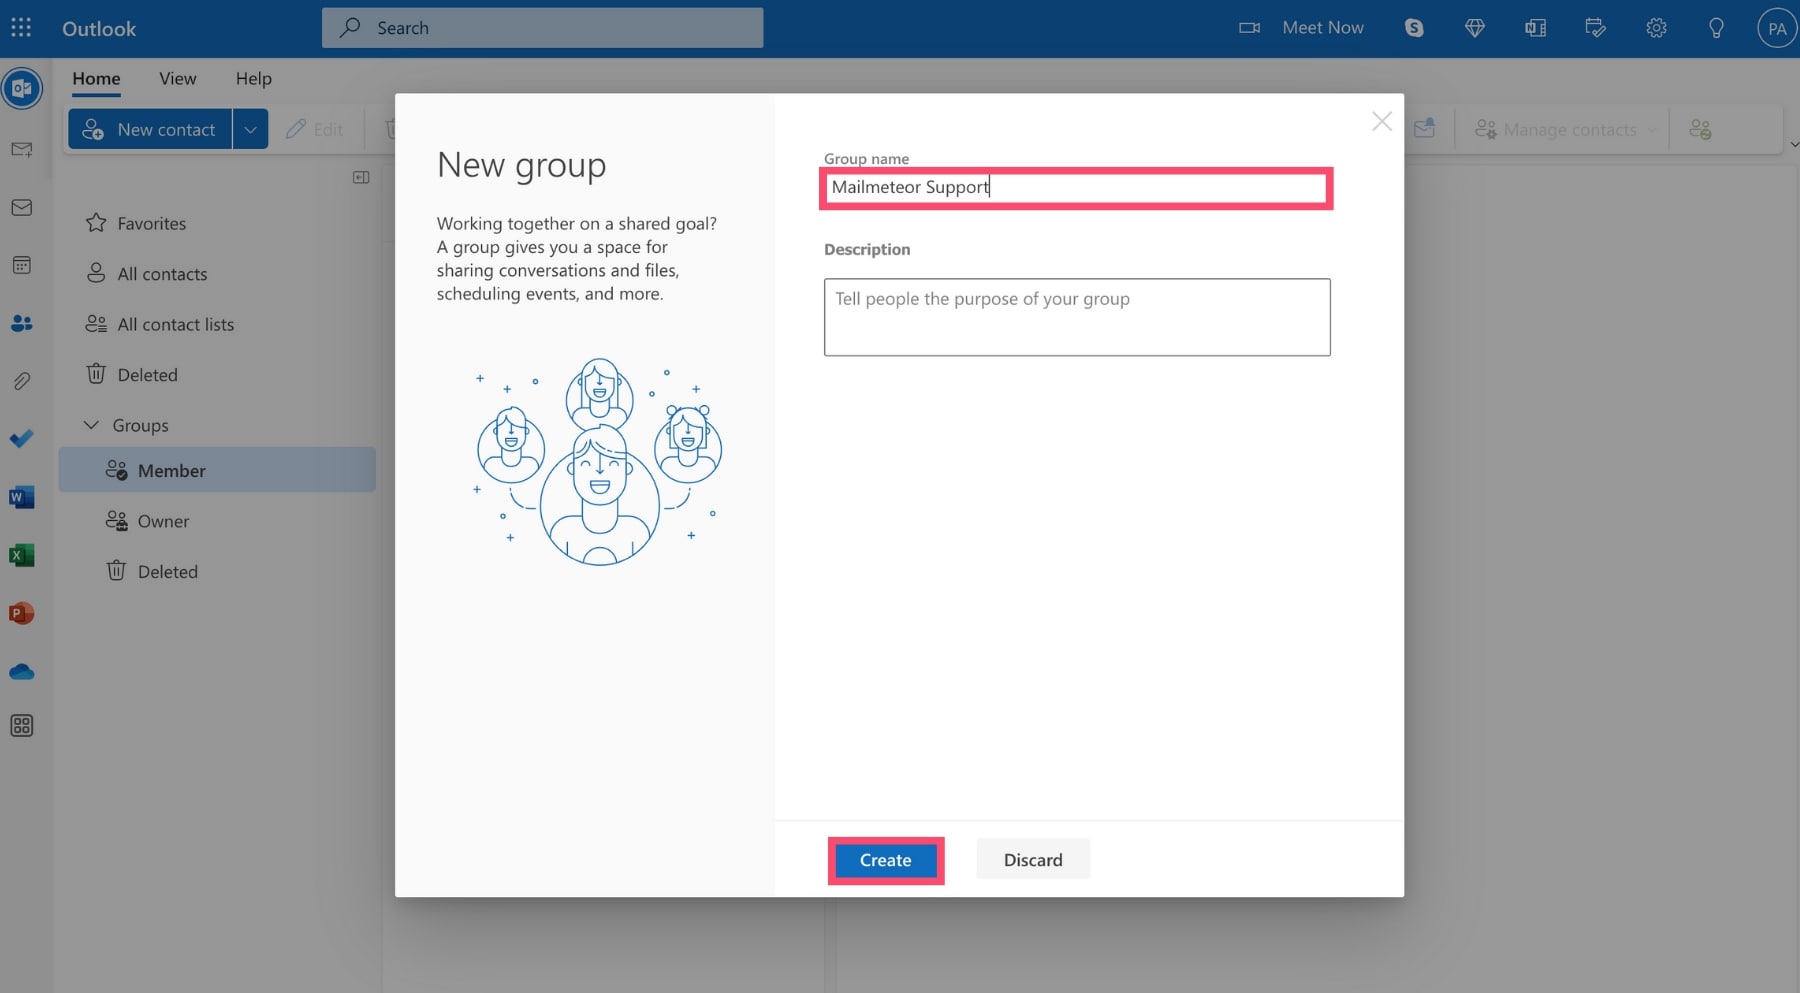
Step 4: Enter the name of your new contact group. Add a short description if you want to. And click Create.
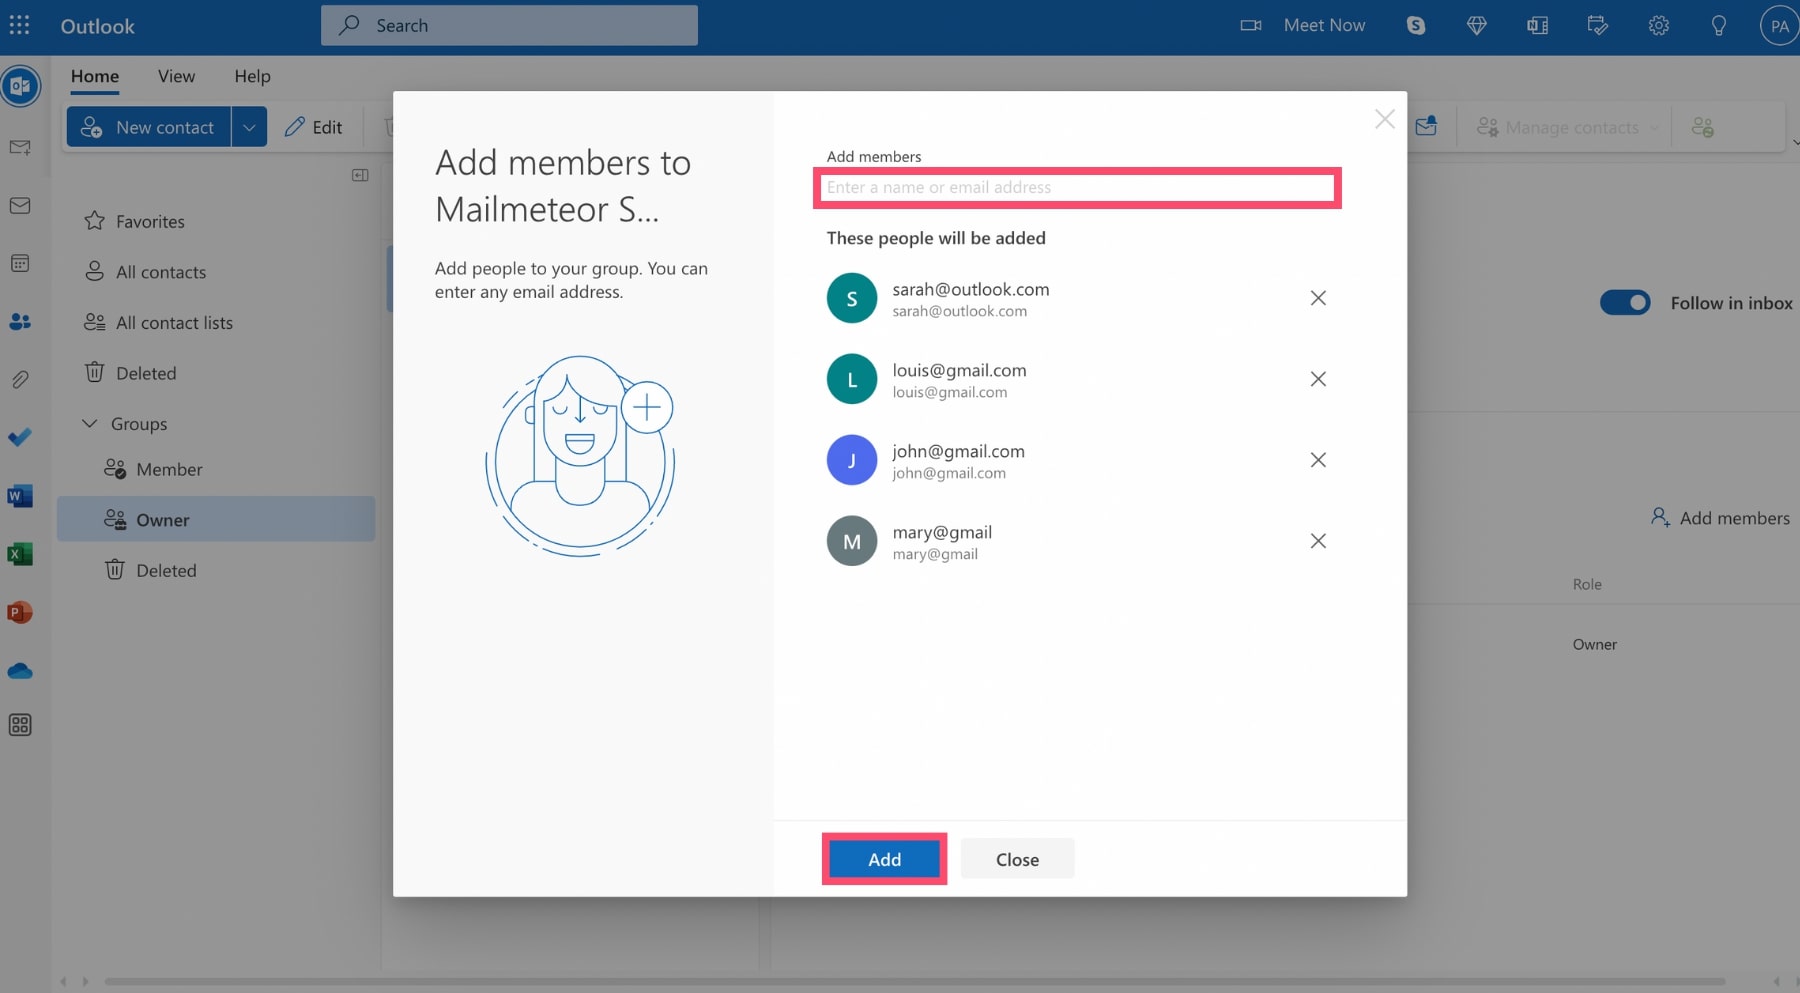
Step 5: You can now add members to your contact group. To do that, simply type the email address of the contact you want to add. Then press Enter. Once you’re done, click “Add”.
Step 6: Now that your contact group is ready, you can send a group email to all of its members.
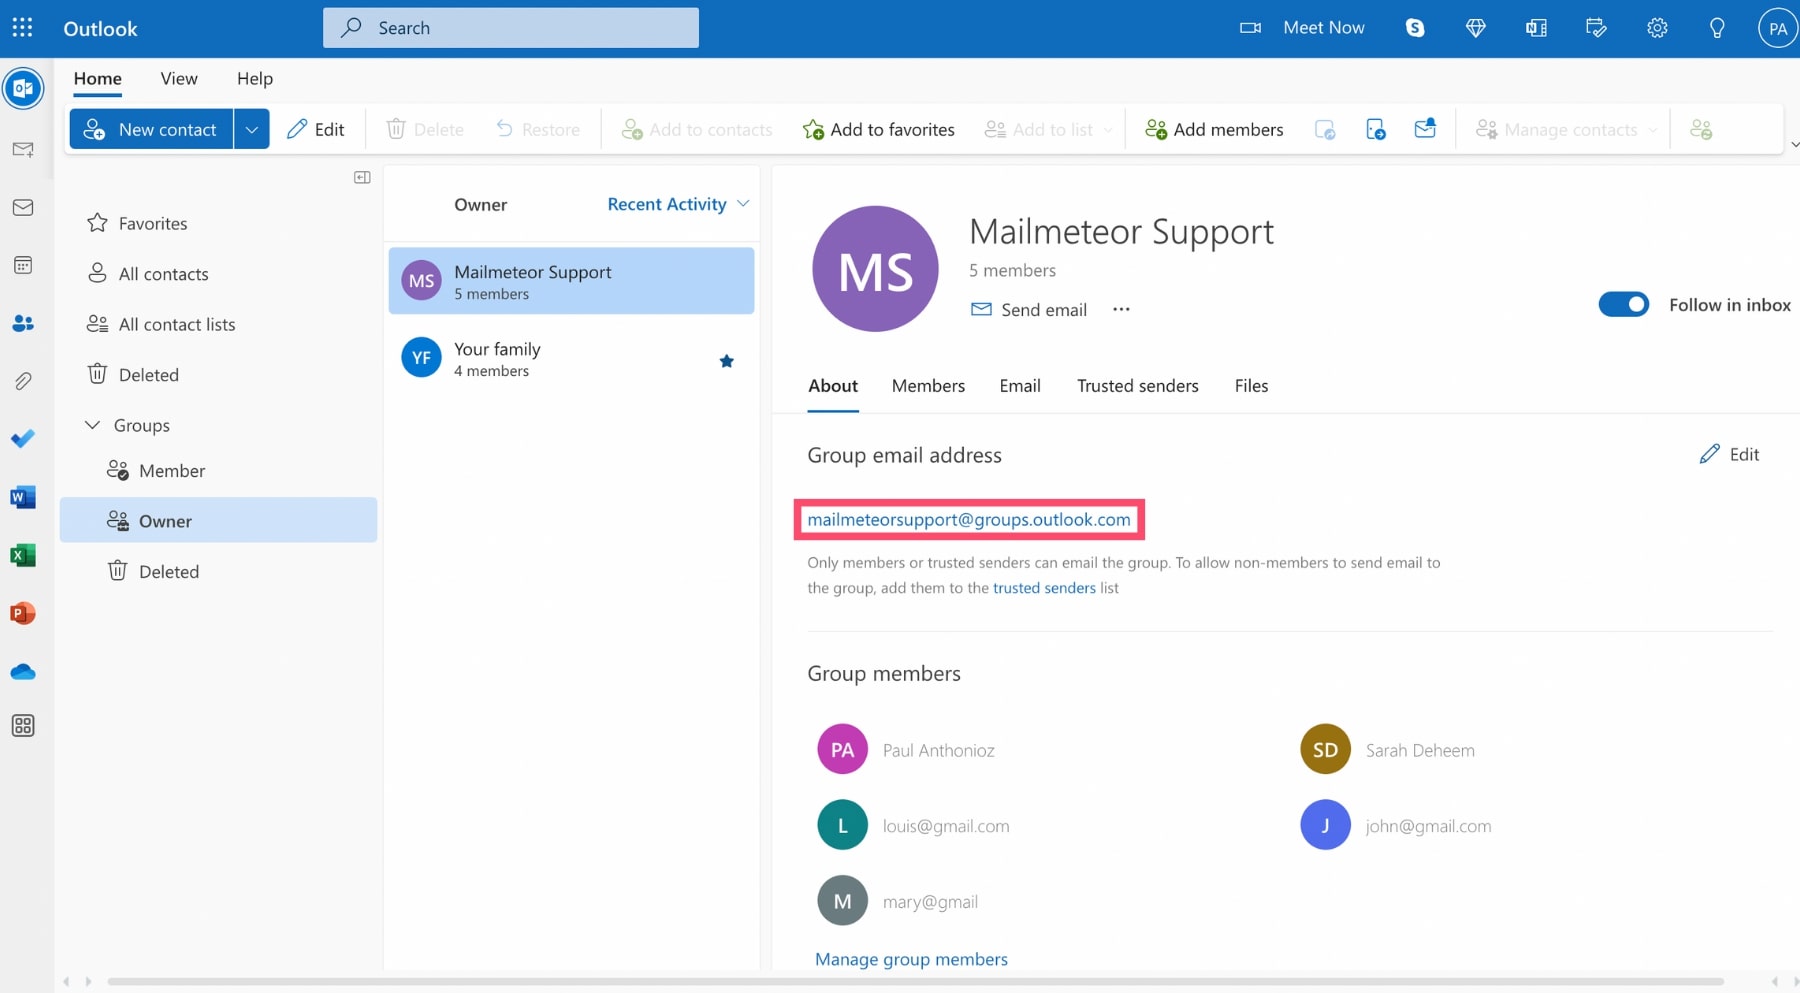
To do that, you can just start typing in the group’s name in to “To” field and it should be listed as one of your contacts. Or you can also just copy the group’s email address which you can find it in the About tab of your contact group.
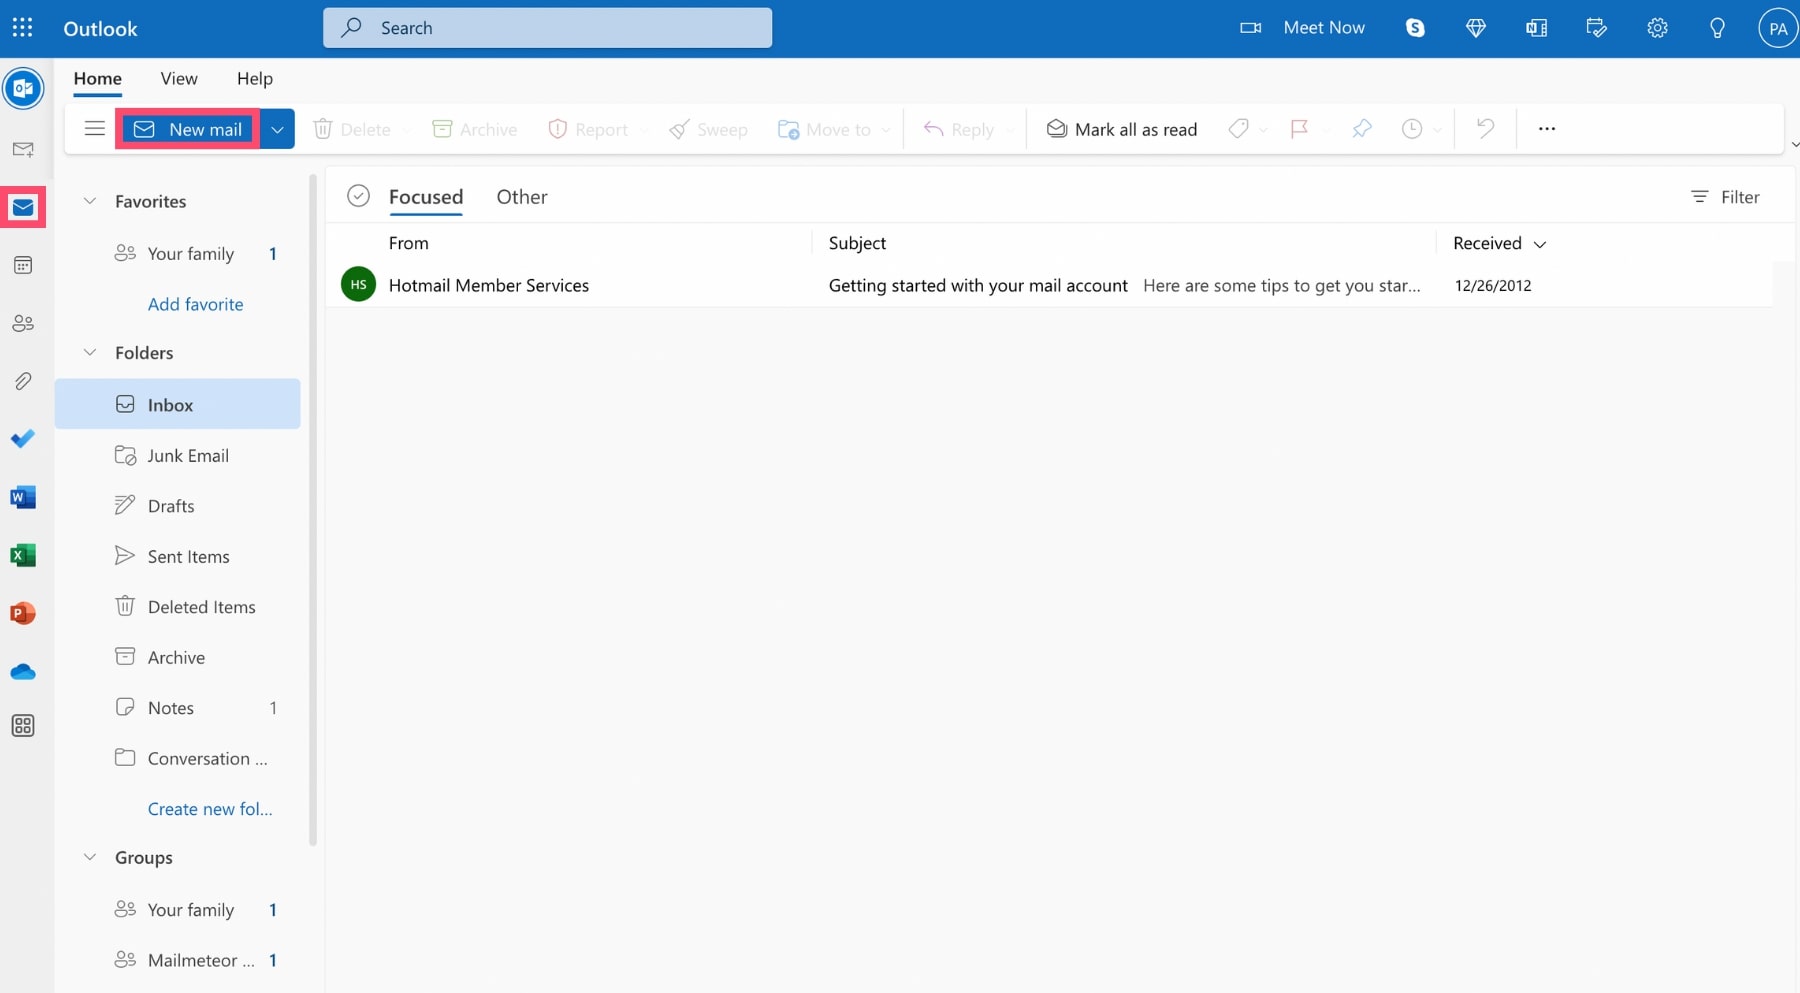
Step 7: Then go back to the Mail menu. And click New mail.
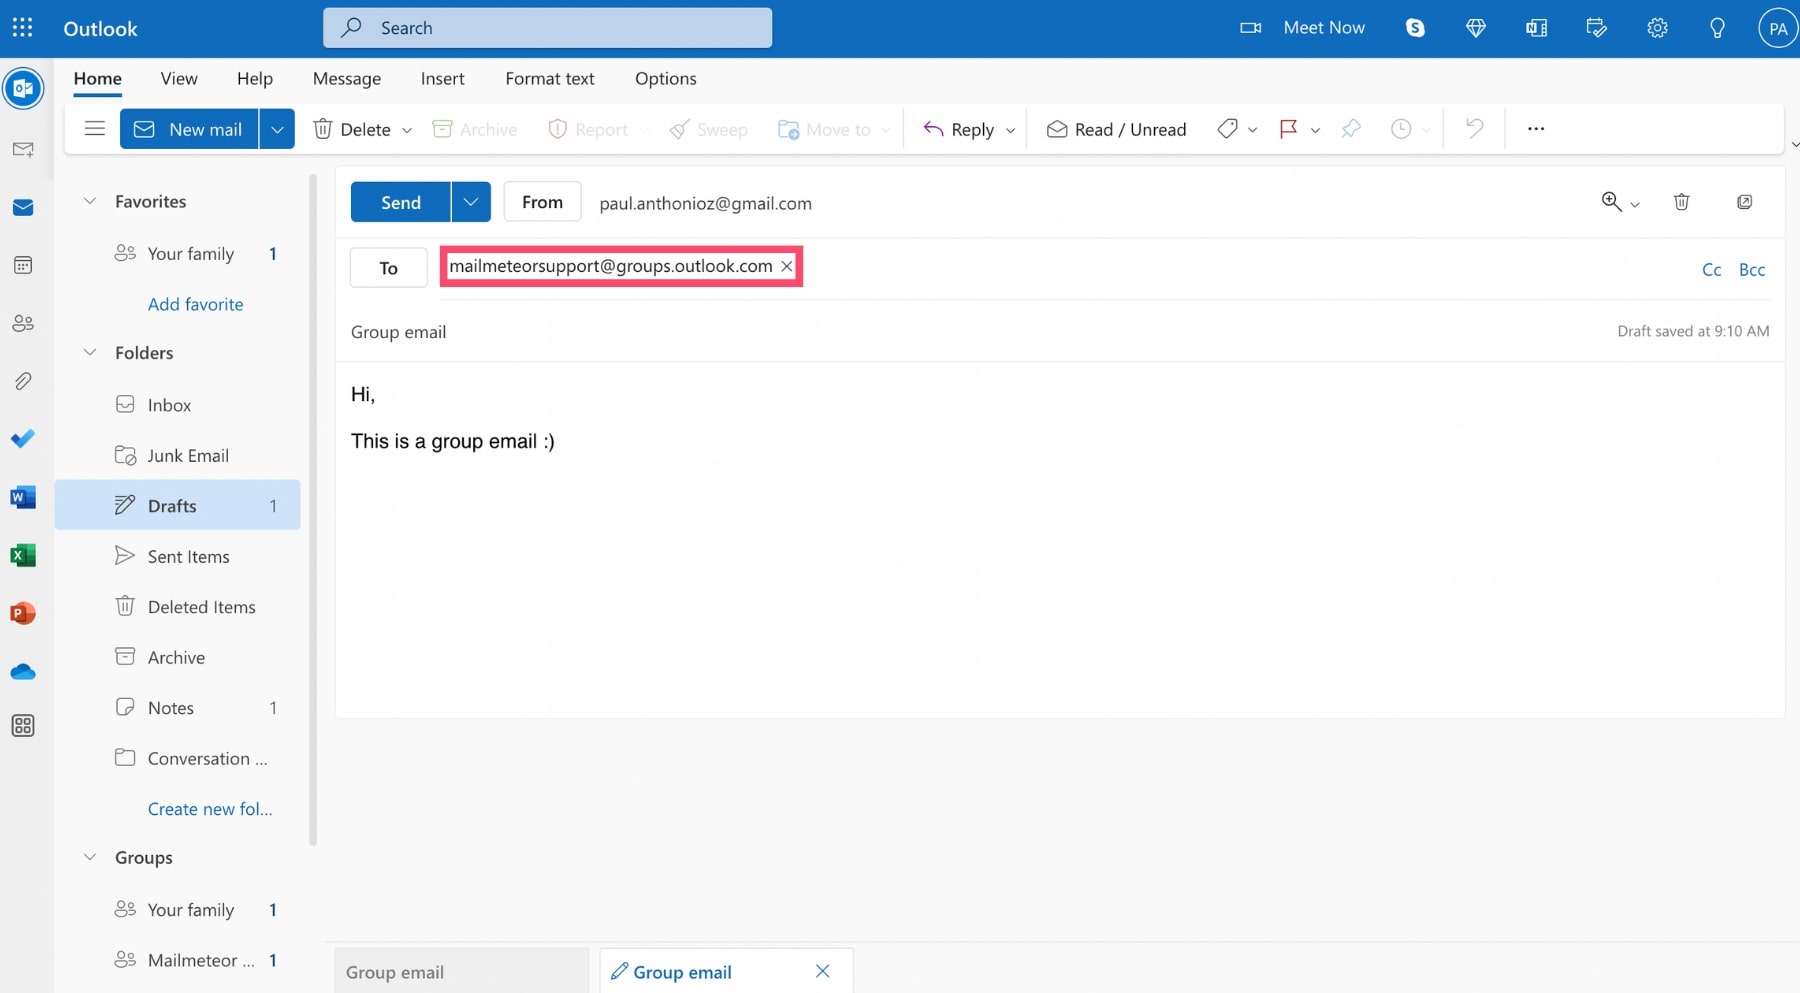
Step 8: Compose your message. Add a subject line. And paste the email address associated with that contact group.
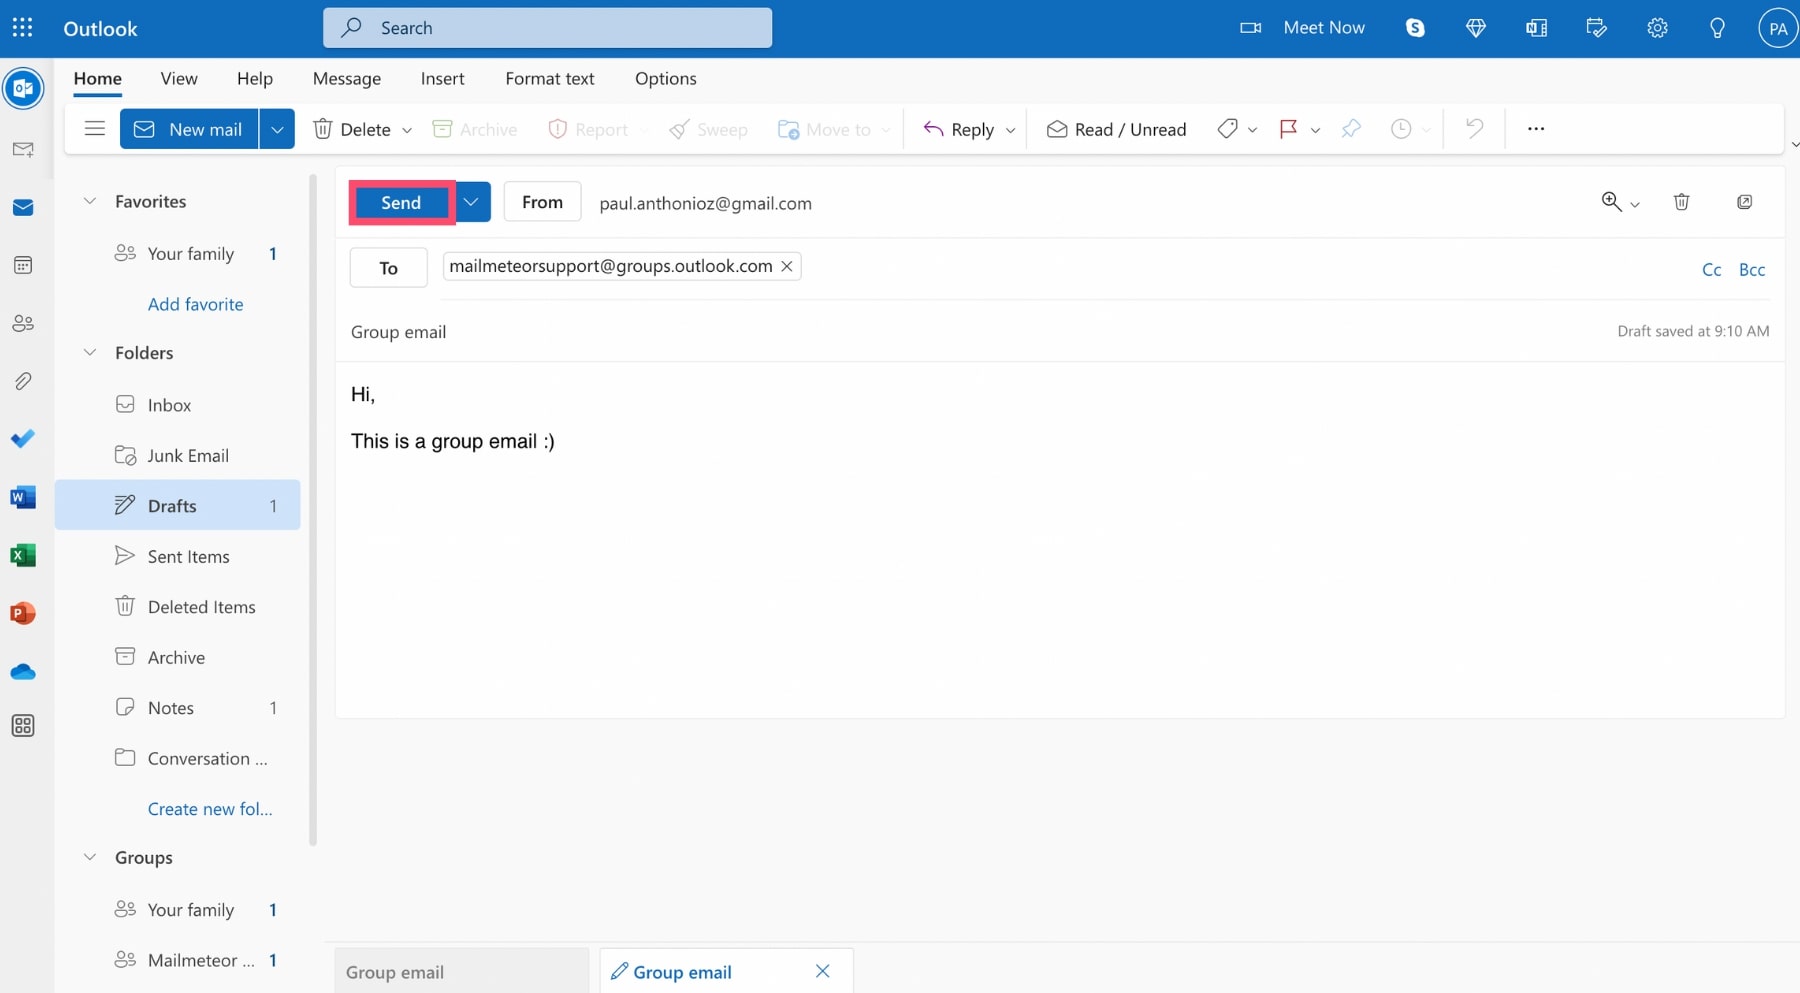
Step 9: Once your email is ready to leave your inbox, press Send.
And that’s it. All the members of your Outlook contact group should now receive your message within a few seconds. Well done you 🎉
Method 2: Outlook Contact Lists
Alternatively, you can email multiple recipients at once in Outlook by creating a contact list.
Contact lists, also known as distribution lists, are a way to organize your contacts in Outlook and save time. Instead of manually adding the email address of each recipient in the To field, you can simply type the name of your contact list.
Outlook then gives you the possibility to edit your contact list, add more recipients or remove some.
How to Email a Contact List in Outlook
Contact lists are the easiest way to create a group email in Outlook. And email multiple recipients at the same time. Here’s how to use them ⤵️
Step 1: Open Outlook.
Step 2: Navigate to People. Then All contacts. From there, you can see all the contacts registered in your Outlook account.
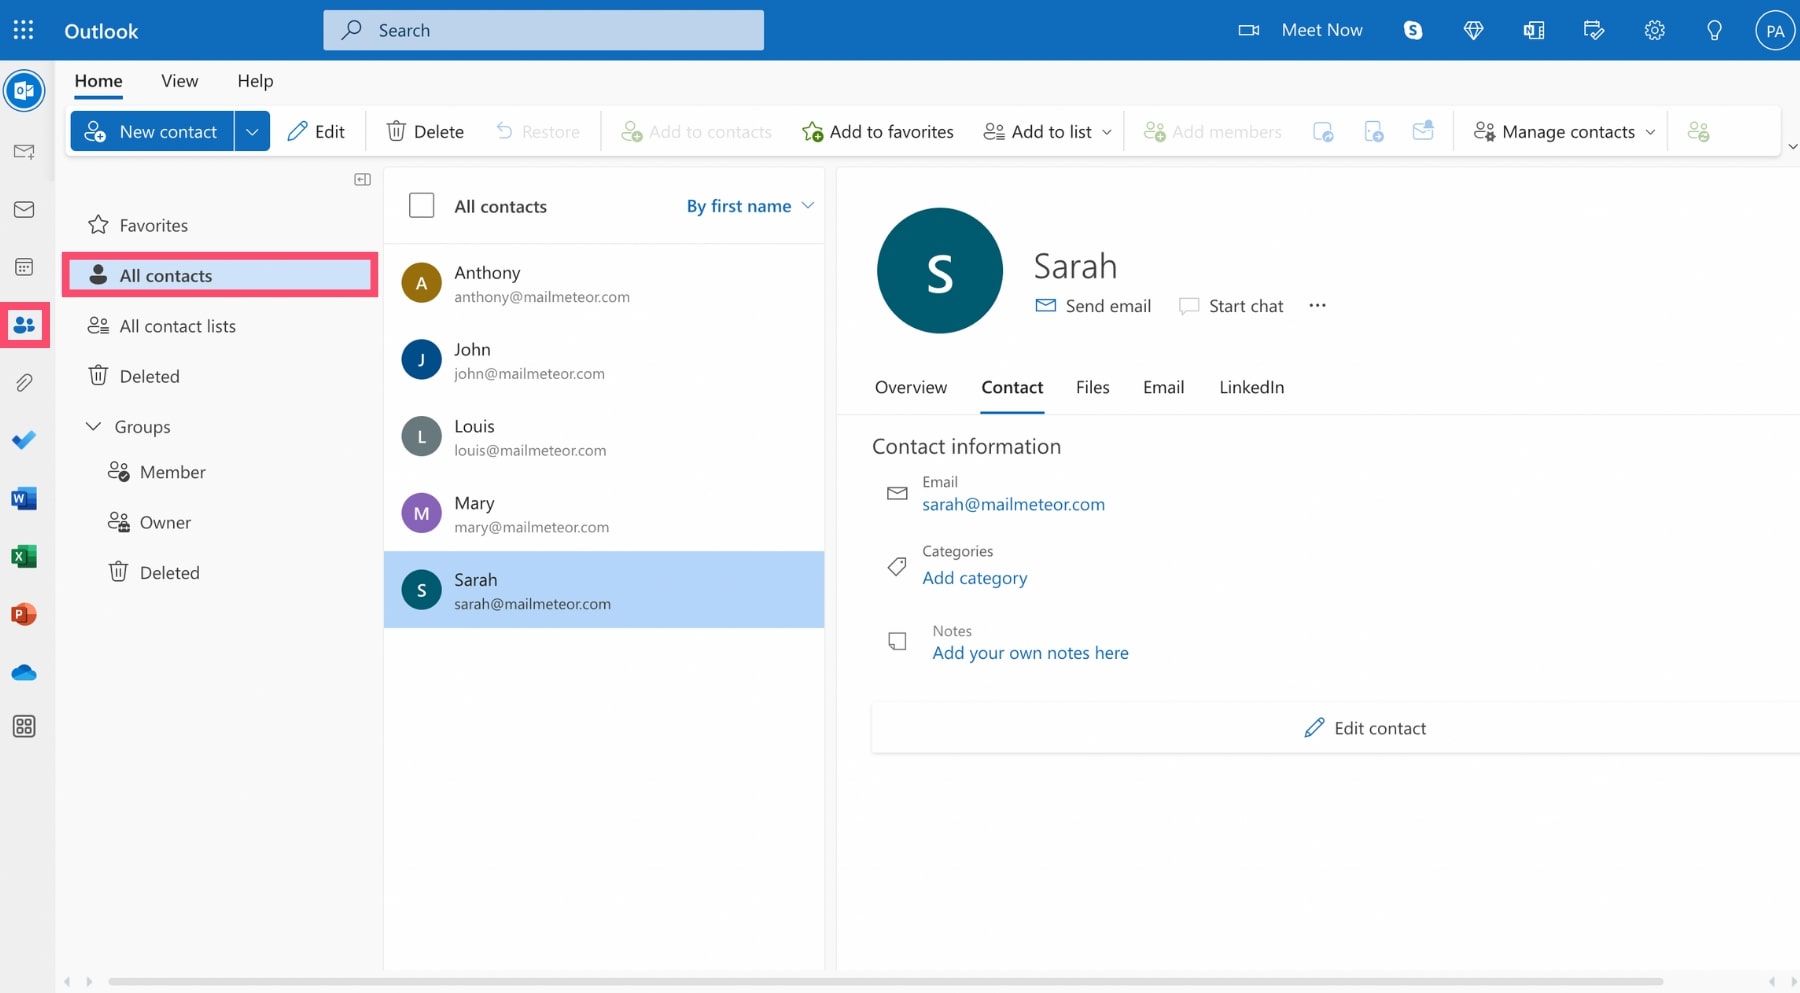
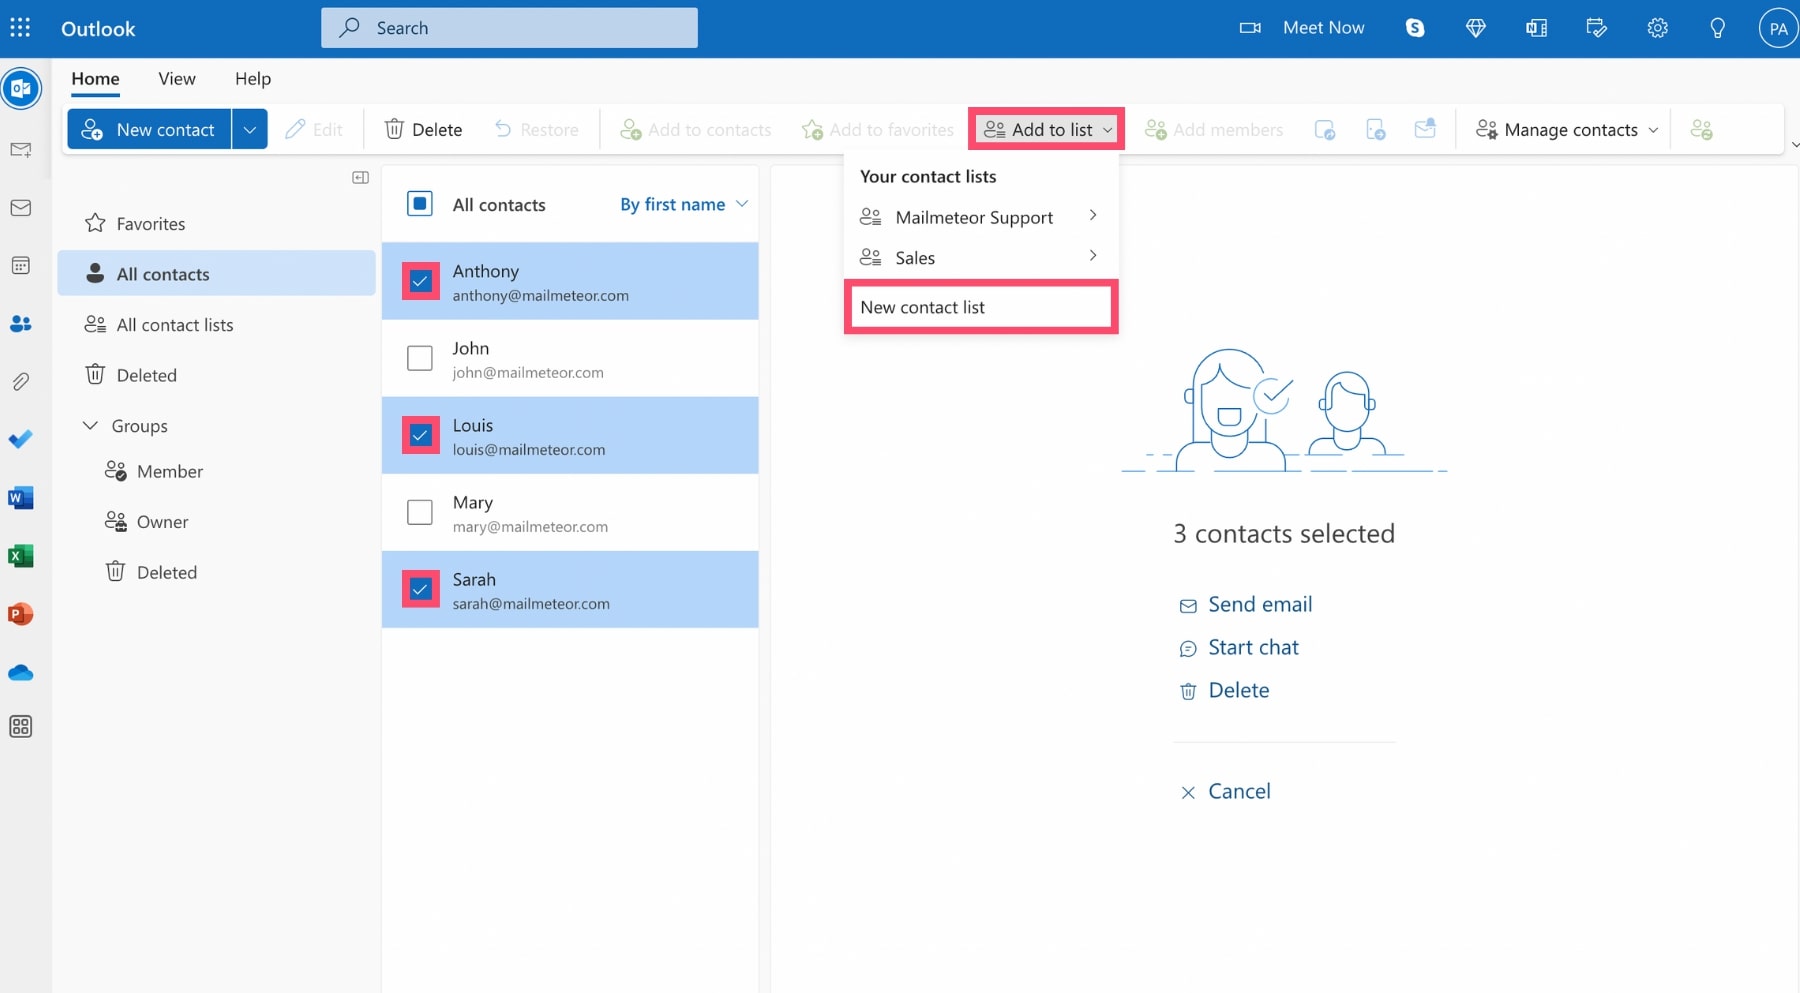
Step 3: Select the contact you want to add to your contact list. Then click Add to list. And select an existing contact list. Or create a new one.
To do that, click New contact list. Enter the name of your contact list. And press Enter.
Step 4: You can now send group emails to the members of that list. To do that, create a new email. And type the name of your contact list in the To field.
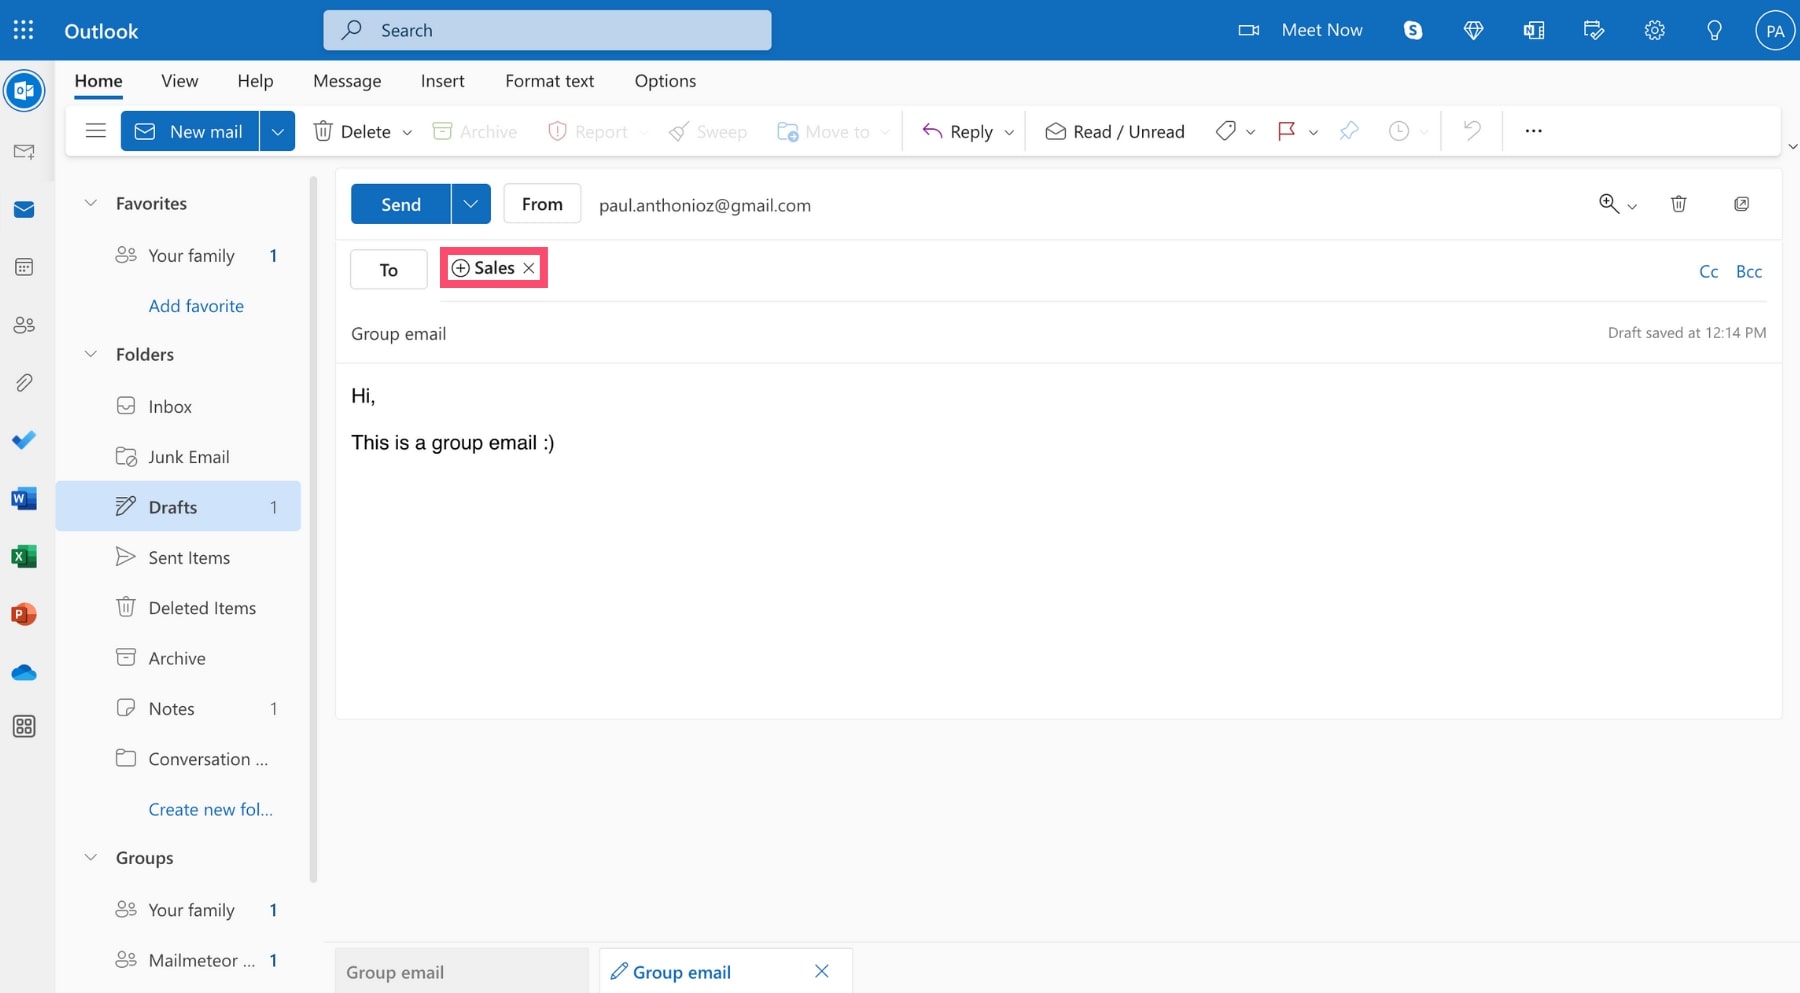
You can then click the + sign to display all the email addresses included in that contact list. You can also add more recipients. Or remove some.
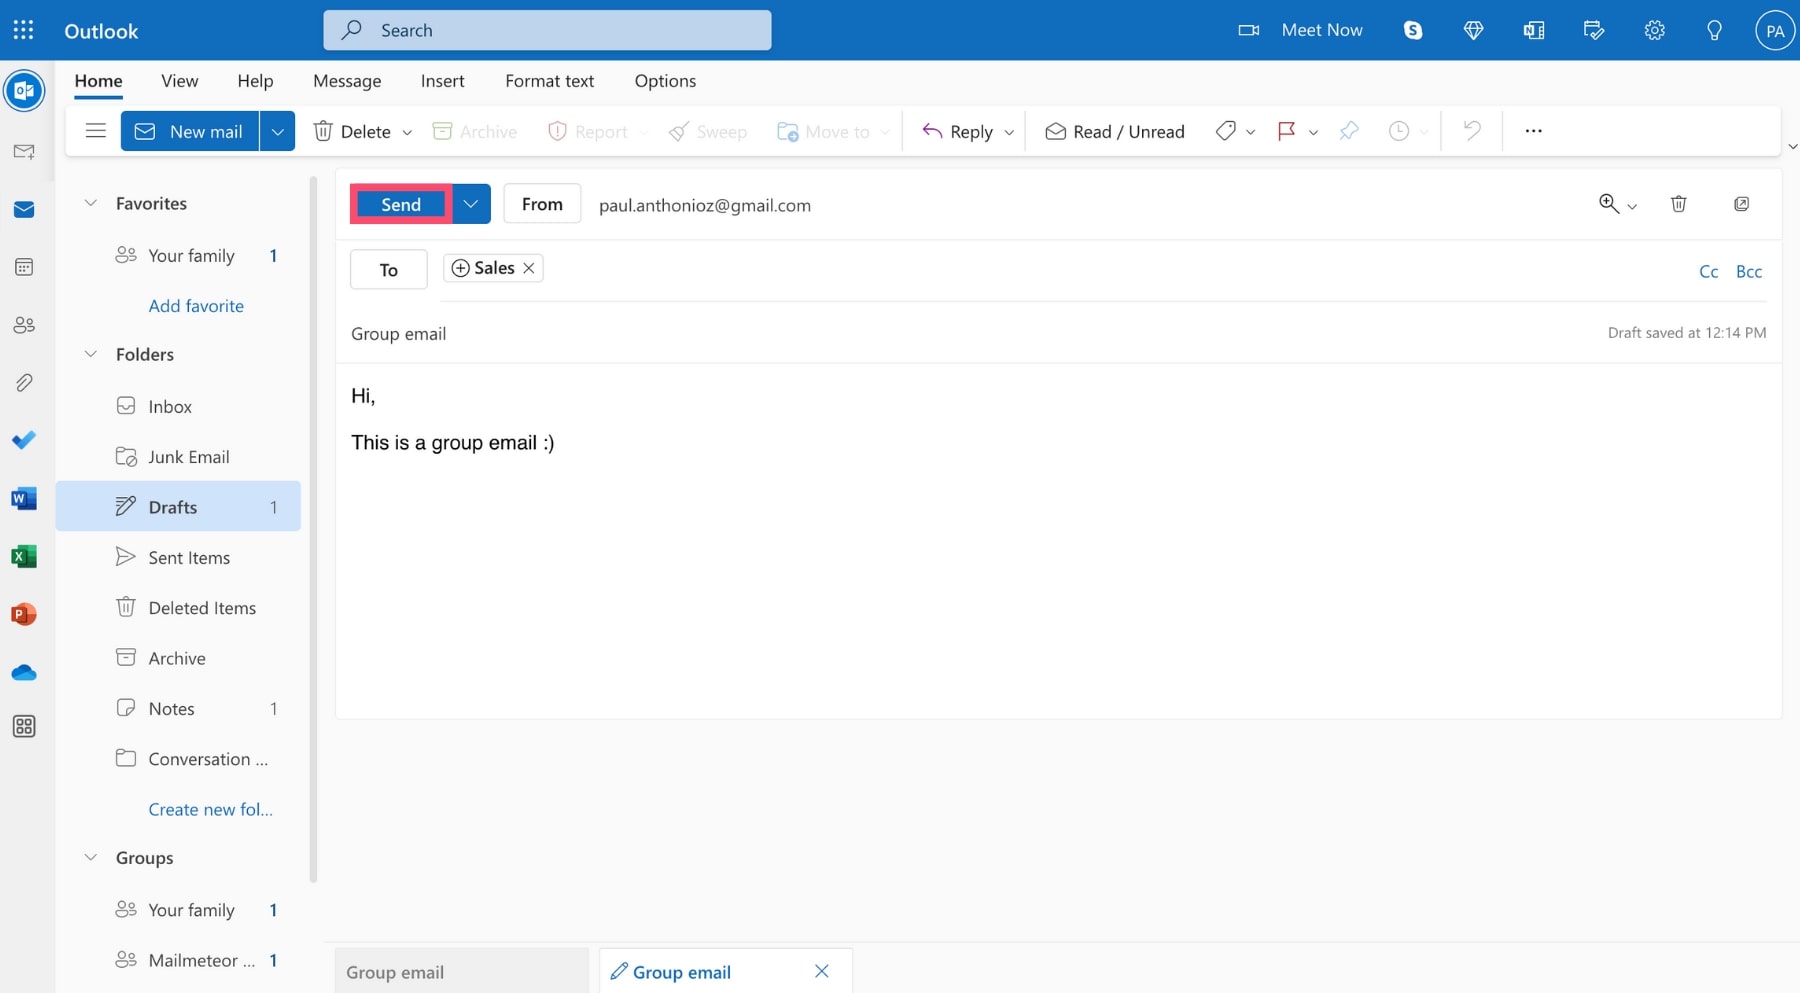
Step 5: Once you’re all set, hit the Send button.
And voilà. This is how you can create a group email in Outlook using the contact list feature. Easy, right?
The problem, however, is that with contact groups or contact lists, you won’t be able to send personalized mass emails.
All your recipients will receive the exact same mail. That’s an issue. Because a generic email will result in lower engagement.
Method 3: Outlook mail merge
Fortunately, there is a third way to send group emails in Outlook. This is called mail merge — a method that automatically personalizes each email using recipient data.
How to mail merge in Outlook
If you want to send personalized bulk messages in Outlook, you may want to try their mail merge feature. Here’s how it works.
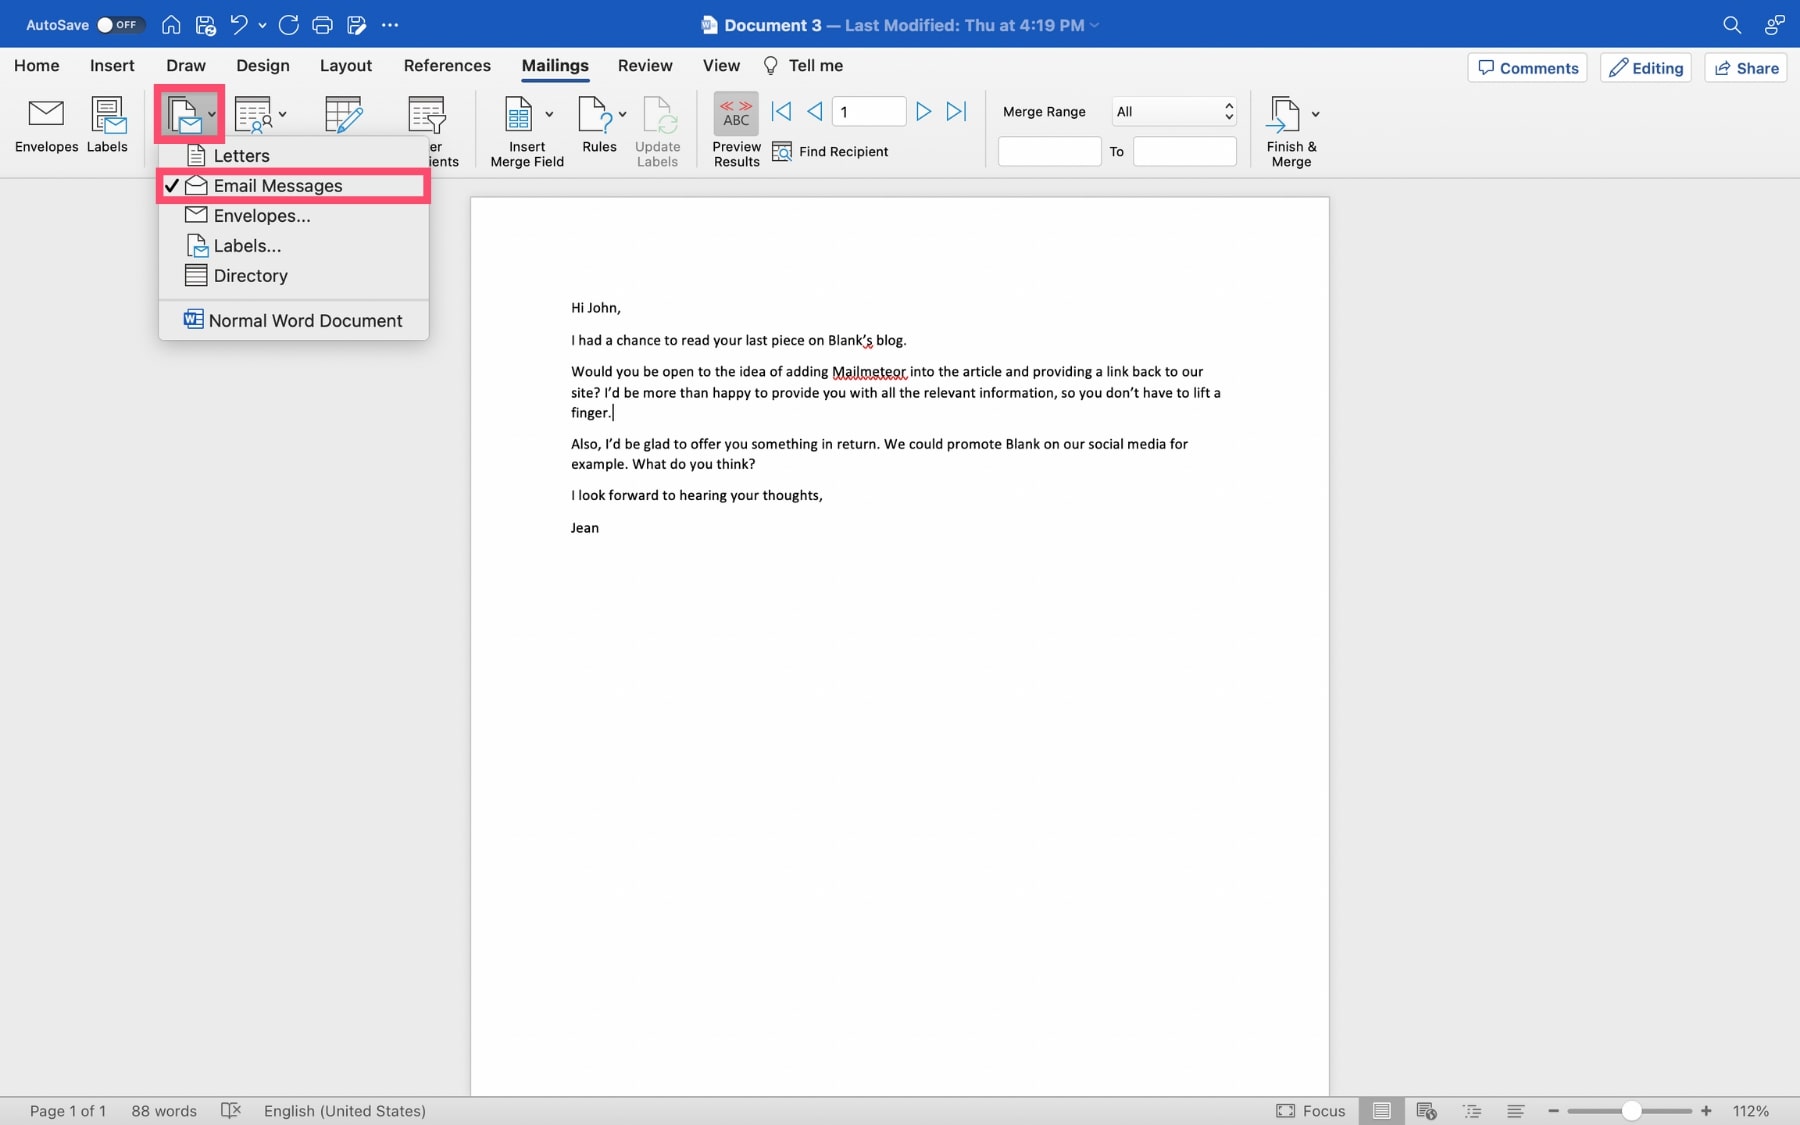
Step 1: Open a Word document.
Step 2: Write a first draft of your email.
Step 3: Navigate to Mailings. Click Start Mail Merge. And in the dropdown menu, select Email Messages.
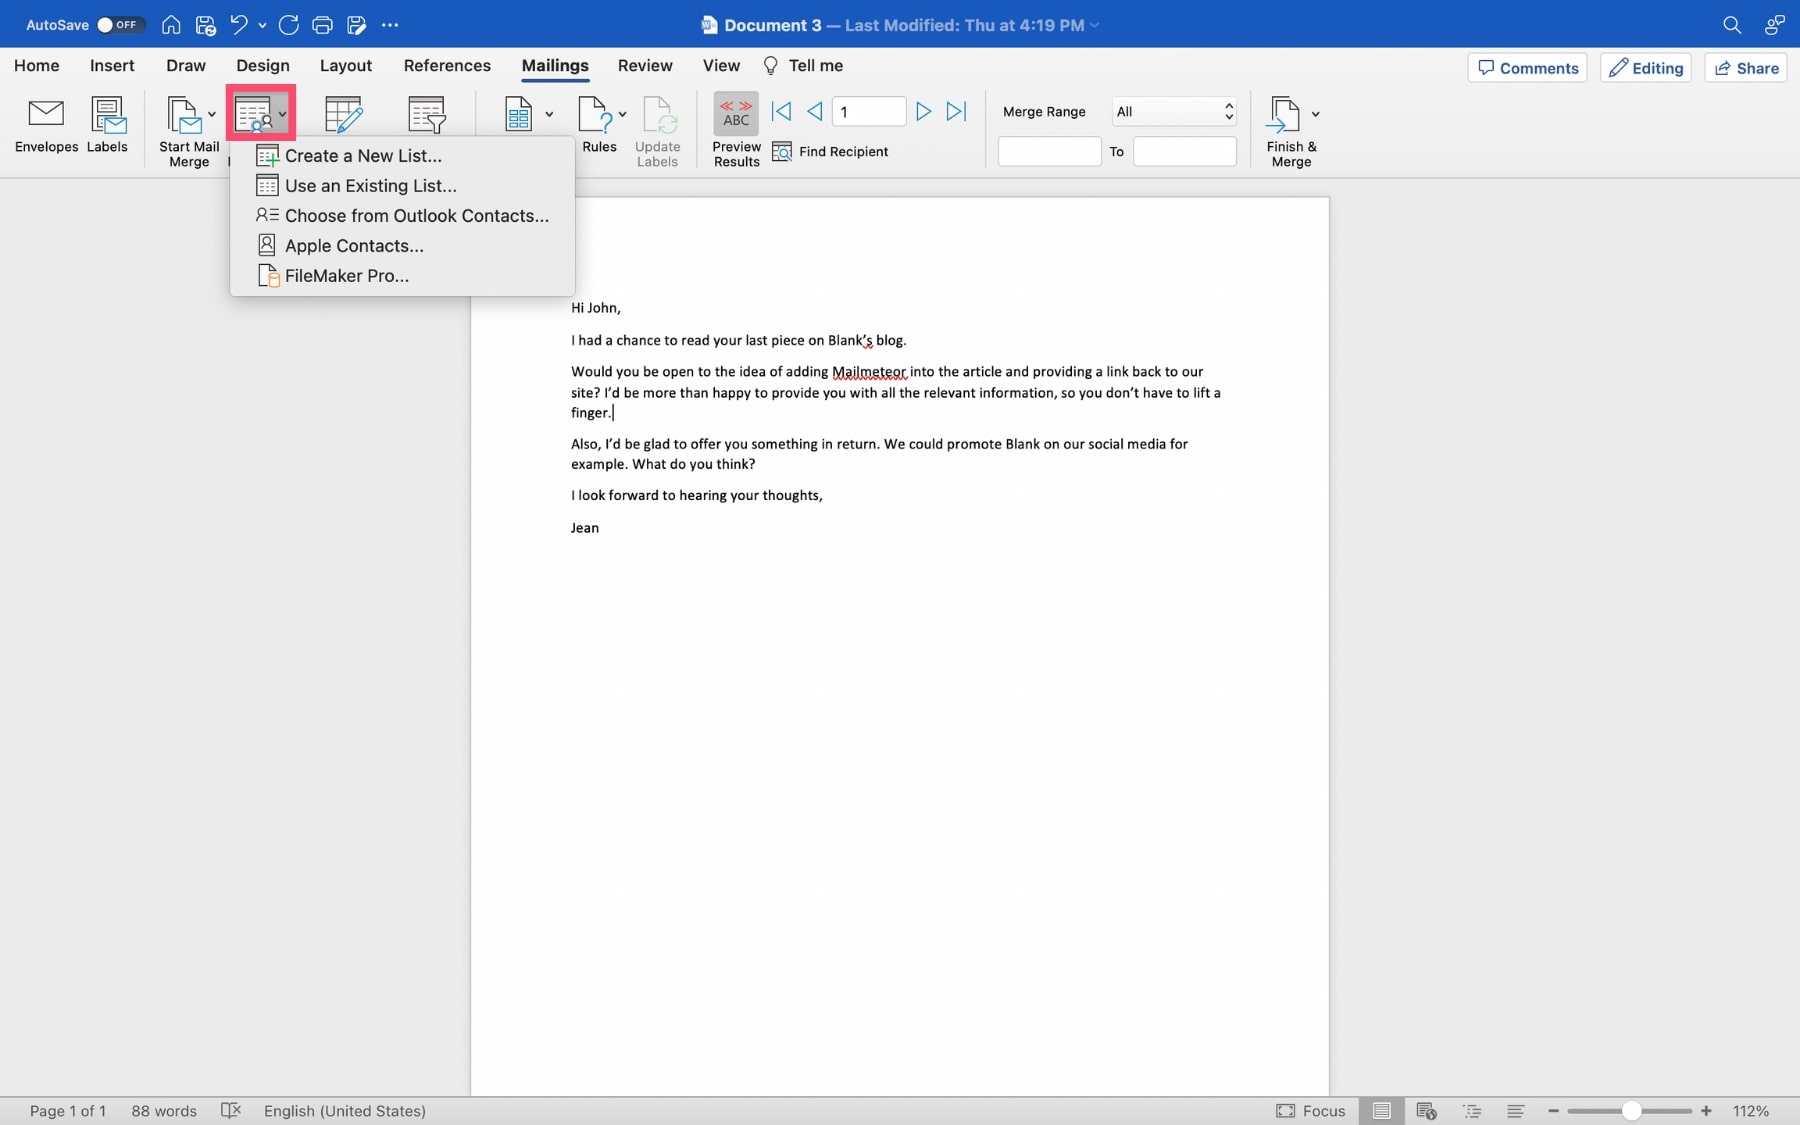
Step 4: Then click Select recipients. From there, Microsoft gives you 3 options. You can either:
- Create a New List – Enter the details of each recipient manually.
- Use an Existing List – Import your contacts from a spreadsheet or a database.
- Choose from Outlook Contacts – Select recipients from your Outlook contact lists
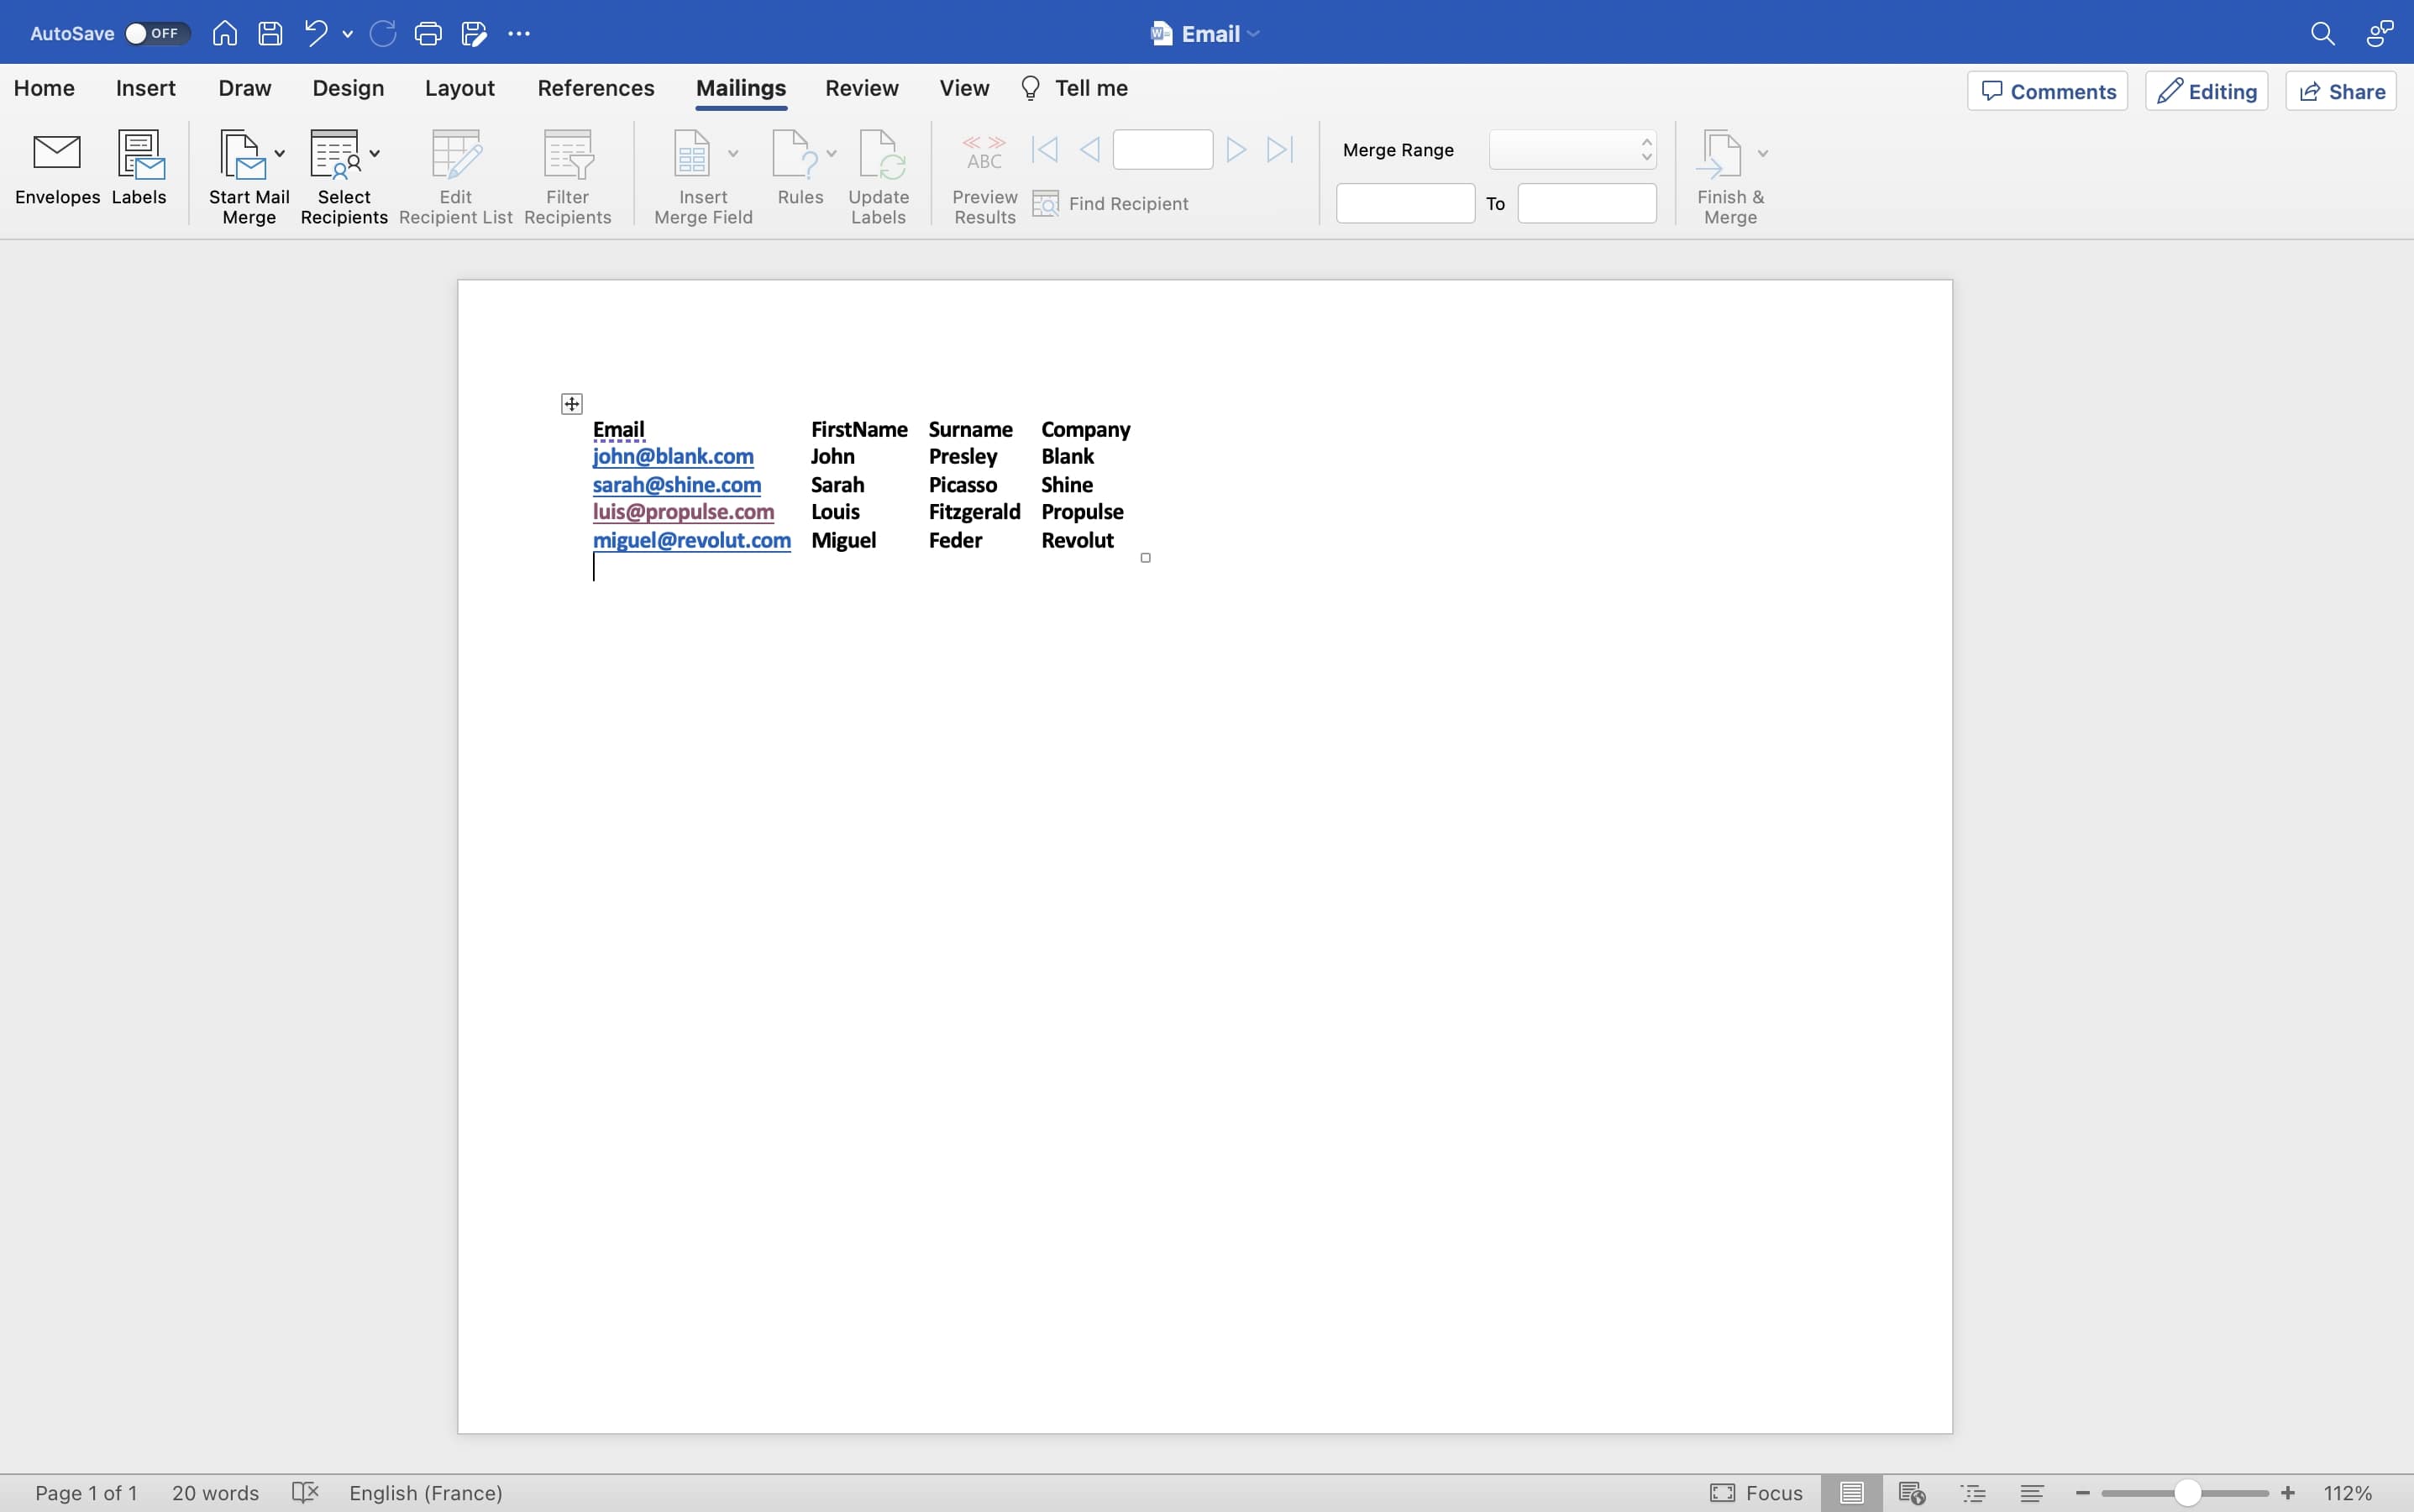
In this case, we’ll use an existing list. Our file has 4 recipients. And it is divided in 4 columns (email, first name, last name and company).
Step 5: Now that you’ve added your recipients, it’s time to personalize your group email. To do that, click Insert Merge Field.
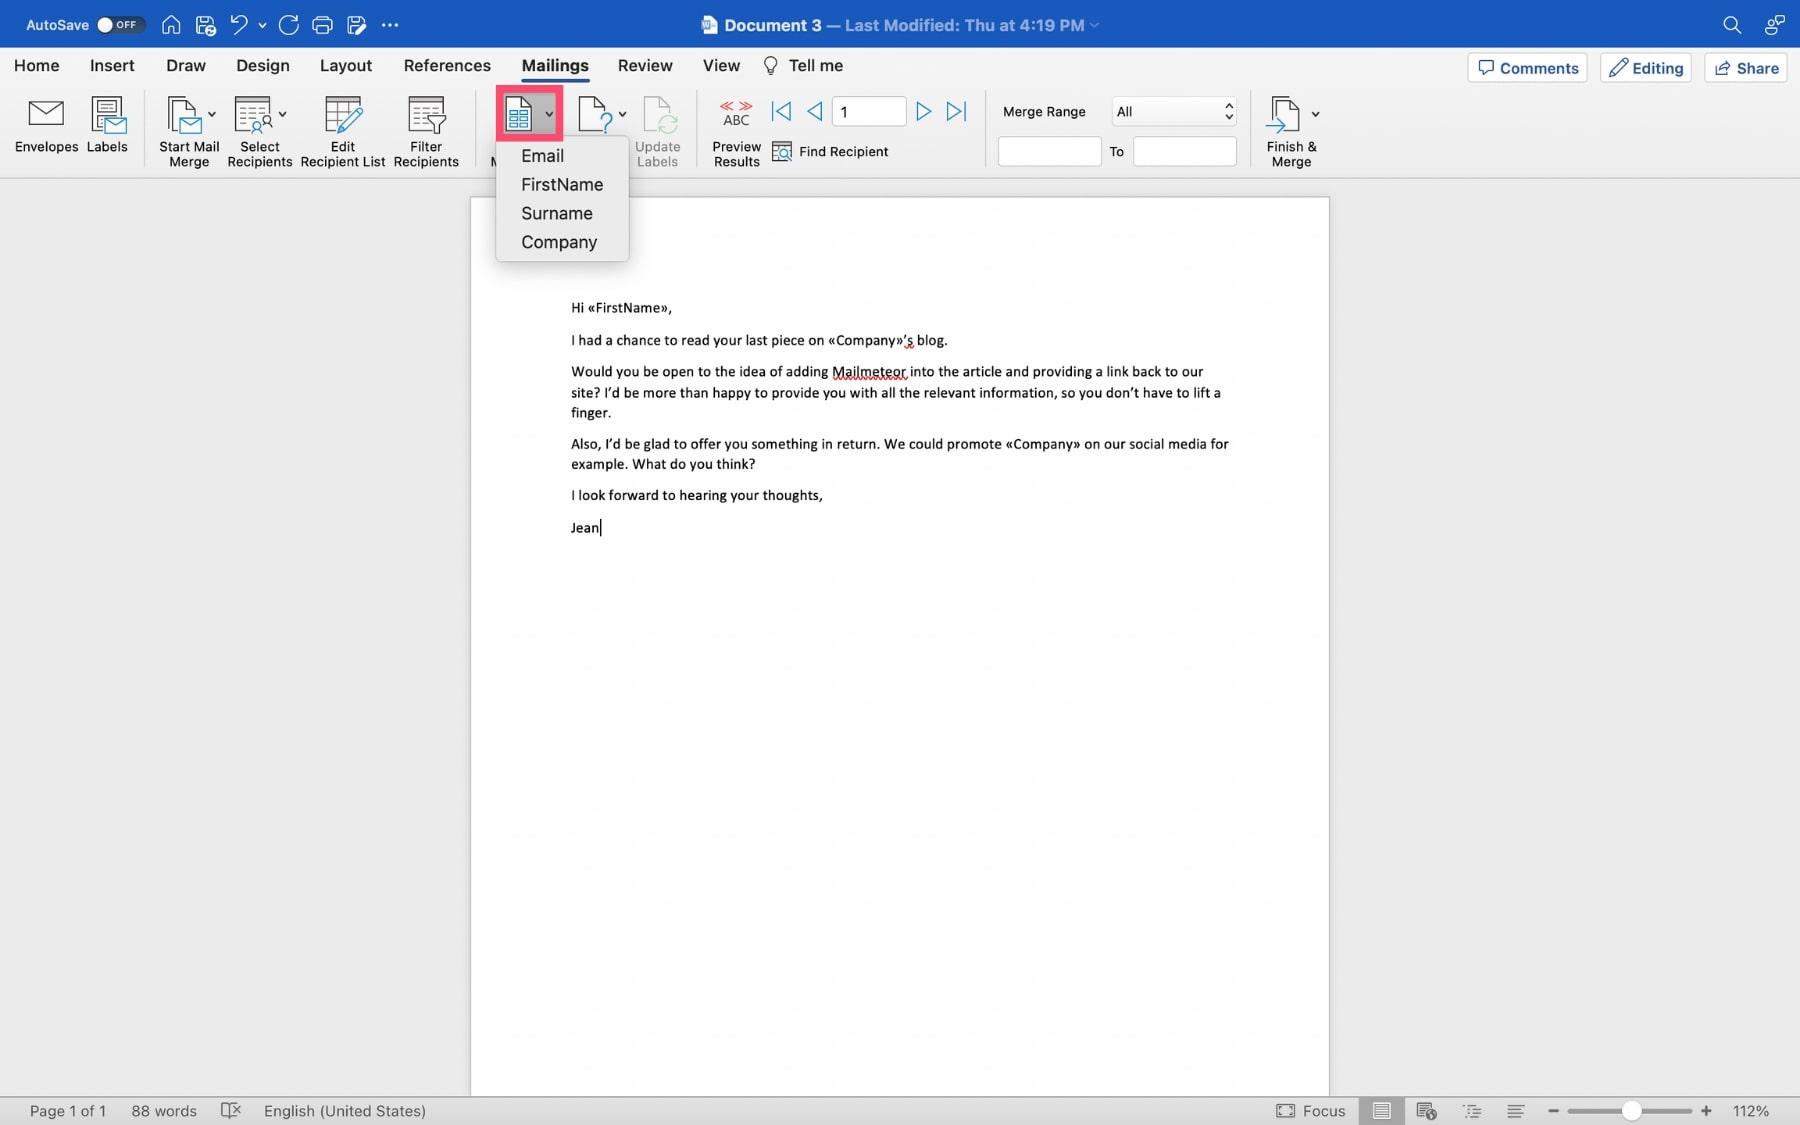
In this example, we can choose between 4 fields. Those fields are the same as the columns of our recipient list.
Insert the merge fields where you need them. Those fields are dynamic. Which means that once you send your email each recipient will see something different.
In this example, instead of the «Company» field, the recipients will see the name of their business.
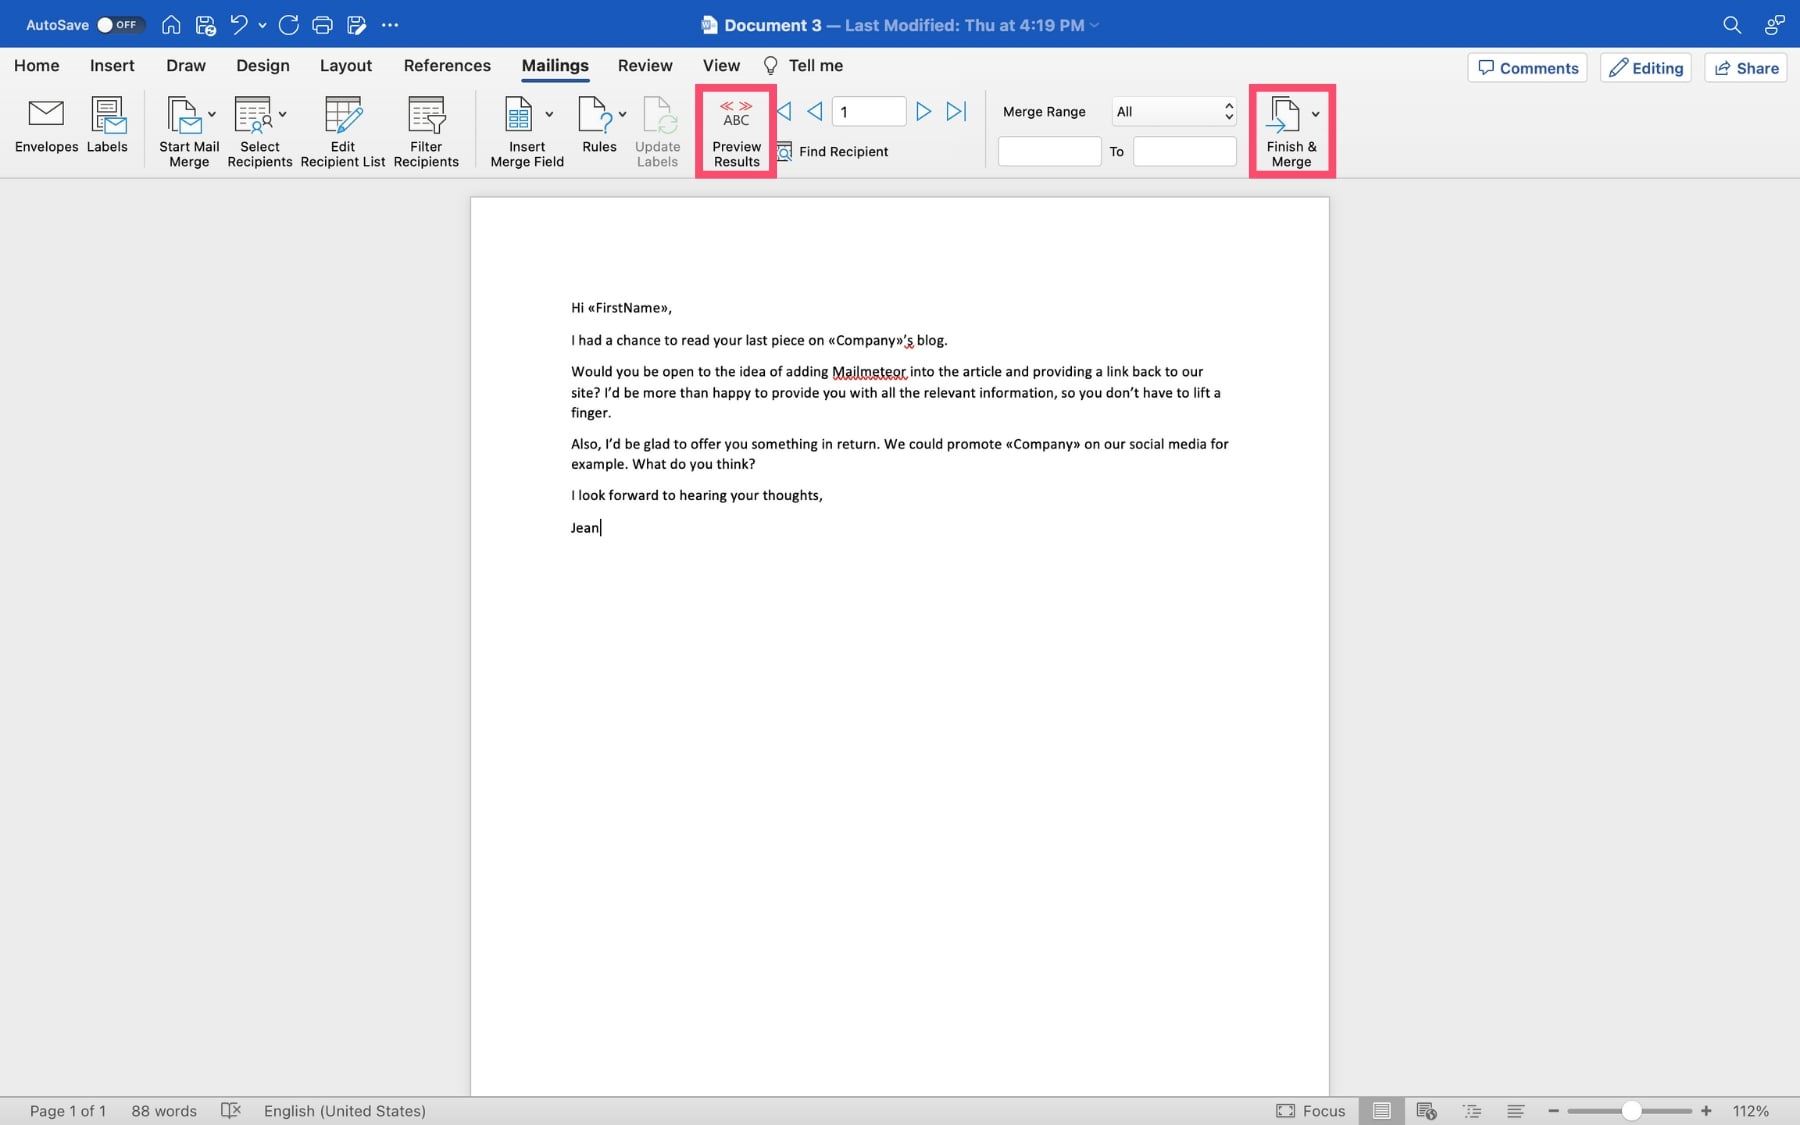
Step 6: Once you’re done customizing your email with the merge fields, you can check how your email will actually look by clicking Preview Results.
Happy with your mail merge? Then it’s time to send your group email in Outlook. To do that, click Finish & Merge. Select Merge to Email. Add your subject line. And press OK.
All done. This is how you can send a bulk email from your Outlook account. But there’s a few things you should know before you start using that feature.
Why Outlook is not the best option for mail merge
Outlook is a powerful tool. But it is NOT the best way to send mass emails. And you’re going to waste a lot of time and energy if you use this messaging app to create group emails.
Here’s why:
➡️ Like most email service providers, Outlook limits the number of messages you can send. There are at least 3 limitations you should know:
- Your number of recipients is limited to 5,000 per day
- Your number of non-relationship recipients (i.e. people you’ve never emailed before) is limited to 1,000 per day
- Your number of recipients is limited to 500 per message
➡️ Outlook doesn’t provide you with detailed metrics regarding the results of your email campaigns. Meaning that you won’t know how many people received, opened or clicked your email. And you won’t be able to use this feedback to improve your future campaigns and measure your ROI.
➡️ You can’t manage unsubscribes from Outlook. But including an unsubscribe link is mandatory if you want to meet GDPR requirements.
➡️ If you send a lot of emails from an Outlook account, your chances of getting caught in the spam filters will increase. Which will negatively impact your sender reputation. And the results of your email campaigns.
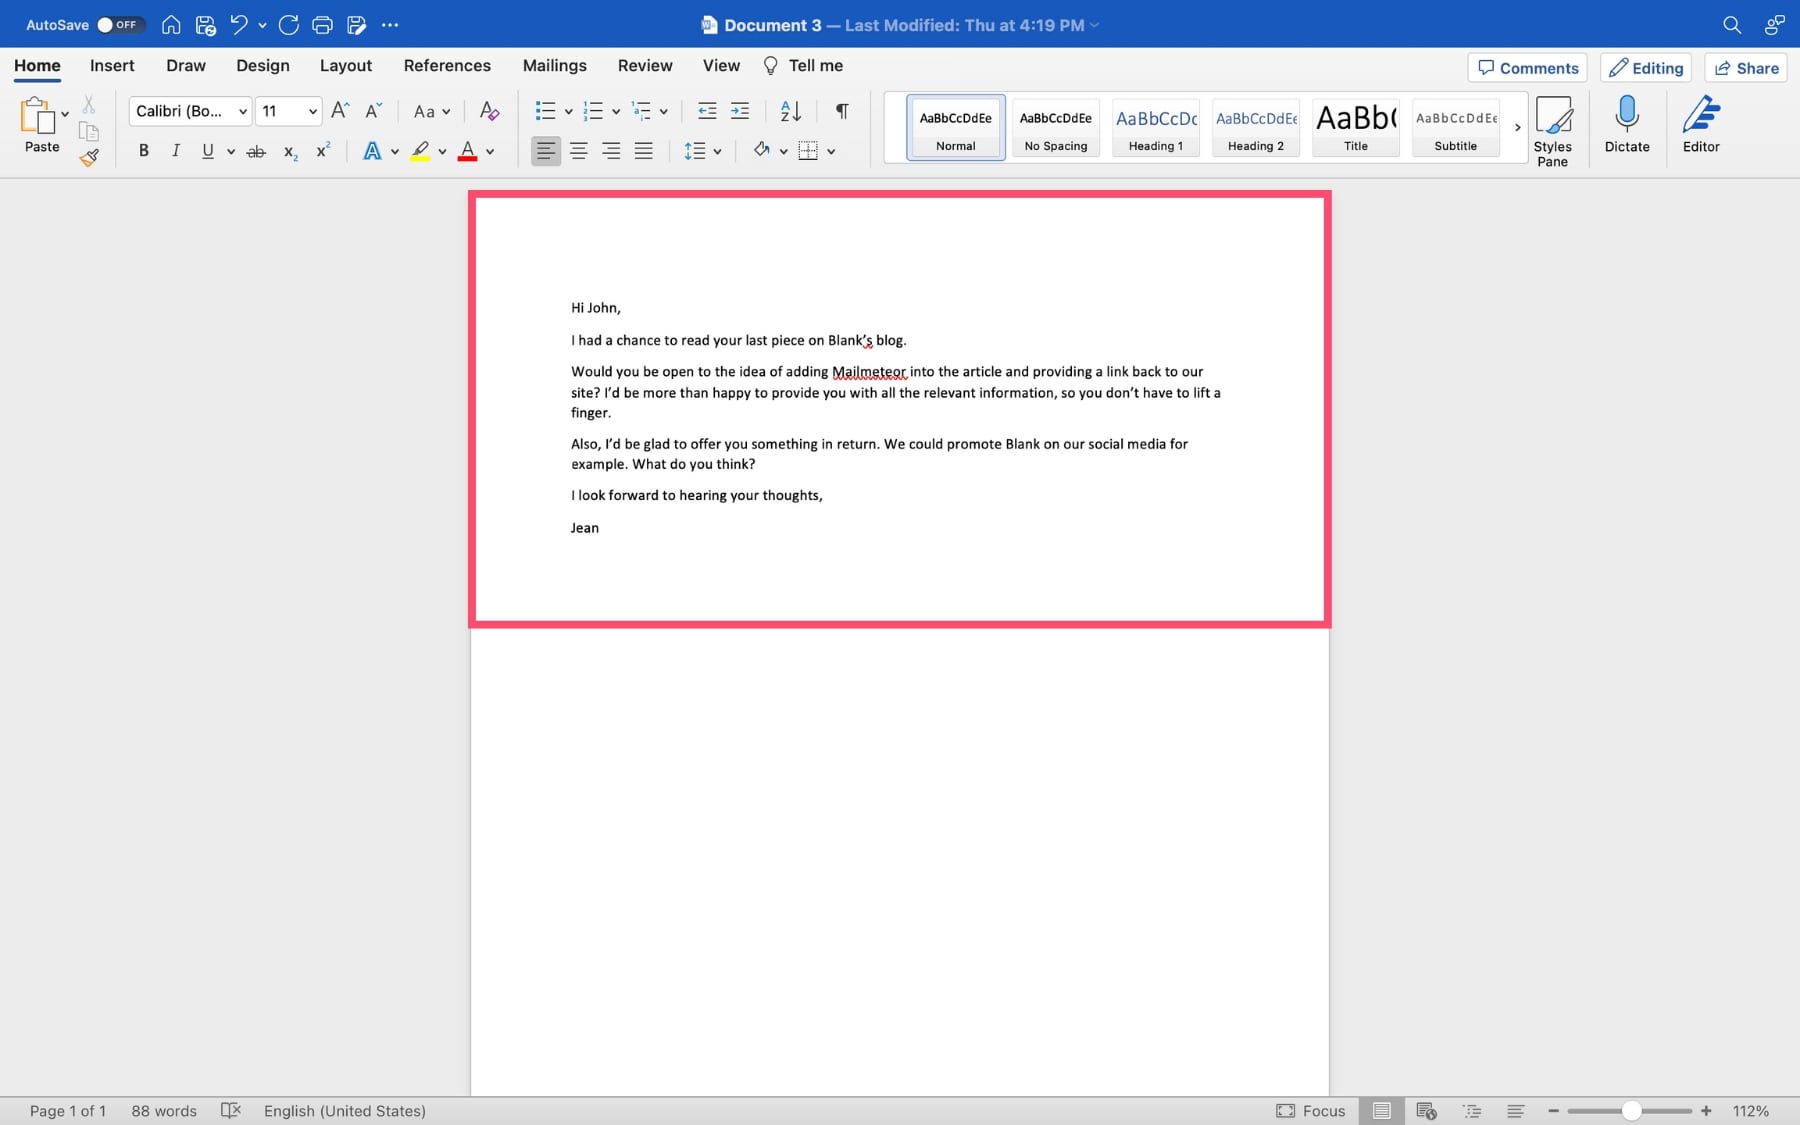
Bonus: Send Group Emails in Outlook using Mailmeteor
Outlook is a powerful tool. But it is NOT the best way to send mass emails. And you’re going to waste a lot of time.
This is why most people prefer to create group emails with specialized email marketing software, such as Mailmeteor.
Unlike standard email clients like Outlook and Gmail, Mailmeteor is designed to improve your emailing marketing experience by providing tools tailored for mass outreach while maintaining a personal touch.
With Mailmeteor, you can effortlessly send personalized emails en masse directly from your Gmail or Outlook, ensuring that each recipient feels valued and important.
Beyond simply sending mass personalized emails, Mailmeteor offers a range of features that streamline your email marketing efforts, including the ability to manage unsubscriptions, email tracking and analytics, and the ability to automate your email marketing with email sequences and automated follow-ups.


