
Your email signature is like a digital business card. In this step-by-step guide, we’ll show you how to create a signature and automatically add it to your emails in Microsoft Outlook.
Want to sign your Outlook emails like a pro? In today’s article, we’ll walk you through every step of crafting an effective signature in Outlook. From the basics of setting up your first signature to advanced tips for making it stand out, we’ve got you covered.
- What is a signature in Outlook?
- Why add a signature to your Outlook emails?
- How to add a signature in Outlook?
- How to edit a signature in Outlook?
- How to delete a signature in Outlook?
- Best practices for email signatures in Outlook
Sounds good? Then let’s dive in.
What is a signature in Outlook?
An Outlook signature is a block of text or graphics that you can add manually or automatically at the end of your emails. Your signature typically includes information like your sender’s name, job title, contact details.
You can also add the logo of your company, links to your website or social media profiles, legal disclaimers, a picture of yourself, or legal disclaimers. Outlook lets you create and add multiple signatures on your email account.
This allows you to add a personal touch to your emails and make your contact details easily accessible for your recipients. Want some inspiration to create your Outlook signature? Here’s a curated collection of email signature examples.
Why add a signature to your Outlook emails?
Adding a signature to your Outlook emails can enhance your email communication, professionalism, and brand identity. Here are some of the key reasons why it’s beneficial to add a signature in Outlook:
- Professional image – Your email signature is like a digital business card. Adding a well-designed signature to your Outlook emails shows the recipient that you pay attention to detail and conveys professionalism.
- Networking tool – You can add your essential contact information and links to your social media profile to your signature. This makes it easy for your recipients to reach out and connect with you.
- Brand identity – You can personalize your Outlook signature with your company logo, colors, and fonts to reinforce your brand with every email you send. This makes your brand memorable and easy to recognize.
- Marketing campaigns – Your signature can be used as a subtle marketing tool to promote your business passively. You can include an image and a call-to-action (CTA) encouraging recipients to take a specific action.
- Legal compliance – In certain countries or industries, adding certain information to your emails is a legal requirement. You can ensure compliance with these regulations by adding the necessary elements to your Outlook signature.
- Social proof – Lastly, you can mention professional certifications, awards, or link to your professional work in your signature. This is a great way to establish your credibility and authority. Especially in cold emails.
To sum up, adding a signature to Outlook is a small effort (it takes less than 2 minutes) that can lead to great results. So no more excuses, let’s get started on your Outlook signature right away.
How to add a signature in Outlook?
In this section, we’ll show you how to create a signature in Outlook and it to your emails (manually or automatically), whether you’re using Outlook on Web, Windows, Mac, or Mobile. Ready? Then let’s do this.
In Outlook.com
Step 1: Go to Outlook.com
Step 2: Open the settings.
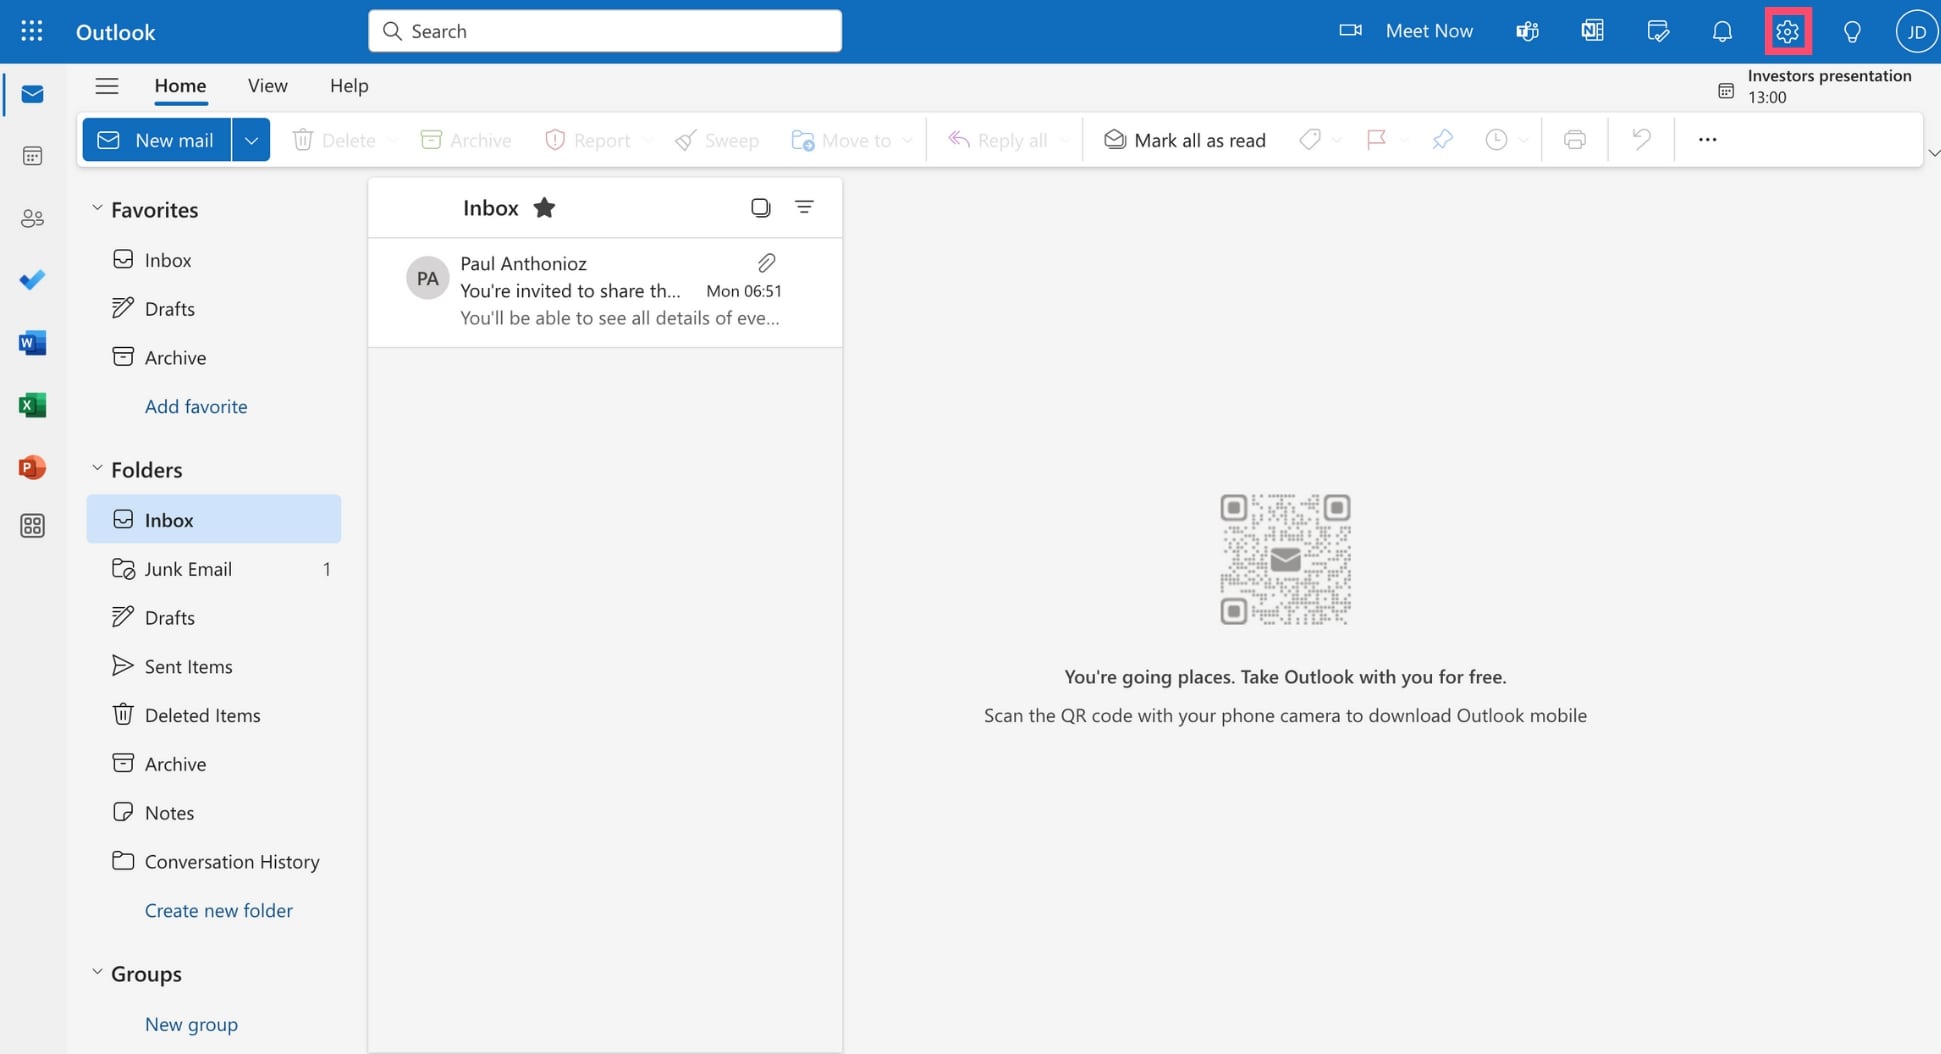
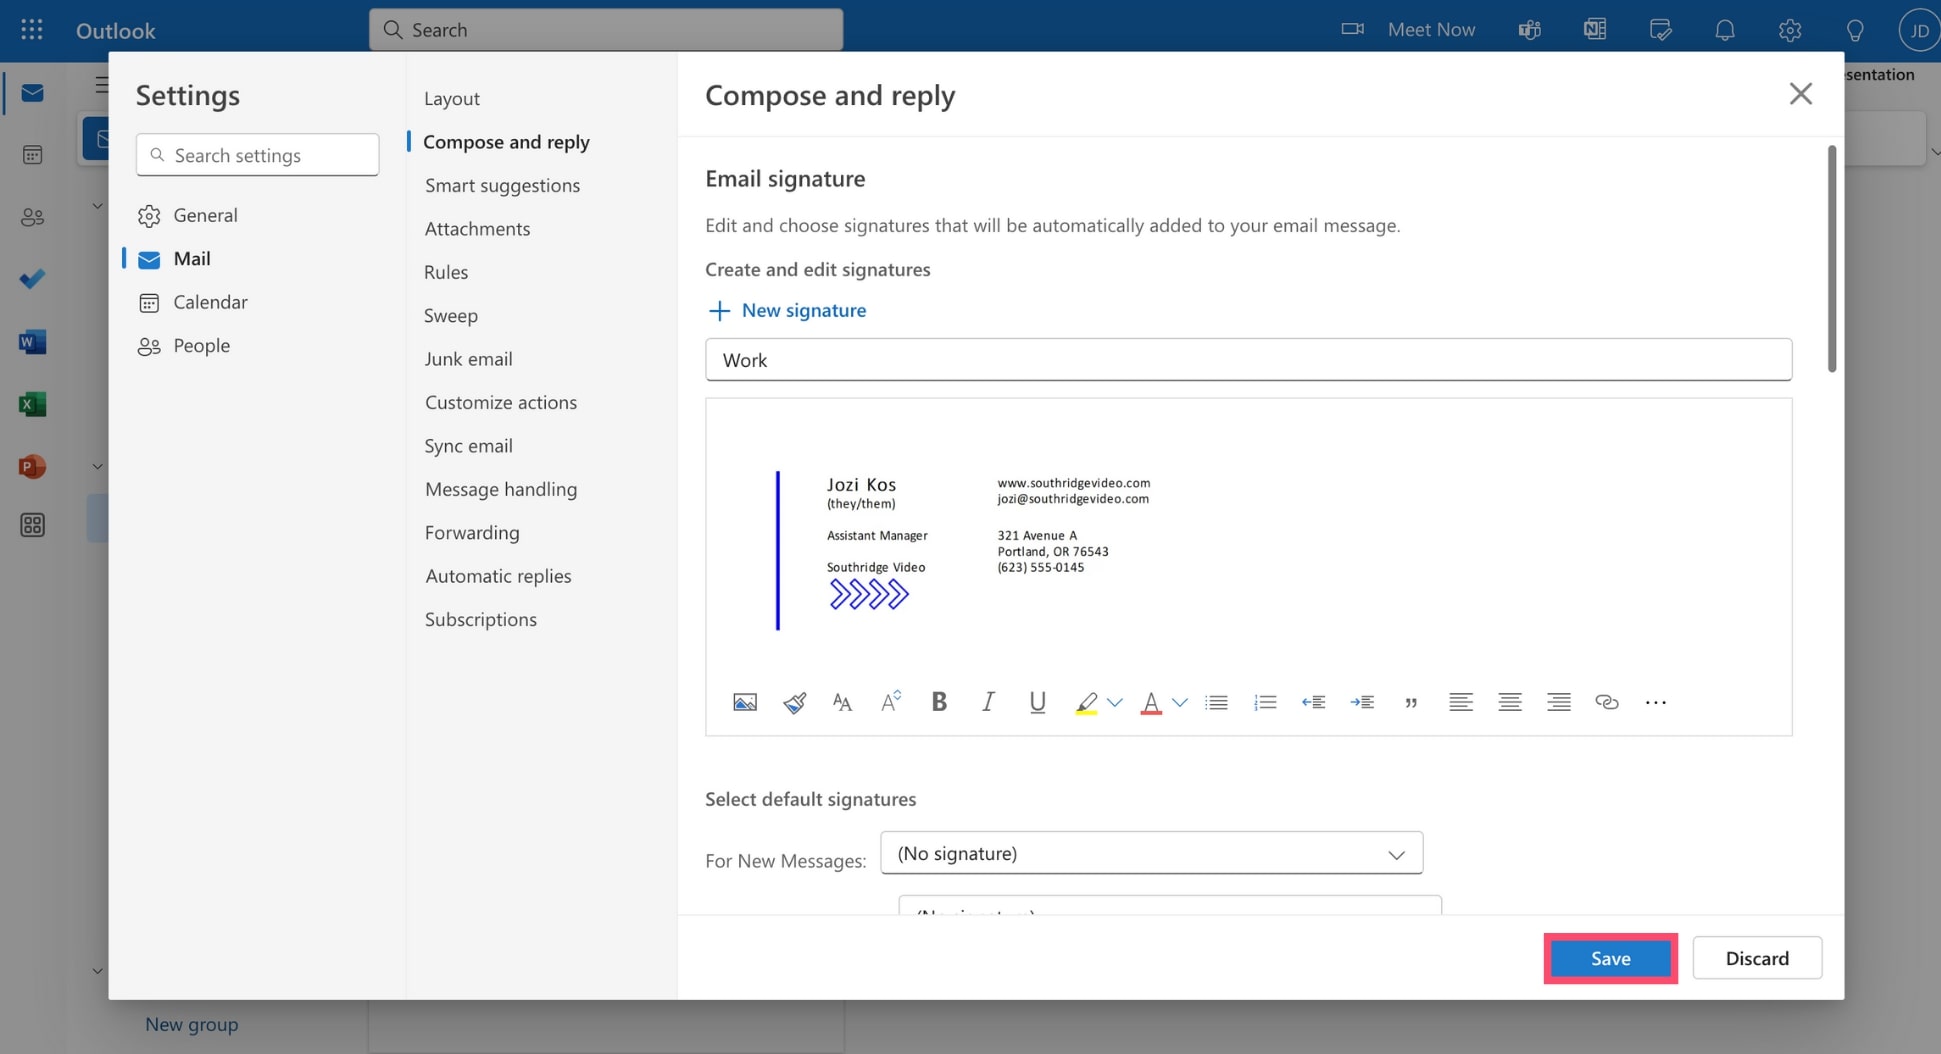
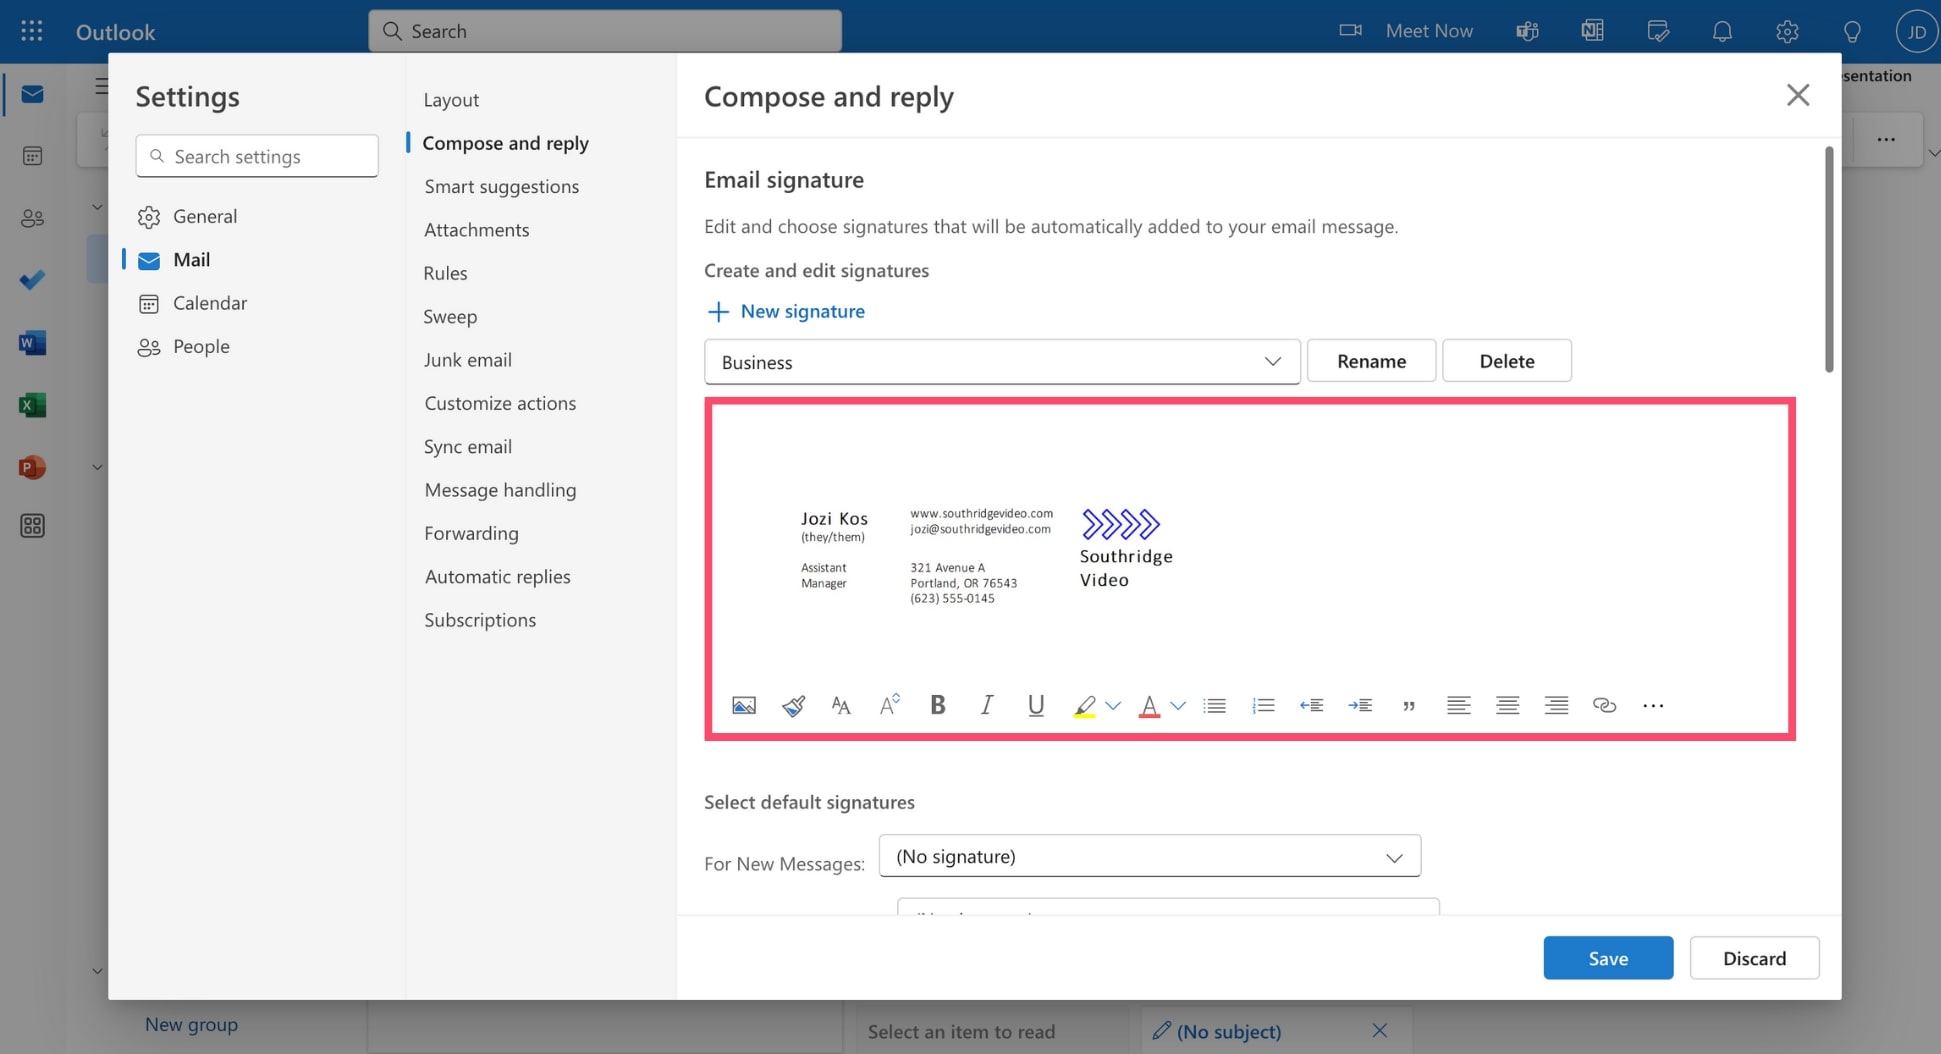
Step 3: Navigate to Mail > Compose and reply.
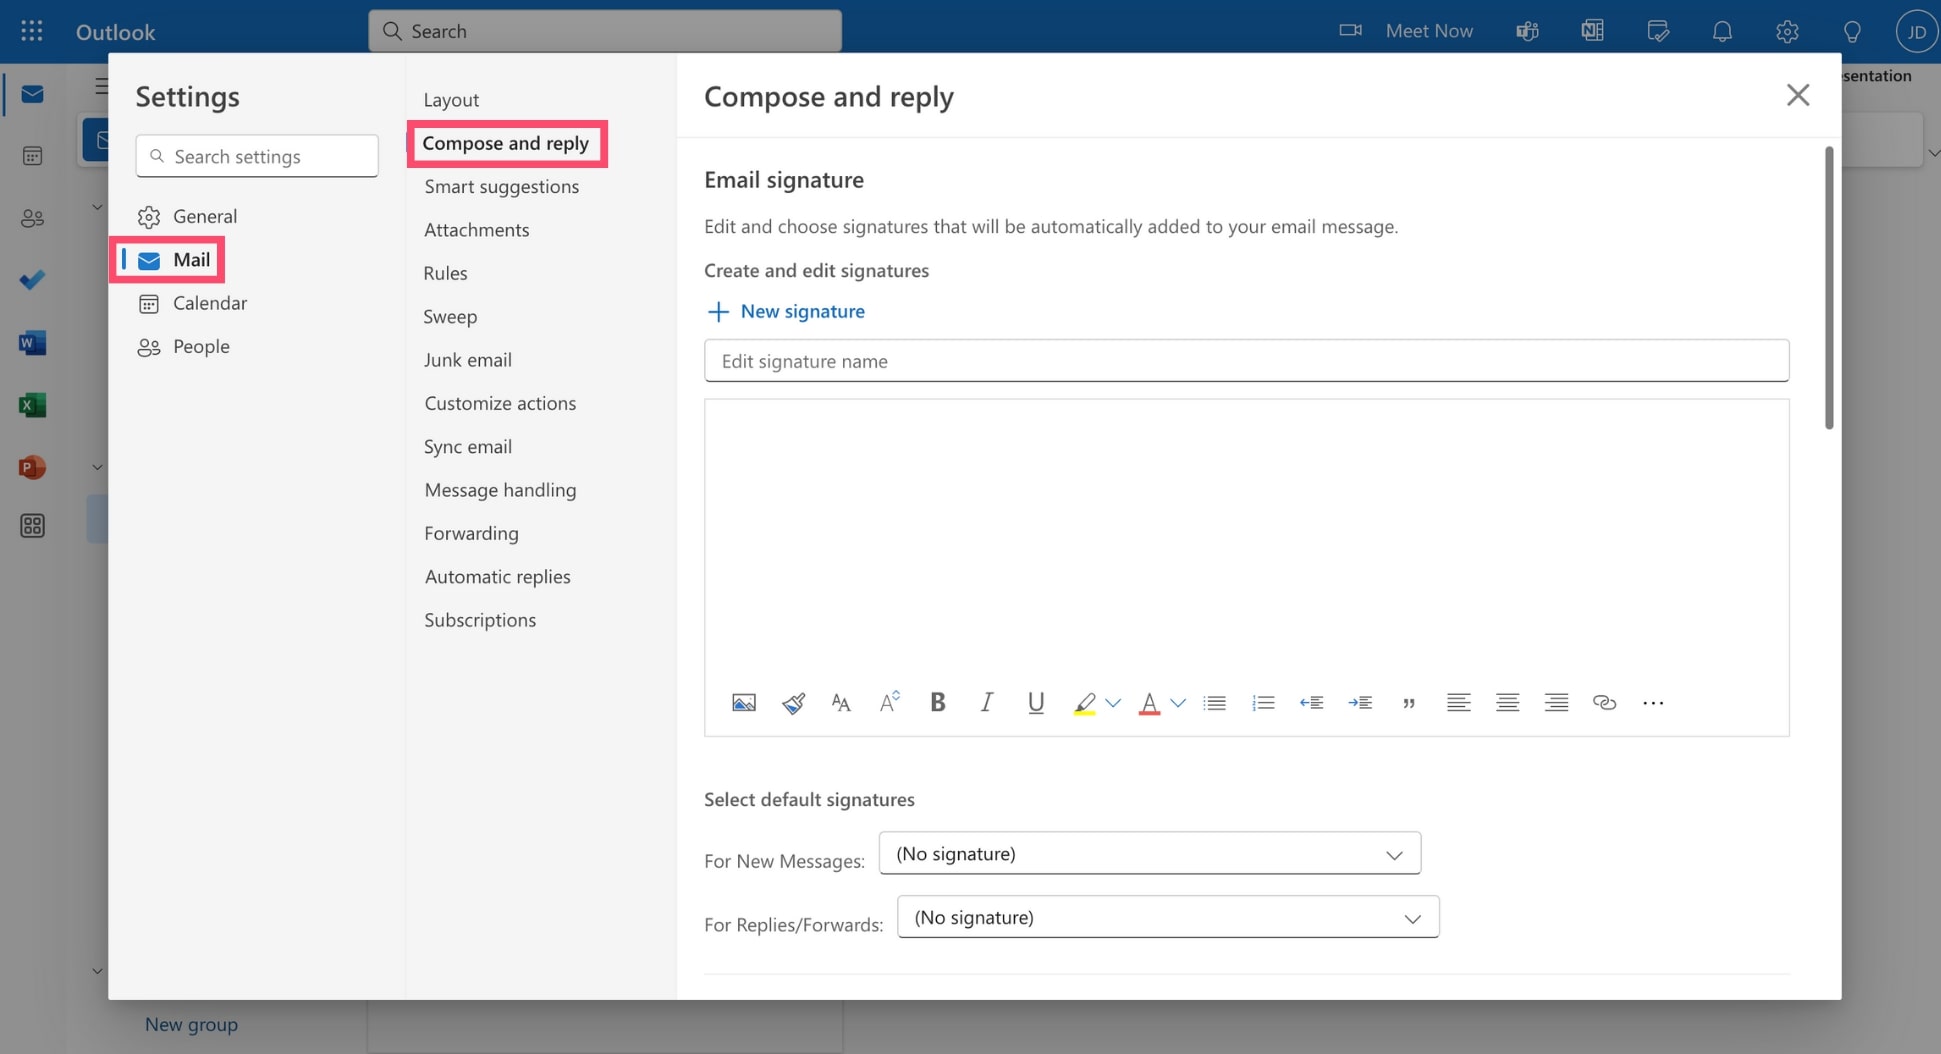
Step 4: Give a name to your email signature.
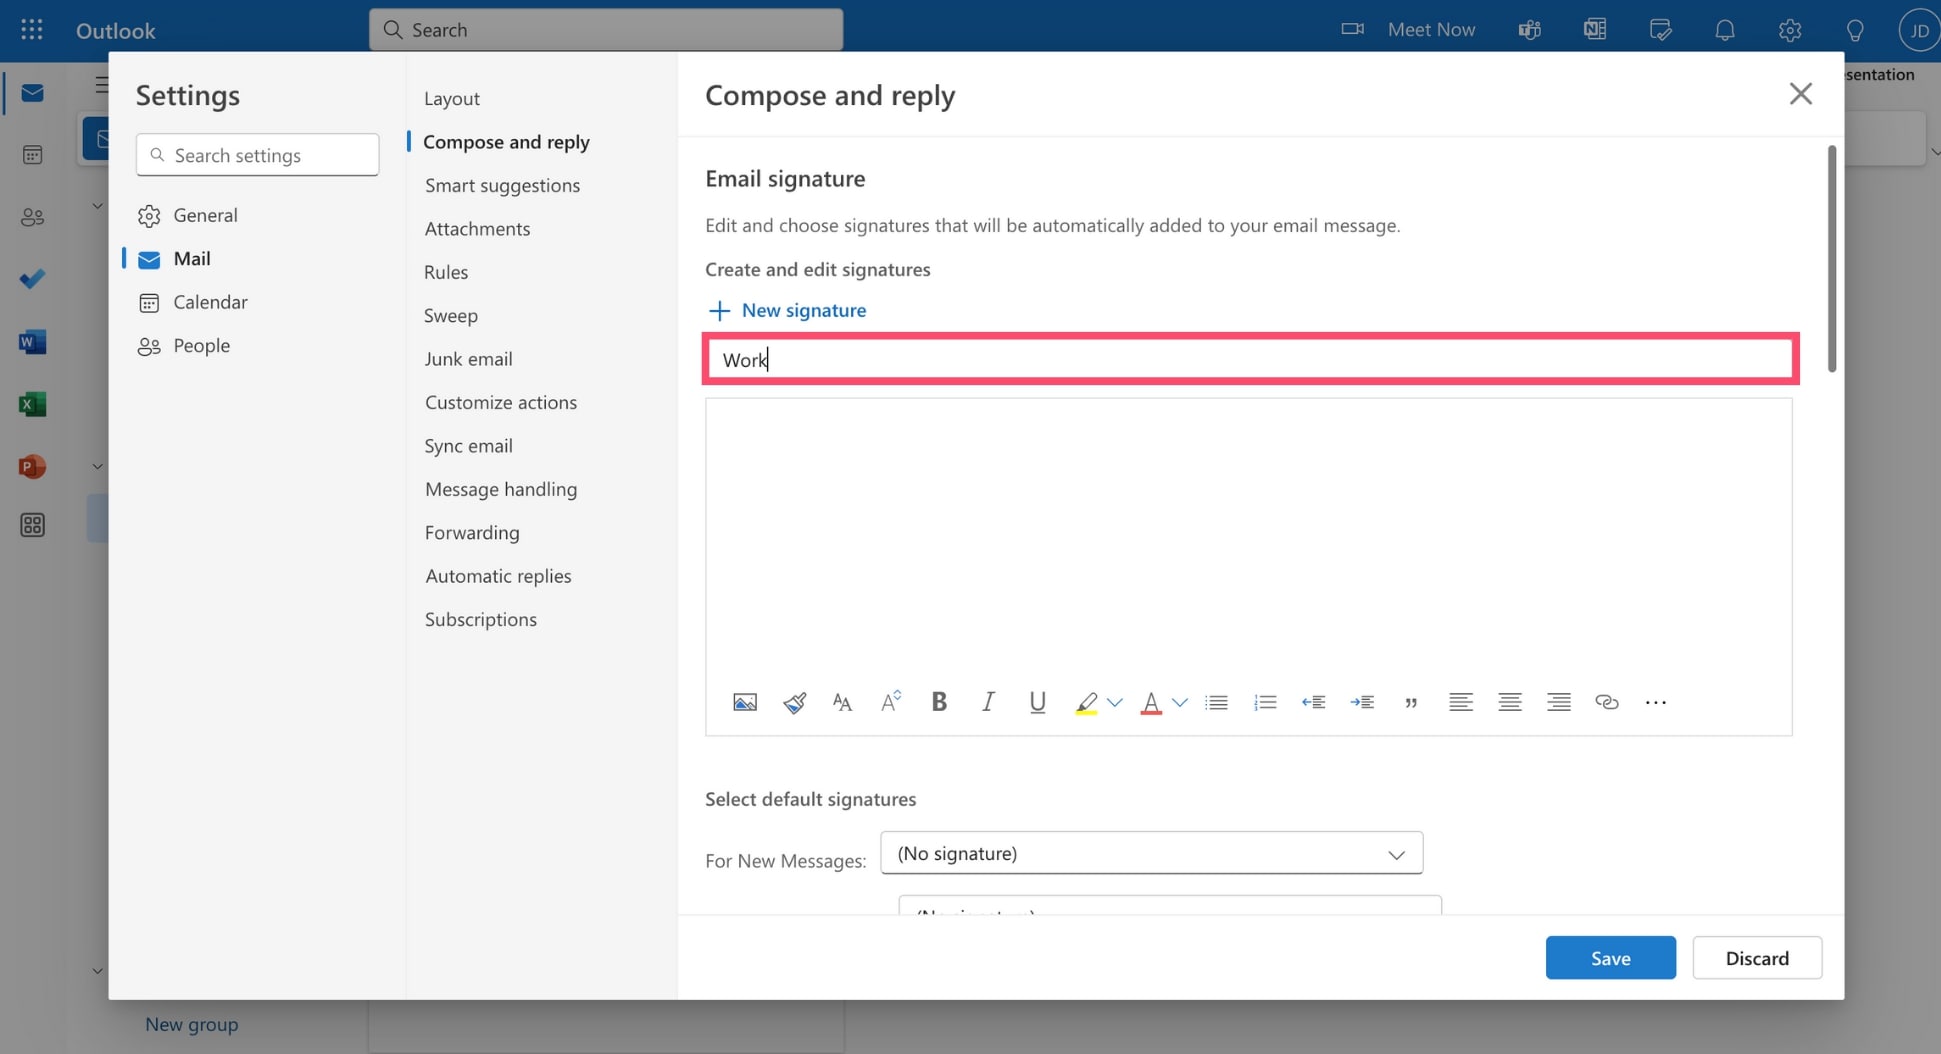
Step 5: Design your signature in Outlook.
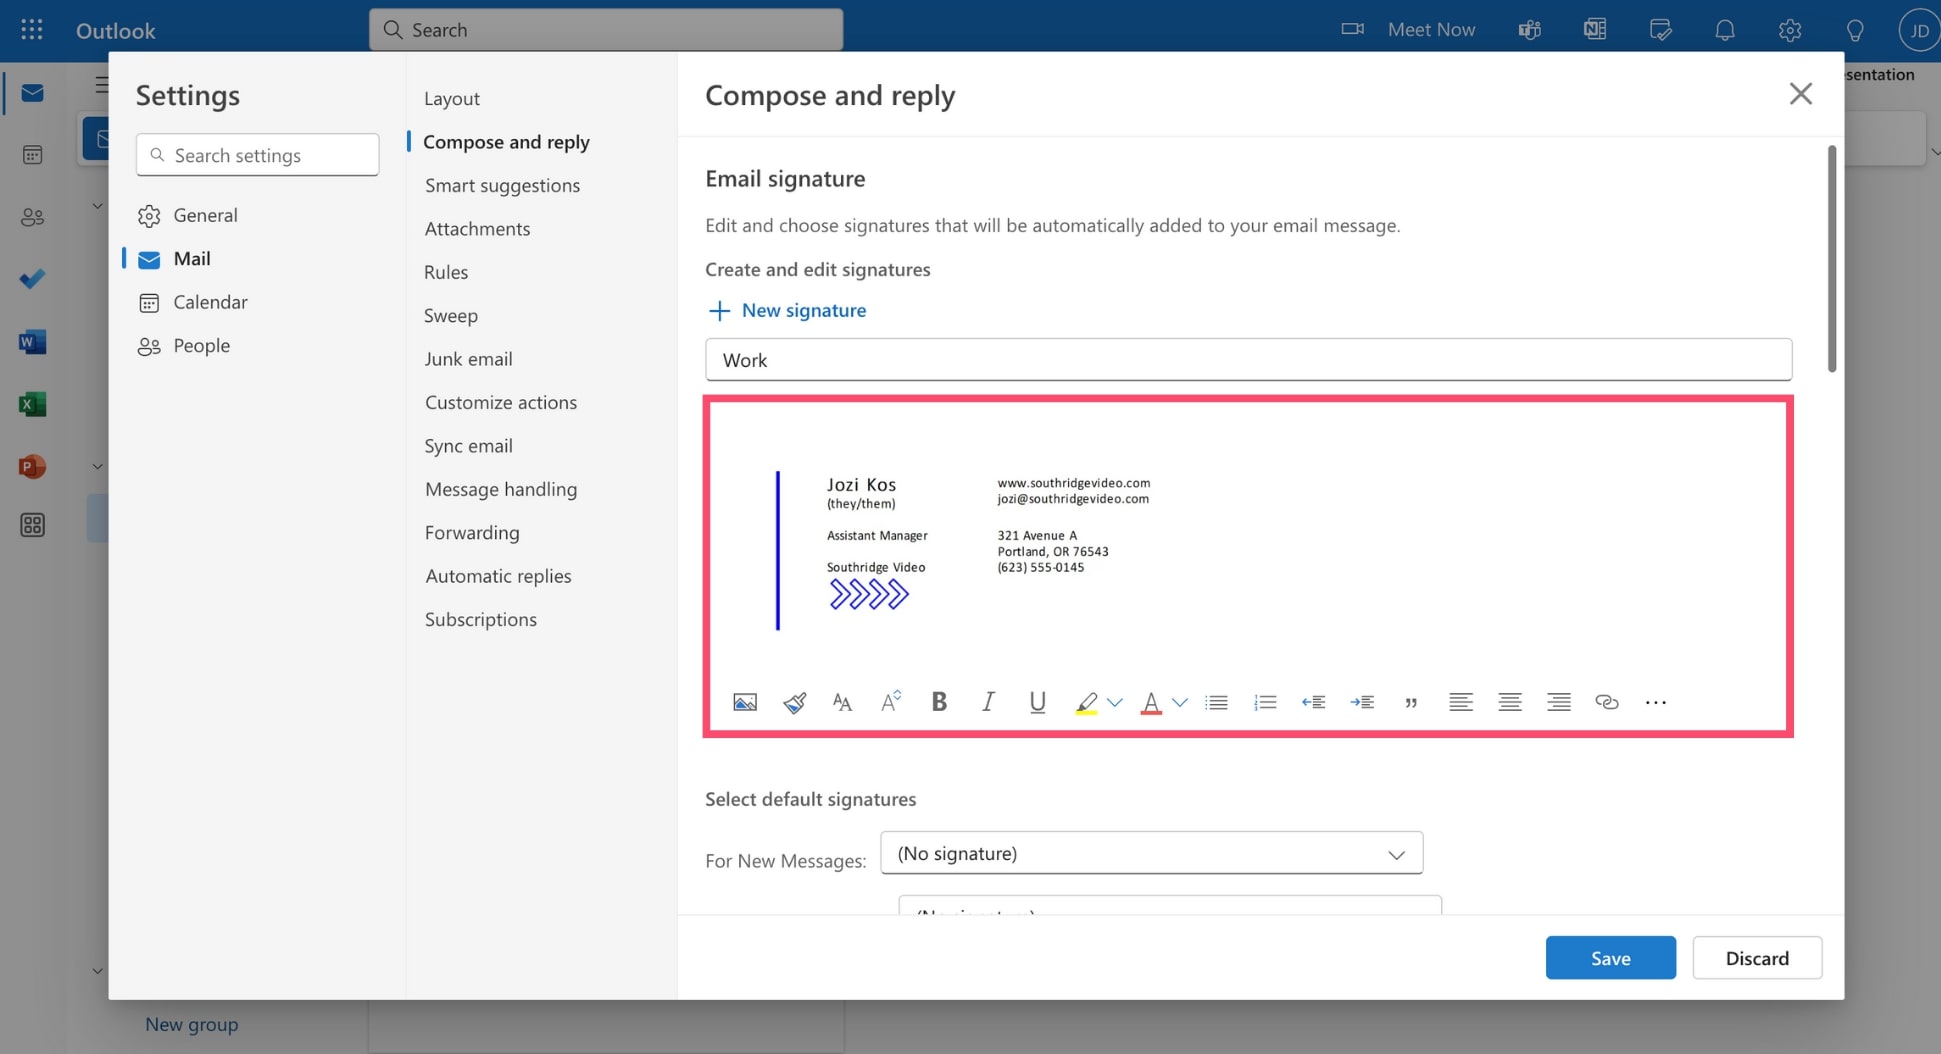
Step 6: Save your signature.
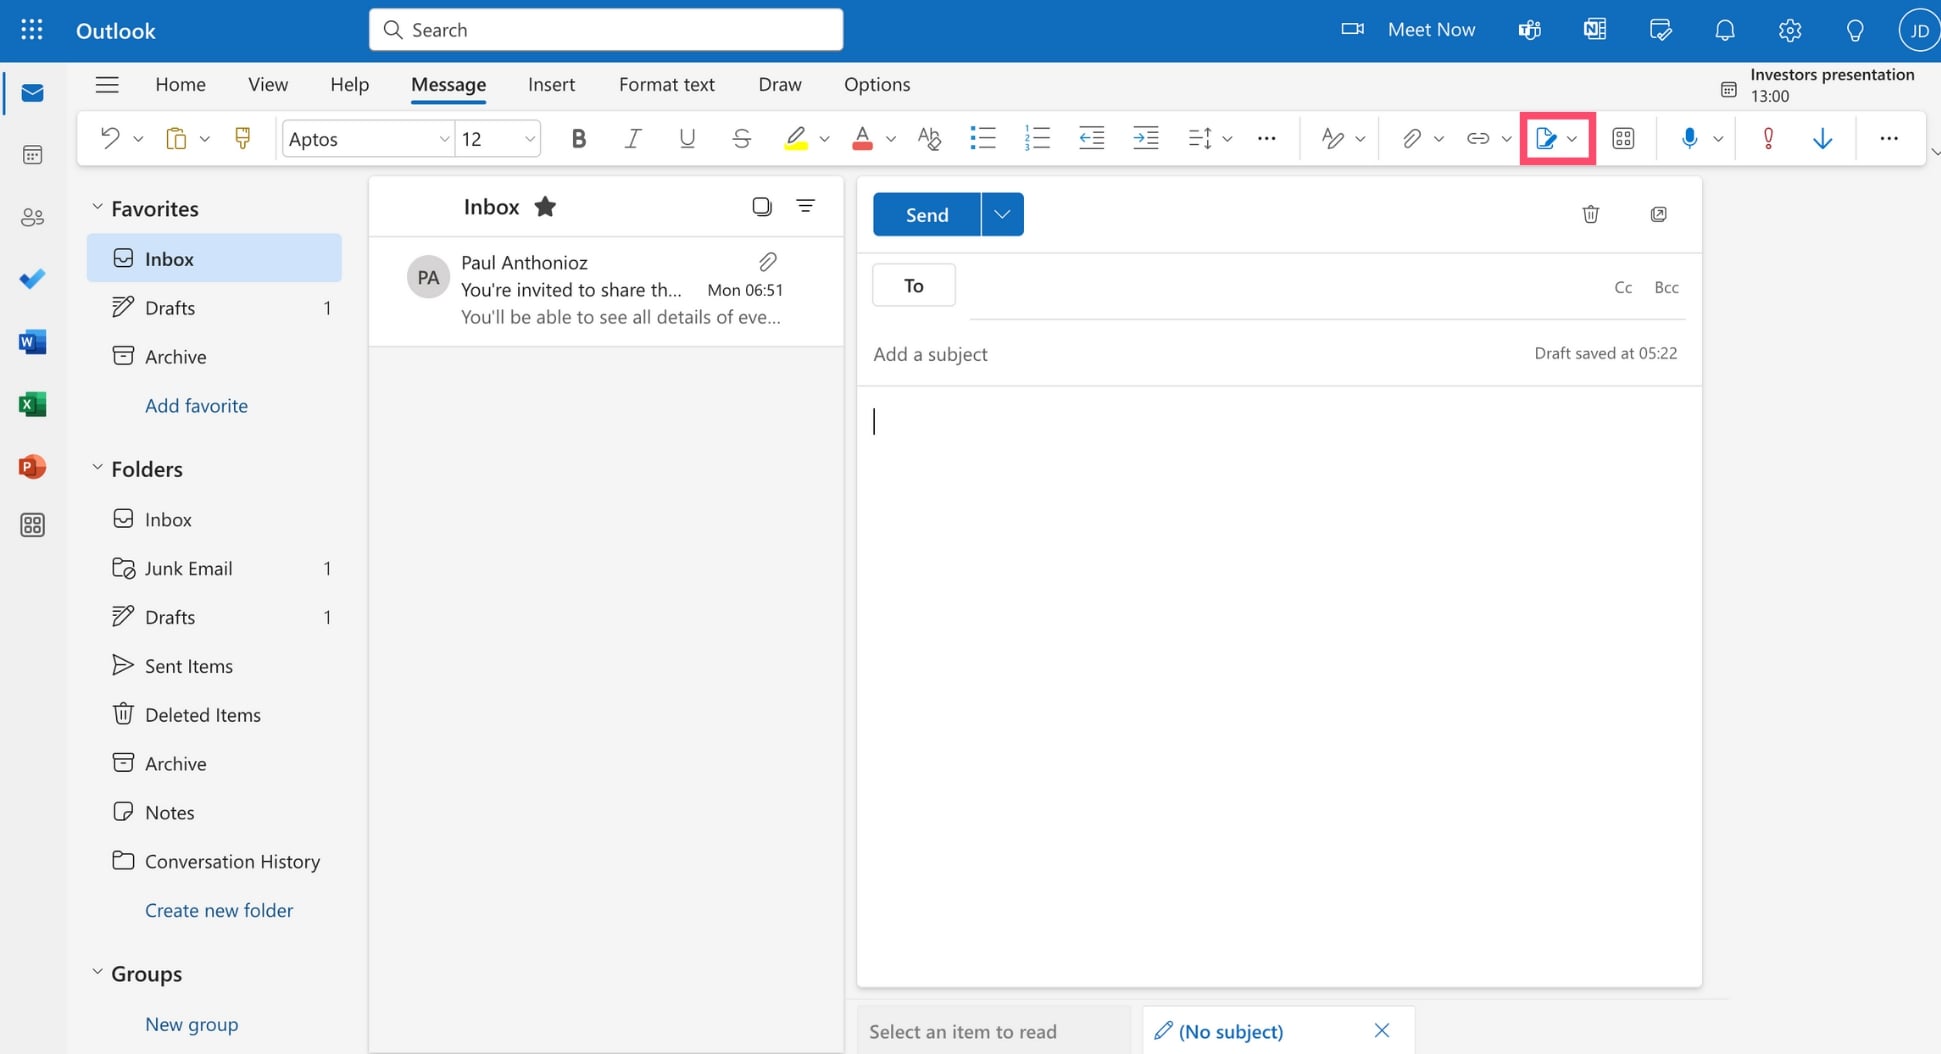
Step 7: To add your new signature to an email in Outlook, simply compose a new email. Then click Signature and select a digital signature.
And voilà. You’ve created a brand new email signature and you’ve manually added it to an email in Microsoft Outlook.
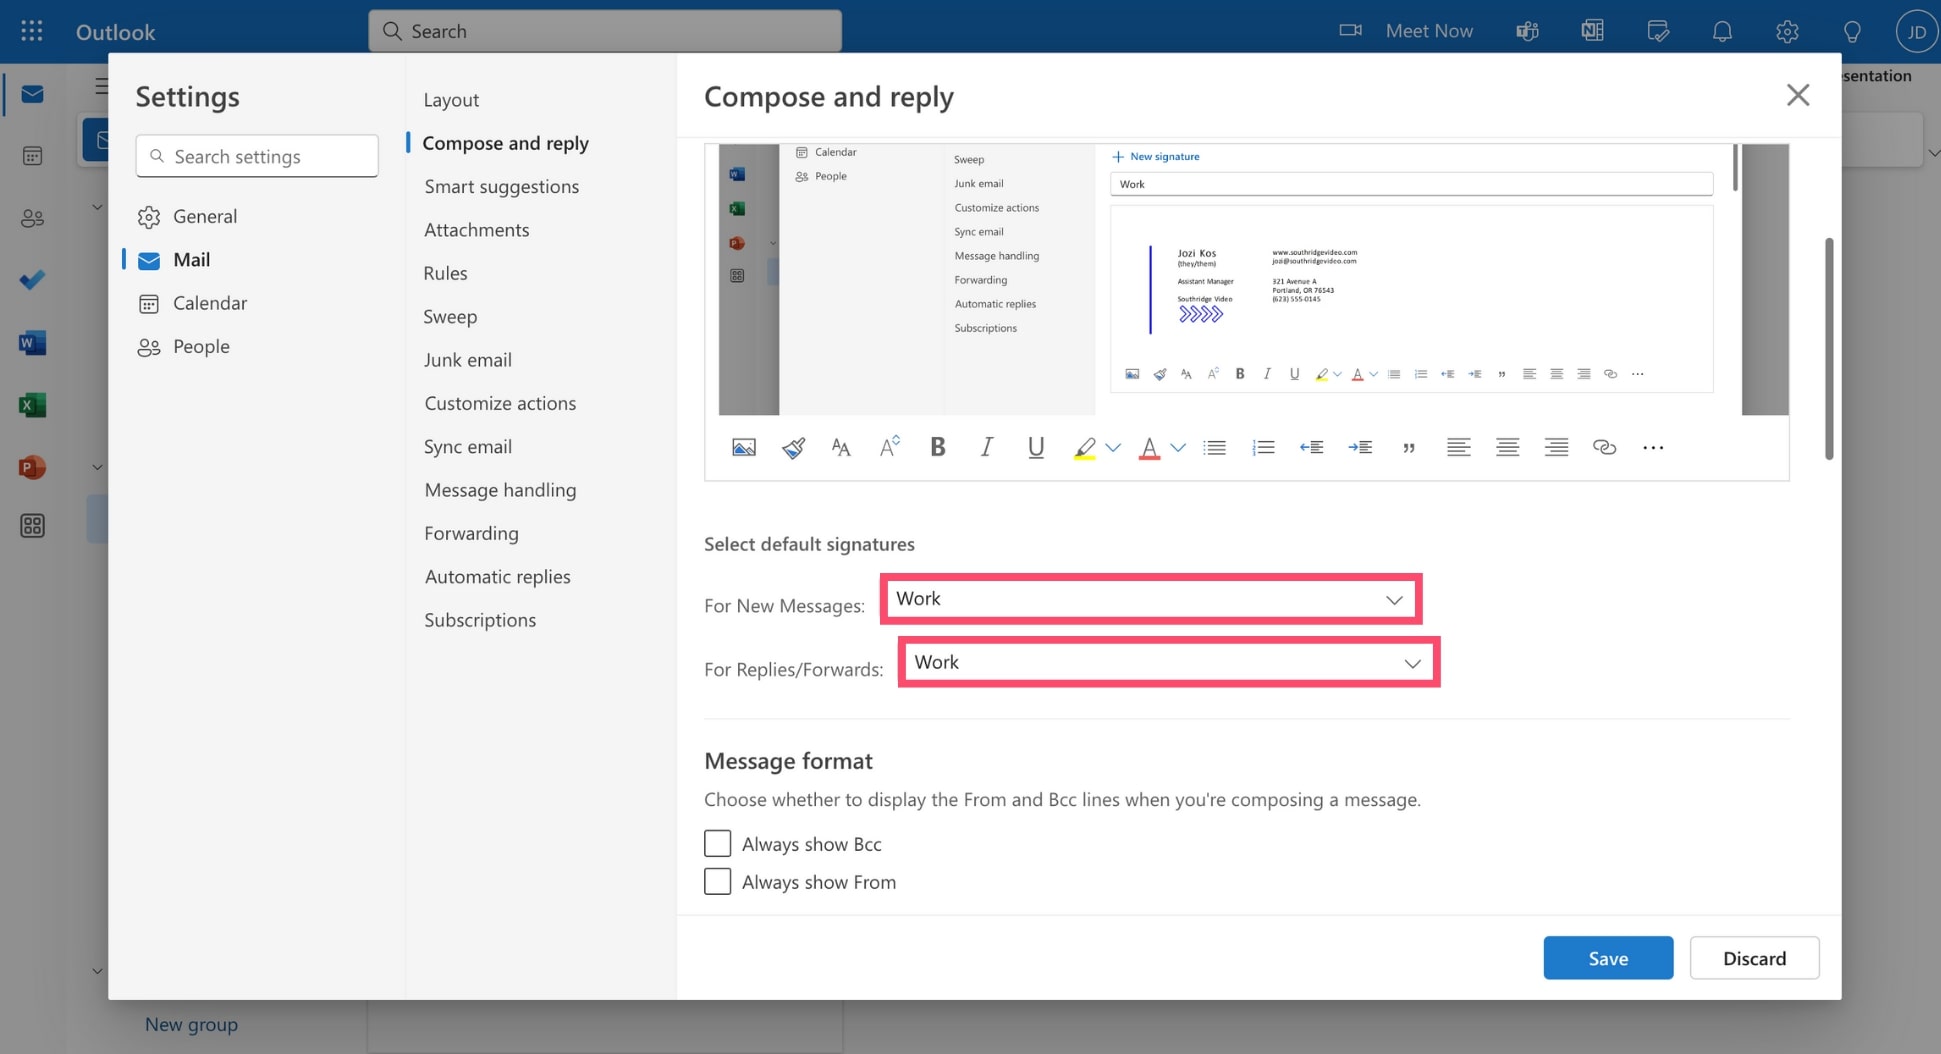
Want to save time and add your signature automatically to all your Outlook emails? In this case, go to Settings > *Mail** > Compose and reply.
Under Select default signature, choose the signature you want to include automatically in your Outlook emails and press Save.
In Outlook for the Web
Step 1: Sign in to your Outlook for the Web account.
Step 2: Go to Settings > Options.
Step 3: From there, navigate to Settings > Mail.
Step 4: Under Email signature, enter the name of your Outlook signature and change its appearance using the toolbar.
Step 5: Select Automatically include my signature on messages I send if you want Outlook to automatically display this signature at the bottom of your emails, replies, and forwards. Skip this step if you prefer adding your signature manually to your emails in Outlook.
Step 6: To confirm, click Save.
Step 7: Compose a new message. If you selected the Automatically include my signature on messages I send option, your signature should appear at the end of your email. If you didn’t select this option, click Insert > Your signature to add your Outlook signature manually.
Boom. You’ve just added a signature to Outlook for the Web. You can now sign your electronic messages with a professional looking email signature.
In Outlook for Windows
Step 1: Open Outlook for Windows.
Step 2: Compose a new message.
Step 3: In the navigation bar, select Signature > Signatures.
Step 4: Choose the email account you want to add a signature to.
Step 5: Under Select signature to edit, select New.
Step 6: Type a name for the signature.
Step 7: Use the Edit Signature box to craft your signature.
Step 8: Save your changes and click OK.
And done. You can now add this signature to your Outlook emails to make sure that your recipients have easy access to all your contact details.
In Outlook for Mac
Step 1: Open Outlook for Mac.
Step 2: Click New Email
Step 3: Select Signature > Edit Signatures.
Step 4: Click +.
Step 5: Name your signature and design it however you want.
Step 6: Under New messages, select your signature.
Step 7: Close the window.
That’s all. The next time you create a new email, your signature will automatically appear at the end of your message. Pretty easy, right?
In Outlook for Mobile
Step 1: Launch the Outlook app on your mobile device.
Step 2: Tap the Outlook icon (in the top left corner of your screen).
Step 3: Tap the gear icon and select your account.
Step 4: Tap Signature.
Step 5: Craft your signature. You can insert links and format the text however you want.
Step 6: Once you’re ready, tap Done.
And voilà. Outlook will now add this signature to the emails sent from your iPhone, iPad or Android device. You can edit or delete this signature at any given time.
How to edit a signature in Outlook?
Step 1: Open Outlook.com
Step 2: Go to Settings.
Step 3: Select Mail > Compose and reply.
Step 4: Choose the signature you want to edit.
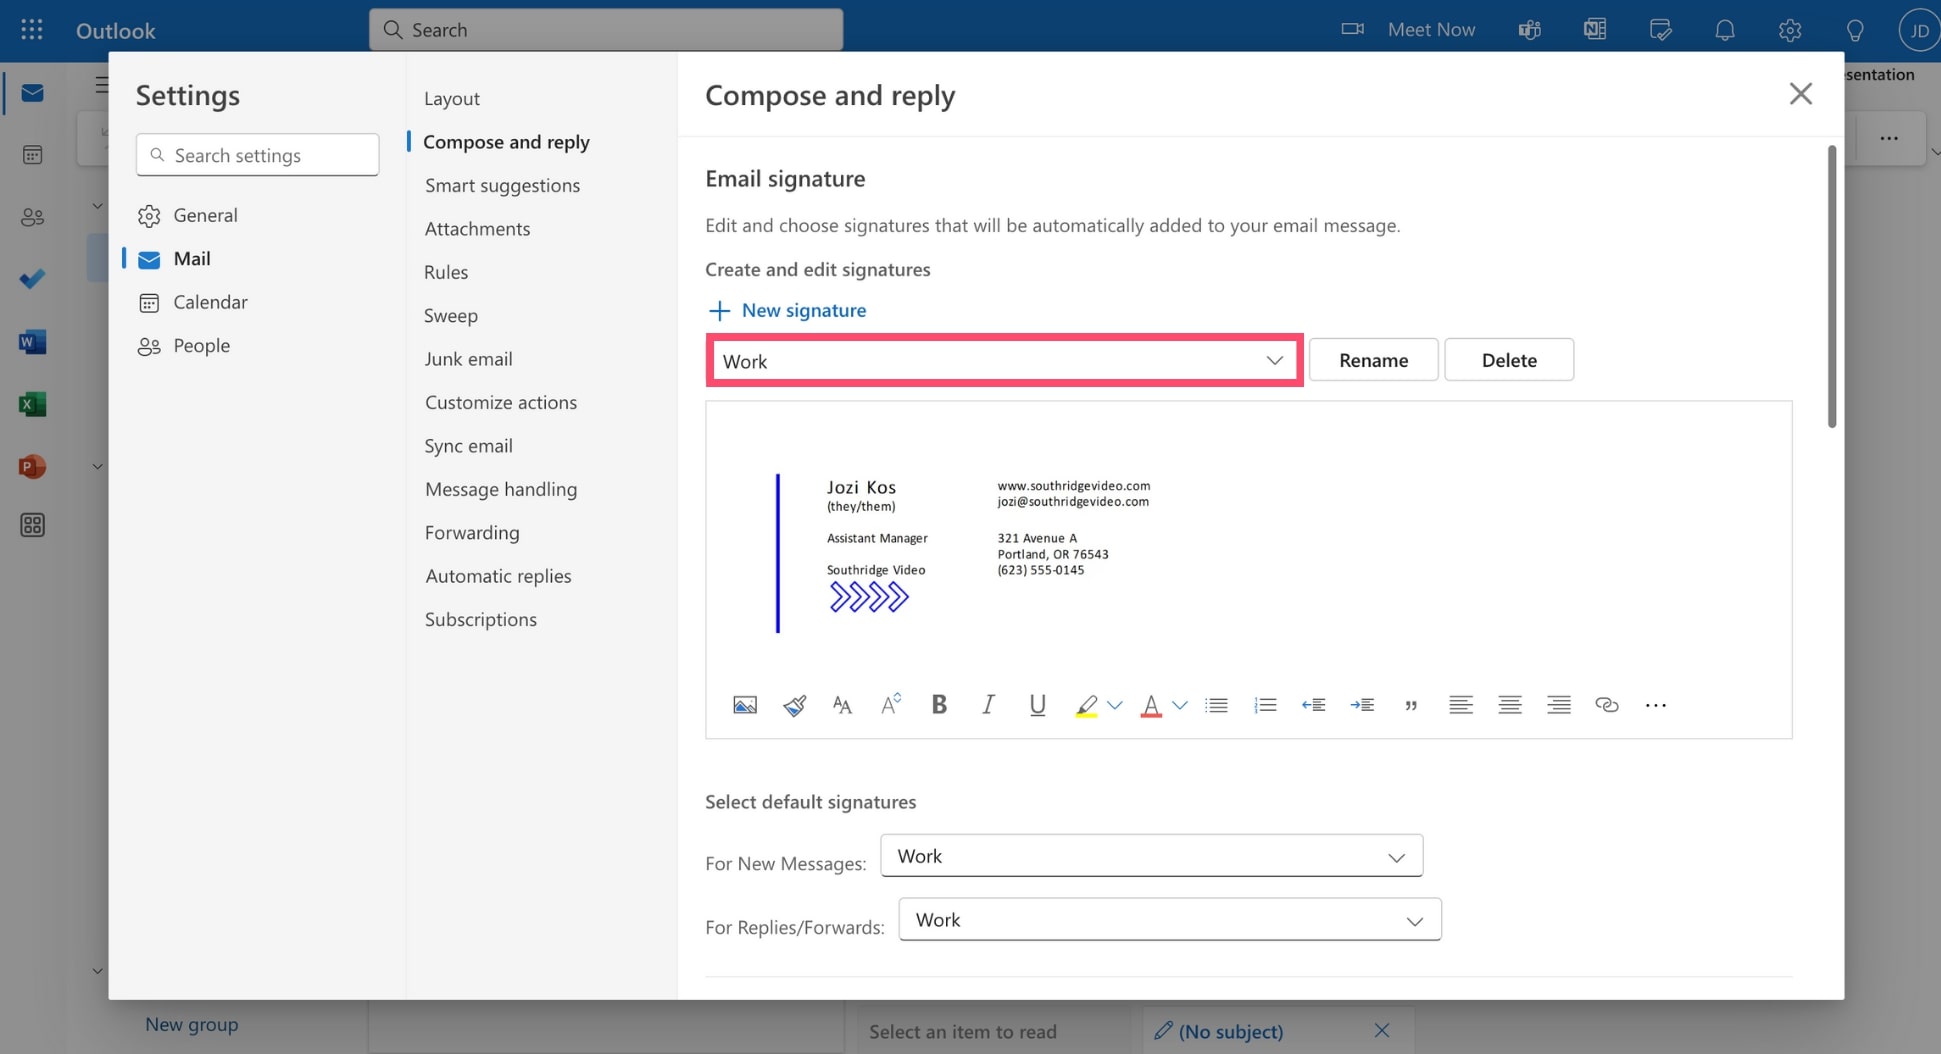
Step 5: Make your changes.
Step 6: Press Save.
And voilà. Outlook will now save your changes and update your email signature accordingly. You can edit your signature as many times as you want.
How to delete a signature in Outlook?
Step 1: Go to Outlook.com
Step 2: Open the settings.
Step 3: Head over to Mail > Compose and reply.
Step 4: Select the signature you want to remove.
Step 5: Click Delete.
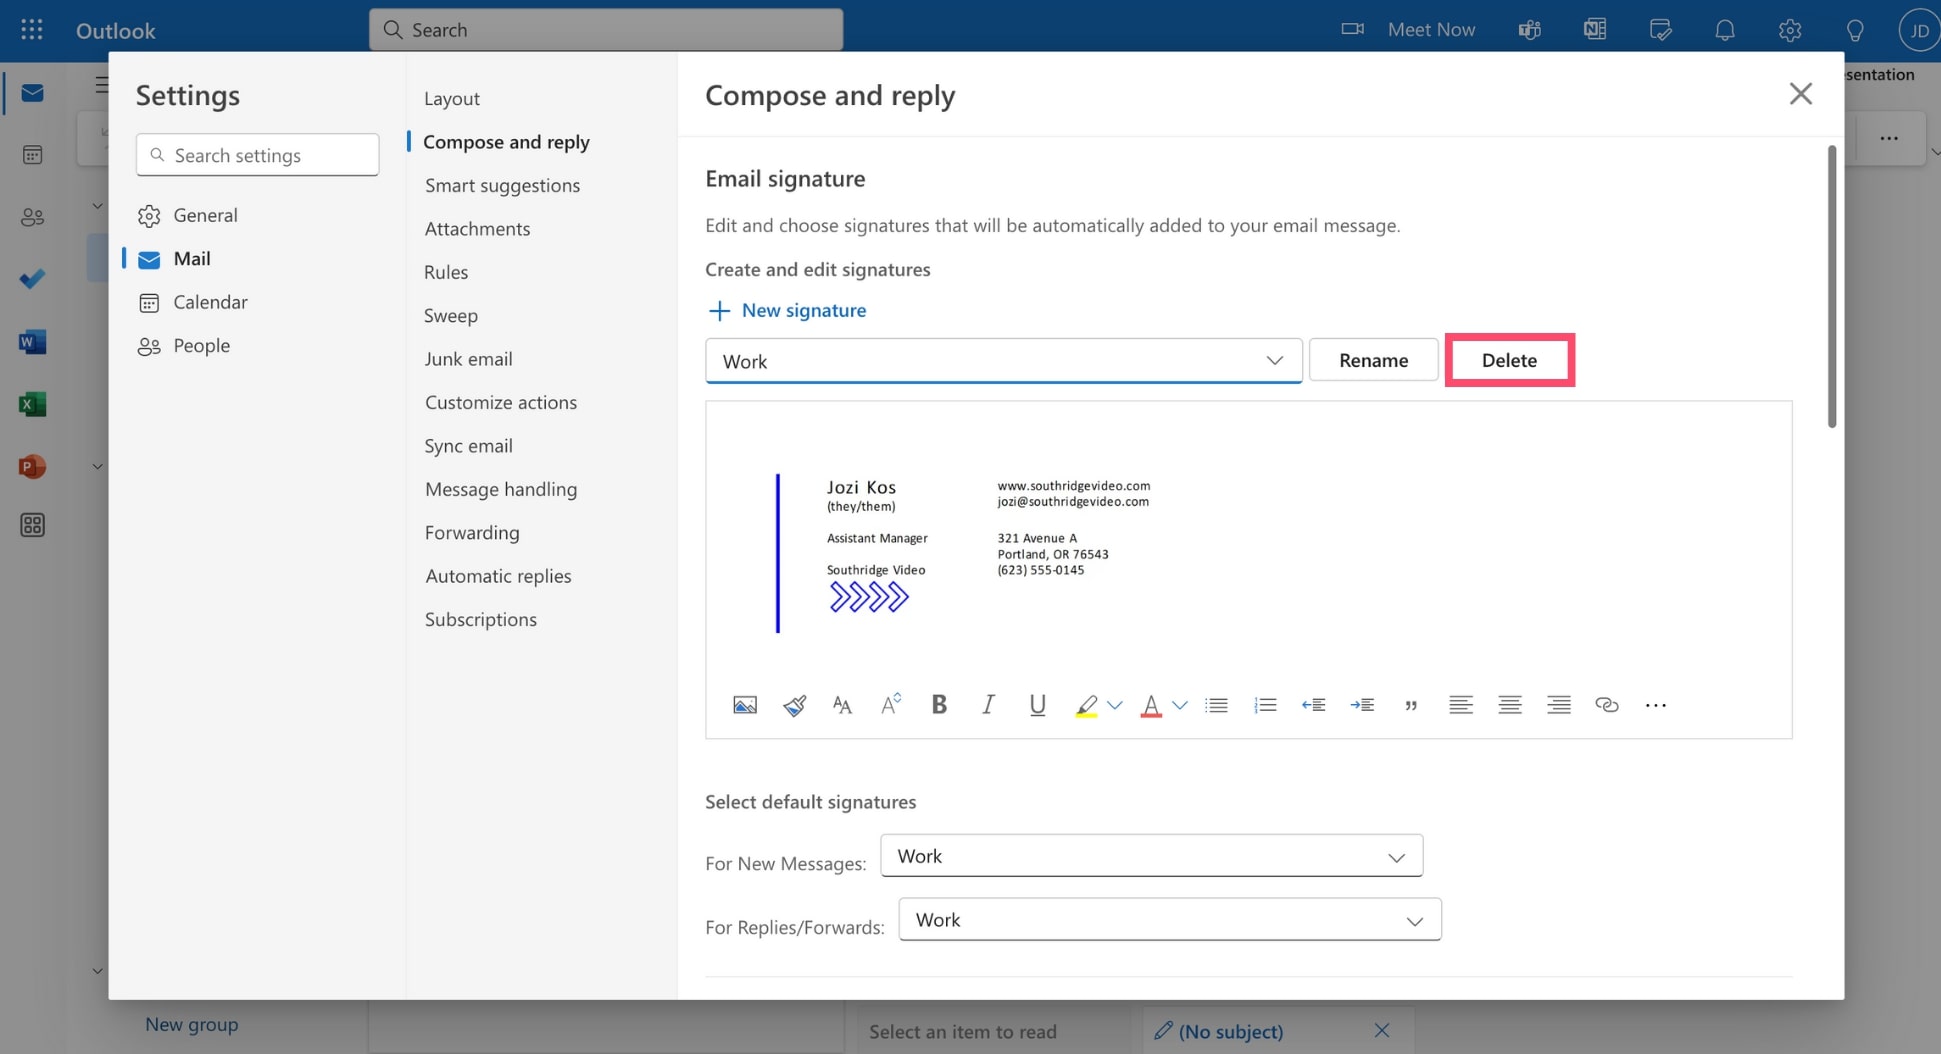
Step 6: Press Save.
And that’s it. Your signature is now gone. But remember: deleting an email signature in Outlook is permanent, so proceed with care.
Also, keep in mind that you don’t need to delete a signature to create a new one. You can add multiple signatures to Outlook and switch from one to another.
Best practices for email signatures in Outlook
At this point, you know how to add, edit, or delete a signature in Outlook. But do you know what separates an average email signature from a great one? Here are a few tips to make your Outlook signature stand out in crowded inboxes.
Keep it simple
Microsoft lets you add text, images, links, and formatting to your signature. Which is great. But don’t overdo it. Conciseness is key. Your signature should only include essential information, such as:
- Your name
- Job title
- Company
- Phone
- Social media profiles
Avoid cluttering your signature with unnecessary details. Use a professional, easy-to-read font. Like Arial, Calibri, or Helvetica. And choose a font size around 10-12 points to make sure that your signature is legible.
Optimize for Mobile
Around 1.7 billion users check emails on their mobile phones. So make sure your signature is responsive and looks good on desktop, but also on mobile.
To do so, you can send yourself a test email and open it with the Outlook app on your mobile. Is the design looking as it should? Is it readable even on a small screen? Also, make sure phone numbers are clickable for easy calling on mobile devices.
Make it visual
Adding visuals to your email signature is a great way to catch the attention of your recipients. You can include a professional looking photo of yourself and use icons instead of URLs to save space and enhance visual appeal. Just make sure that your images are web-optimized and small in file size (under 40 KB) to avoid email bloating.
Stay on brand
Your Outlook signature is part of your image as a professional. So make sure to use colors and fonts that reflect your brand identity, keeping in mind that your signature must be easy to read and mobile optimized.
To maintain consistency across all employee email signatures and promote a cohesive brand image, we recommend using a company-wide signature template. Make sure to include the logo of your company.
Conclusion
Let’s wrap it up. In this quick guide, we’ve seen that adding an Outlook signature to your emails is a simple yet (very) powerful way to enhance your professional image, build up your network, and make your brand more memorable.
We’ve shown you how to create a signature and add it to your emails in Outlook. Either manually or automatically. Lastly, we’ve shared some helpful resources, like a library of Outlook signature templates and a free signature generator.
Want to bring your Outlook email marketing to the next level? With [Mailmeteor], you can send up to 2,000 personalized emails per day directly from your Outlook account. You can also track your emails and schedule follow-ups.
Our free plan lets you send up to 100 emails per day. Why not give it a try and let us know what you think? No strings attached :) Join 5+ million happy marketers and start sending better emails with Mailmeteor.
FAQ
How to create a rich HTML Outlook signature?
You can create a rich HTML Outlook signature using our free email signature generator. We’ve created a beautiful template that you can edit and personalize however you want. No coding skills required.
How do I make my signature automatic in Outlook?
You can set up Outlook to automatically add your signature when you compose, forward, or reply to an email. To do so, go to Settings > *Mail** > Compose and reply. Then, under Select default signature, choose the signature you want to add by default to all your emails and click Save.
Why is my signature not showing up on my emails?
If your signature is not showing in Outlook, start by making sure that you’ve set a default email signature. To do this, go go to Settings > Mail > Compose and reply. Then select a default signature and save your changes. Also, if you have a trial version of Microsoft Office, you may want to uninstall it, as it can prevent you from adding a signature to your emails.


