Tired of sifting through a messy list of contacts? In this quick guide, we’ll share pro tips and easy steps to help you manage your Outlook contacts like a true expert. By the end, you’ll have a sleek contact list that makes staying connected a breeze. Let’s dive in and get your Outlook contacts sorted out!
Outlook contacts are a powerful tool for keeping track of important details about the people in your professional and personal networks.
Once you get the hang of it, this feature can make your life 10 times easier, streamline your email routine, and save you hours of work.
But if you don’t know how to organize your contacts, things can quickly get messy, making it hard to find the information you need when you need it.
In this quick guide, we’ll show you how to manage your Outlook contacts efficiently to help you be more productive and stay on top of your interactions.
Here’s what we’ll cover:
- What are Outlook contacts?
- How to add new contacts to Outlook?
- How to organize your Outlook contacts?
- How to import contacts in Outlook?
- How to sync Outlook contacts?
- How to update contacts in Outlook?
- How to remove contacts from Outlook?
Sounds good? Then let’s get started.
What are Outlook contacts?
Outlook contacts are like a digital version of your address book. This handy tool lets you store essential information about the people and organizations you communicate with.
Each contact entry can include details like name, email address, phone number, and more. And the best part? Your contacts are integrated within Microsoft Outlook. So it’s super easy to message them or schedule meetings.
Another cool thing about Outlook contacts is that, when you add a new contact, Microsoft automatically creates a contact card where you can conveniently find and edit all the information related to that contact.
How to add new contacts to Outlook?
Outlook lets you add individual contacts manually, or import multiple contacts at once. Let’s start by adding a single contact.
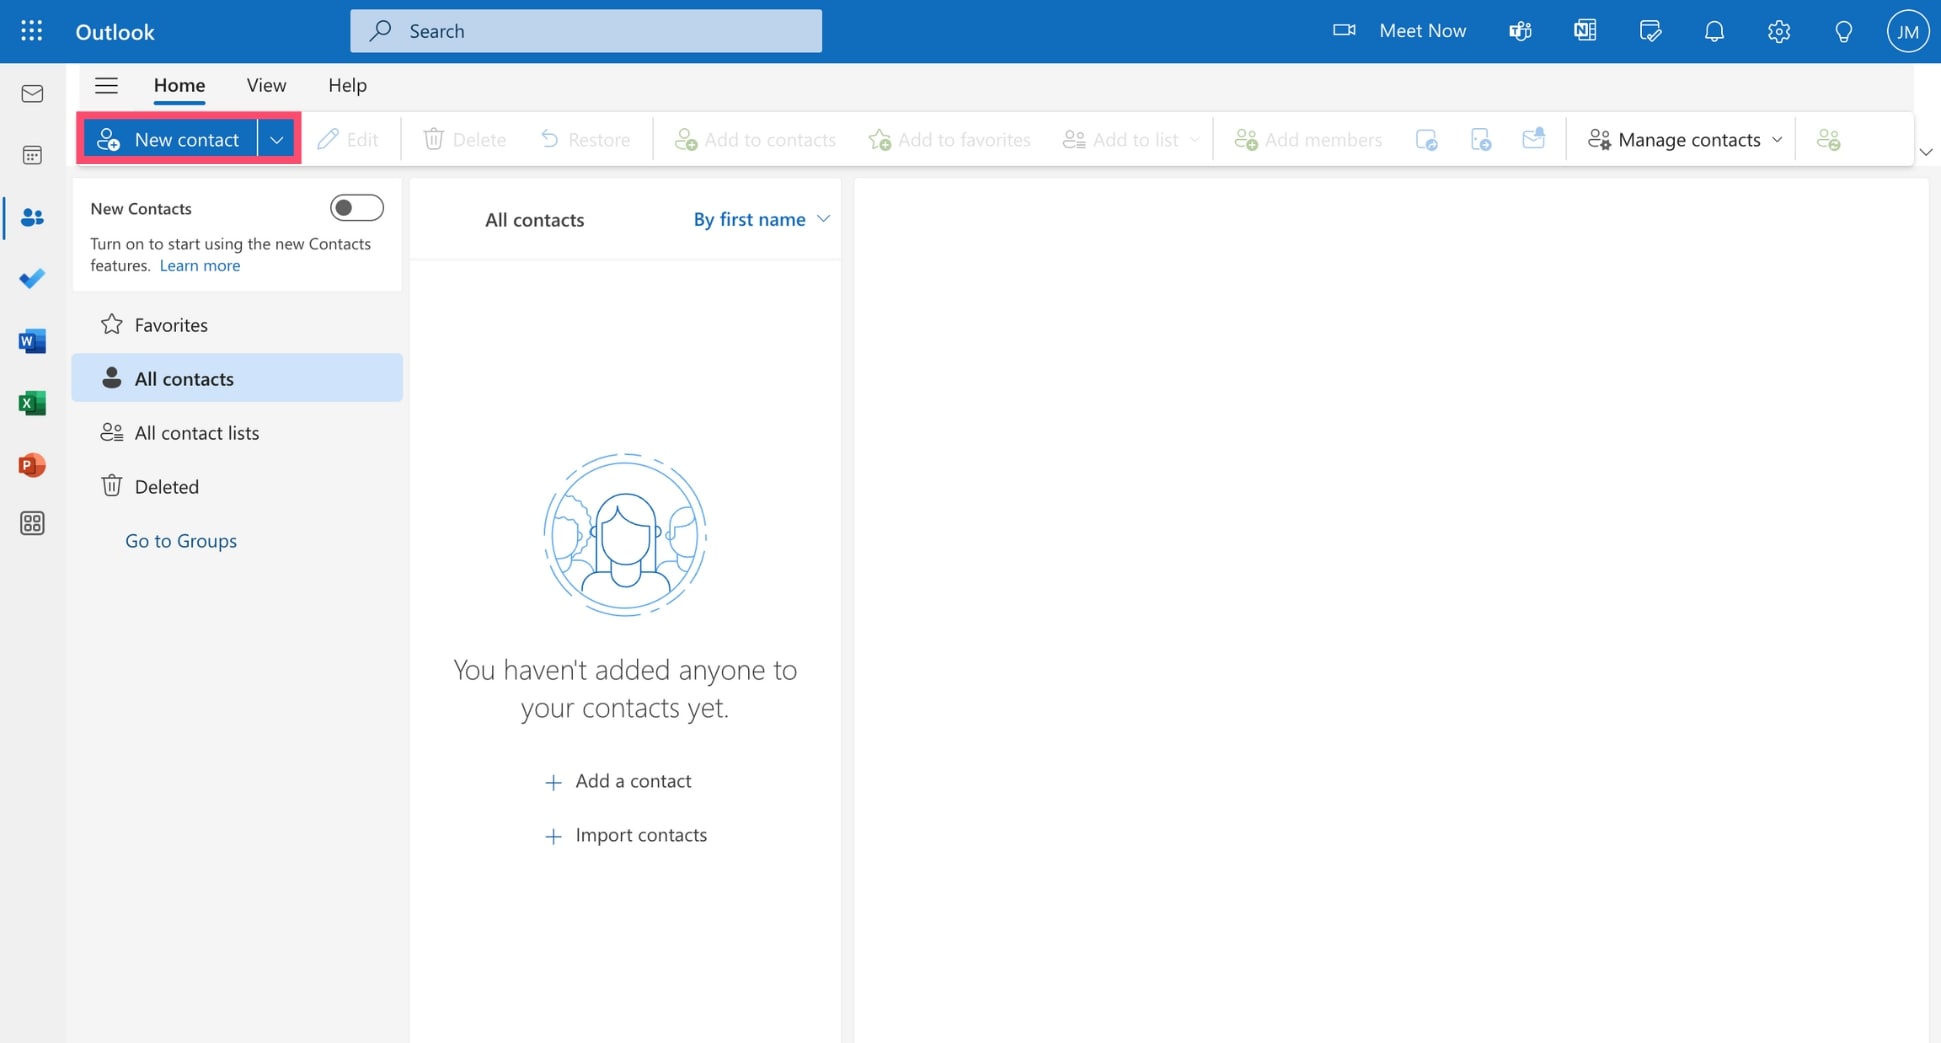
Step 1: Sign in to your Outlook account.
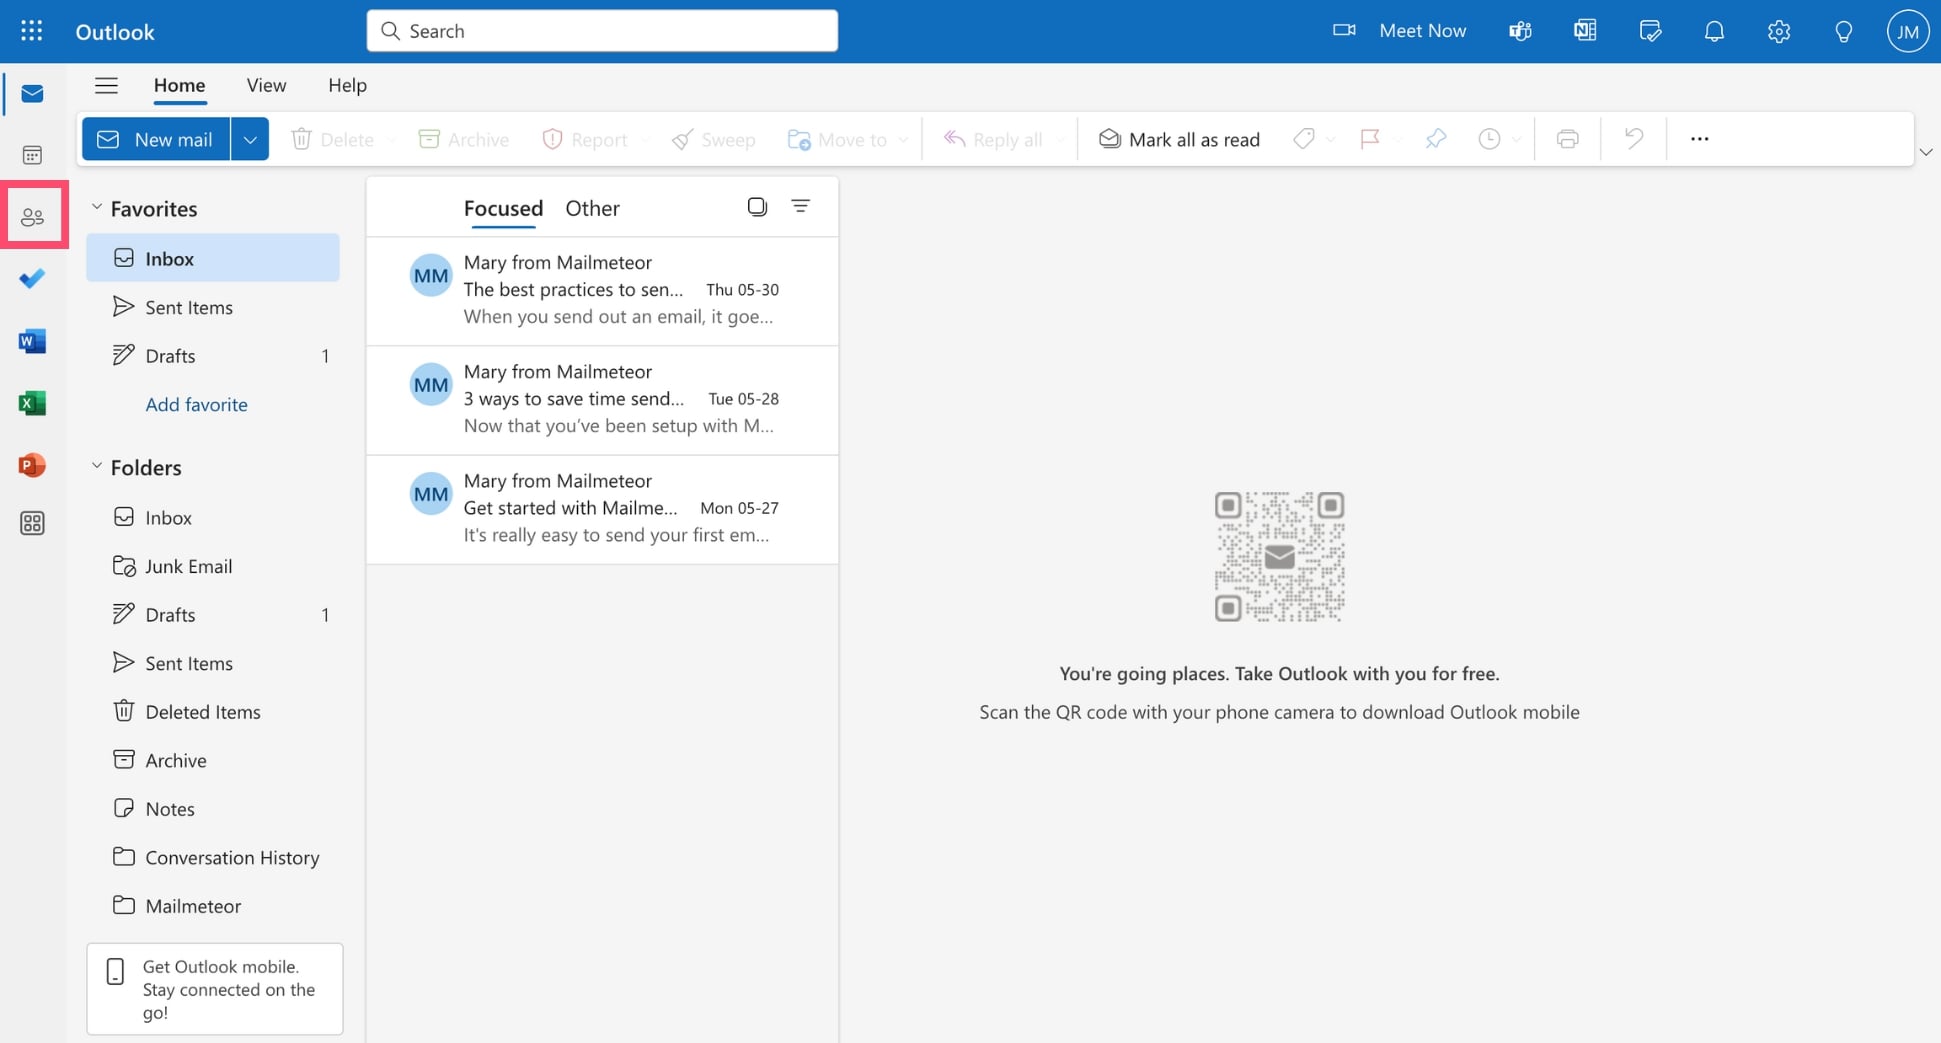
Step 2: Head over to the People tab.
Step 3: Click New contact.
Step 4: Enter the first name, last name, and email address of your new contact.
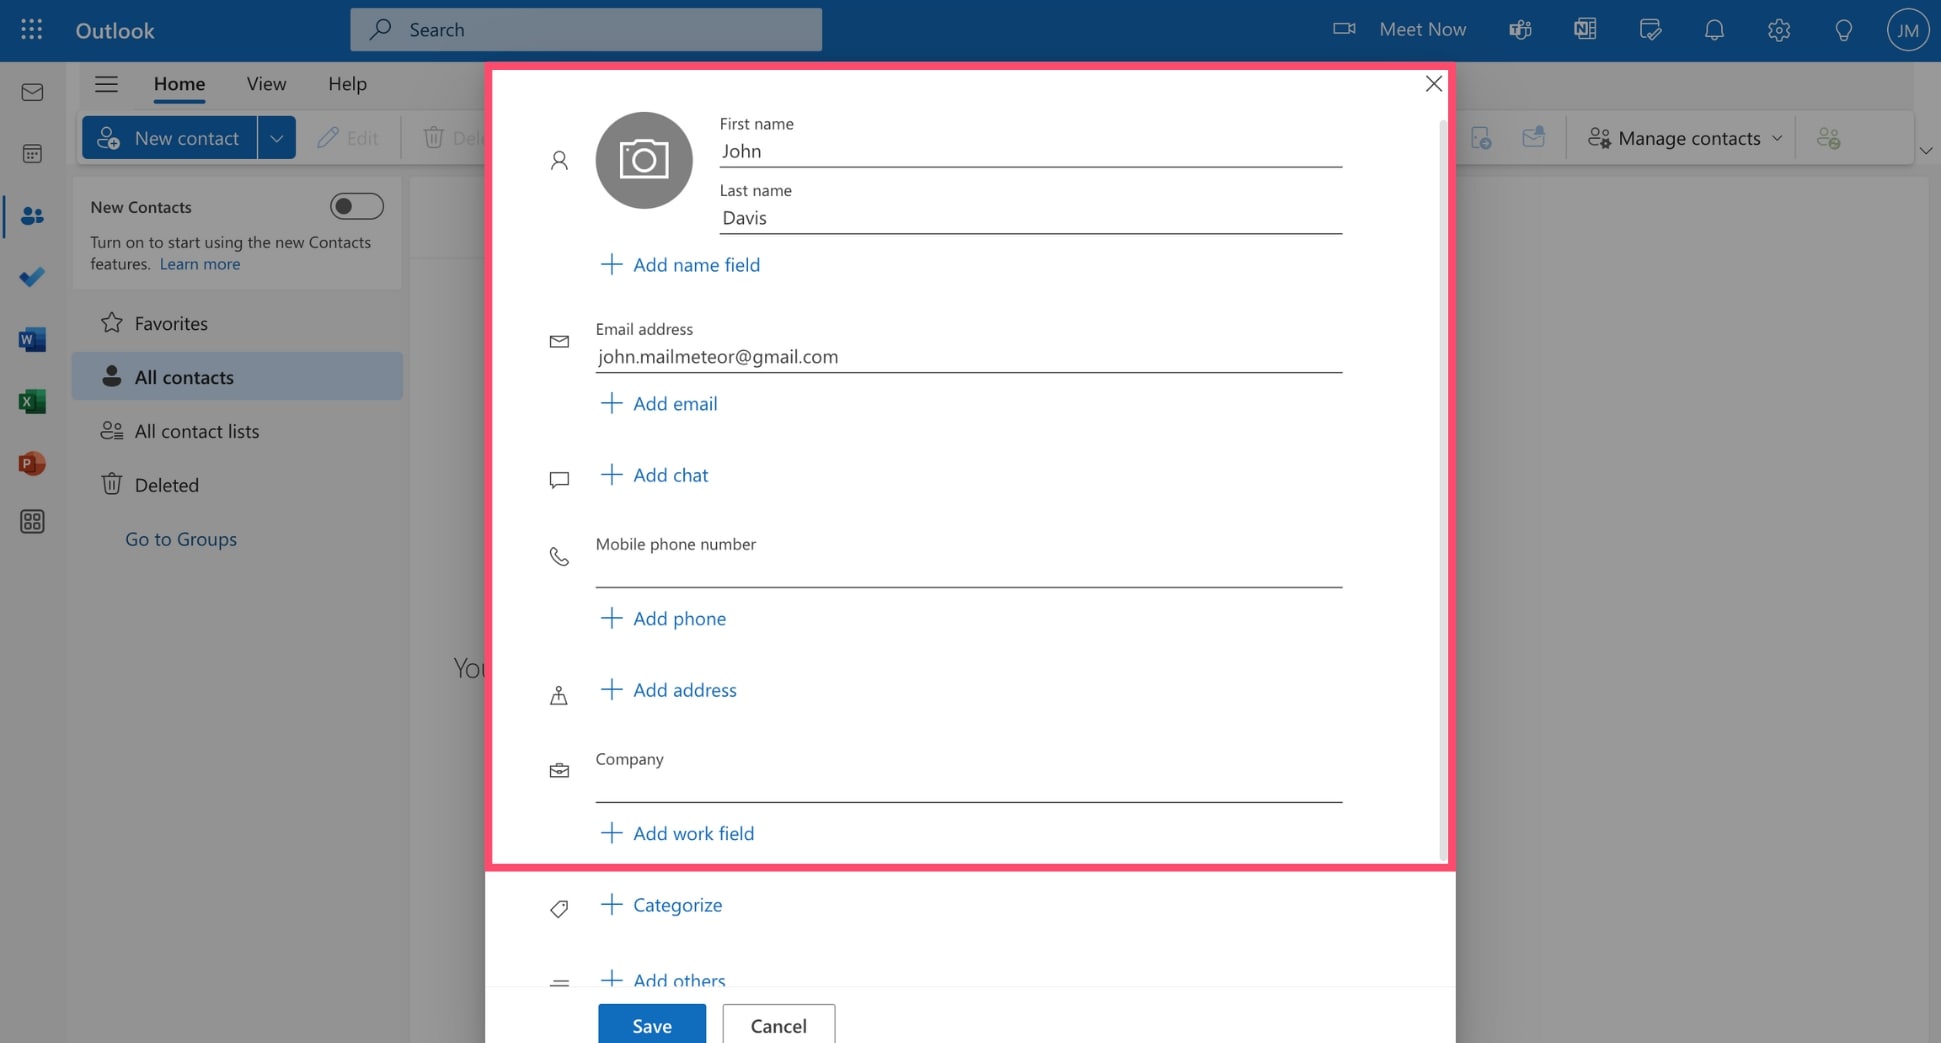
Need to store more details about your contact? Click Add name field to display additional fields, such as:
- Title
- Suffix
- Middle name
- Nickname
You can also add your contact’s mobile, and if you click Add phone, you’ll be able to add more fields, such as:
- Home phone
- Business phone
- Fax number
That’s not all. Outlook allows you to enter location details for your contacts, such as their home address and business address.
Lastly, you can specify the name of the company your contact works for. By clicking Add work field, you can also include information about their:
- Title
- Department
- Company’s location
Step 5: Once you’re ready, press Save.
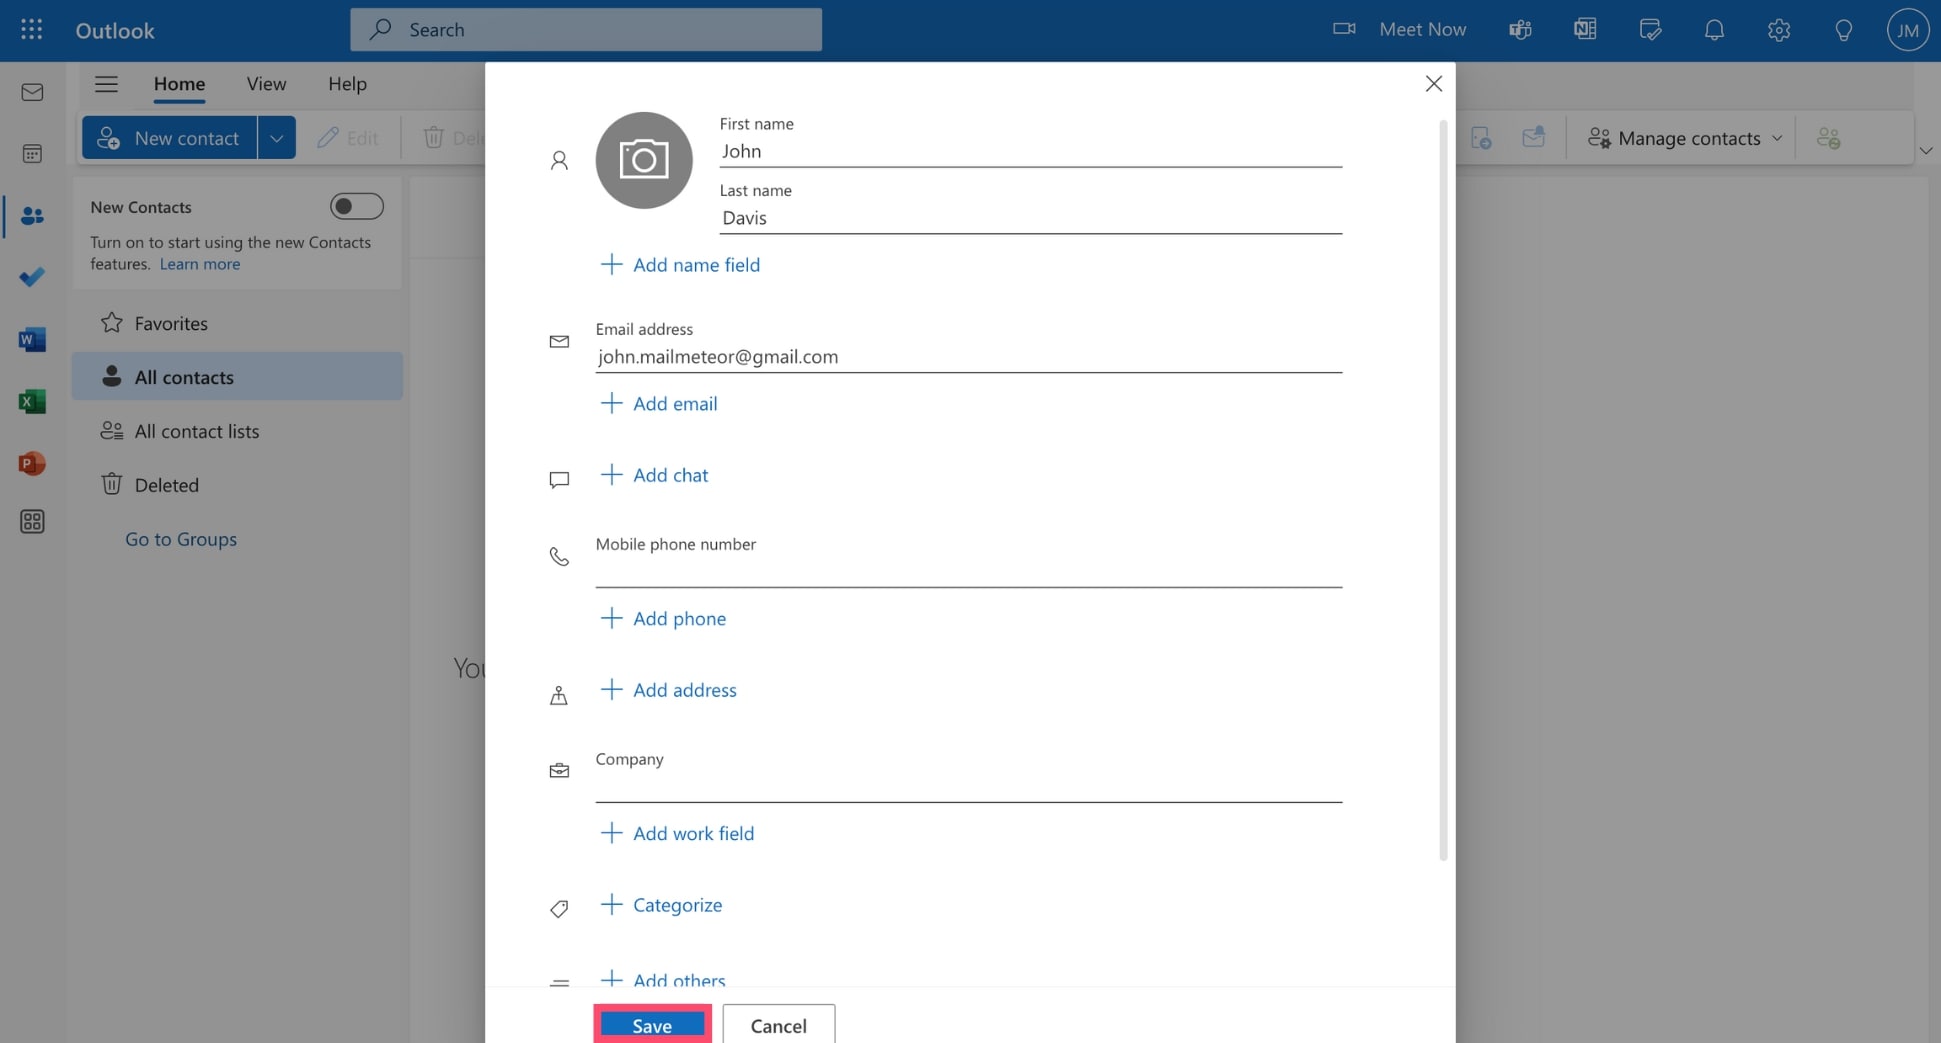
And that’s it! You’ve just created your first Outlook contact. Congratulations 🎉 However, as you add more contacts, you’ll soon notice that your contact database can become (very) cluttered and hard to manage.
How to organize your Outlook contacts?
Luckily, Outlook has some handy features to help you manage your contacts and keep them organized. You can sort them using Lists, Groups, Categories, or Folders. Let’s dive into how each one works.
Using Contact Lists
Let’s start with the basics. You can create a contact list in Outlook to easily send emails to a group of people. This is particularly useful for regularly emailing a specific group, like a team or club, and streamlining communication.
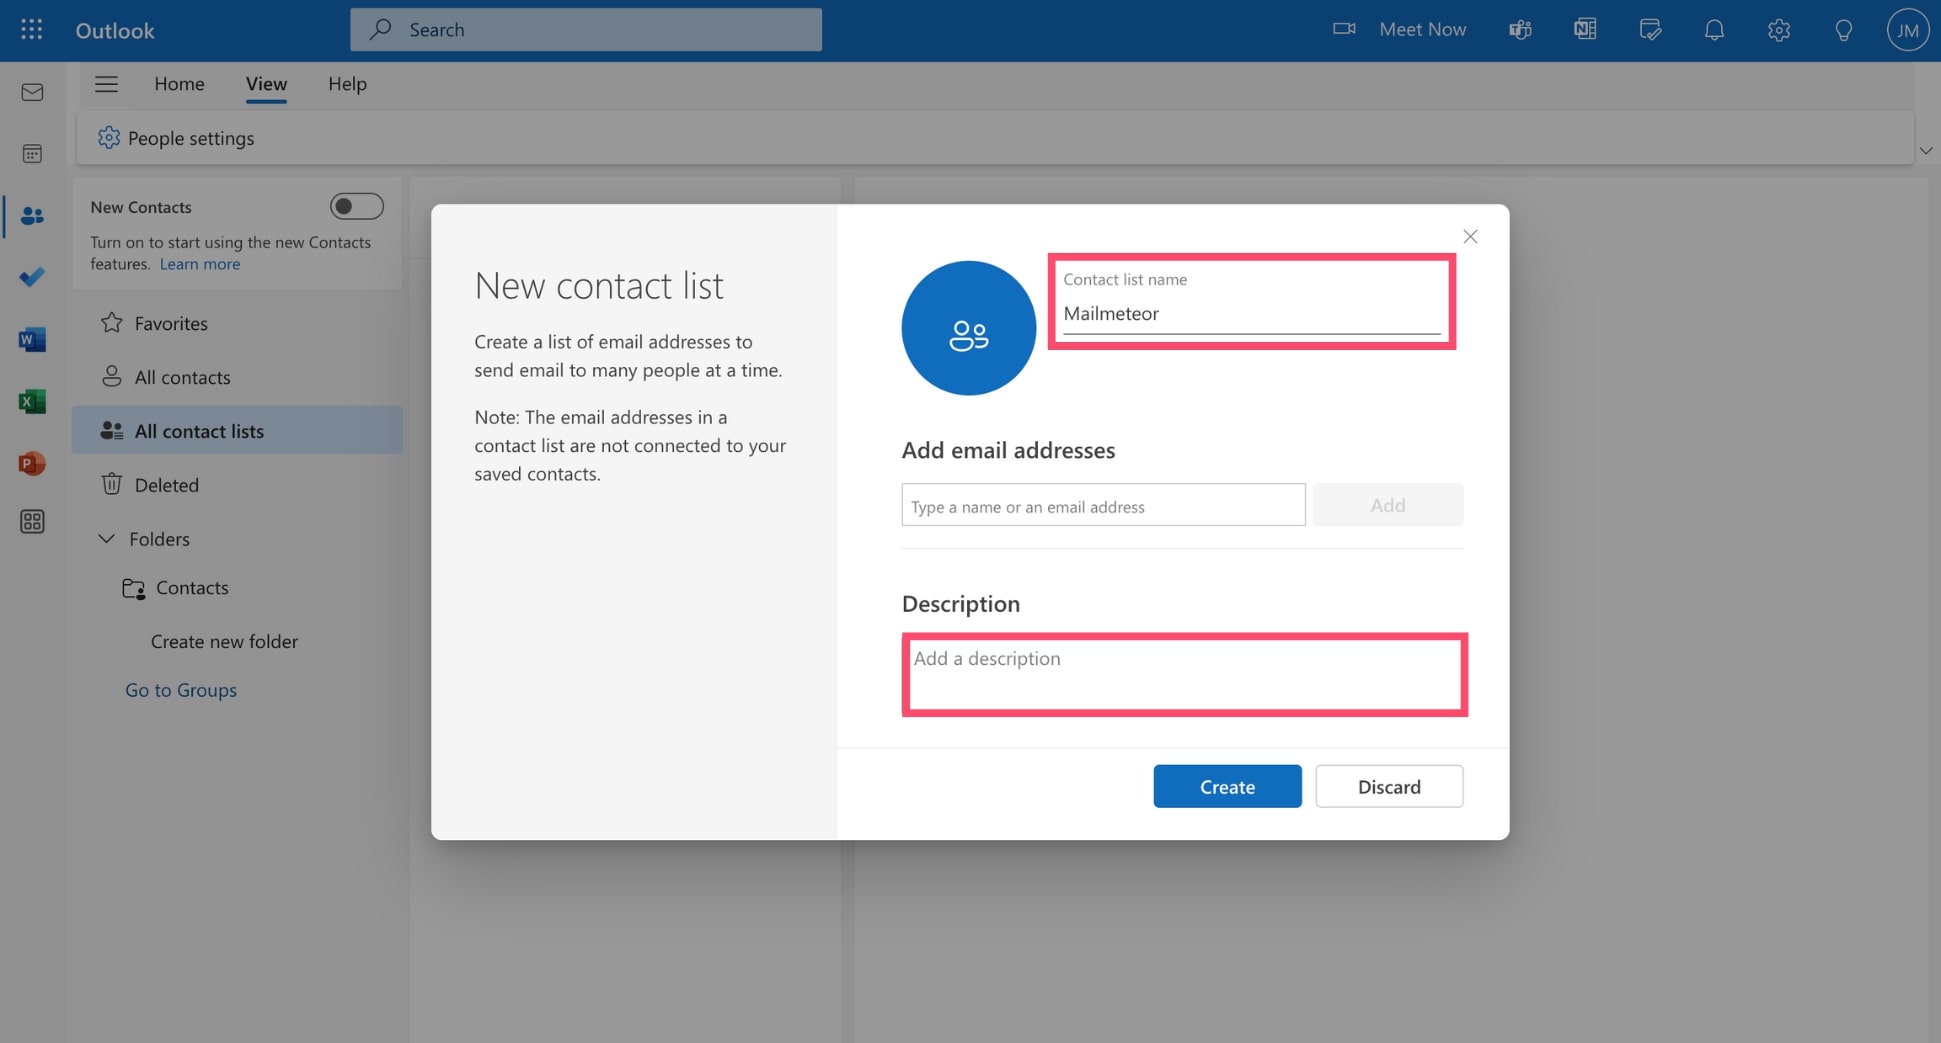
Here’s how to create a contact list in Outlook:
Step 1: Open Outlook.
Step 2: Navigate to People.
Step 3: In the toolbar, click the arrow next to New contact and select New contact list.
Step 4: Enter the name of your contact list. You can also add a brief description to remind you of the list’s purpose.
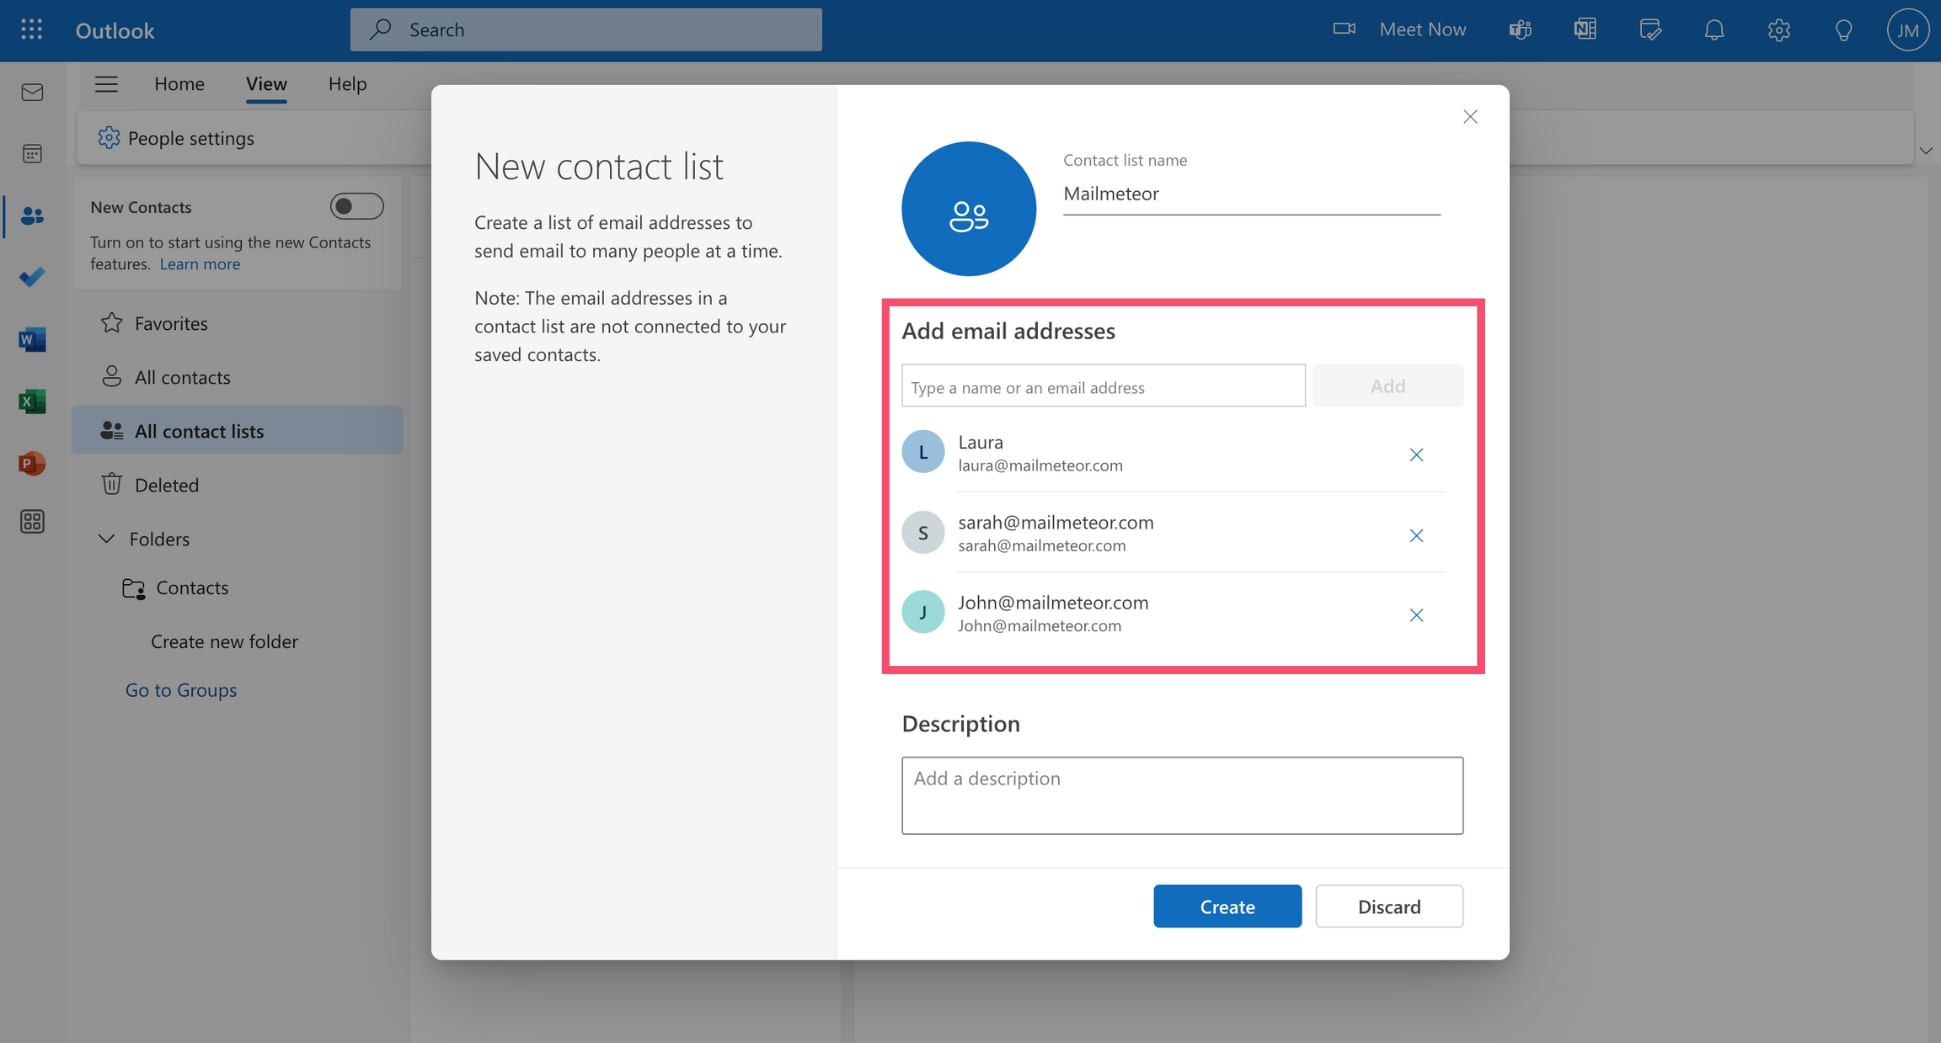
Step 5: Type the email addresses of the contacts you want to include in this list. Then click Add.
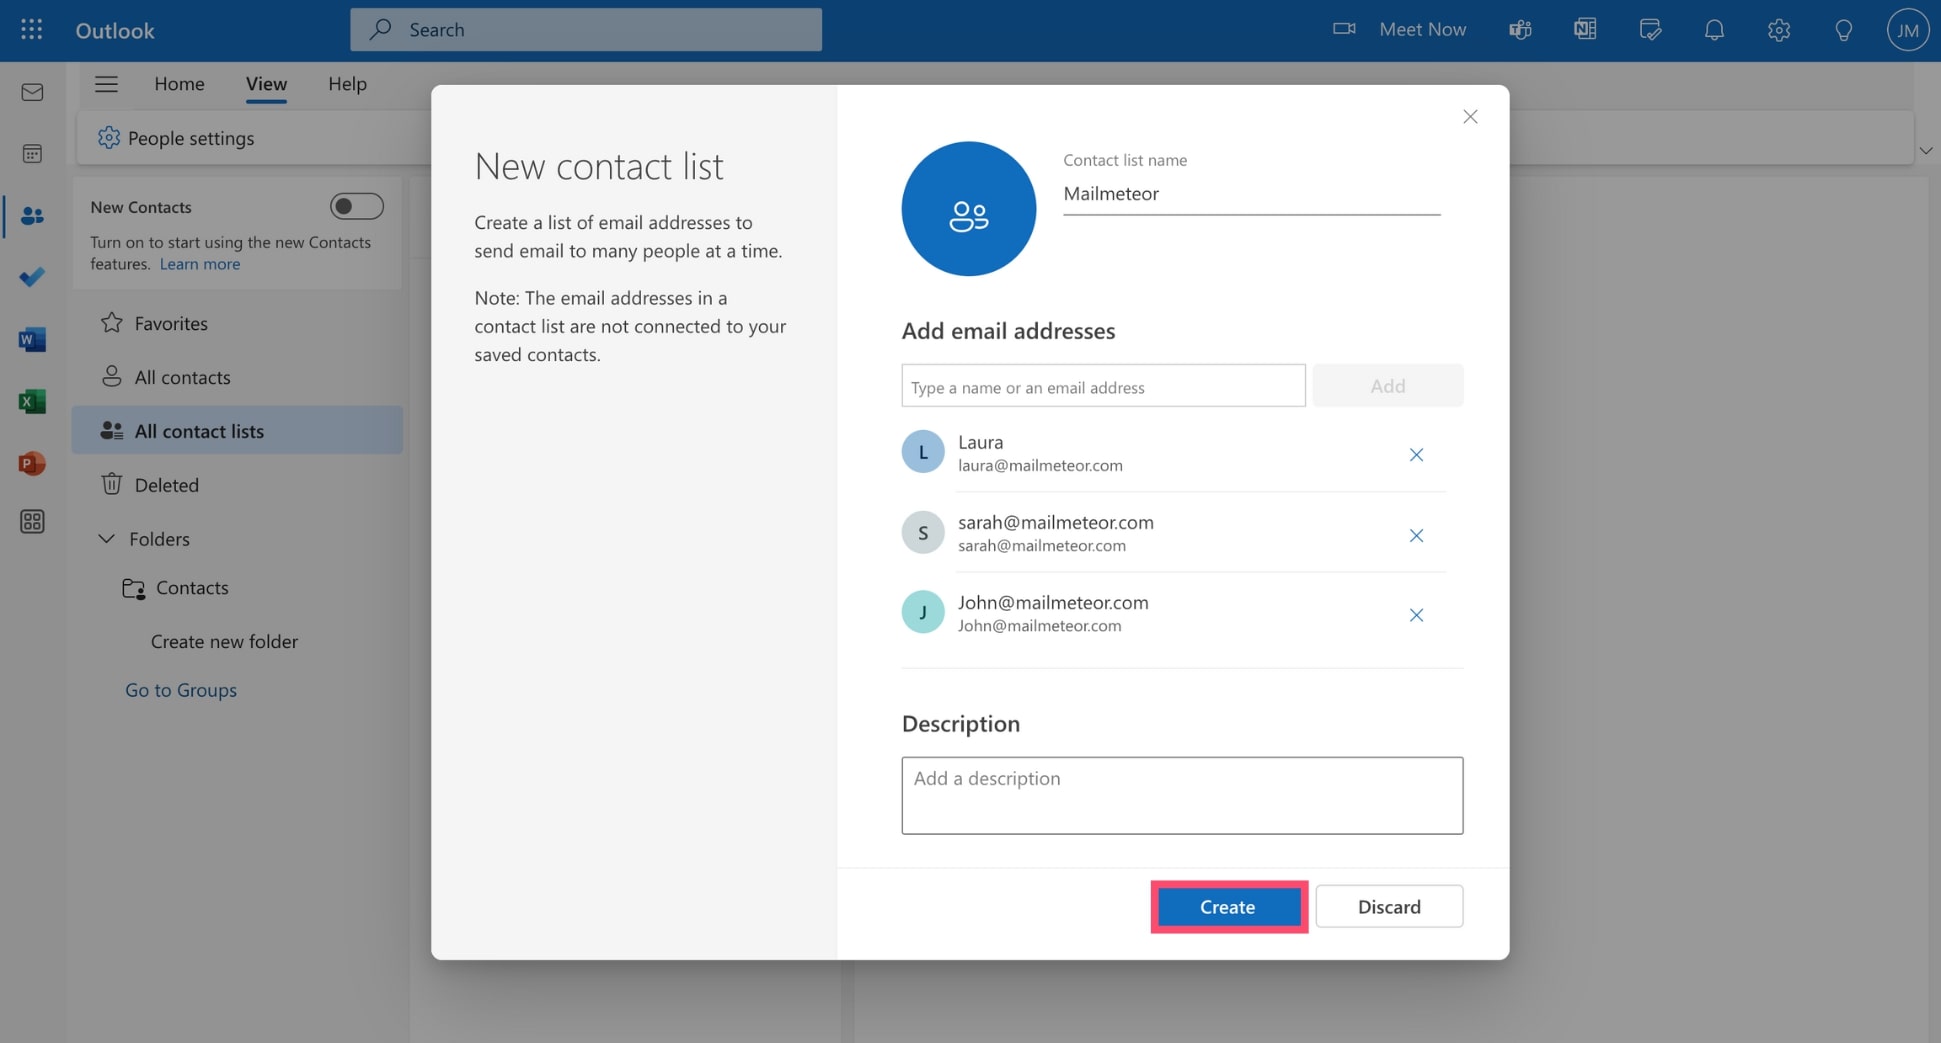
Step 6: Once you’re done adding contacts, click Create.
And done. From now on, whenever you need to email this group of people, you can simply type the name of your contact list in the To field of your email, and all members will receive the message.
Using Contact Groups
Need more tools to collaborate with your contacts? Meet Groups, a simple Outlook feature that lets create a shared space with a specific group of people. You can share conversations, files, calendars, and more.
Here’s how to create a contact group in Outlook:
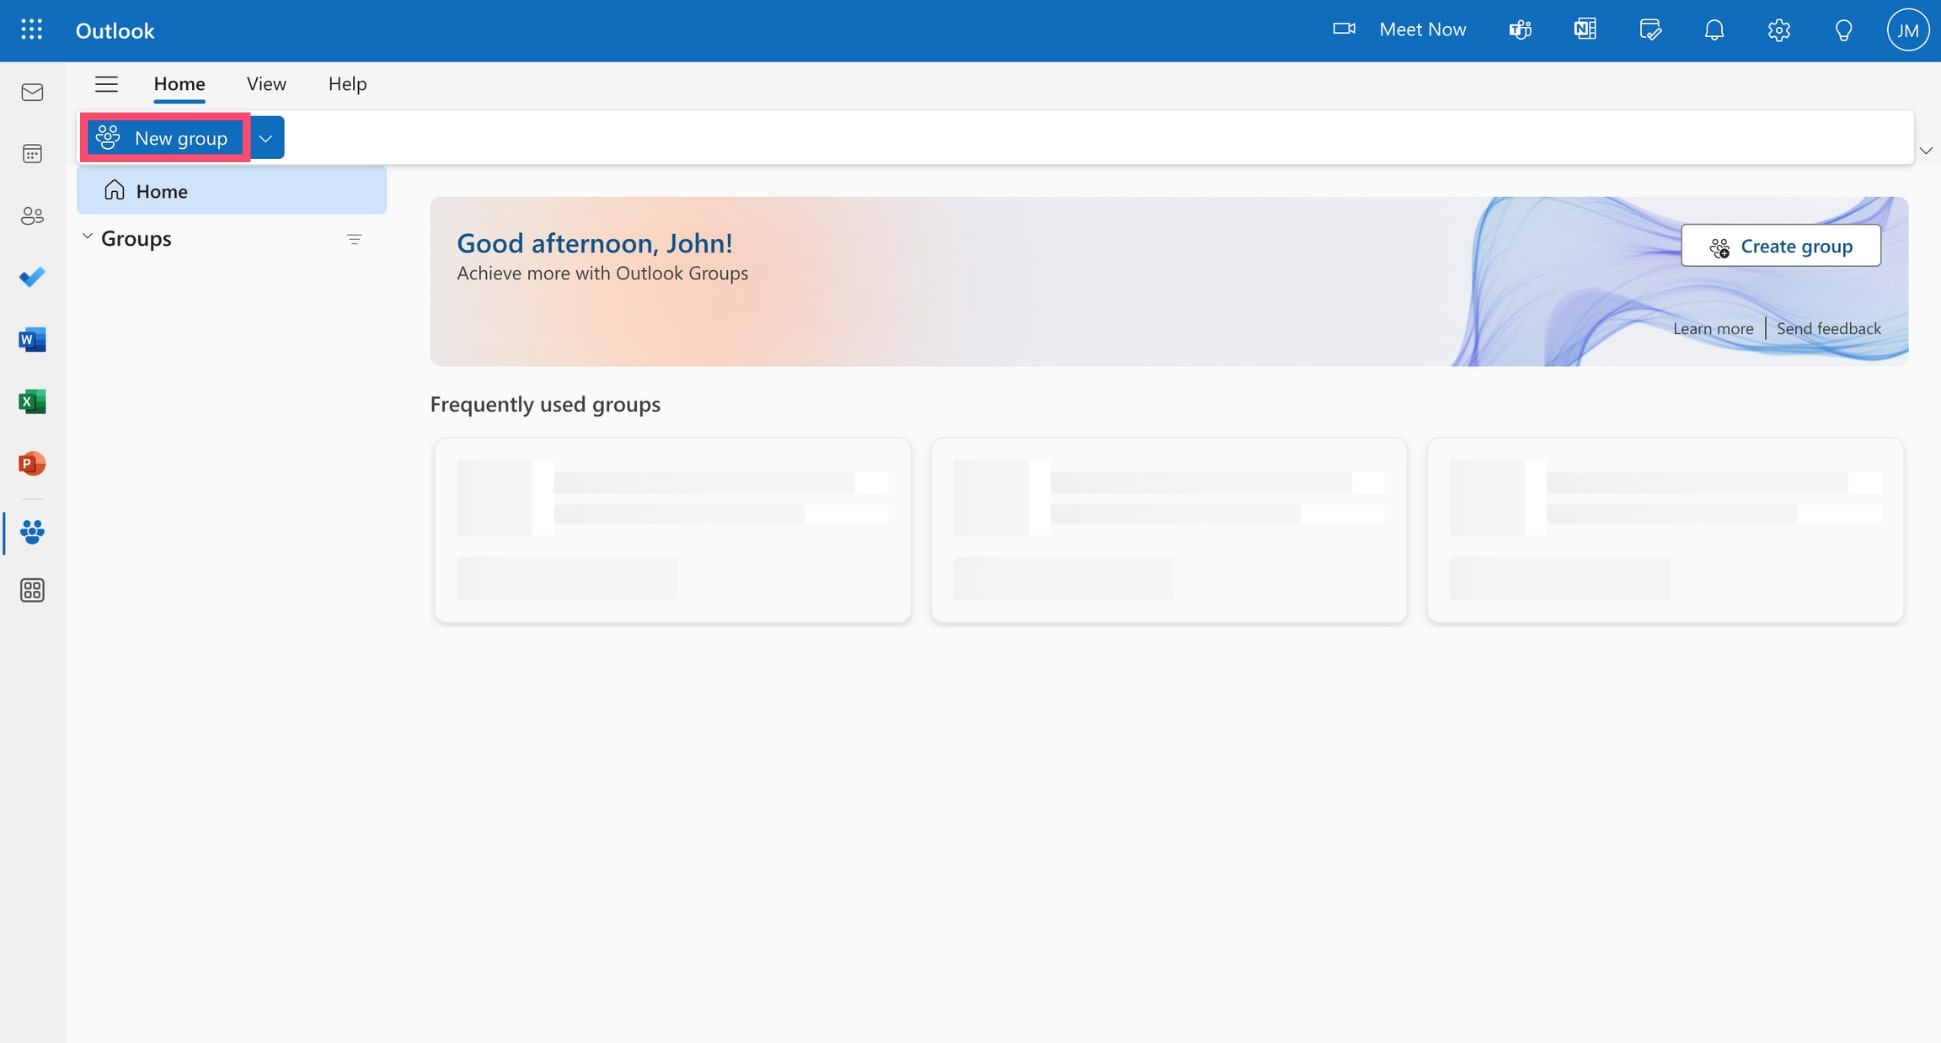
Step 1: Open Microsoft Outlook.
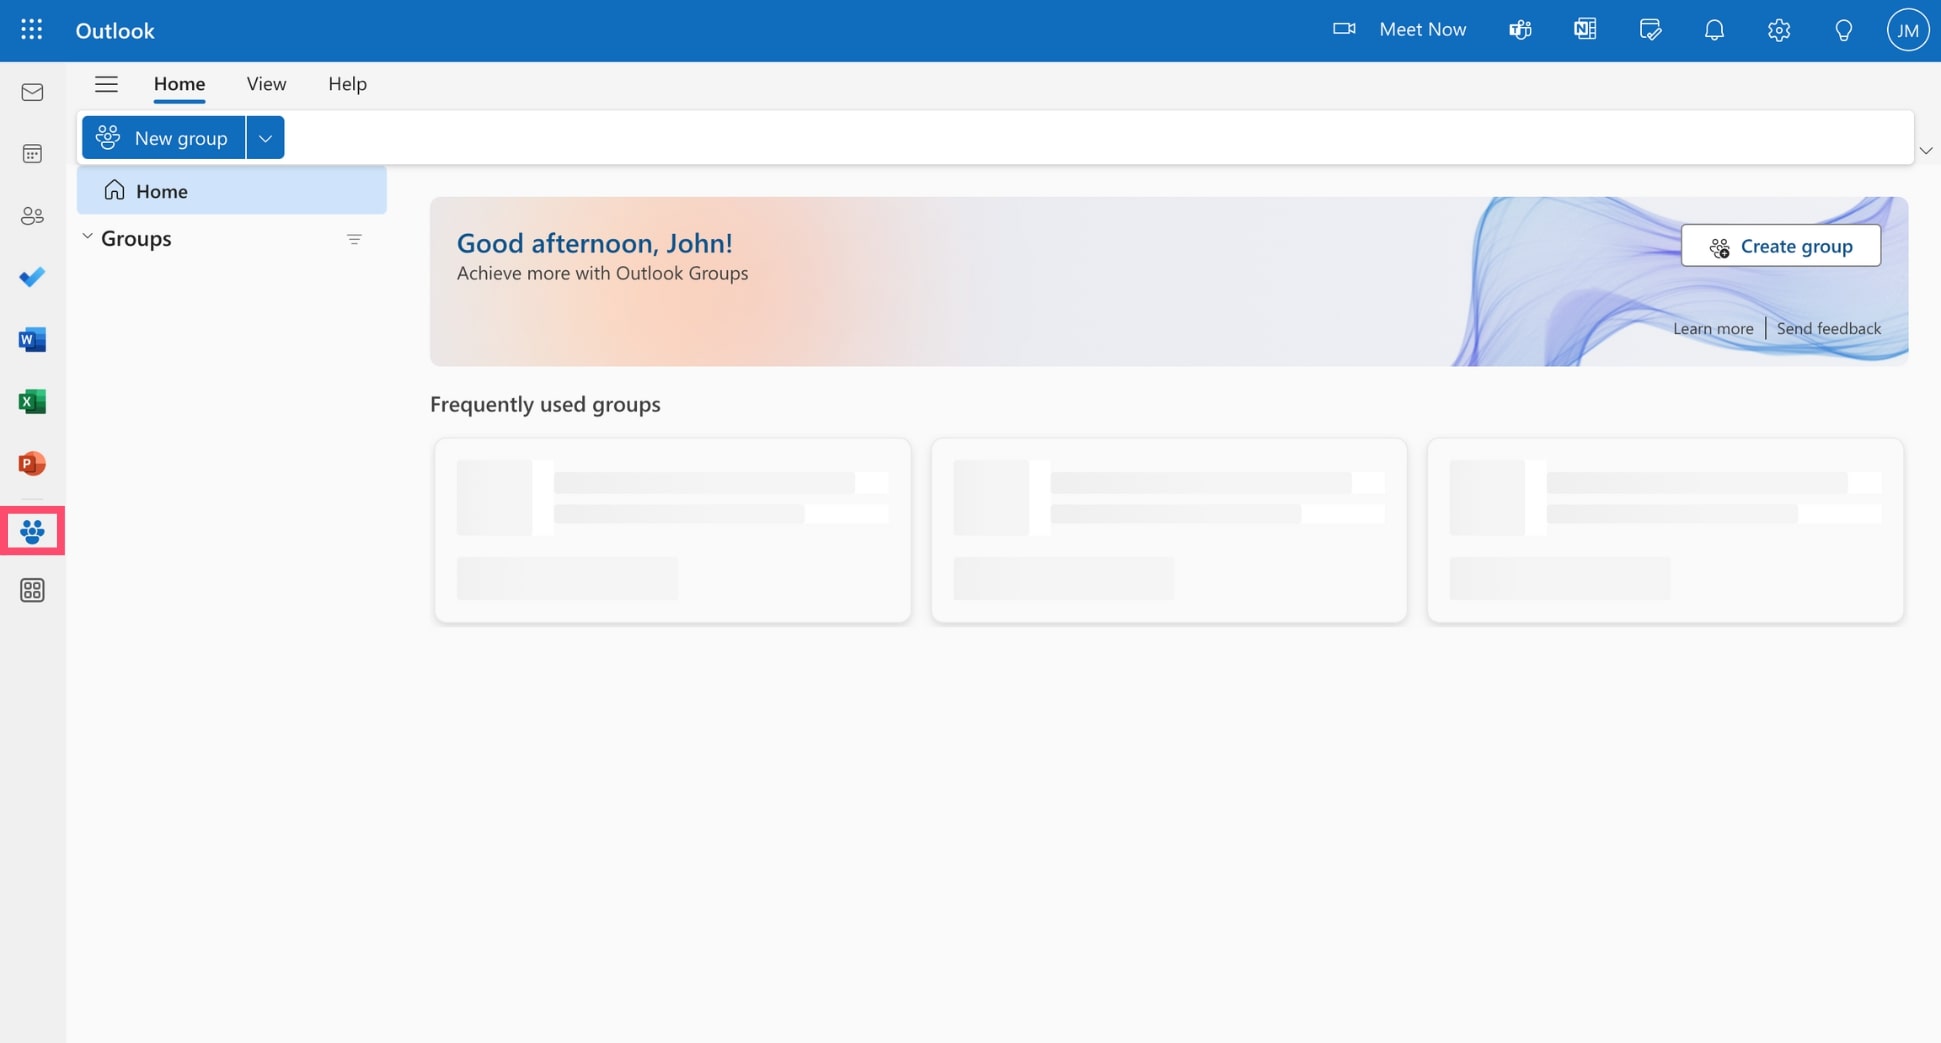
Step 2: Go to the Groups tab.
Step 3: Click New group.
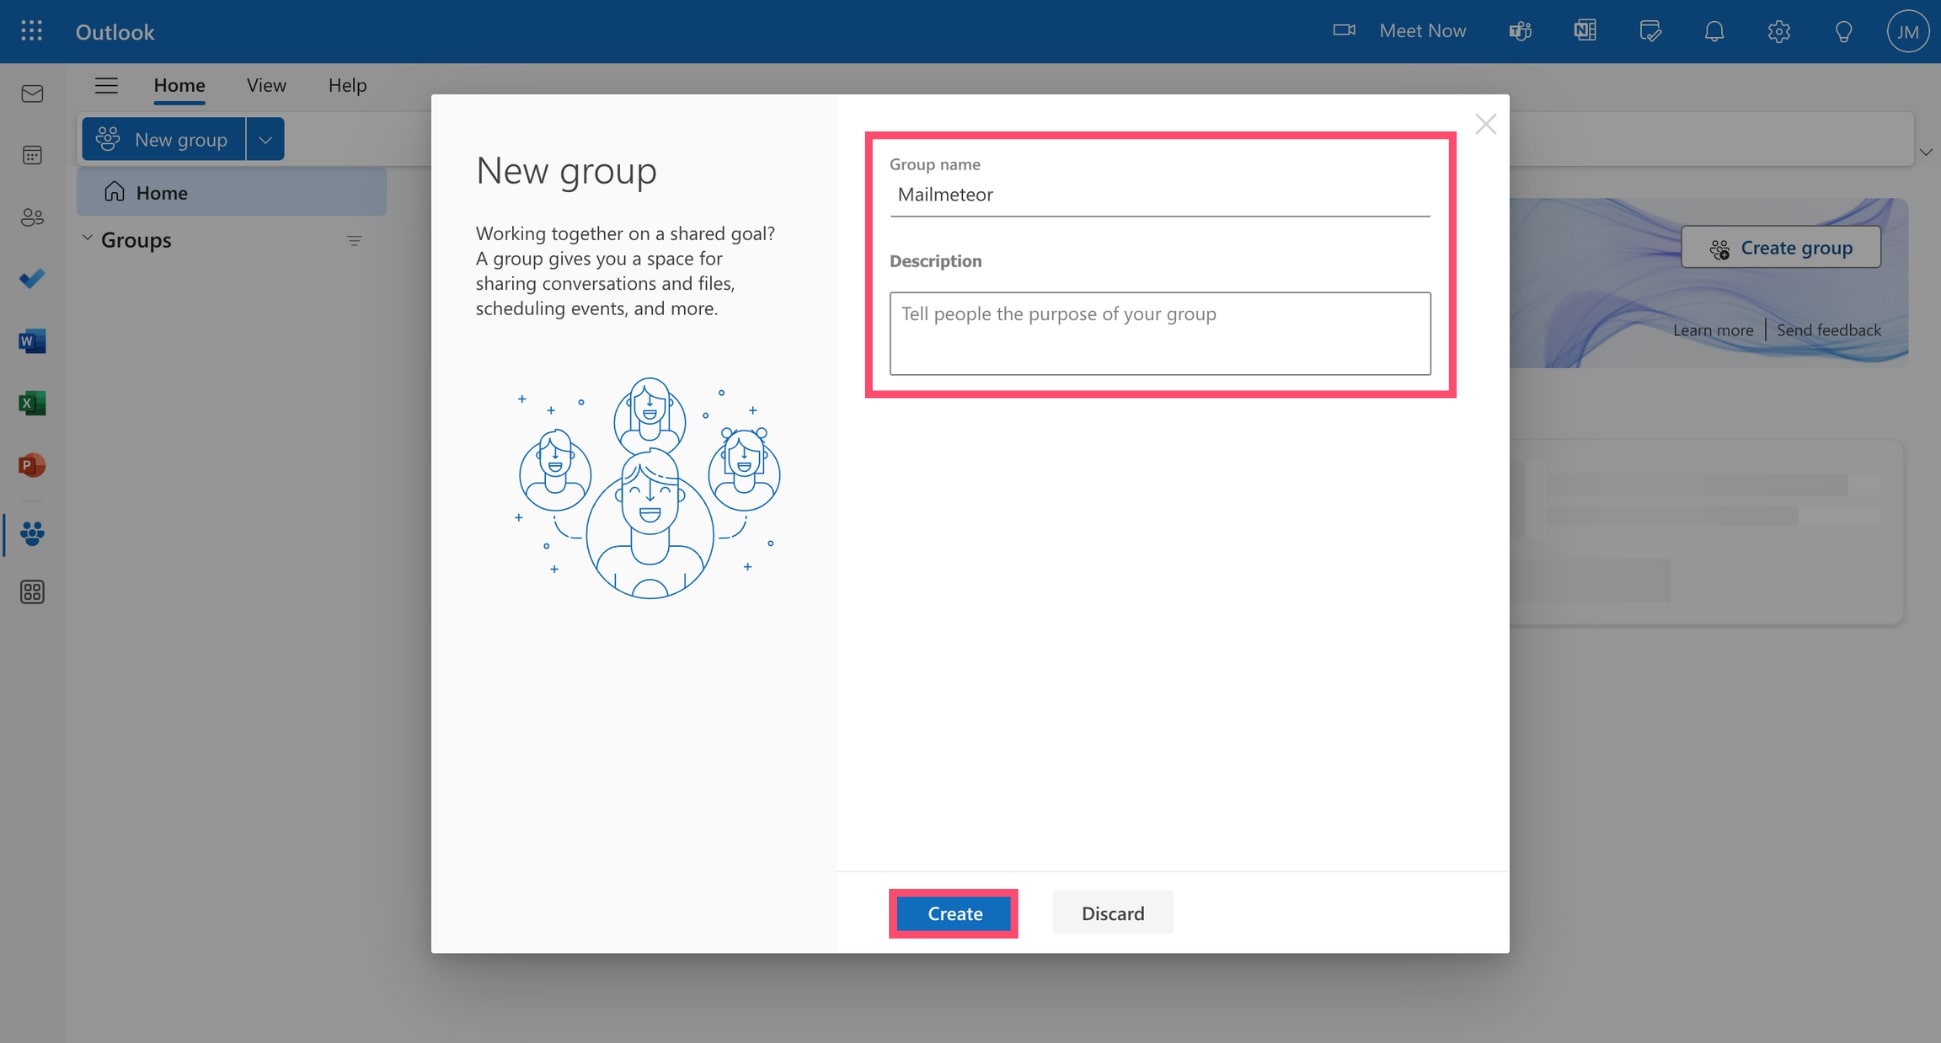
Step 4: Enter the name of your Outlook contact group. Add a short description to tell people the purpose of your group. Then click Create.
Step 5: Enter the names or email addresses of the contacts you want to add to this group. Then click Add.
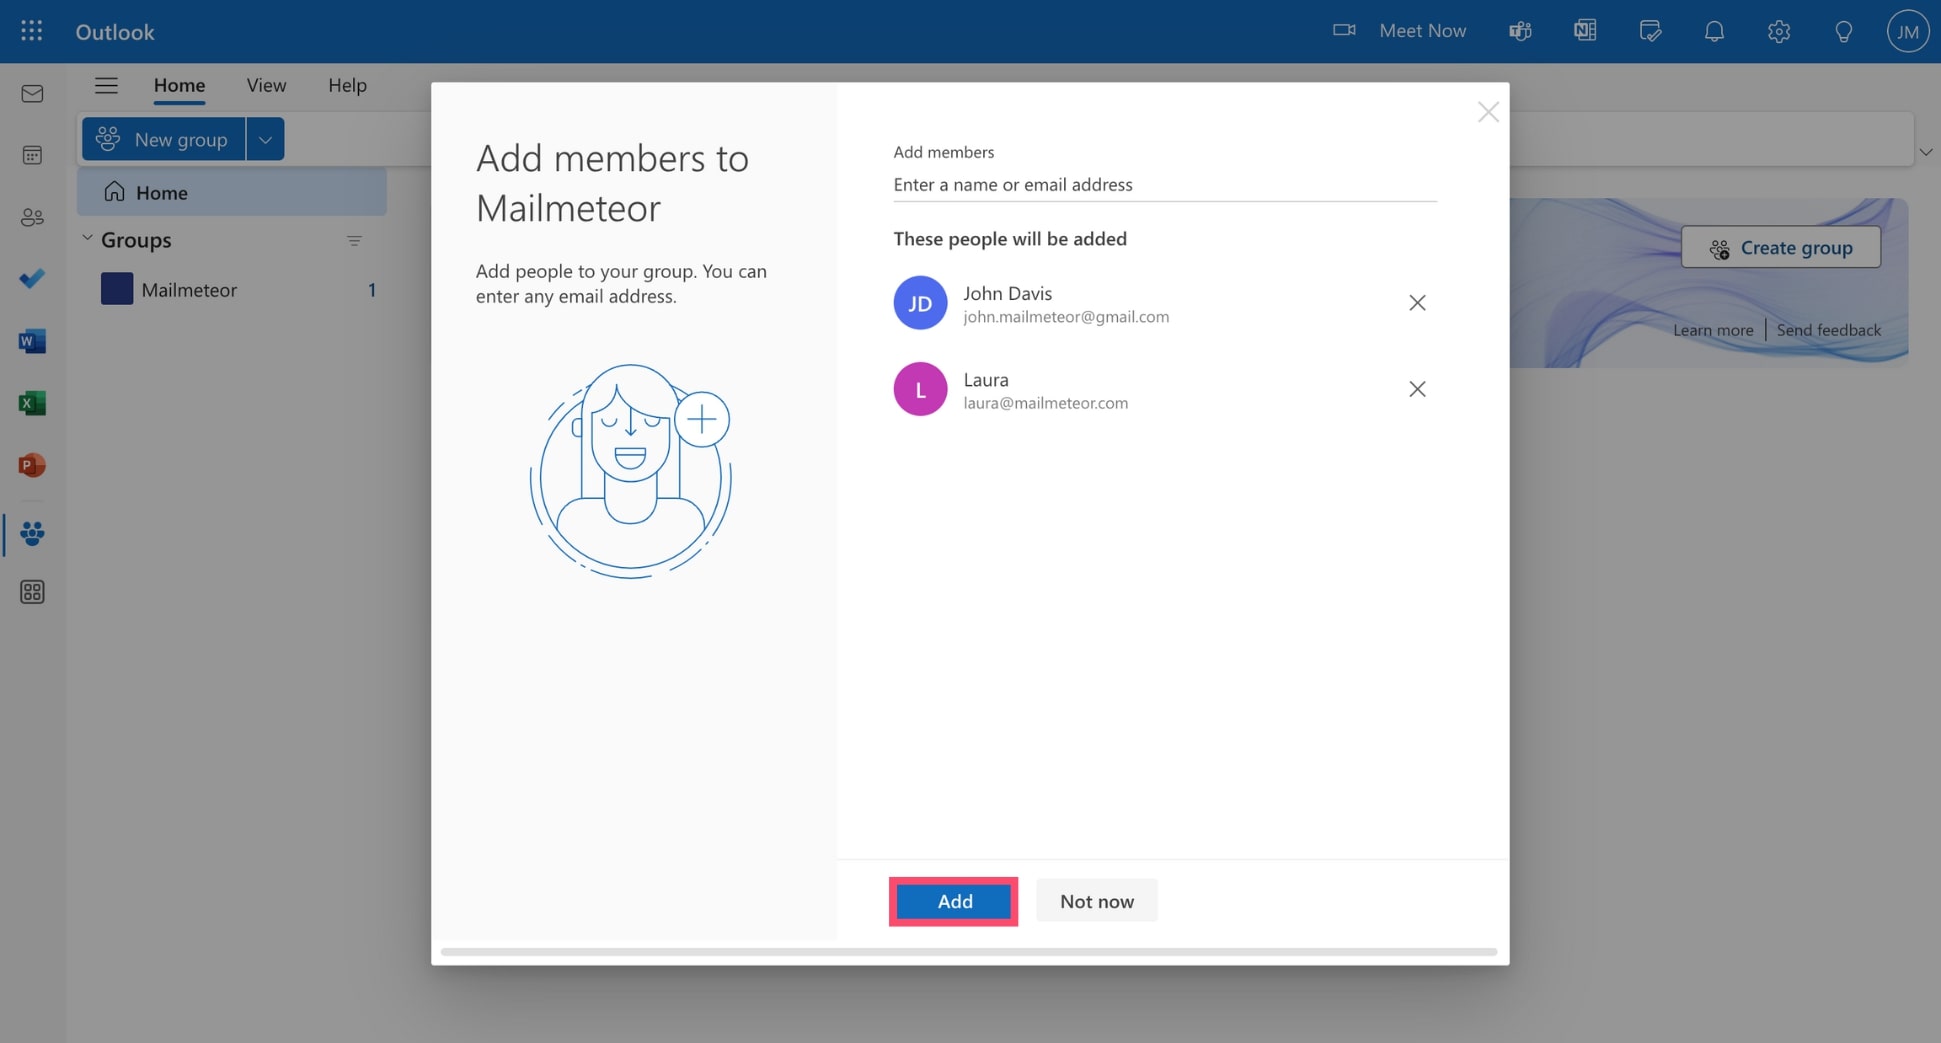
And done. Your Outlook contact group is now ready. Microsoft will automatically create an email address for the group, and the other members will receive an invitation to join your group.
Once they’ve accepted the invitation, they’ll have access to a shared inbox and calendar. Only group members and trusted senders can send messages to the group. You can also assign roles to each member.
Using Categories
Categories are a versatile tool. This feature lets you tag your Outlook contacts with labels, making it easier to search, sort, and filter them. For example, you can categorize contacts as Friends, Clients, or Vendors.
Here’s how to categorize contacts in Outlook:
Step 1: Sign in to Outlook.
Step 2: Go to People.
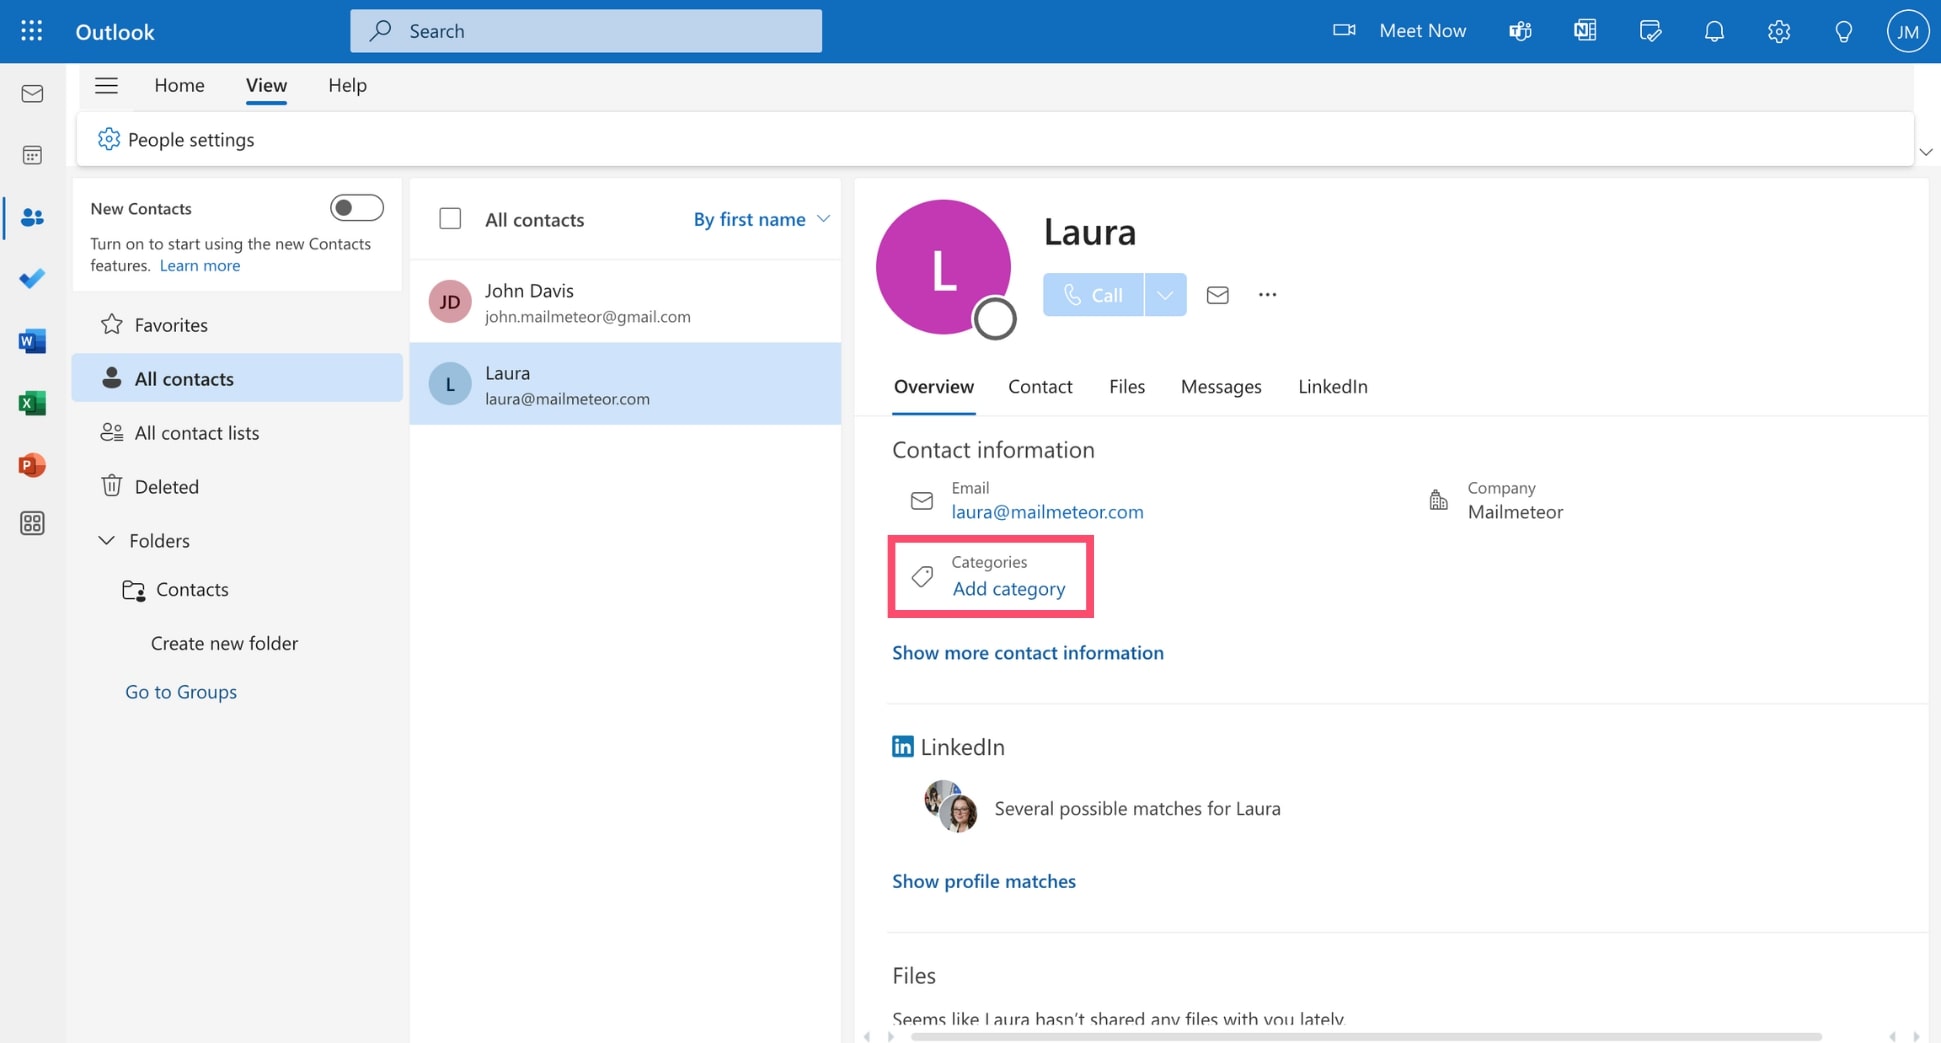
Step 3: Select the contact you want to label.
Step 4: From their contact card, click Add category.
Step 5: Select an existing category, or click New category to create one.
Step 6: Enter the name of your category. Then select a color.
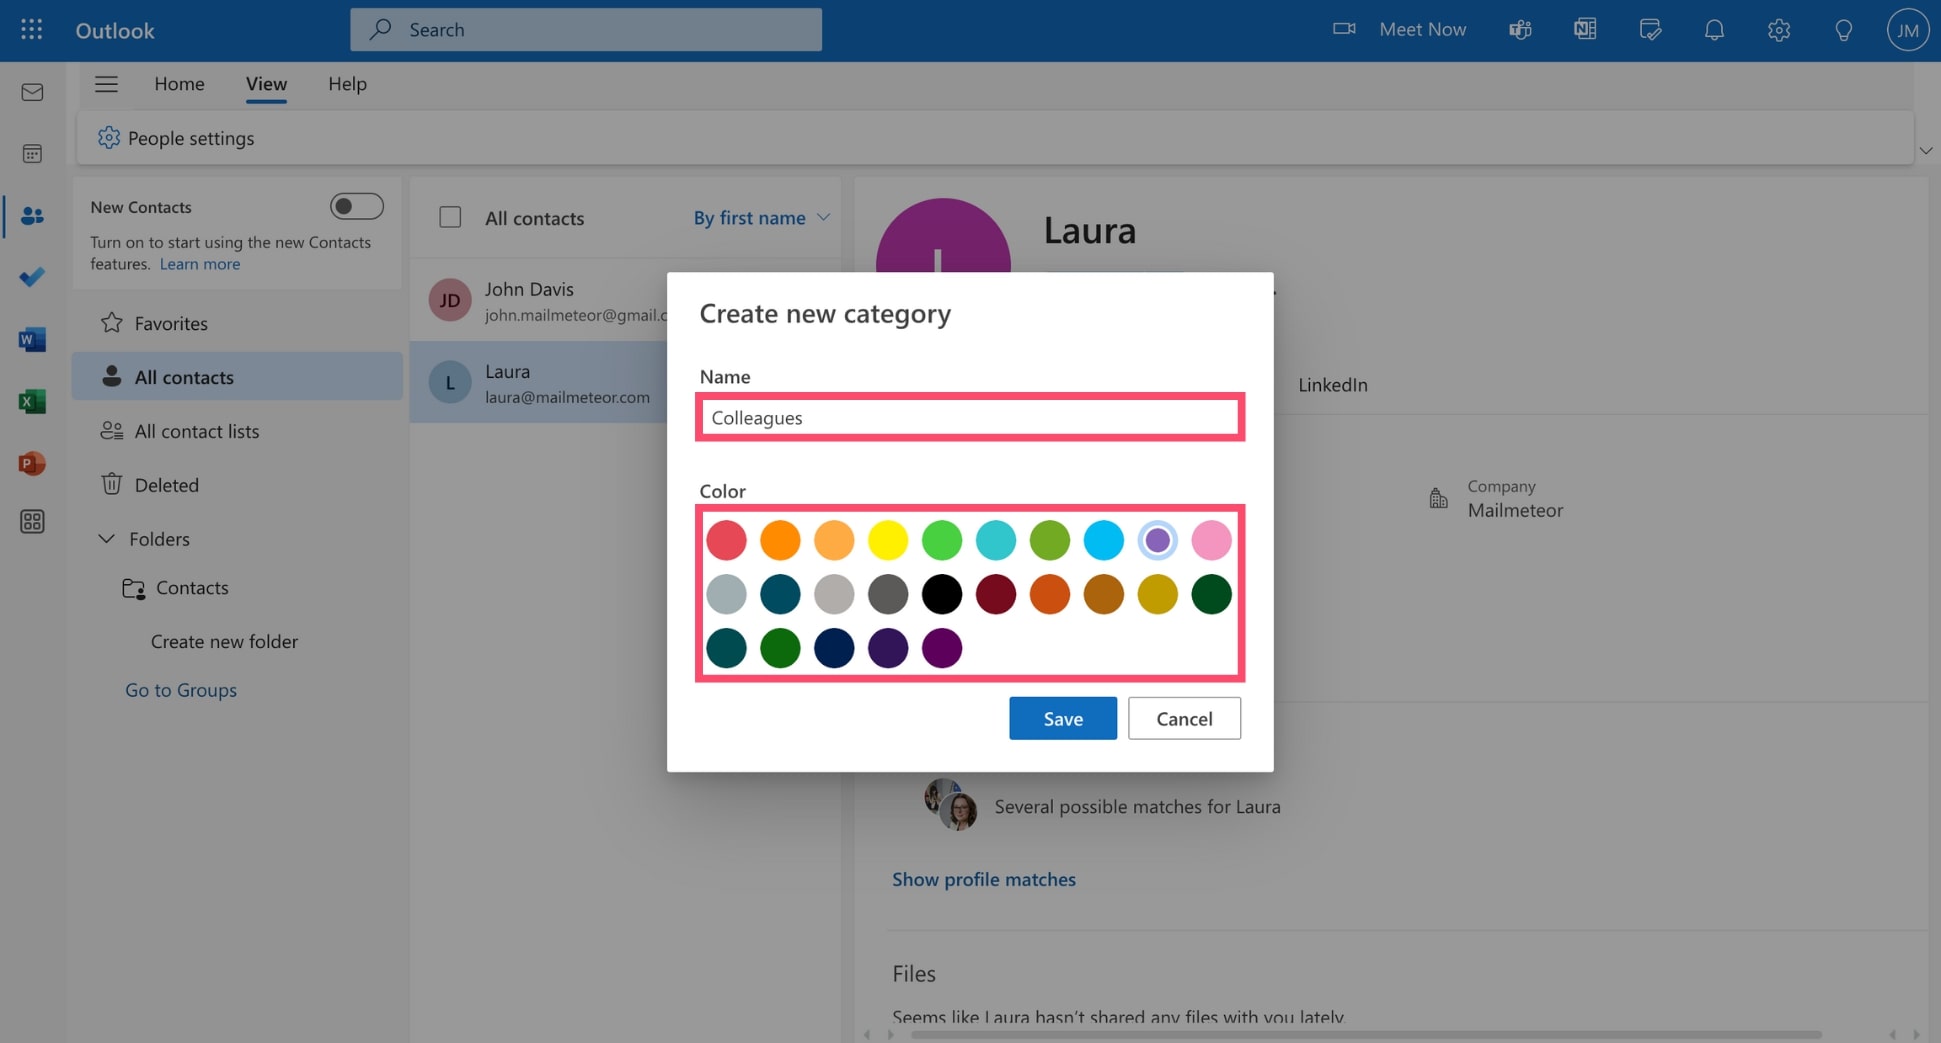
Step 7: Once you’re ready, click Save.
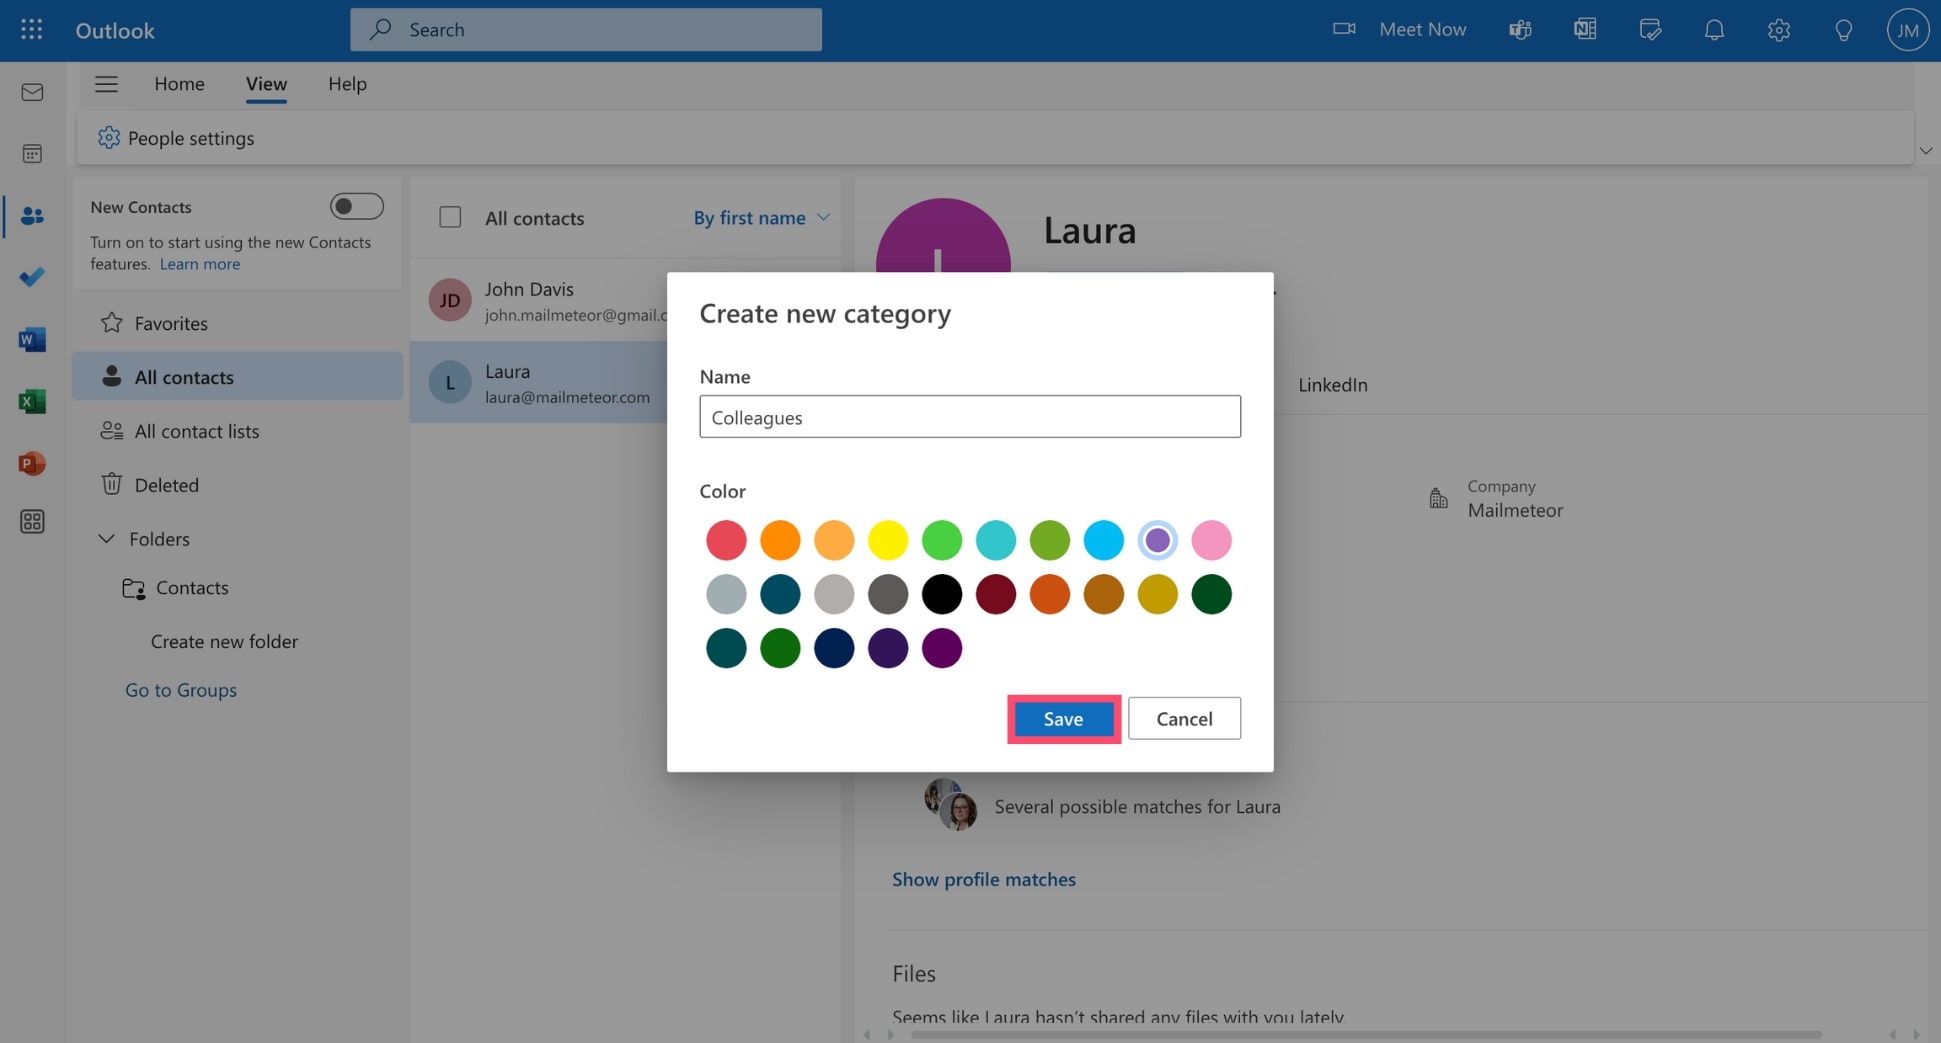
And that’s it. You’ve successfully created your first category. Now, you can apply this category to more contacts for better organization. This will help you quickly identify your contacts with colored tags.
Using Folders
Lastly, you can manage your Outlook contacts using folders. This feature lets you create a hierarchical structure and group contacts into separate directories for easier access and management.
Here’s how to create a custom folder for your Outlook contacts:
Step 1: Go to Outlook.
Step 2: Open the People tab.
Step 3: Under Folders, click Create new folder.
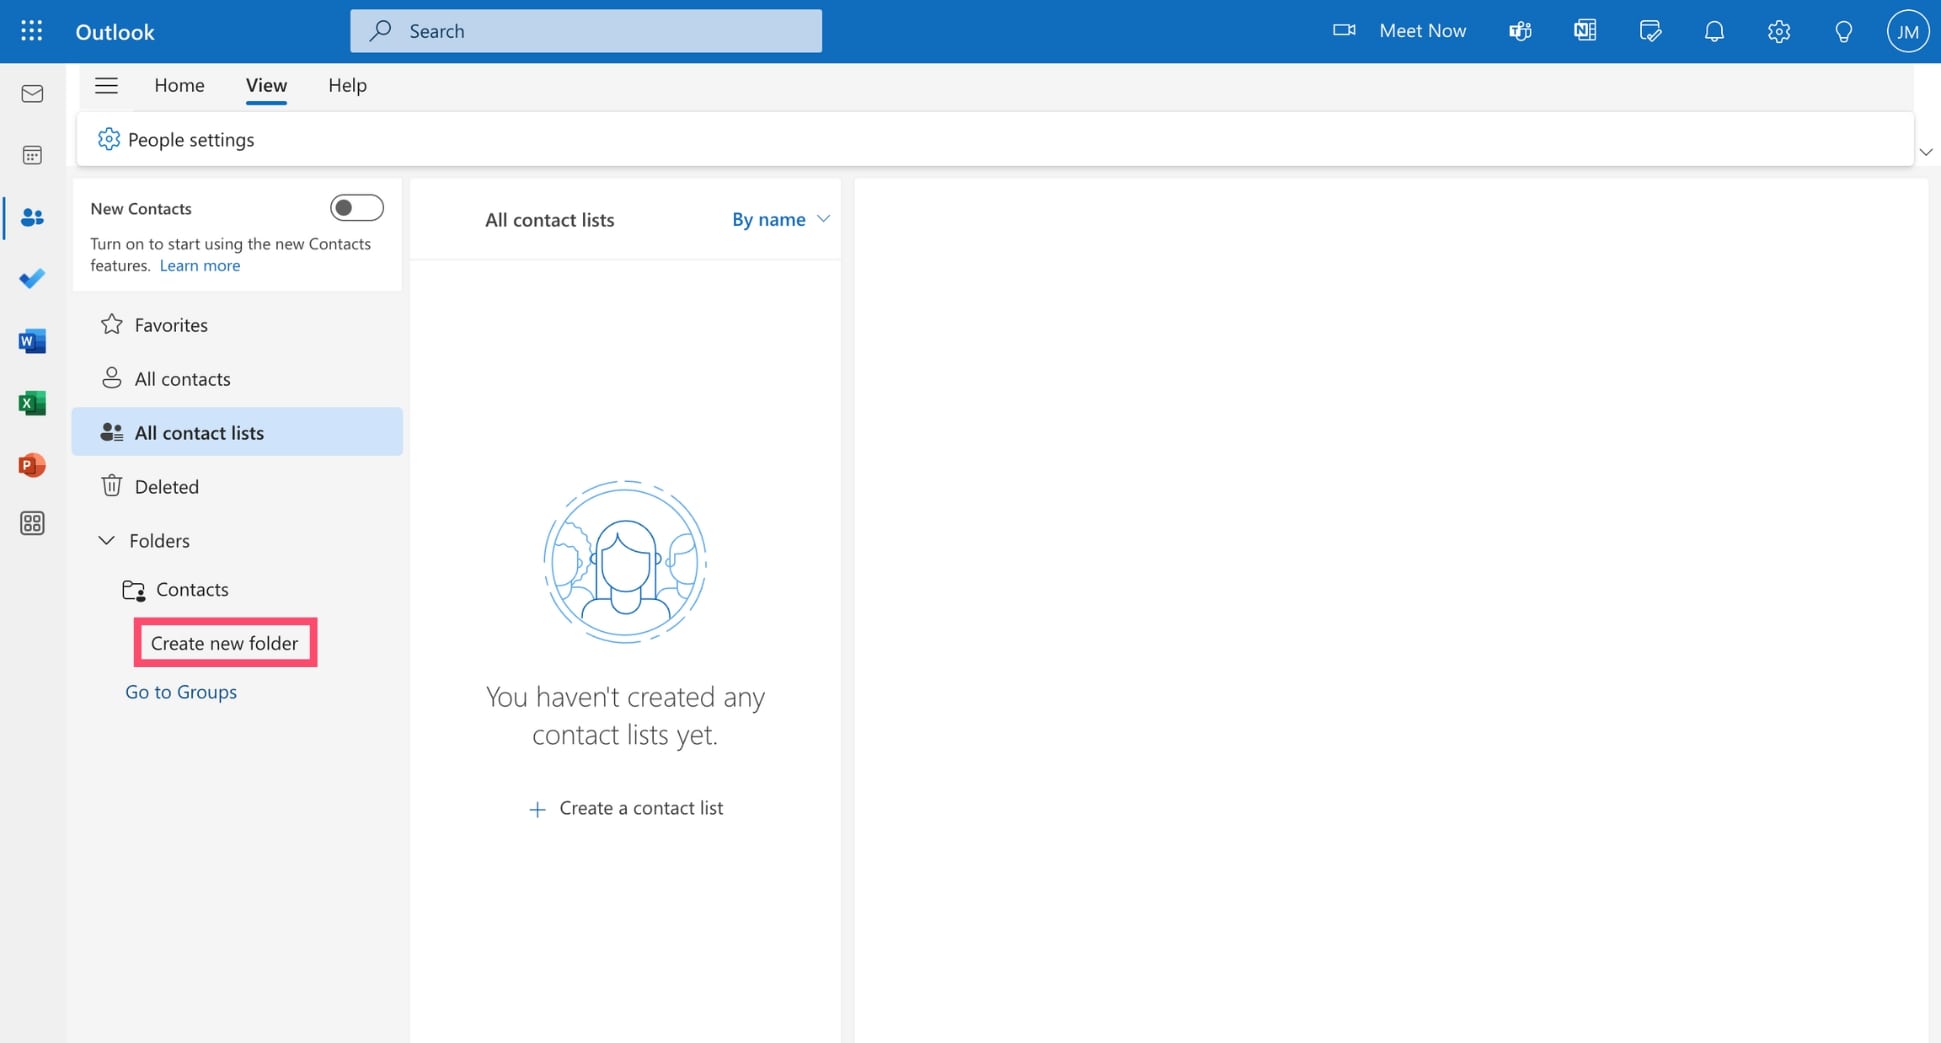
Step 4: Name your Outlook folder and press Enter.
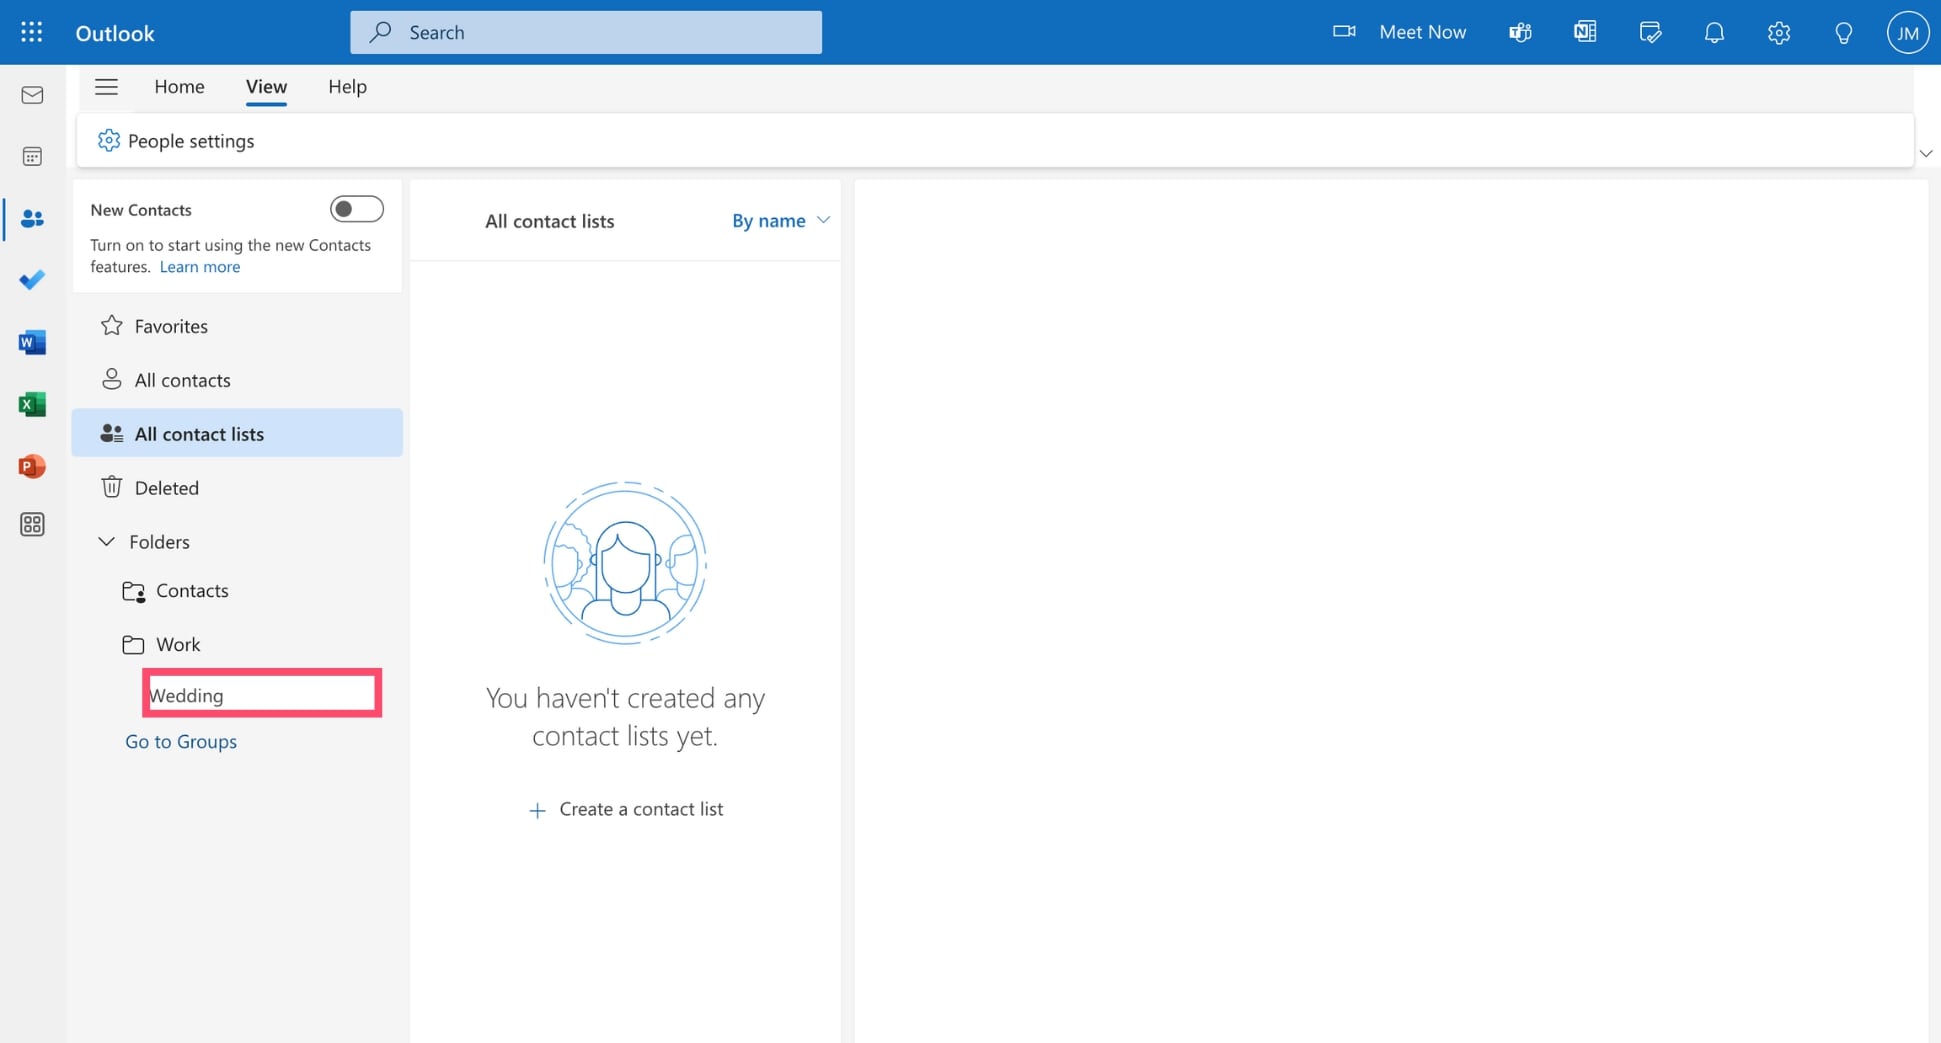
And voilà? To add contacts to your Outlook folders, open a folder, click Add a contact, enter the contact details, and press Create. You can add contacts, emails, and events to your folders, keeping all related information stored together.
How to import contacts in Outlook?
Manually adding contacts to your Outlook account can be a tedious and time-consuming task, especially if you have dozens of contacts to add. Fortunately, Outlook allows you to import multiple contacts at once from sources like Gmail, CSV files, or other Outlook services. Here’s how it works.
Step 1: Open Outlook.
Step 2: Go to *People.
Step 3: Click Manage
Step 4: Choose Import contacts
Step 5: Click Browse and select the file you want to upload.
Step 6: To confirm, click Import.
And voilà. You’ve successfully imported new contacts into your Outlook account. Use this technique to add multiple contacts at once and save time.
How to sync Outlook contacts?
Outlook gives you the possibility to sync contacts from your email accounts to your Android or iPhone address book, allowing you to use these contacts in other apps without having to import them manually.
Here’s how to activate this feature on your mobile:
Step 1: Open the Settings.
Step 2: Go to Accounts.
Step 3: Tap the account you want to sync with.
Step 4: Turn on the Sync Contacts switch.
You’re all set. From now on, every time you add a new contact to your Microsoft Outlook account, you will also find it in your mobile device’s address book. Use this technique to stay connected even when you’re on the move.
How to update contacts in Outlook?
Need to edit a contact? Or update their information? Here’s how to modify an existing contact in Microsoft Outlook.
Step 1: Open Outlook.
Step 2: Navigate to the People tab.
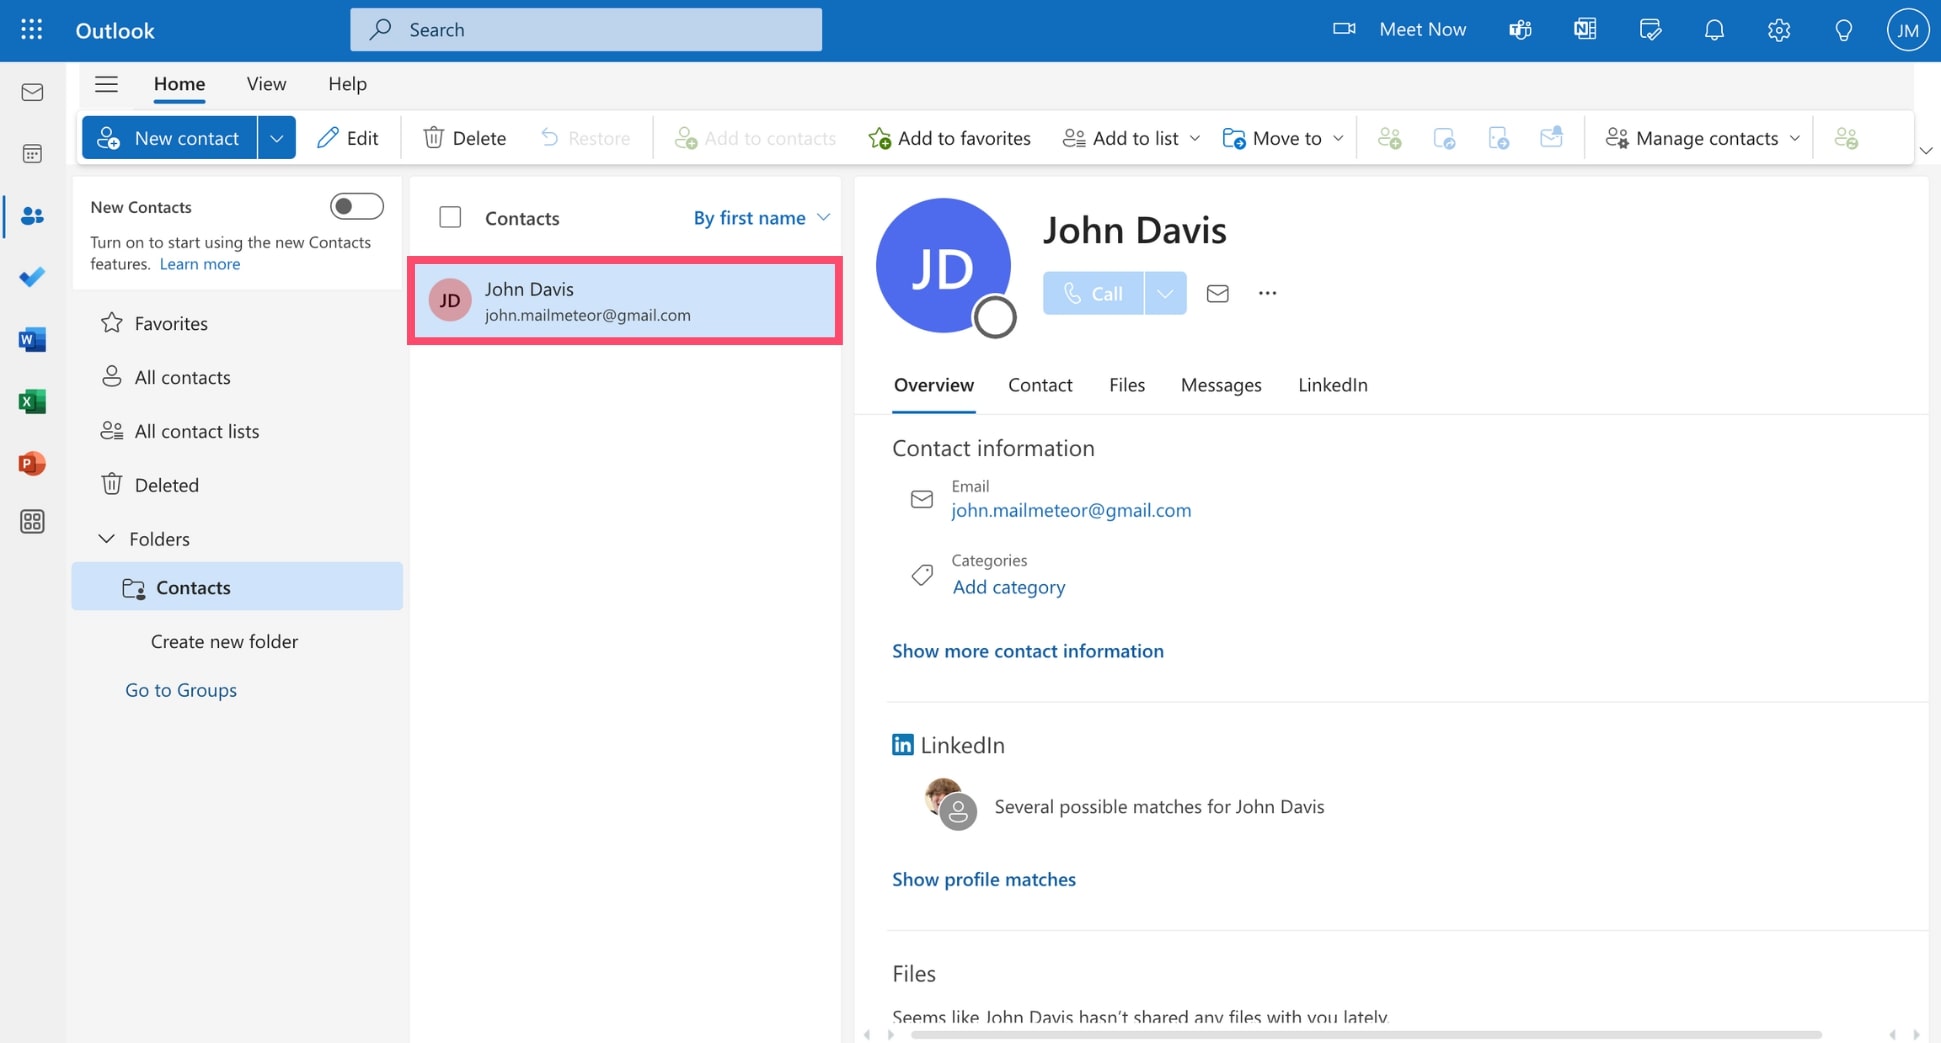
Step 3: Select the contact you want to edit. This will open their Contact Card, allowing you to access and update all the information about this contact.
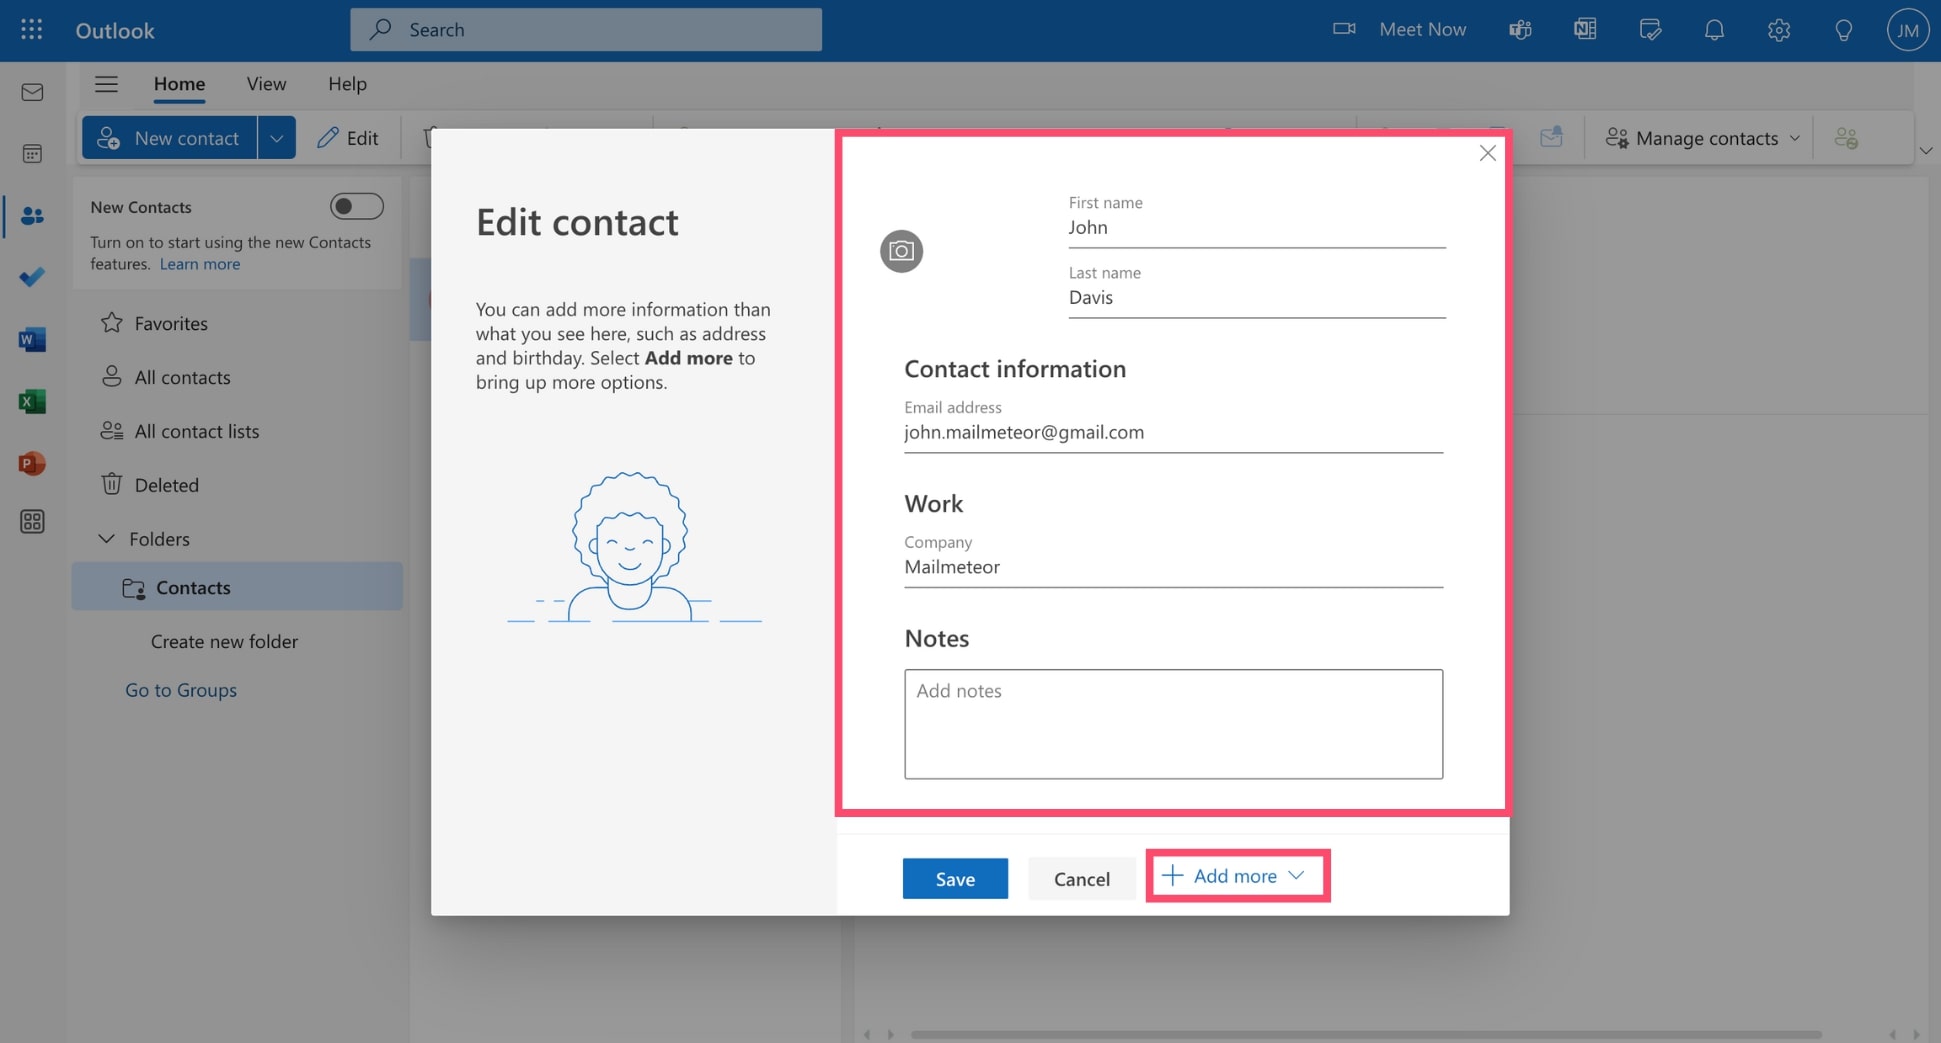
Step 4: Click Edit.

Step 5: This will open a new window. From there, you can update the existing information about your contact. Or you can add new details, by clicking Add more, and selecting the appropriate field.
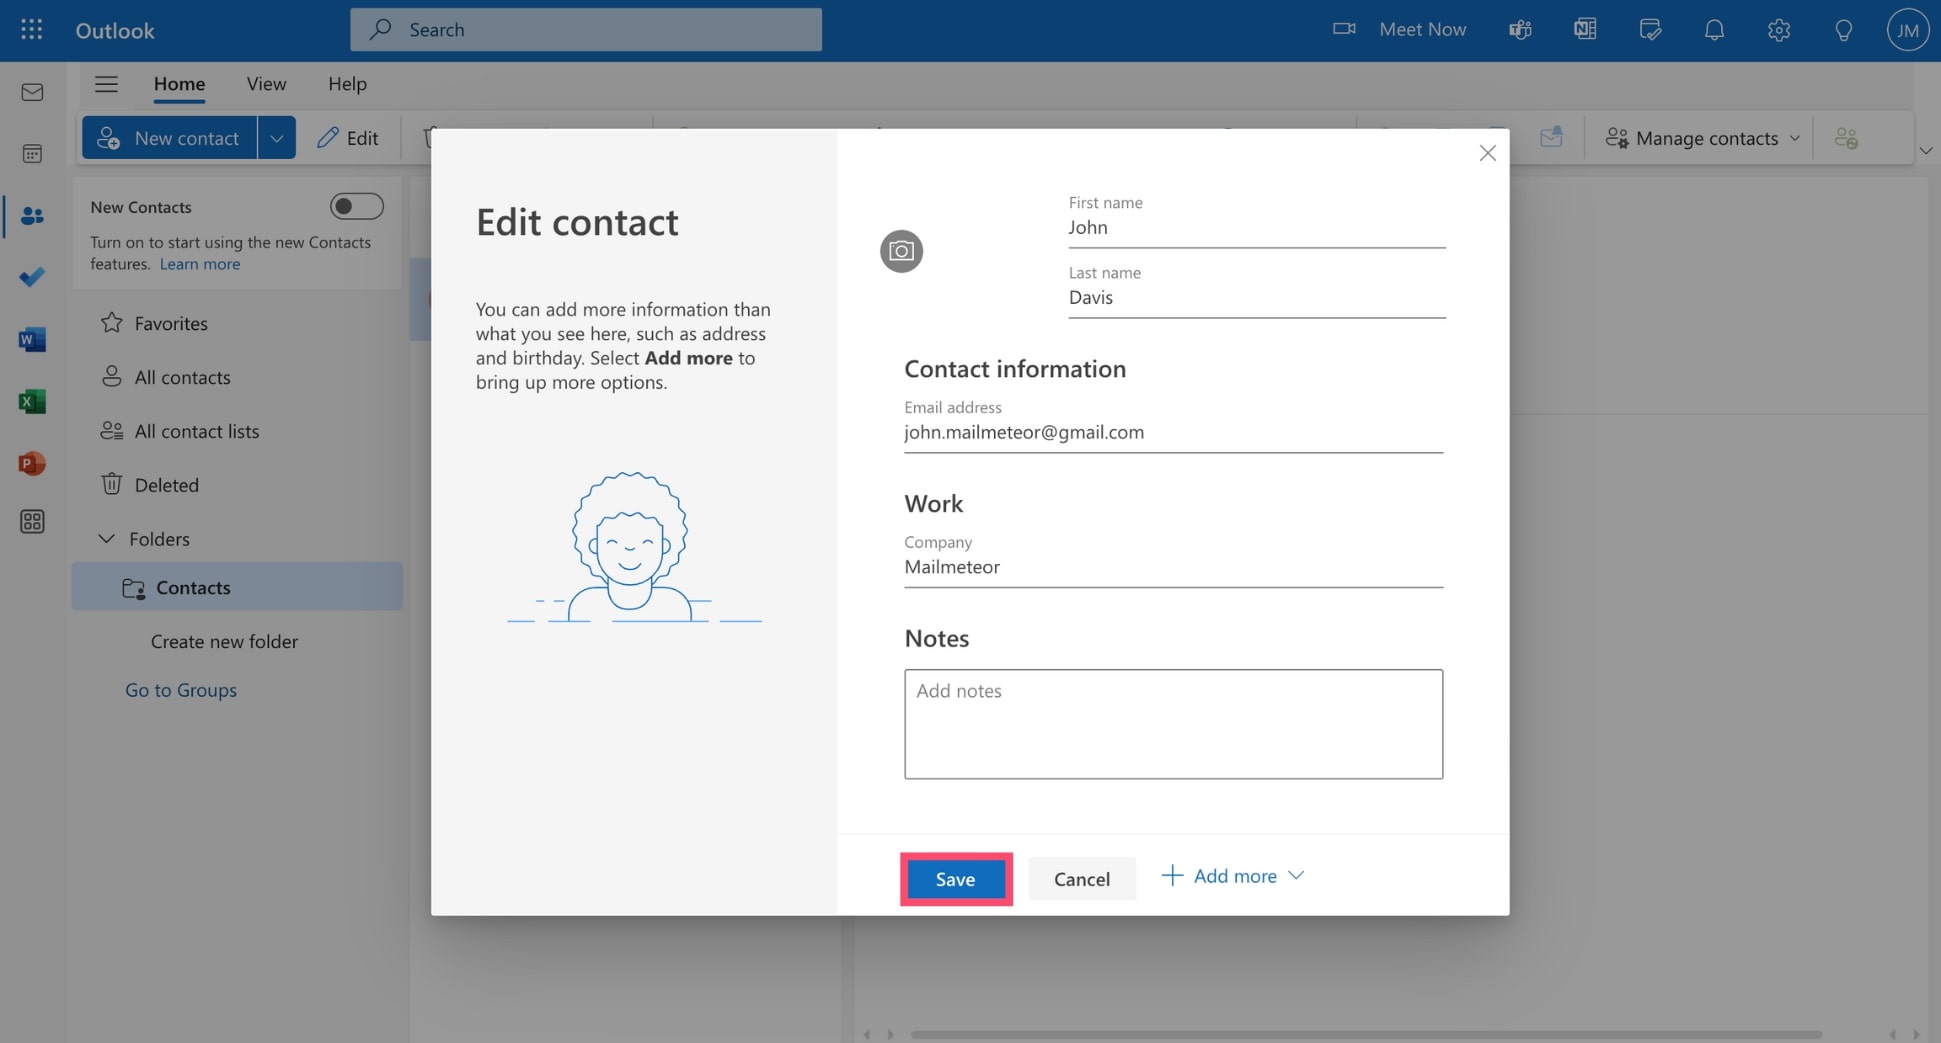
Step 6: Once you’re happy with the modifications you’ve made, click Save to confirm your changes.
And voilà! You can now edit your Outlook contacts. Use this to keep your address book up to date and well-organized, making sure to always have the latest information at your fingertips.
How to remove contacts from Outlook?
Lost track of someone? Or need to remove them from your contact list? Here’s how to delete a contact from your Outlook account.
Step 1: Go to Outlook.
Step 2: Head over to the People tab.
Step 3: Select the contact you want to remove.
Step 4: In the ribbon, at the top of your screen, click Delete.
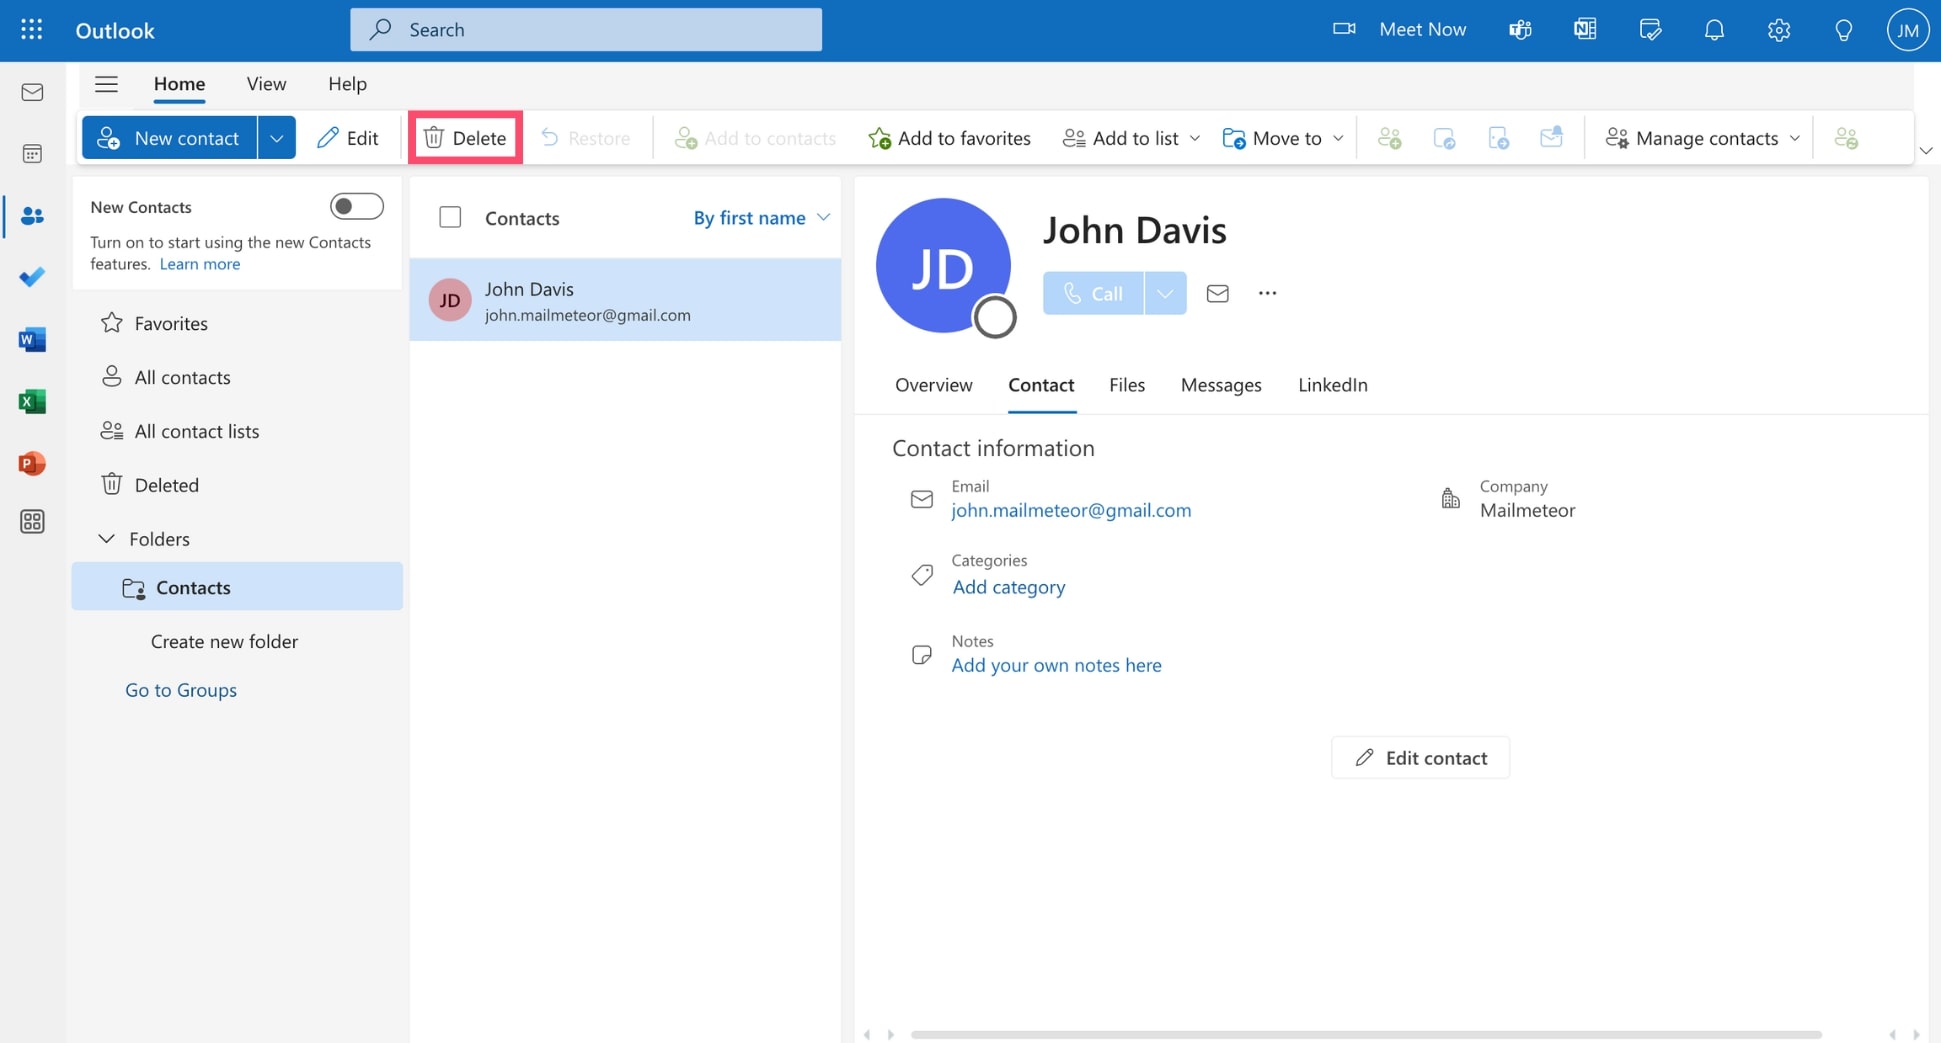
Step 5: To confirm, press Delete again.
And done. Your contact has now been removed from your address book. You can still find it the Deleted folder of your account. To permanently delete this contact, go to Deleted, select your contact, and click Delete.
FAQs – Outlook contacts
Where are Outlook contacts saved?
In most cases, Outlook contacts are saved locally in an Outlook data file (.pst). Search for a file with .oab extension. This is your Outlook address book. Inside, you’ll find all your Outlook contacts. If you’re using an Exchange account, your contacts may be stored on a server instead.
How to download my Outlook contacts?
To download your Outlook contacts, go to People > Manage contacts > Export contacts. Select the folder you want to export contacts from, then click Export to save them as a CSV (comma-separated values) file.
How to manage Outlook contacts duplicates?
If you have a lot of entries in your Outlook contact list, you may end up with duplicates. When that happens, go to People > Manage > Link duplicate contacts. From there, you can select duplicates and merge them.
How do I retrieve contacts from Outlook?
To retrieve contacts, open Outlook and navigate to People > Deleted. Select the contact(s) you want to recover and click Restore. However, if a contact has been permanently deleted from your account, it cannot be recovered.


