Want to make your emails more engaging? In this quick guide, we’ll show you how to embed a personalized video in your emails using Loom. This simple technique can help you get more replies, more clicks, and ultimately more revenue.
Video is a powerful tool, especially when paired with email. According to Implix, an introductory email that includes a video can boost click-through rates by up to 96%. Additionally, Syndacast found that using the word “video” in an email subject line leads to a 19% increase in open rates.
If your emails aren’t getting the engagement you want, leveraging video could be the solution you need to capture your audience’s attention more effectively. The easiest way to do this is by recording a personalized video with Loom and embedding it in your emails using Mailmeteor.
Here’s what we’ll cover in today’s guide:
- What is Loom?
- How to send a Loom video via email?
- How to send mass emails with personalized Loom videos using Mailmeteor
Sounds good? Then let’s dive in.
What is Loom?
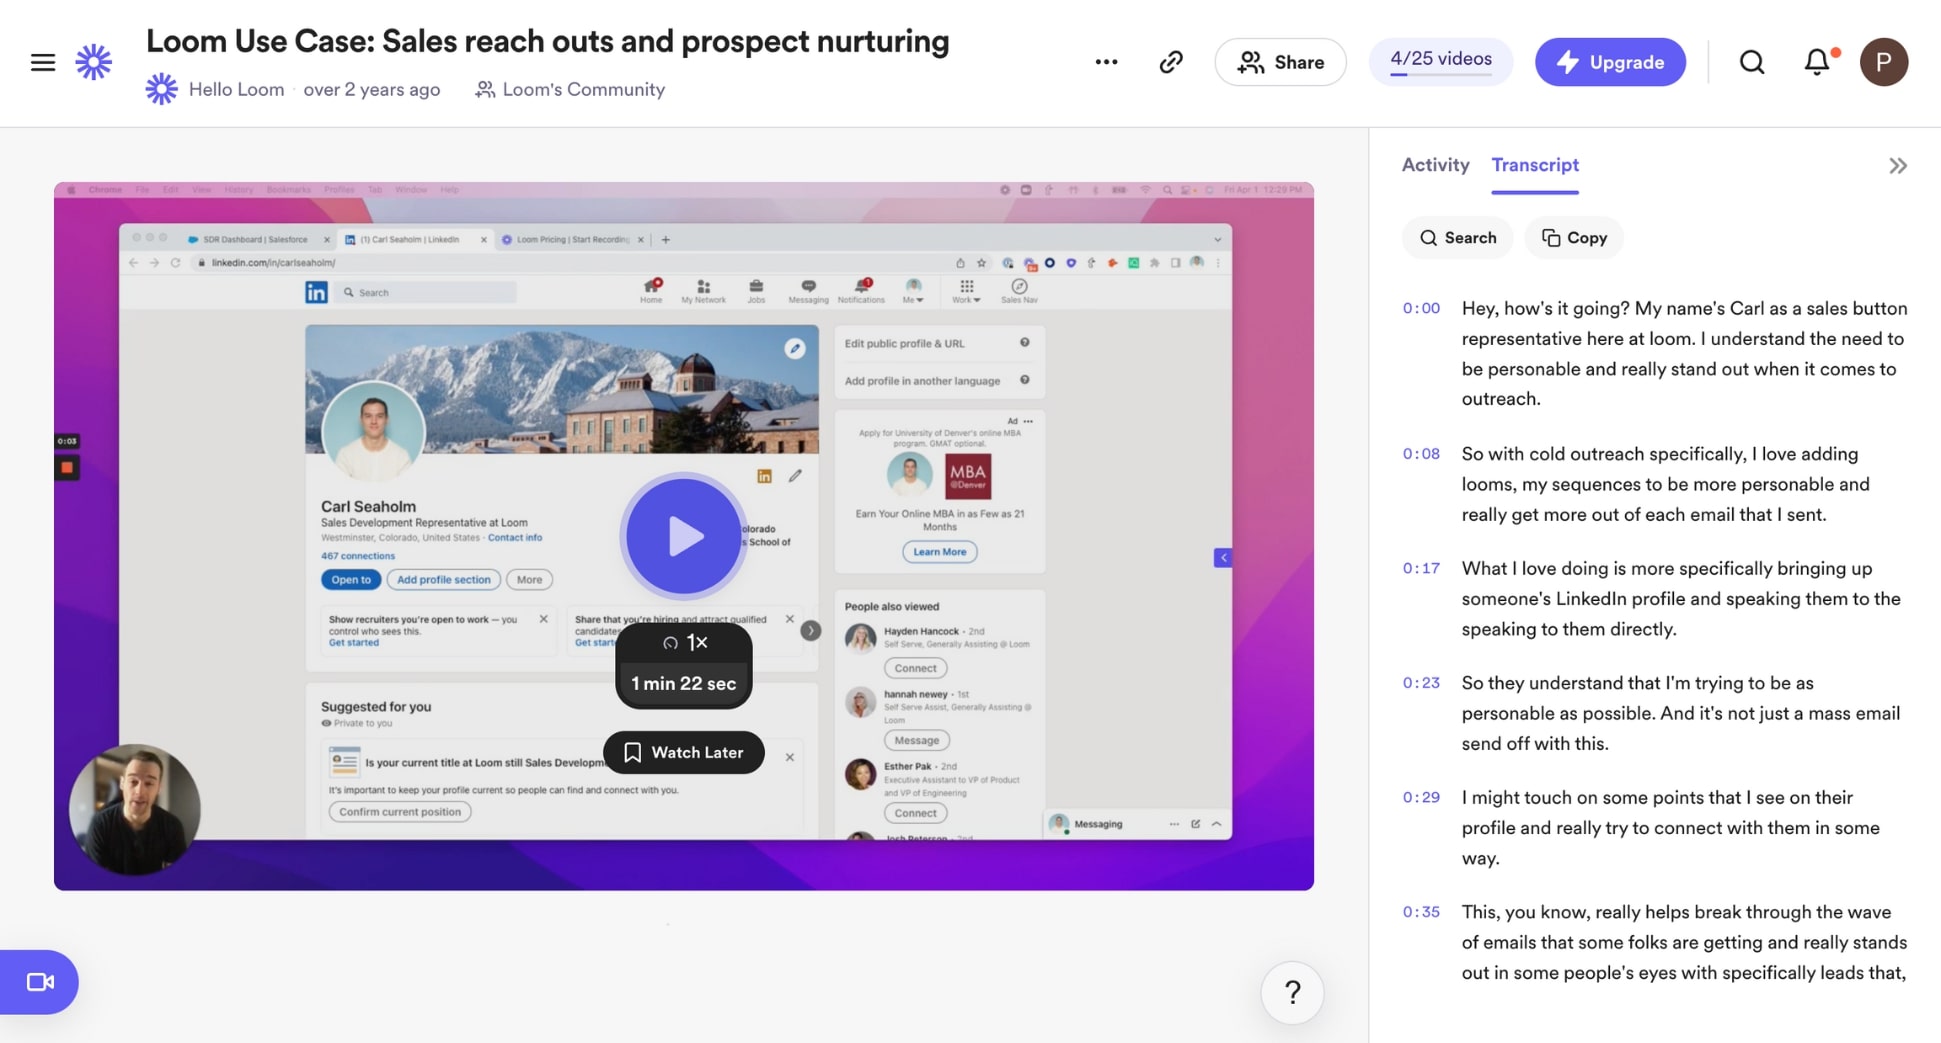
Loom is a popular video messaging tool that lets you record quick videos of your screen, webcam, or both, making it a (very) versatile tool to communicate with your customers, prospects, and coworkers.
You can use this software to create tutorials, provide feedback, deliver presentations, or simply add a personal touch to your emails. Loom makes it super easy to record and share high-quality videos.
Here are some of Loom’s key features:
- Screen and webcam recording: Loom lets you record your screen, show your face, or do both at the same time. This is particularly useful for creating video tutorials, or sharing product demos.
- Video editing: Loom offers basic editing tools that allow you to trim your video, include a call-to-action, remove silences and filler words, divide your video into chapters, and more.
- Easy sharing: Once your video is ready, Loom generates a shareable link that you can embed in emails, documents, or chat applications. This link can be customized with privacy settings and a password if needed.
- Integrations: Loom integrates with multiple third-party apps, such as Calendly, Zoom, Salesforce, Slack, Notion, and Gmail, making it easy to incorporate video communication into your existing workflows.
- Video analytics: Lastly, Loom shows you who watched your video, how much they watched, and when they stopped watching. These insights are pure gold. Use them to understand your audience and refine your strategy.
When you create a Loom video, it feels like you’re directly talking to the recipient, which is a great way to add a personal touch to your emails, capture people’s attention, and boost your engagement rates.
How to send a Loom video via email?
Want to embed a Loom video in your emails? In this section, we’ll show you how to create your Loom account, record a video, select a thumbnail image, and send your Loom video via email. One step at a time.
1. Setting up your Loom account
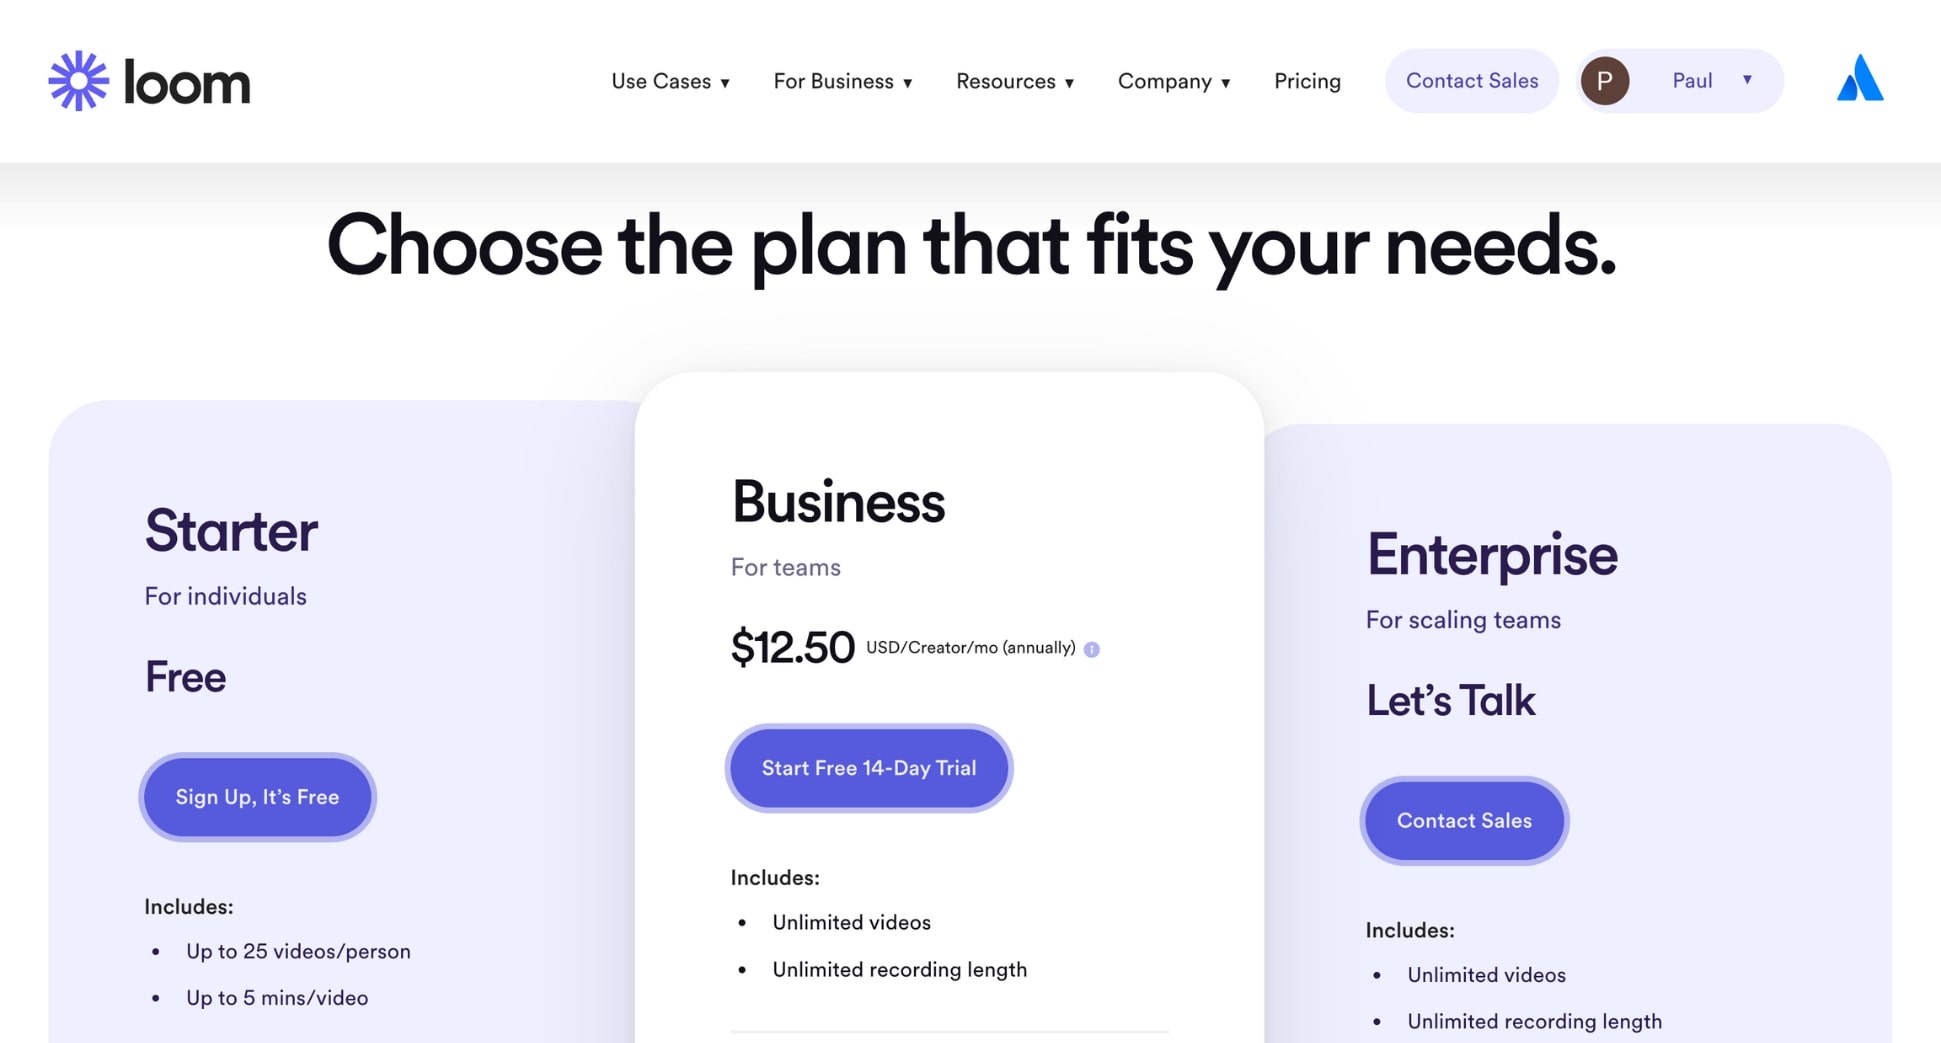
For starters, you’ll need to create a Loom account. Their Starter plan is free and lets you create up to 25 videos, and gives you access to the most basic features. If you need more videos, or advanced functionalities, you’ll need to upgrade. The Business plan costs $12 a month.
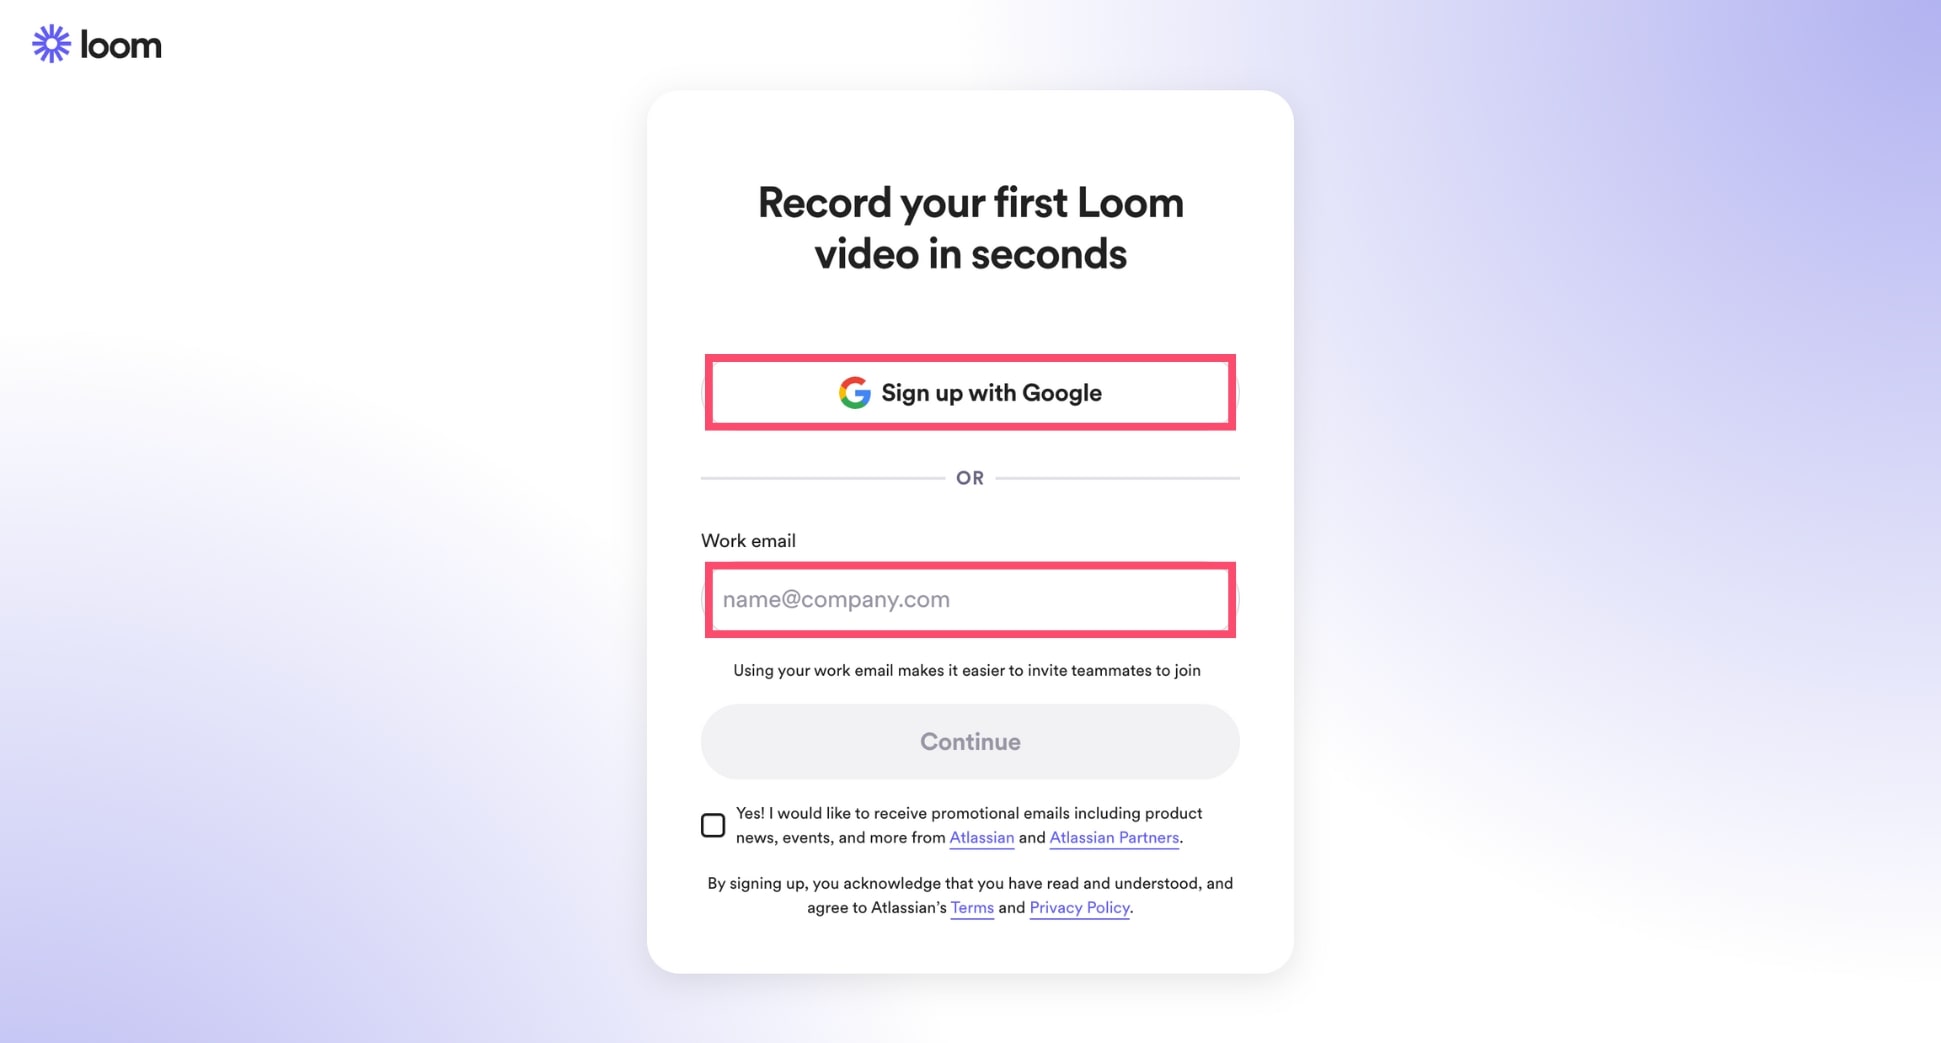
To create your account, go to Loom.com. Then click Get Loom for free. Register using your Google account, or enter your email address. Then follow the prompts to verify your Loom account. This process is pretty straightforward and should take less than 2 minutes.
2. Recording your Loom video
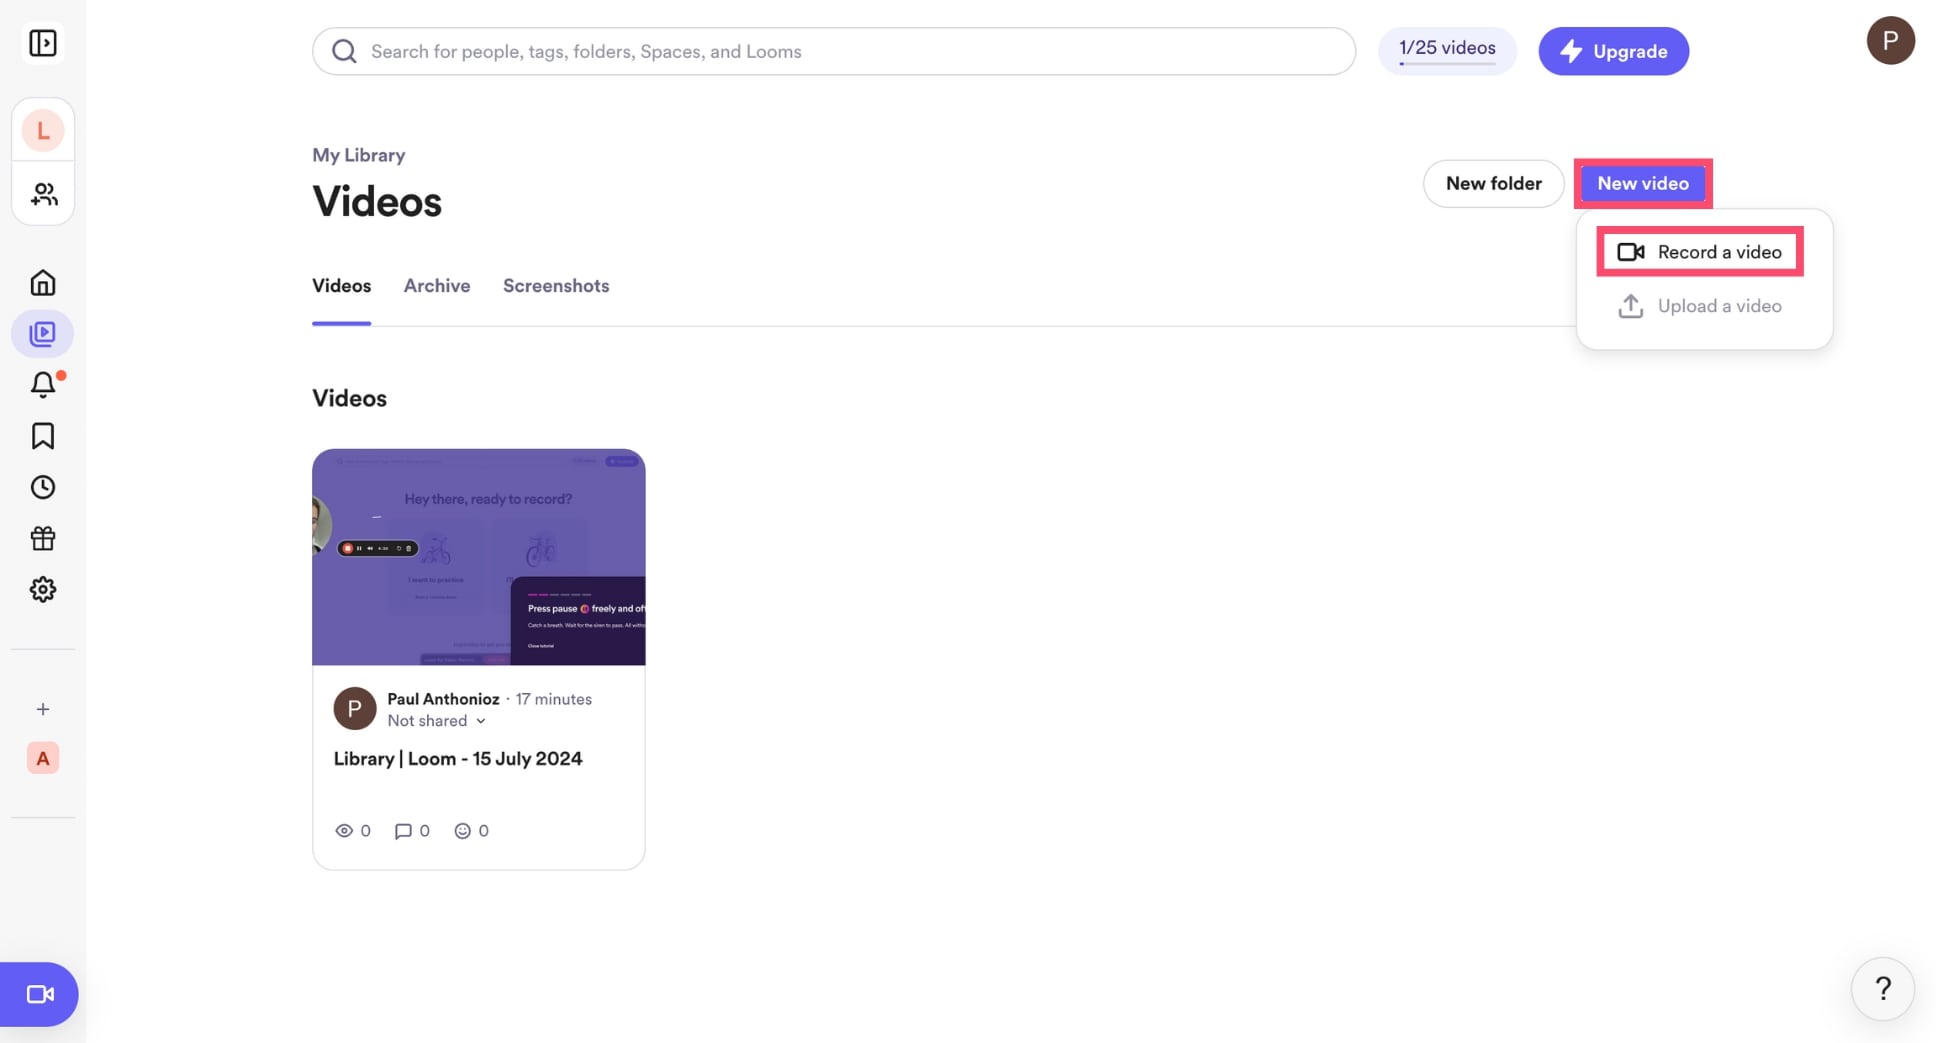
To start recording your Loom video, go to your Loom Dashboard and click New video. Then select Record a video.
In the settings, you can activate or deactivate your webcam and select which part of your screen you want to record (full screen, window, current tab, or camera only). You can also add effects or blur to your video.
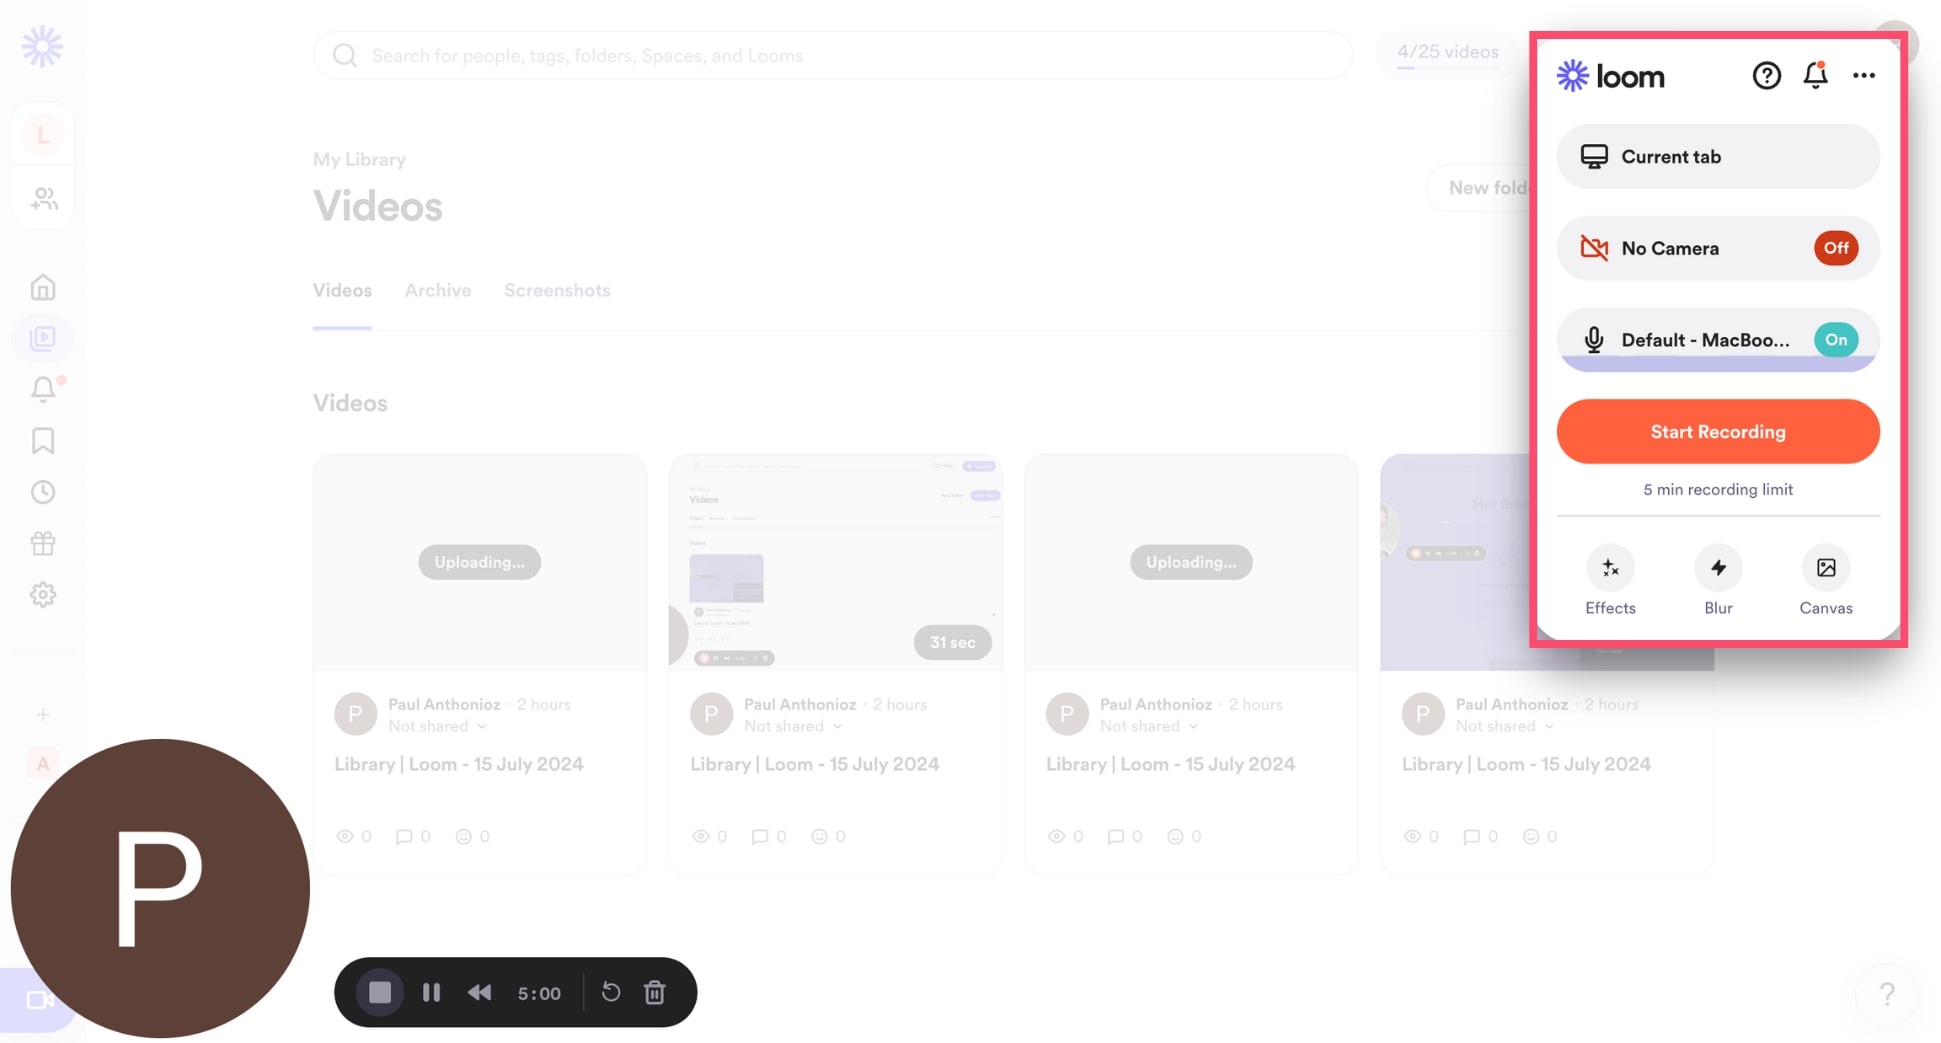
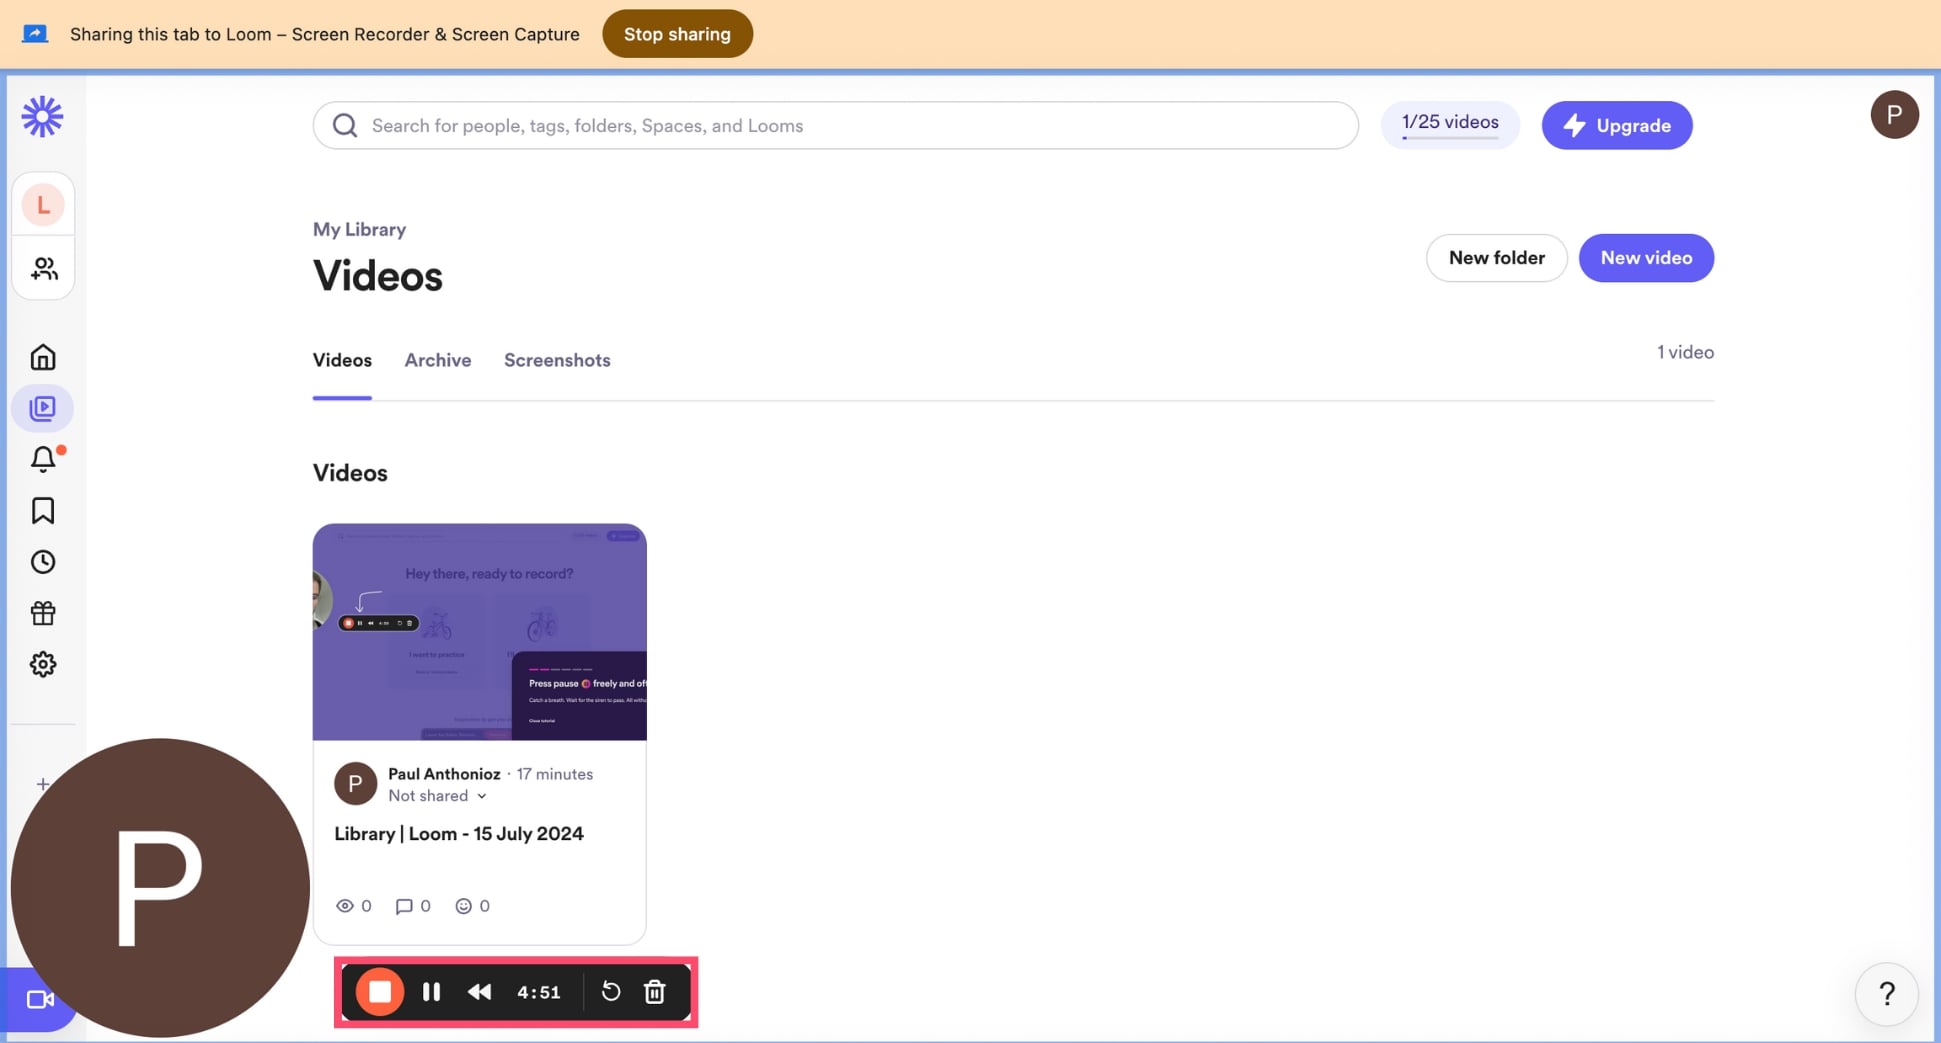
Once you’re ready, hit Start recording. You can then talk, show your face, and capture what’s happening on your screen at the same time. You can pause the video at any time, or click the Finish button to end the recording.
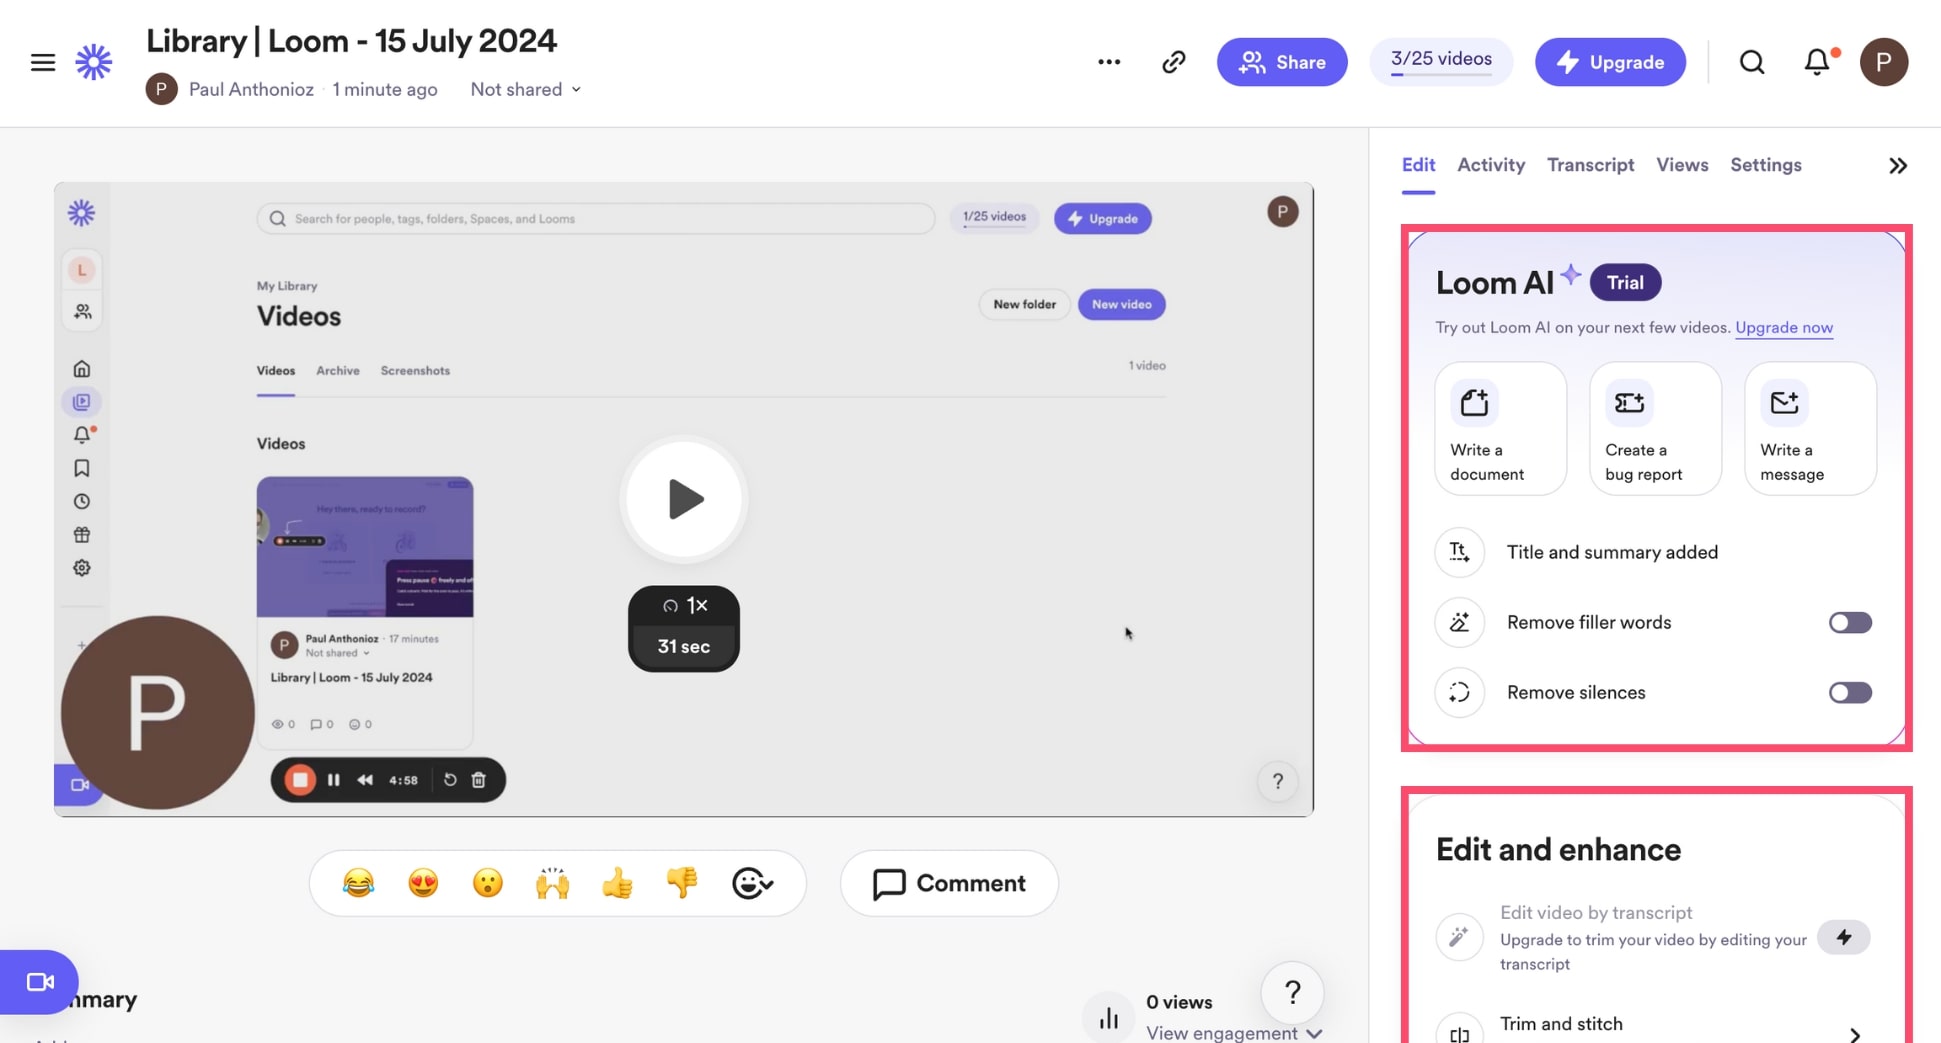
Now that you’ve recorded your Loom video, you can use the editor to trim it, use Loom AI to remove filler words and silences, add a title and a summary, divide your video into chapters, or include a call-to-action.
3. Getting the shareable link for your Loom video
Loom lets you share your video using a unique link. To get your shareable link, click Copy link. You can then paste this link in your emails to share your video. But this is not the best way to boost engagement.

To get the most out of your Loom video, you should try embedding it directly into your email. This way, your recipients will see the thumbnail of your video. This will result in more clicks, more views, and more business.
4. Embedding a Loom video in your email
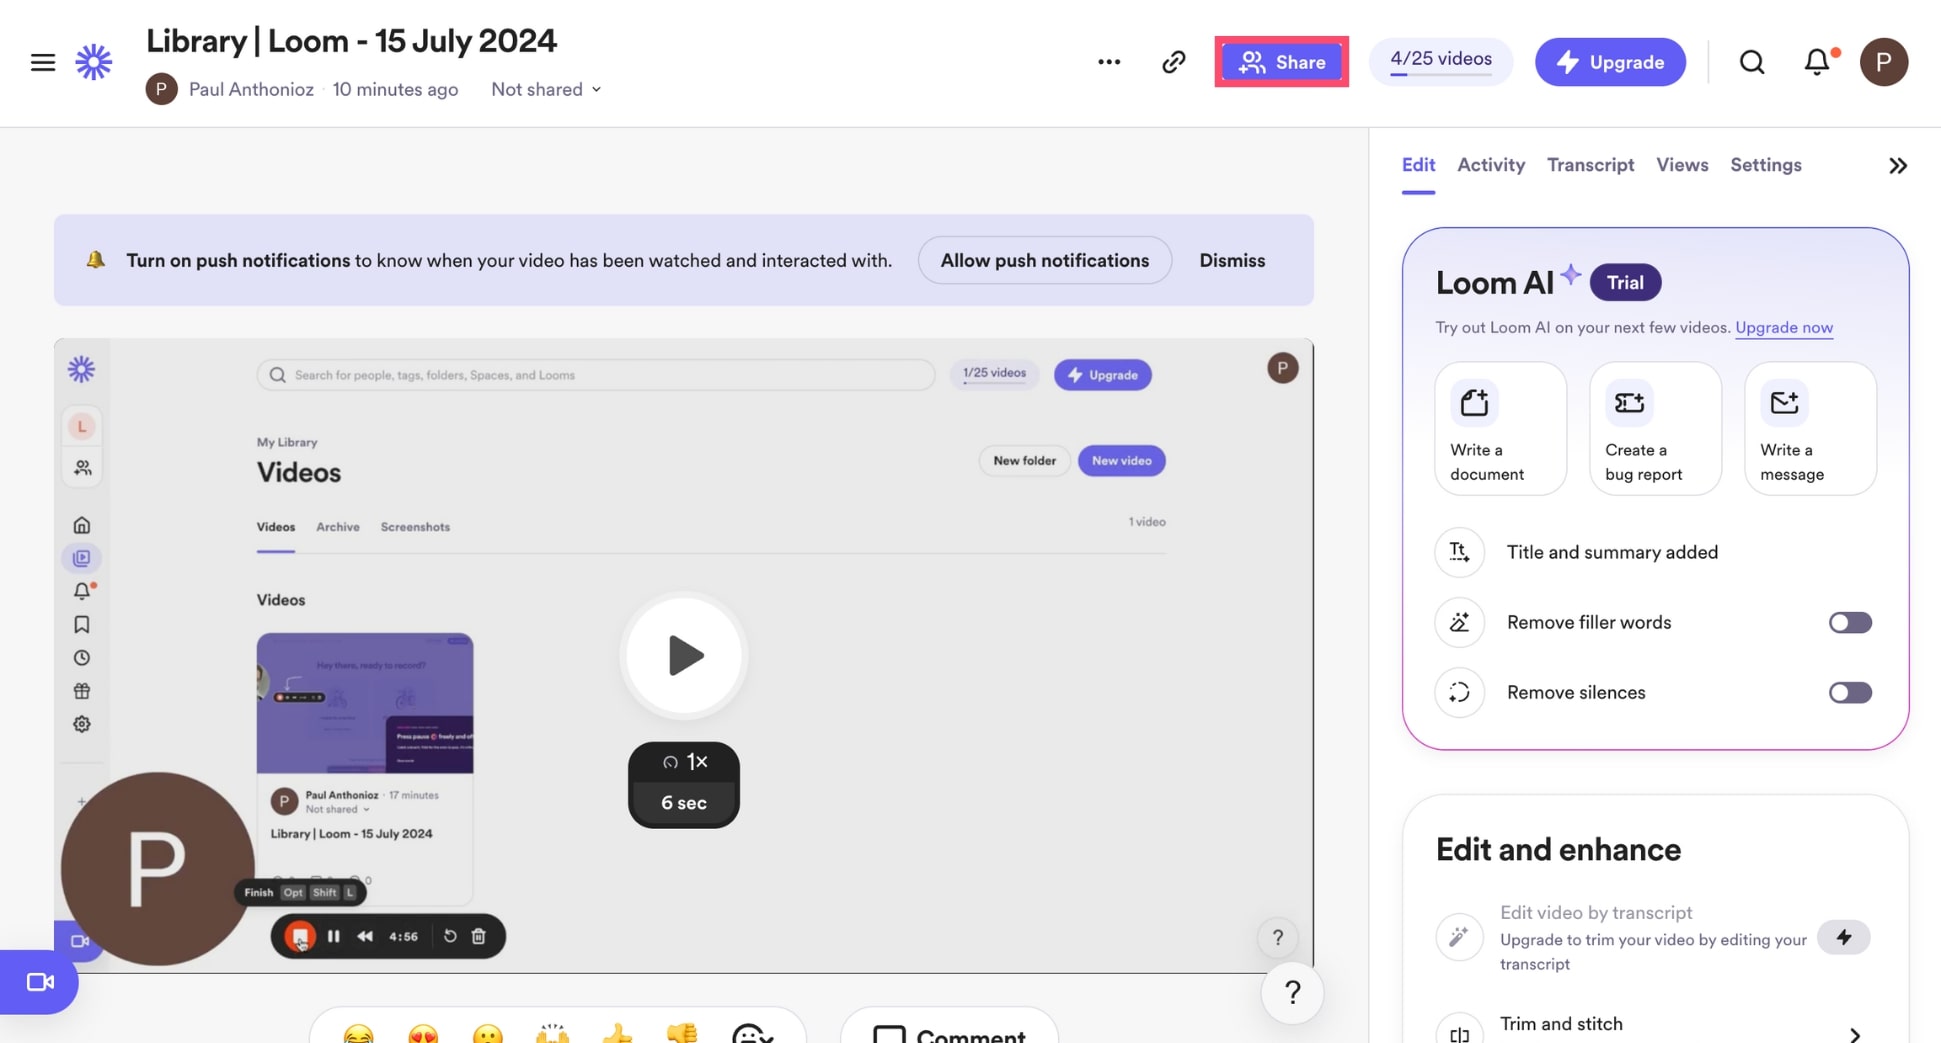
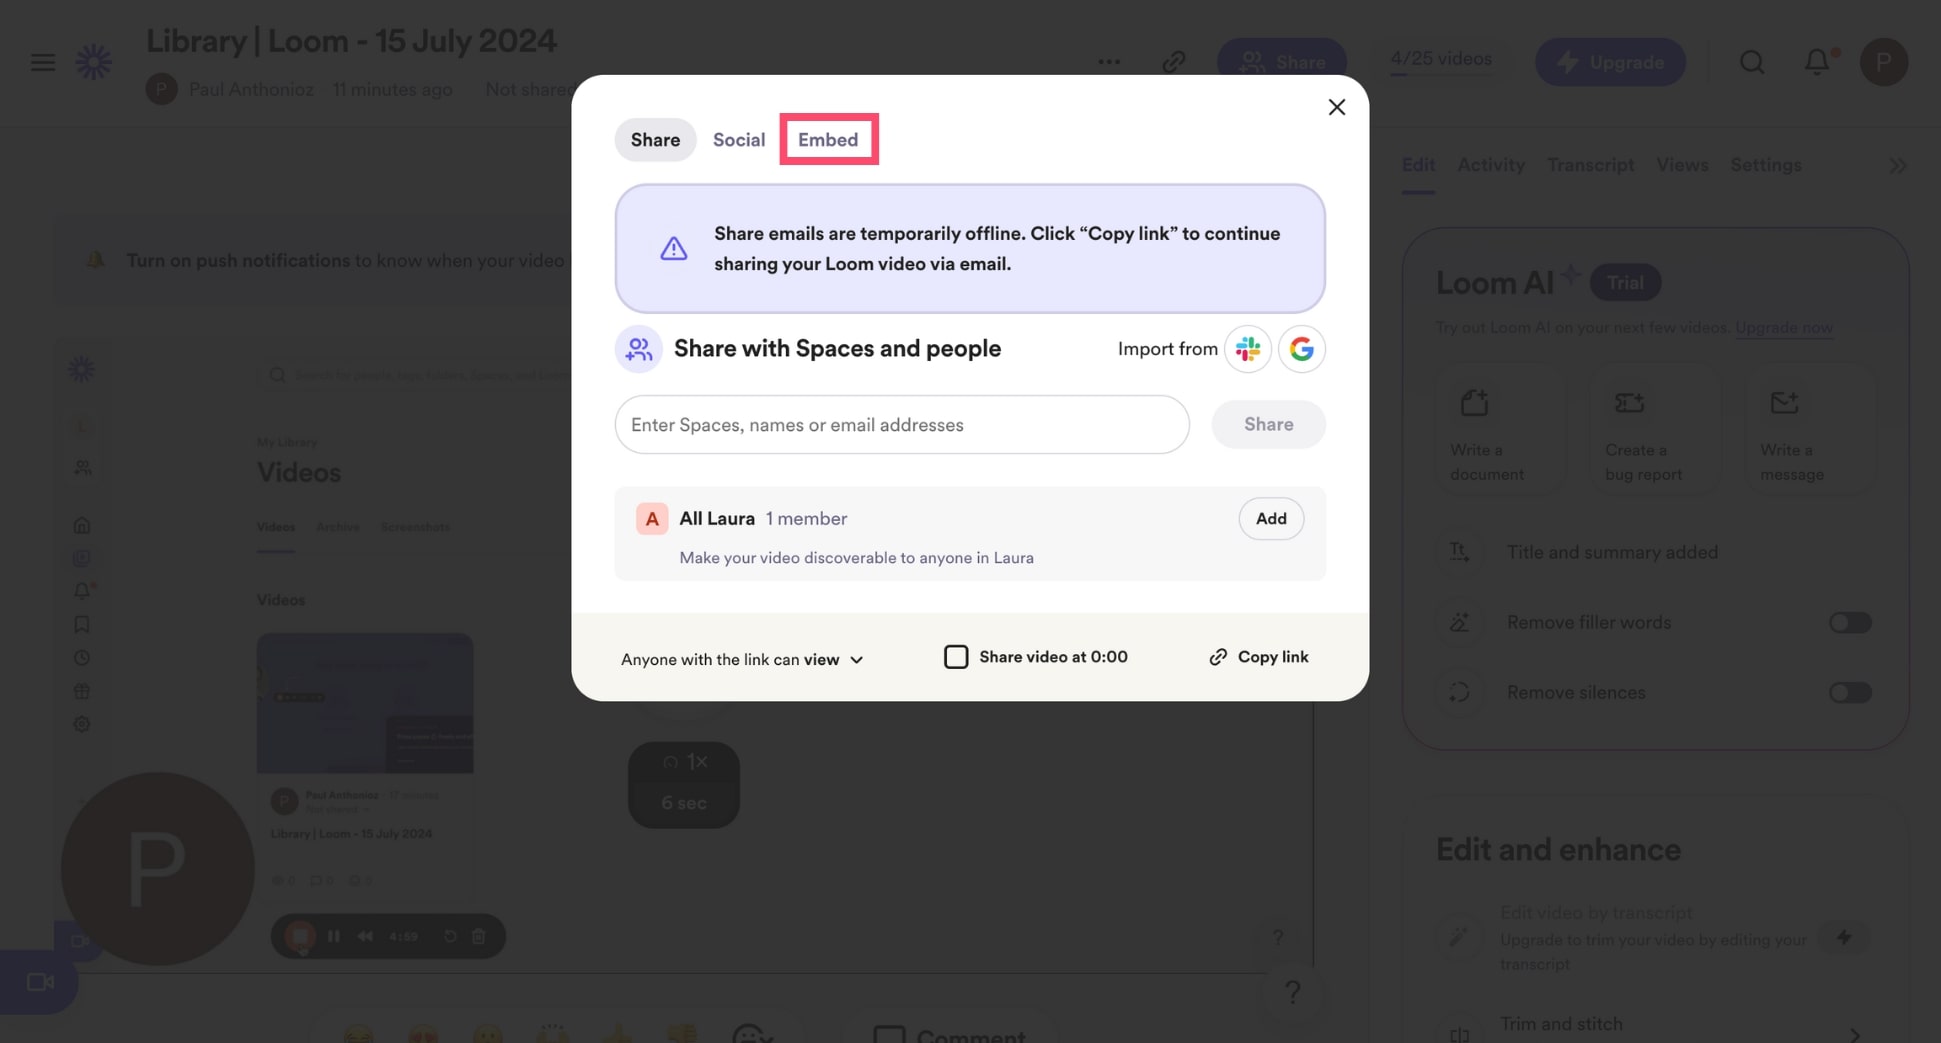
To embed a Loom video in your emails, click the Share button.
Then go to the Embed tab.
This is where most people get things wrong. Don’t click Copy embed code. For security reasons, you can’t include iframes in your emails. So this won’t work. Instead, select Copy GIF thumbnail.
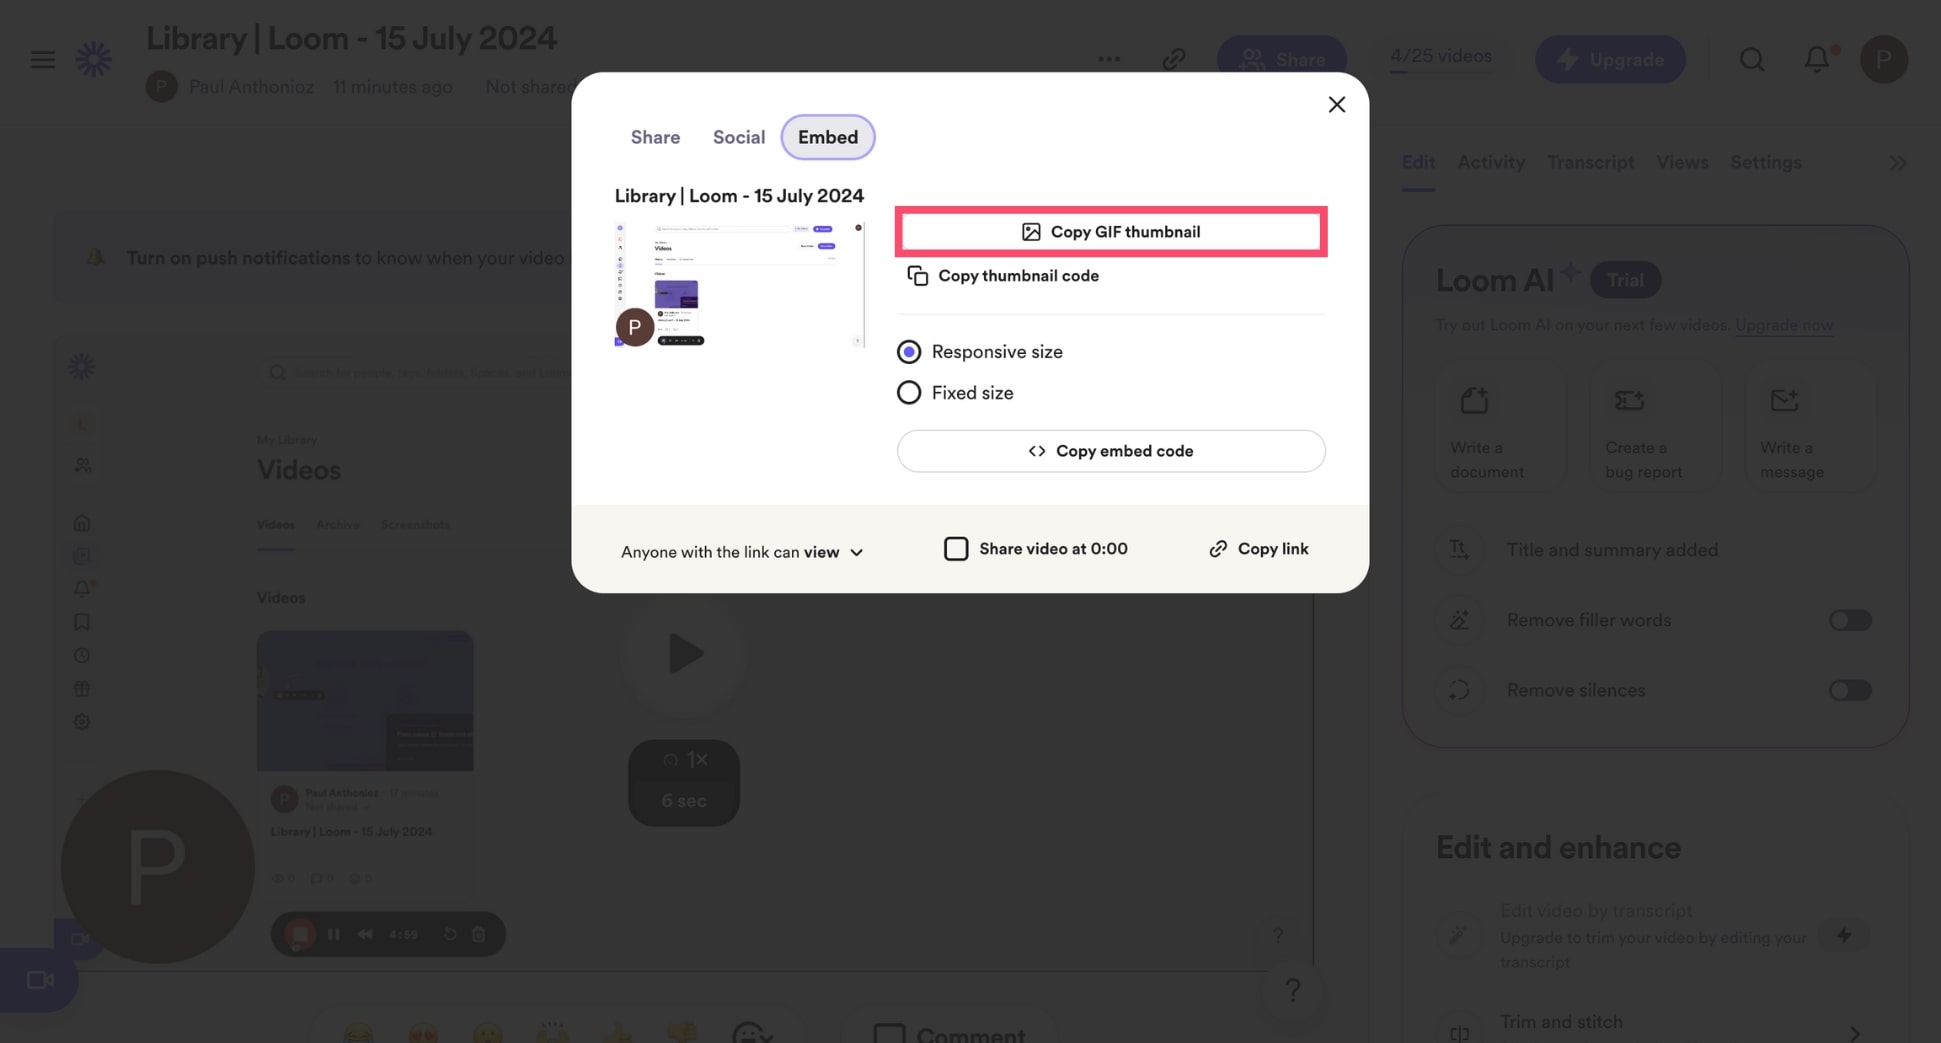
Make sure to select the Responsive size option. This way, Loom will automatically adjust the size of your video to fit the recipient’s screen, regardless of the device they’re using. You can also control who has access to your video by setting specific privacy options.
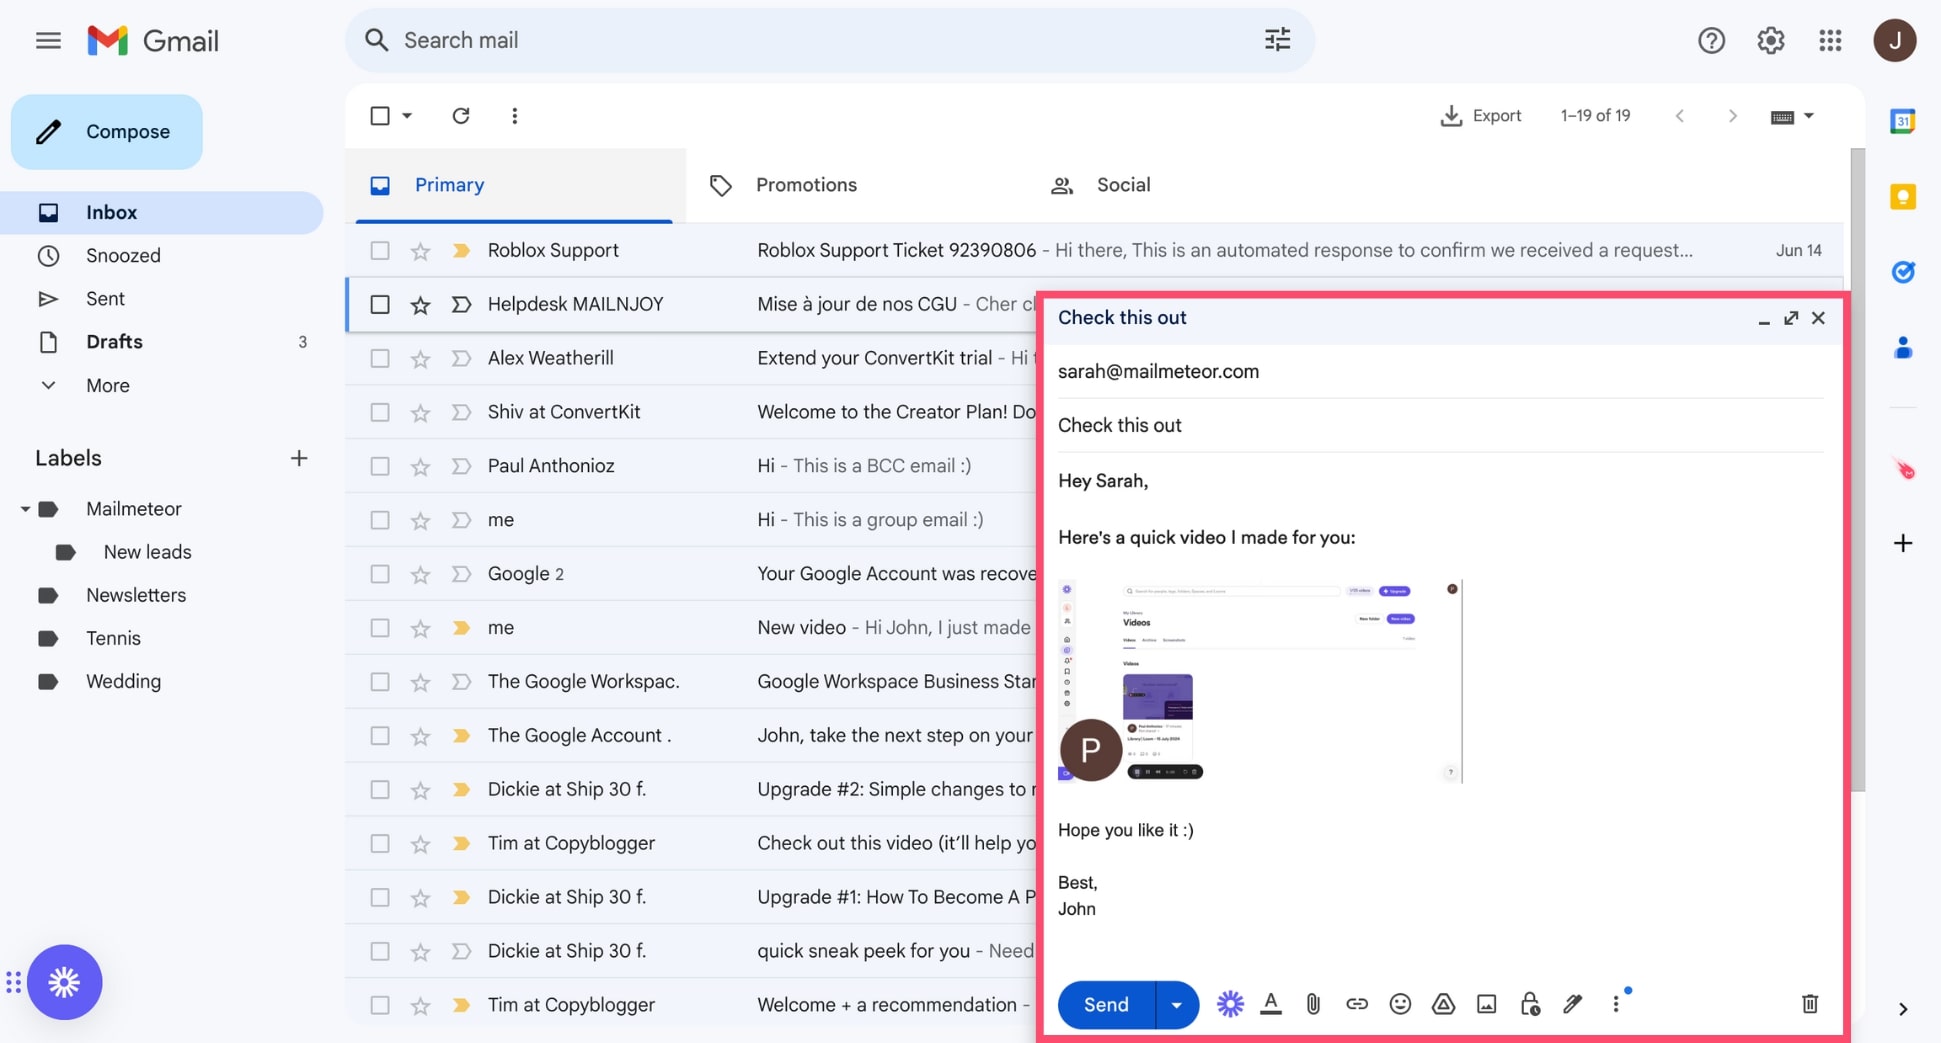
5. Using a thumbnail image for your Loom video
Lastly, go to Gmail, Outlook or any email client you’re using. Compose a new email and paste the code to embed a clickable thumbnail of your Loom video into your message. Compose your message. Then hit Send.
And done. You can now start adding Loom videos to your emails. But if you need to send more than 3, 4 or 5 emails a day, you’ll quickly realize that this process is (very) time-consuming.
How to send mass emails with personalized Loom videos using Mailmeteor
Recording Loom videos and sharing them via email is a powerful tactic to boost engagement and get more replies. But it’s not scalable. Unless you start pairing Loom with a mail merge tool such as Mailmeteor.
Mailmeteor is the #1 email marketing platform for Gmail and Outlook users. This simple app lets you embed blog posts and Loom (or Youtube) videos and create up to 2,000 personalized emails in minutes.
Here’s to send Loom videos using Mailmeteor:
Step 1: Record a Loom video.
Step 2: Copy the link of your Loom video.
Step 3: Sign up to Mailmeteor (in 2 clicks).

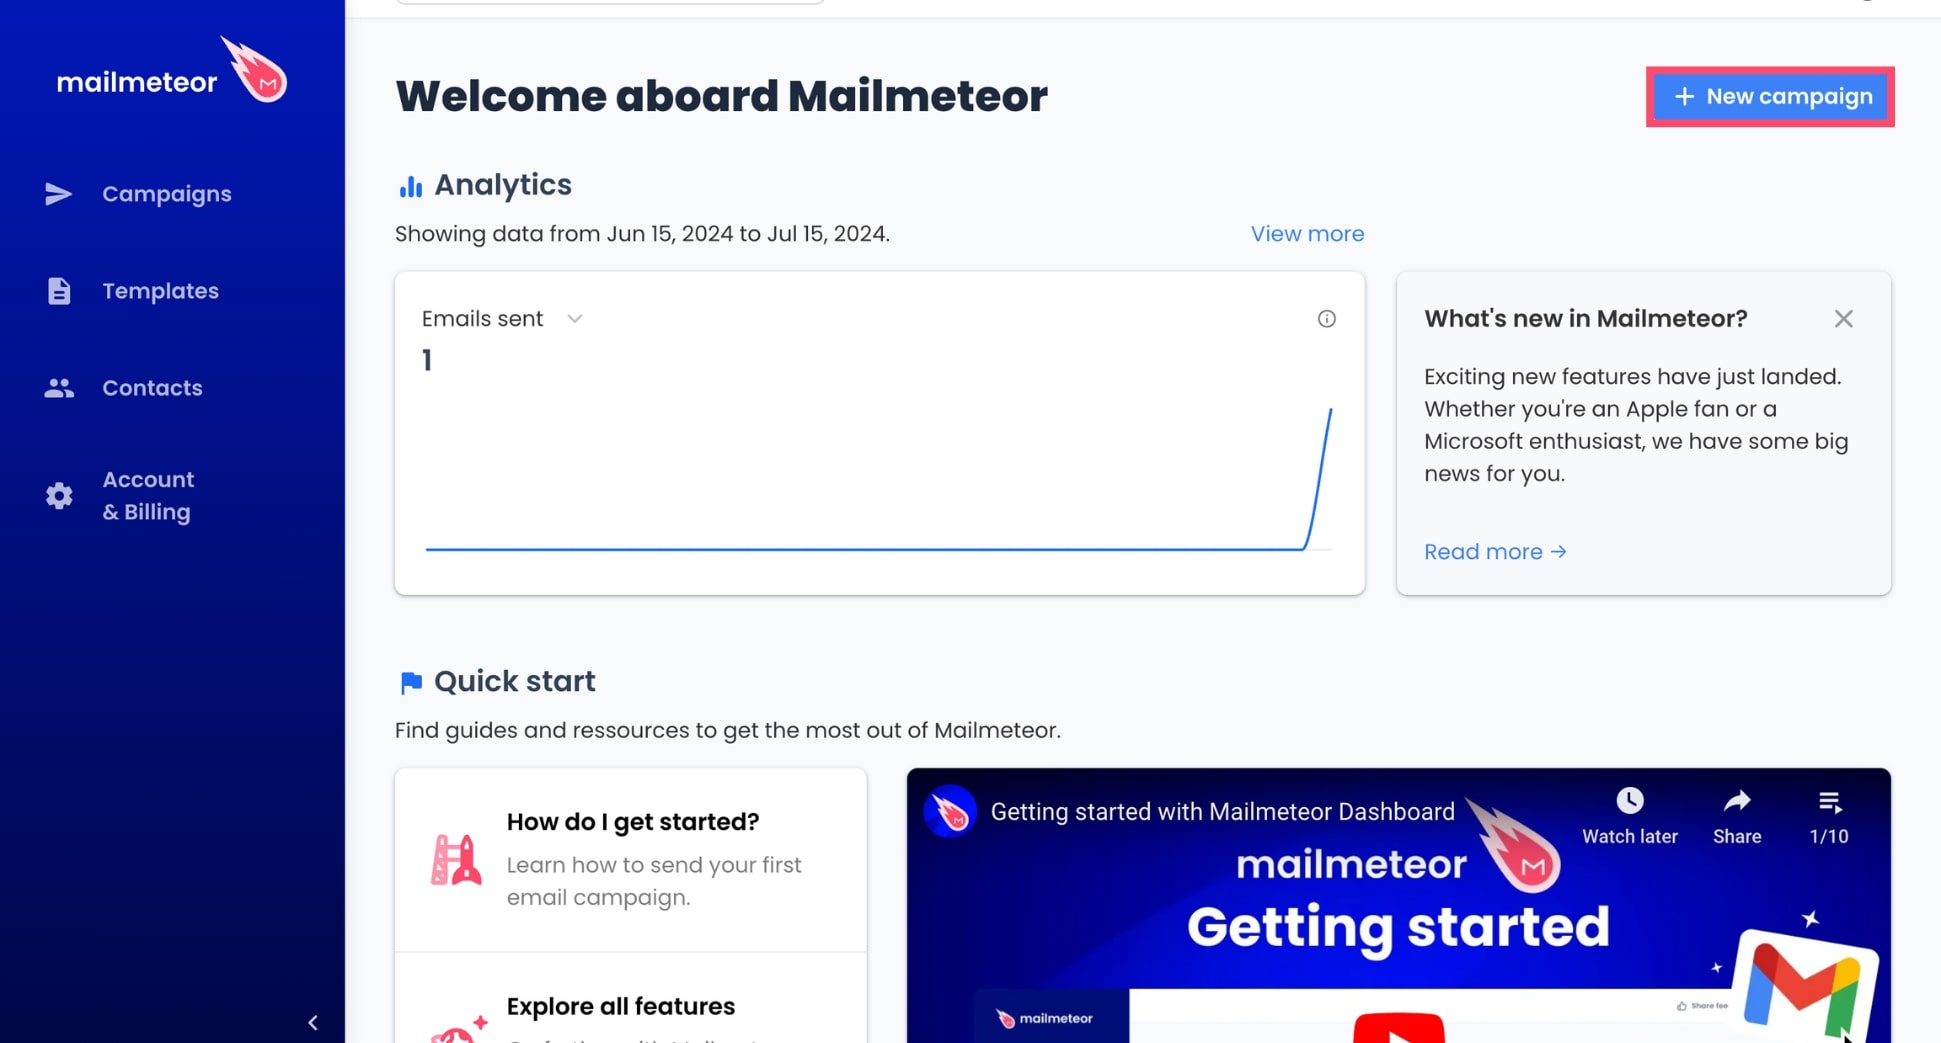
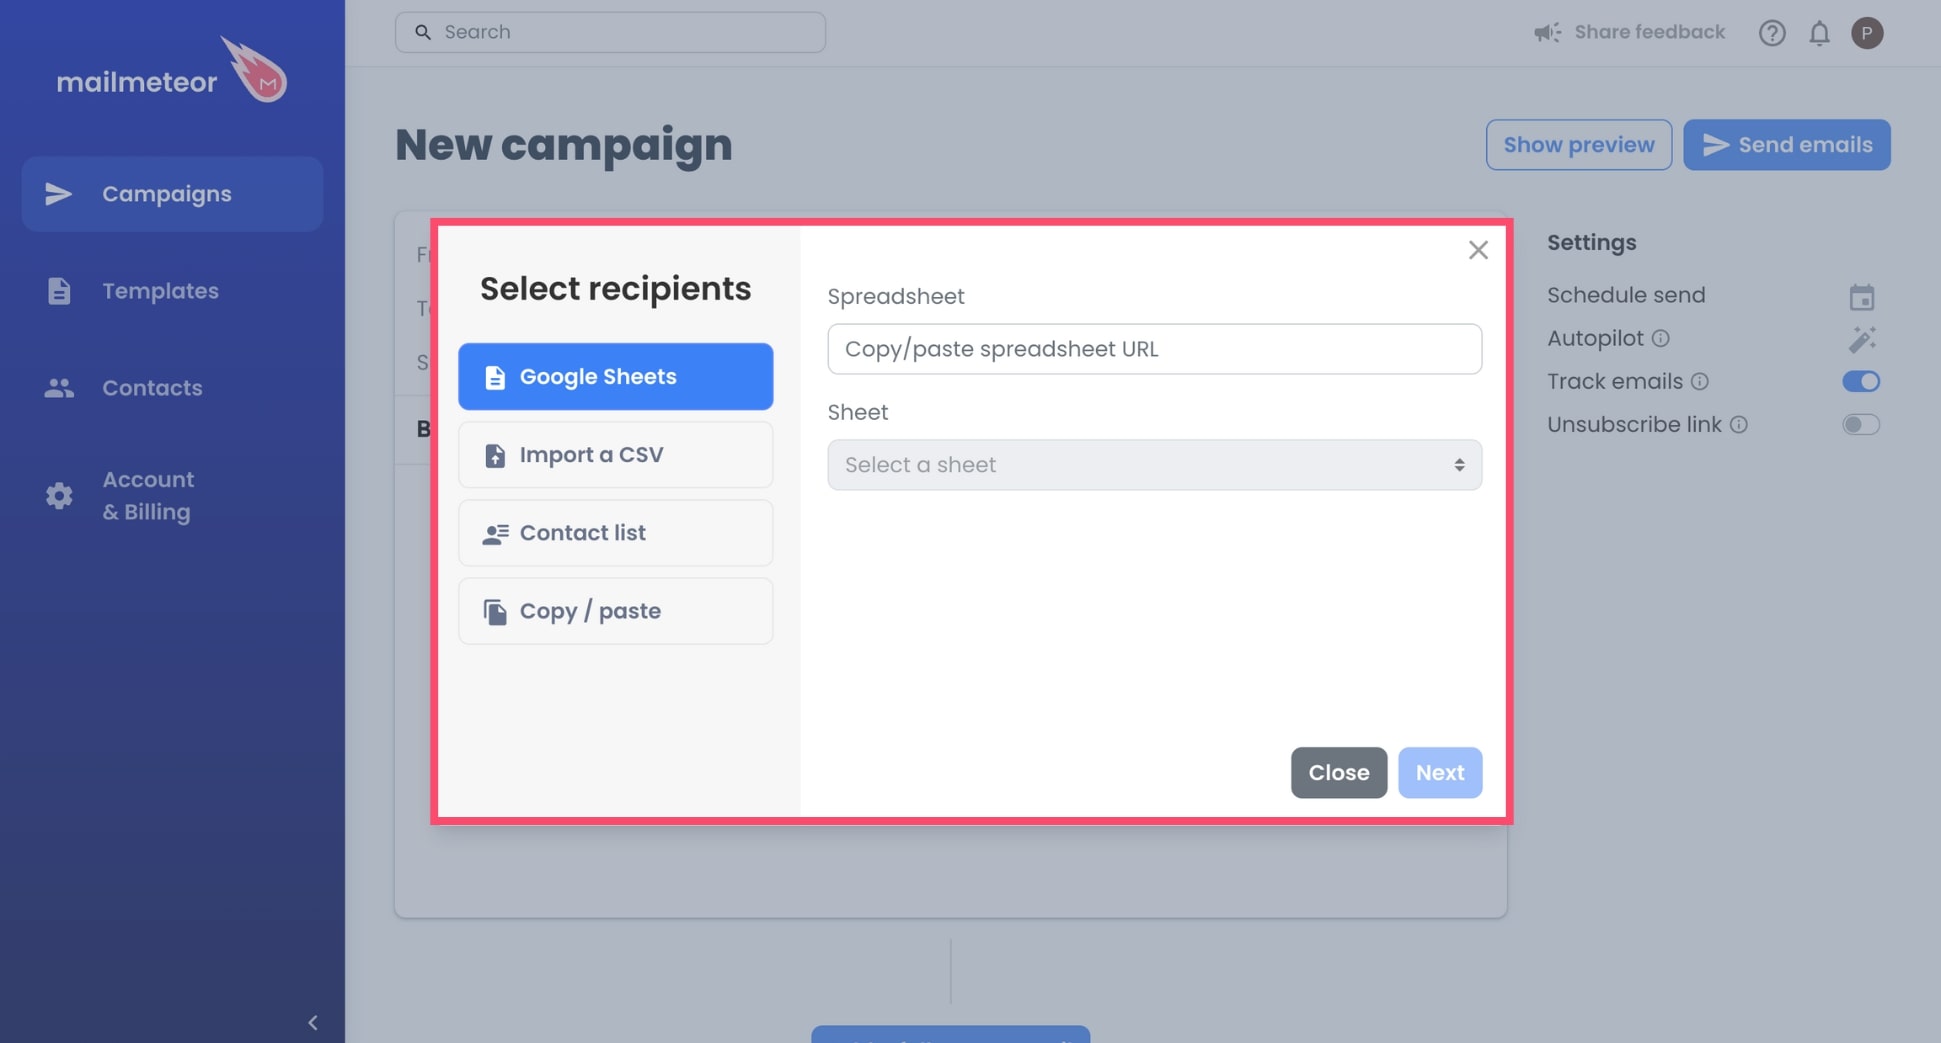
Step 4: Click New campaign to create your email campaign.
Step 5: Add recipients to your email from a Google Sheets, a CSV file, a contact list, or simply copy and paste their email addresses.
Step 6: Compose your message and use merge tags such as {{ firstname }} to personalize your email. Then insert the following variable:
{{ embed https://... }} and replace https://... with the link to your Loom video.
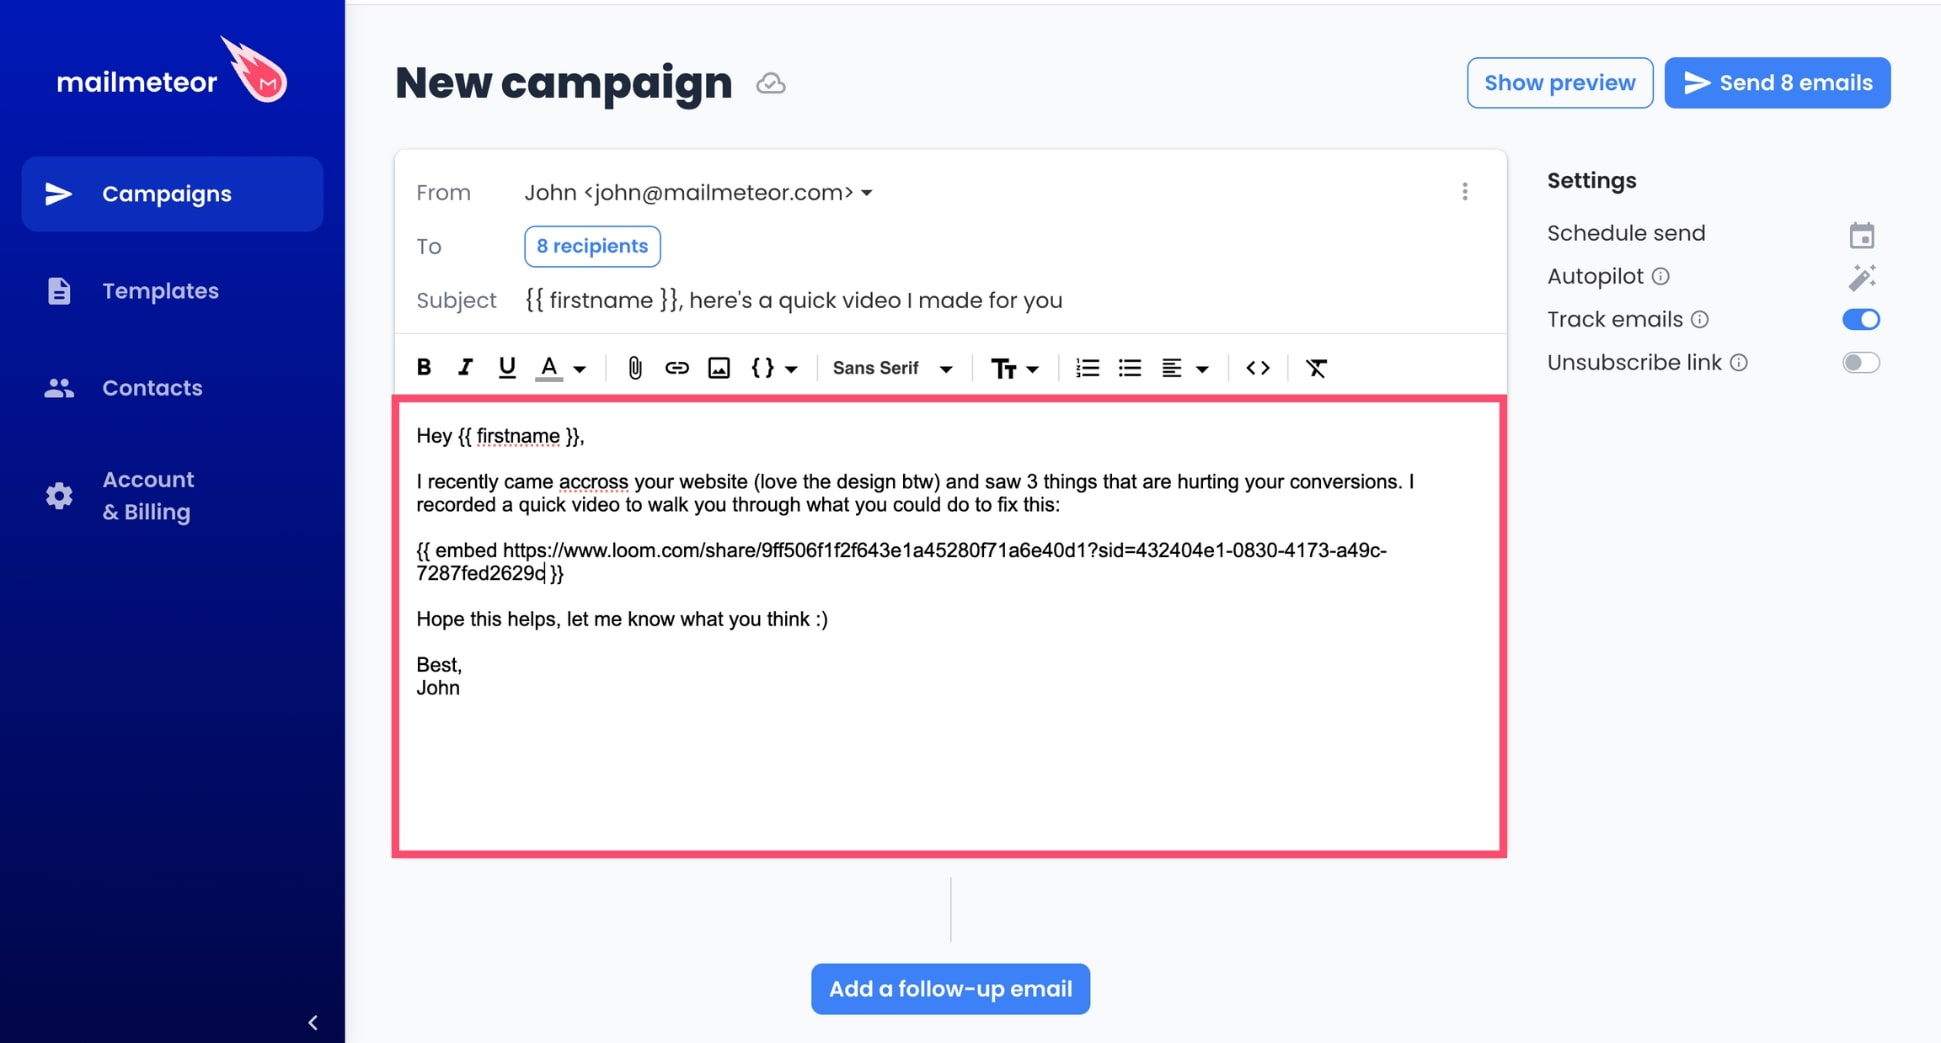
Step 7: Click Show preview to get a sneak peek of what your emails will look in the inbox of each recipient. Make sure that the thumbnail image of your Loom video is displaying properly.

Step 8: Once you’re ready, hit Send to share your Loom video through a batch of personalized emails.
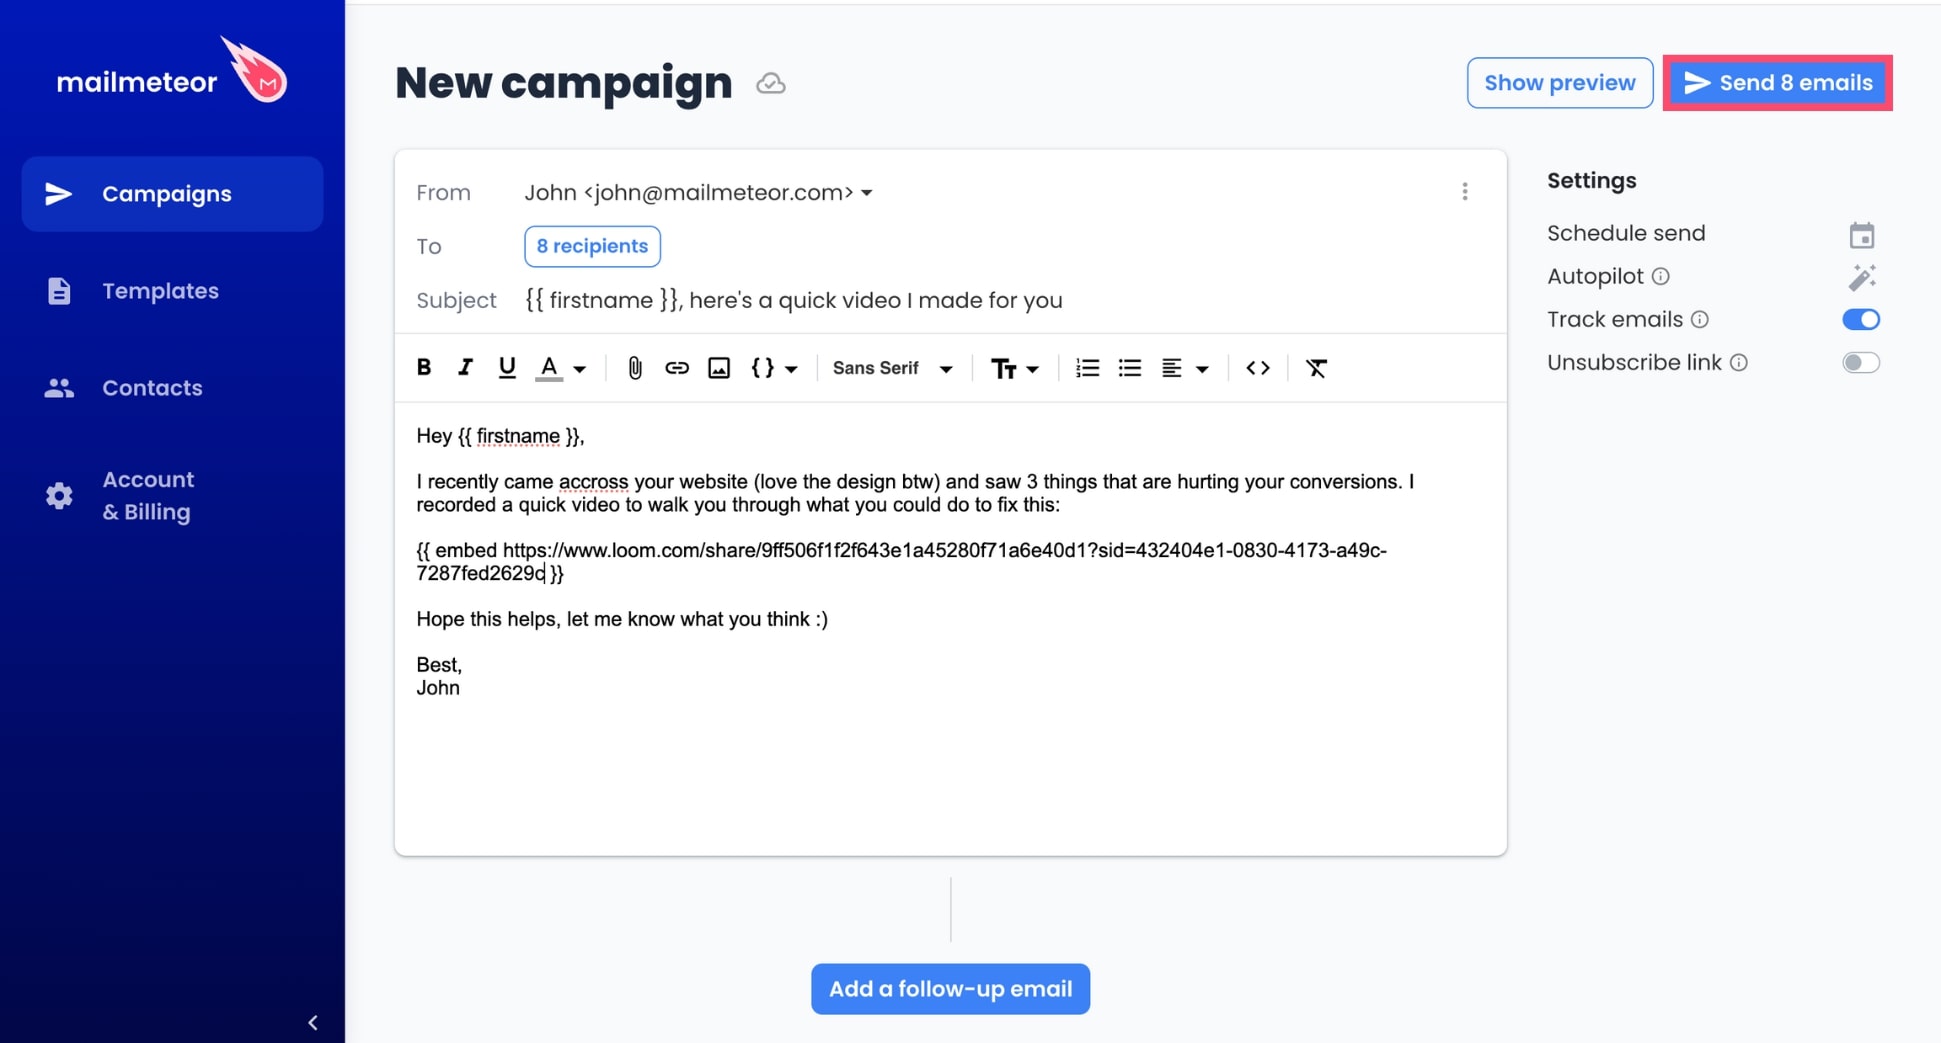
And voilà. You can now embed Loom videos in your bulk emails to scale your cold outreach and get more clicks, views, replies, and sales, while spending less time working on your emails.
The bottom line
Using Mailmeteor and Loom, you can leverage email personalization and videos to create uniquely relevant emails, capture the attention of your recipients, and turn more leads into deals.
Mailmeteor also lets you track emails in real-time, schedule follow-ups, and add personalized images. Our free plan lets you send up to 50 emails a day. Give us a try and let us know what you think. No strings attached :)
Happy sending 💌


