The days of hand addressing envelopes are over. If you’re looking for a simple way to create labels in bulk, you’re in luck. In this quick guide, we’ll show you how to mail merge labels using Excel and Word, or Google Sheets and Docs. Discover how to generate pixel-perfect labels that align properly when printed.
Imagine that you have a list of 50, 100, or maybe even 500 addresses, and you want to print each of those addresses onto a label to send a package or a letter to those recipients. How would you proceed?
One way to achieve your goal would be to create a new address label sheet in a text editor, such as Microsoft Word or Google Docs, then copy and paste each address into one of the labels and print your labels.
But if you have a long list of addresses, creating each label manually would take ages. Plus, this painstaking process would increase the risk of making mistakes. Fortunately, with mail merge, you can automate this process.
In today’s guide, we’ll show you how to mail merge labels using MS Word + Excel, or Google Docs + Google Sheets. Once mastered, this simple technique will save you hours of work each time you need to send a mass mailing.
What is a label mail merge?
A label mail merge is a powerful feature that lets you create a set of labels from a list of addresses (or other data). Instead of typing out each label, you can automatically generate labels using information from a data source.
To mail merge labels, you need to prepare your address list in a data source, like Excel or Google Sheets. Then, set up your label format in Word or Google Docs, and merge the 2 documents to create your labels.
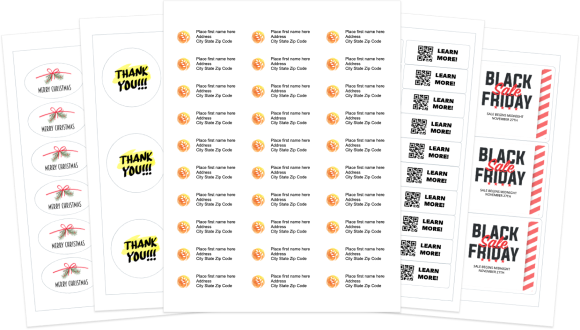
Label mail merges are life-savers when you need to send out holiday cards, invitations, or business mailings. By automating your label creation process, they can help you make your mailings faster and error-free.
How to mail merge labels?
There are 2 easy ways to create mass personalized labels, even if you’re a beginner with no technical skills. You can (1) mail merge labels using Word + Excel. Or (2) create labels using Google Docs + Sheets. Let’s explore both methods.
Method #1: Create labels using MS Word and Excel
The first way to mail merge labels is to prepare an address list in Excel, create a label template in MS Word, then merge both documents. Here’s how to perform a label mail merge in Excel and Word:
Step 1: Create a new Microsoft Word document.
Step 2: Go to Mailings > Start Mail Merge > Step-by-Step Mail Merge Wizard.
Step 3: Select Labels as your document type. Then click **Starting documents.
Step 4: Under Change document layout, click Label Options. Then choose the Label vendors and Product number. Then click OK.
Step 5: Choose Select recipients. Then click Browse, select your data source, and press OK to confirm.
Step 6: In MS Word, click Arrange your labels. Then select Address block. From there, you can choose the format of the recipient’ name you want to use in your label mail merge. Make sure to select Insert postal address. Then click OK.
Step 7: Your label template is now ready. To replicate this first label, select Update all labels.
Step 8: Click Preview your labels. From there, you can edit the spacing of your paragraphs and other details. This also lets you get a sneak peek of what your labels will look like once printed.
Step 9: Double-check your labels to make sure they’re error-free. Then, once you’re ready, click Complete the merge to finish the process. Then click Print > OK, select your printer, and press OK.
And voilà. You’ve created your first label mail merge using Word and Excel. Congratulations 🎉
Method #2: Create labels using Google Docs and Sheets
If you’re used to working with Google’s Suite, you can also mail merge using Google Docs and Google Sheets. To do so, you’ll need to install a special add-on called Labelmaker.
Labelmaker is a trusted add-on with 5M+ happy users all over the world and a 4.8 rating out of 13K+ reviews. This app is designed to respect your privacy. Here’s how to use it to create and print labels from Google Sheets and Google Docs:
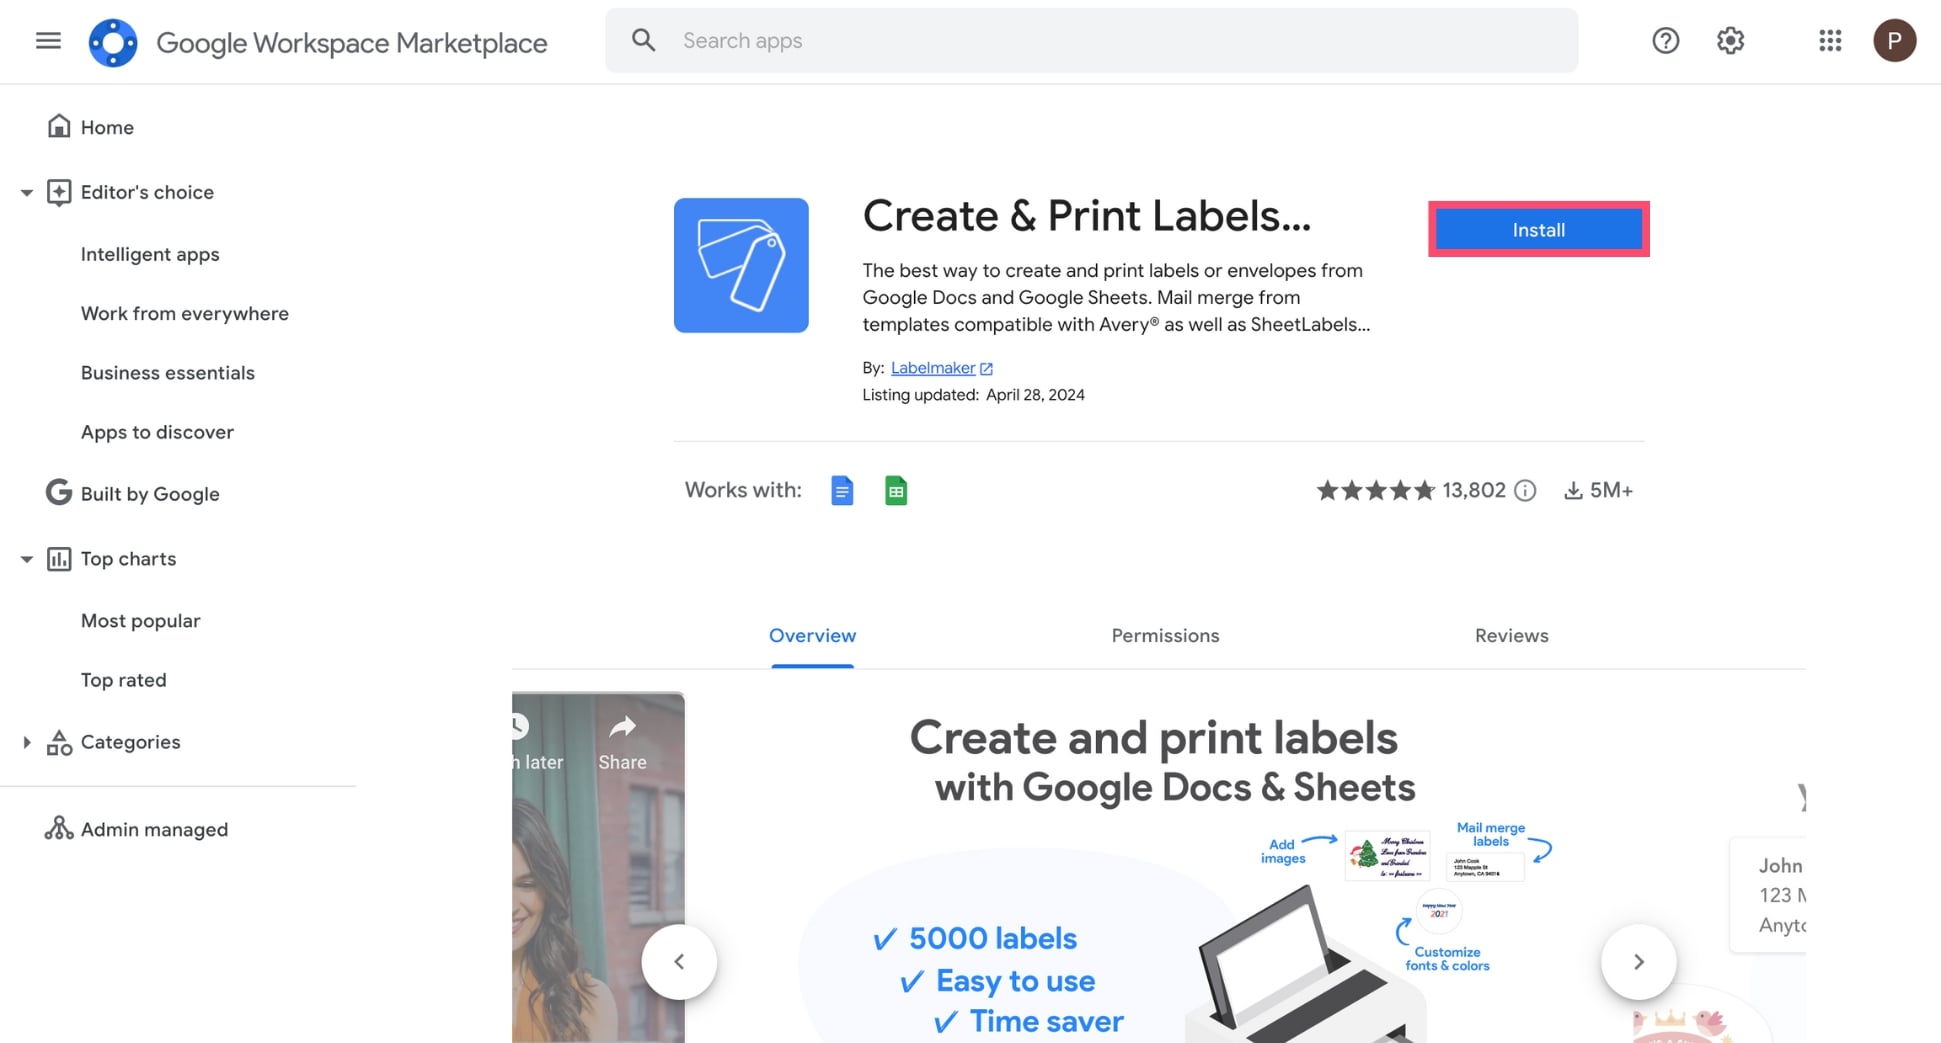
Step 1: Go to the Google Workspace Marketplace and click Install to download the Labelmaker add-on.
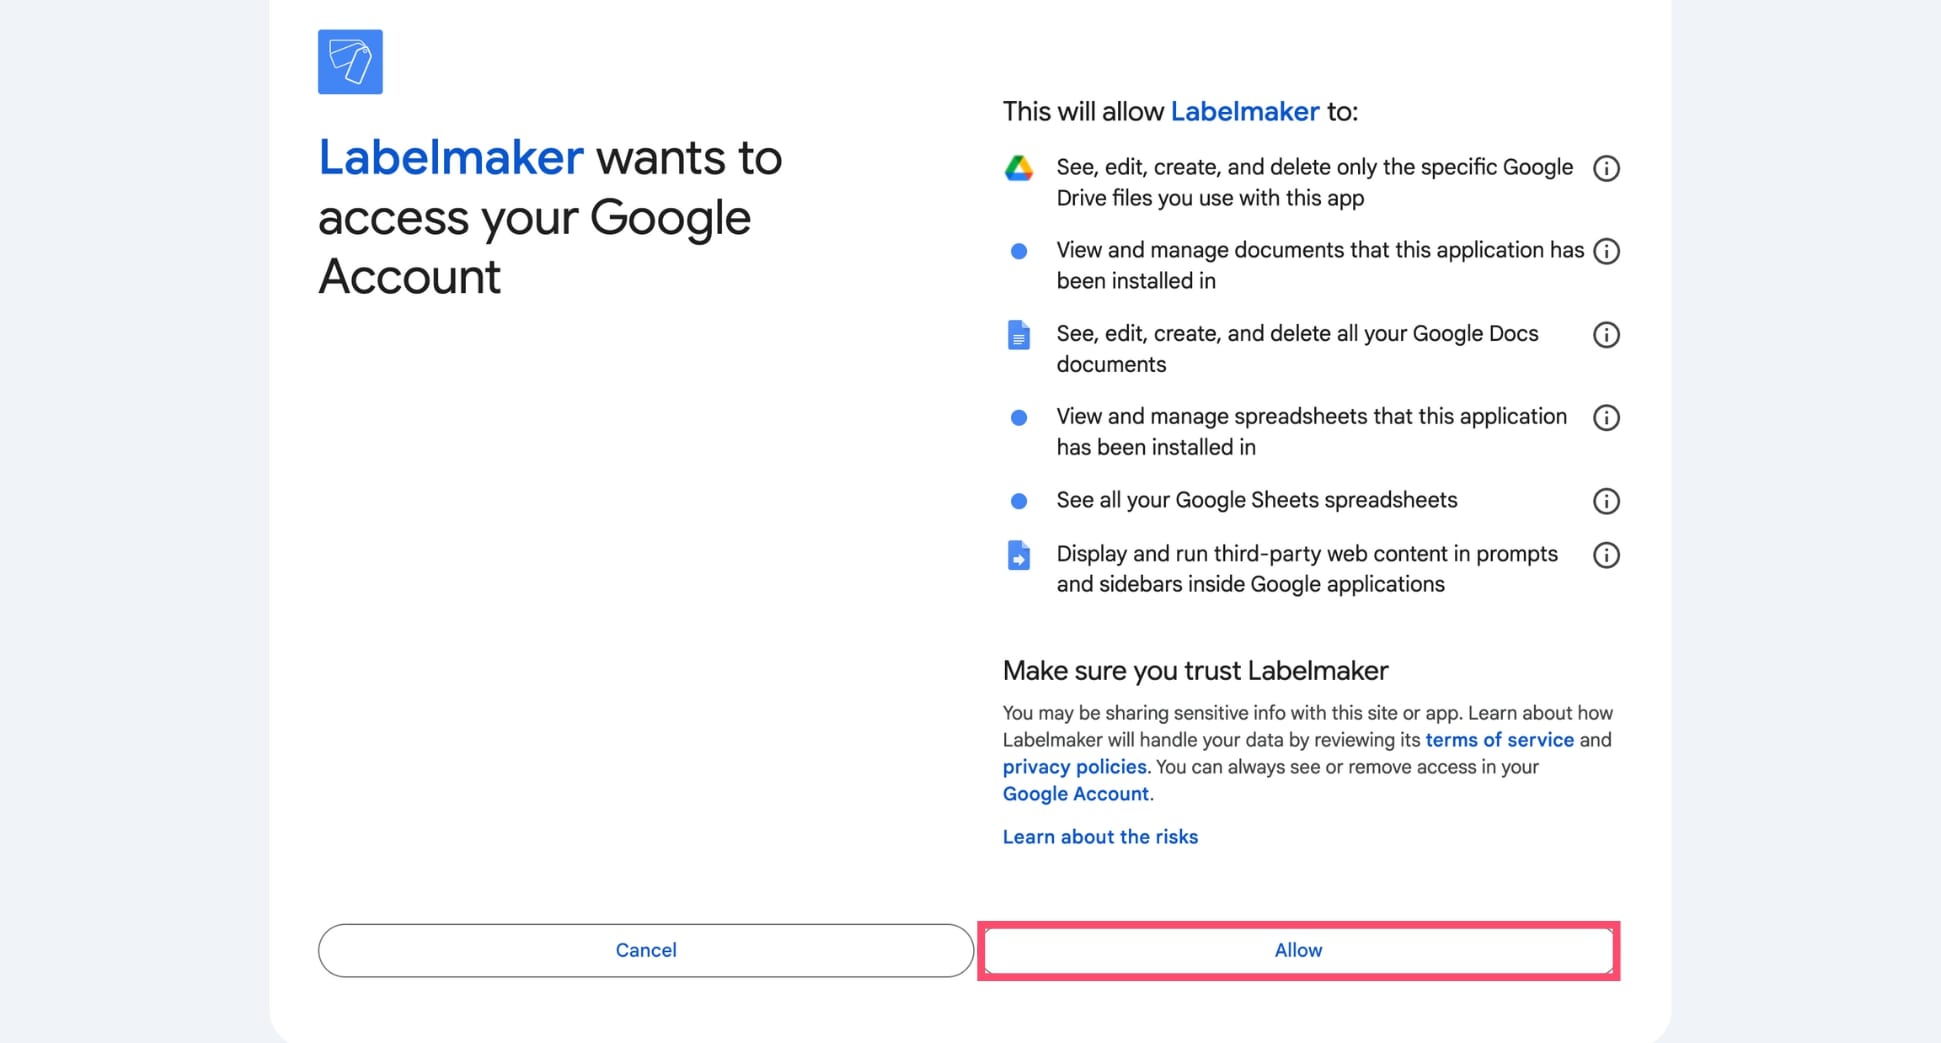
Step 2: Sign into Labelmaker using your Google account. Then grant the add-on permission to access your Google Docs and Google Sheets documents.
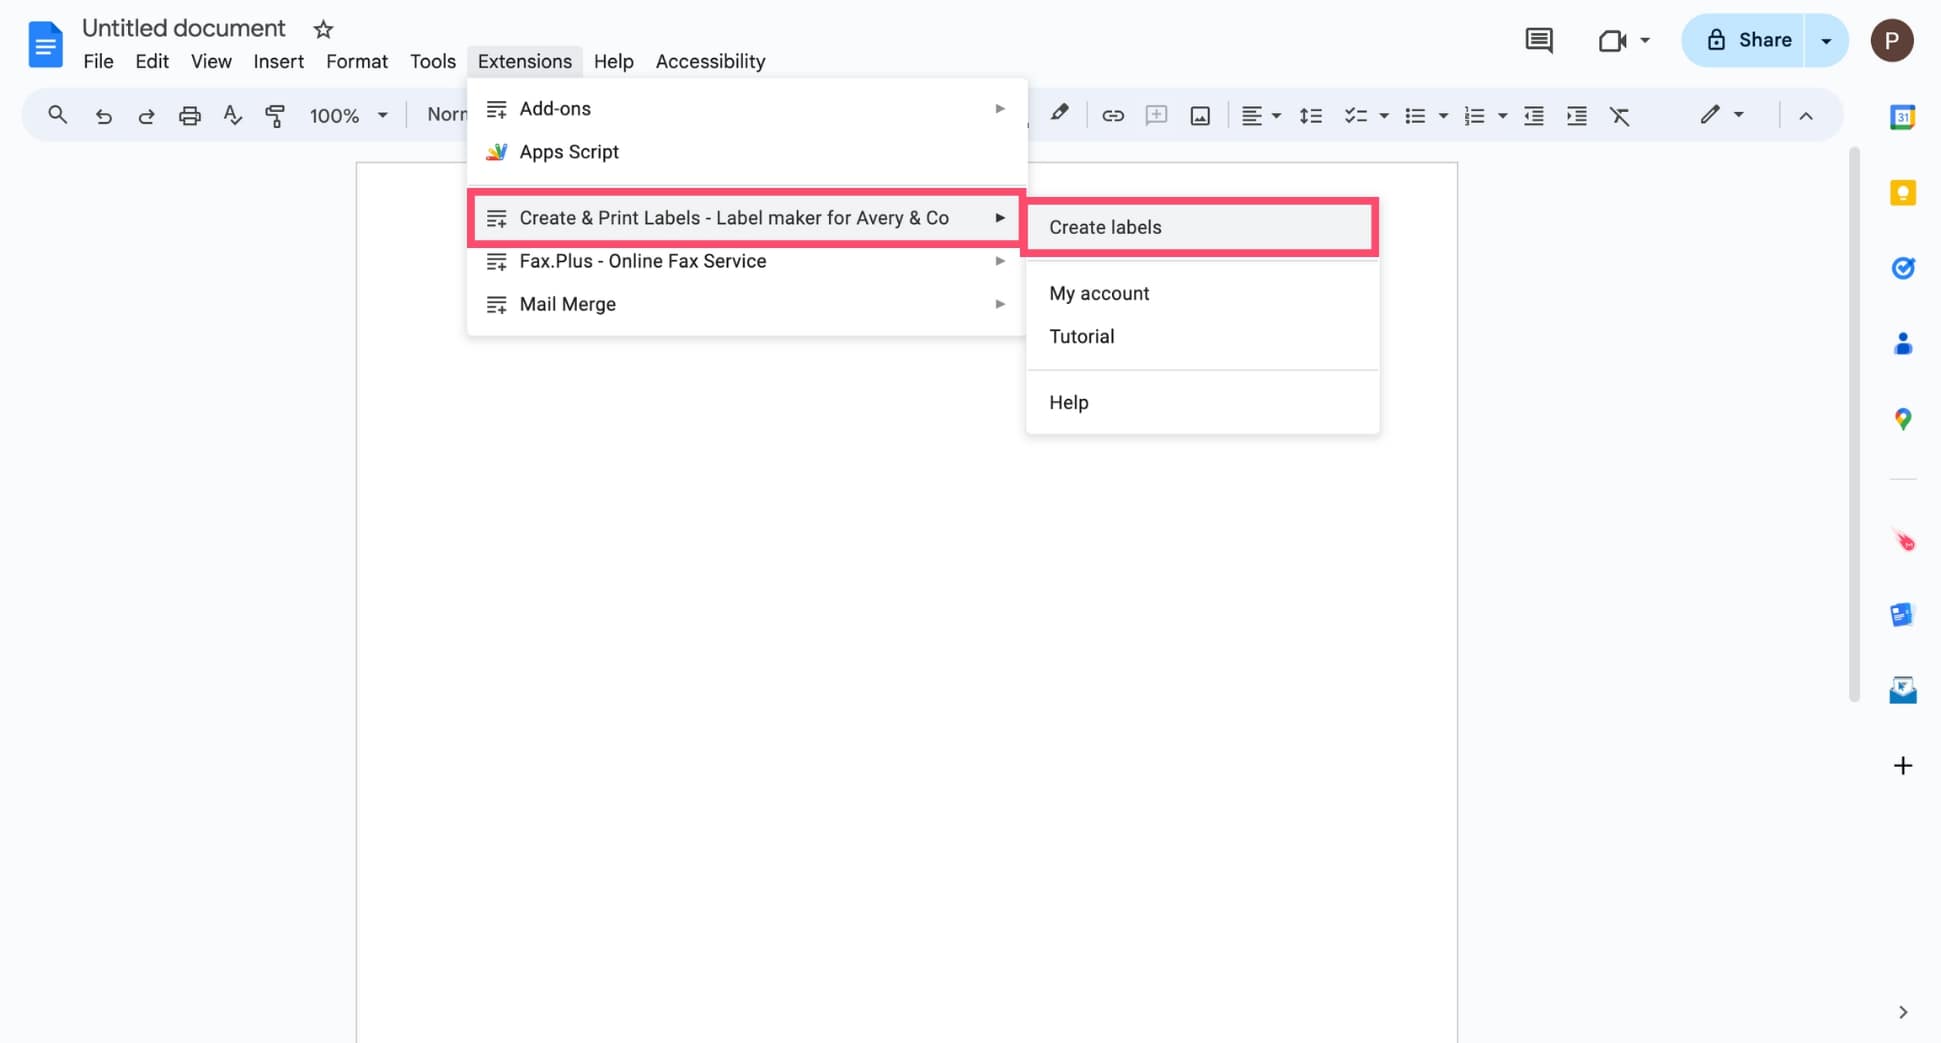
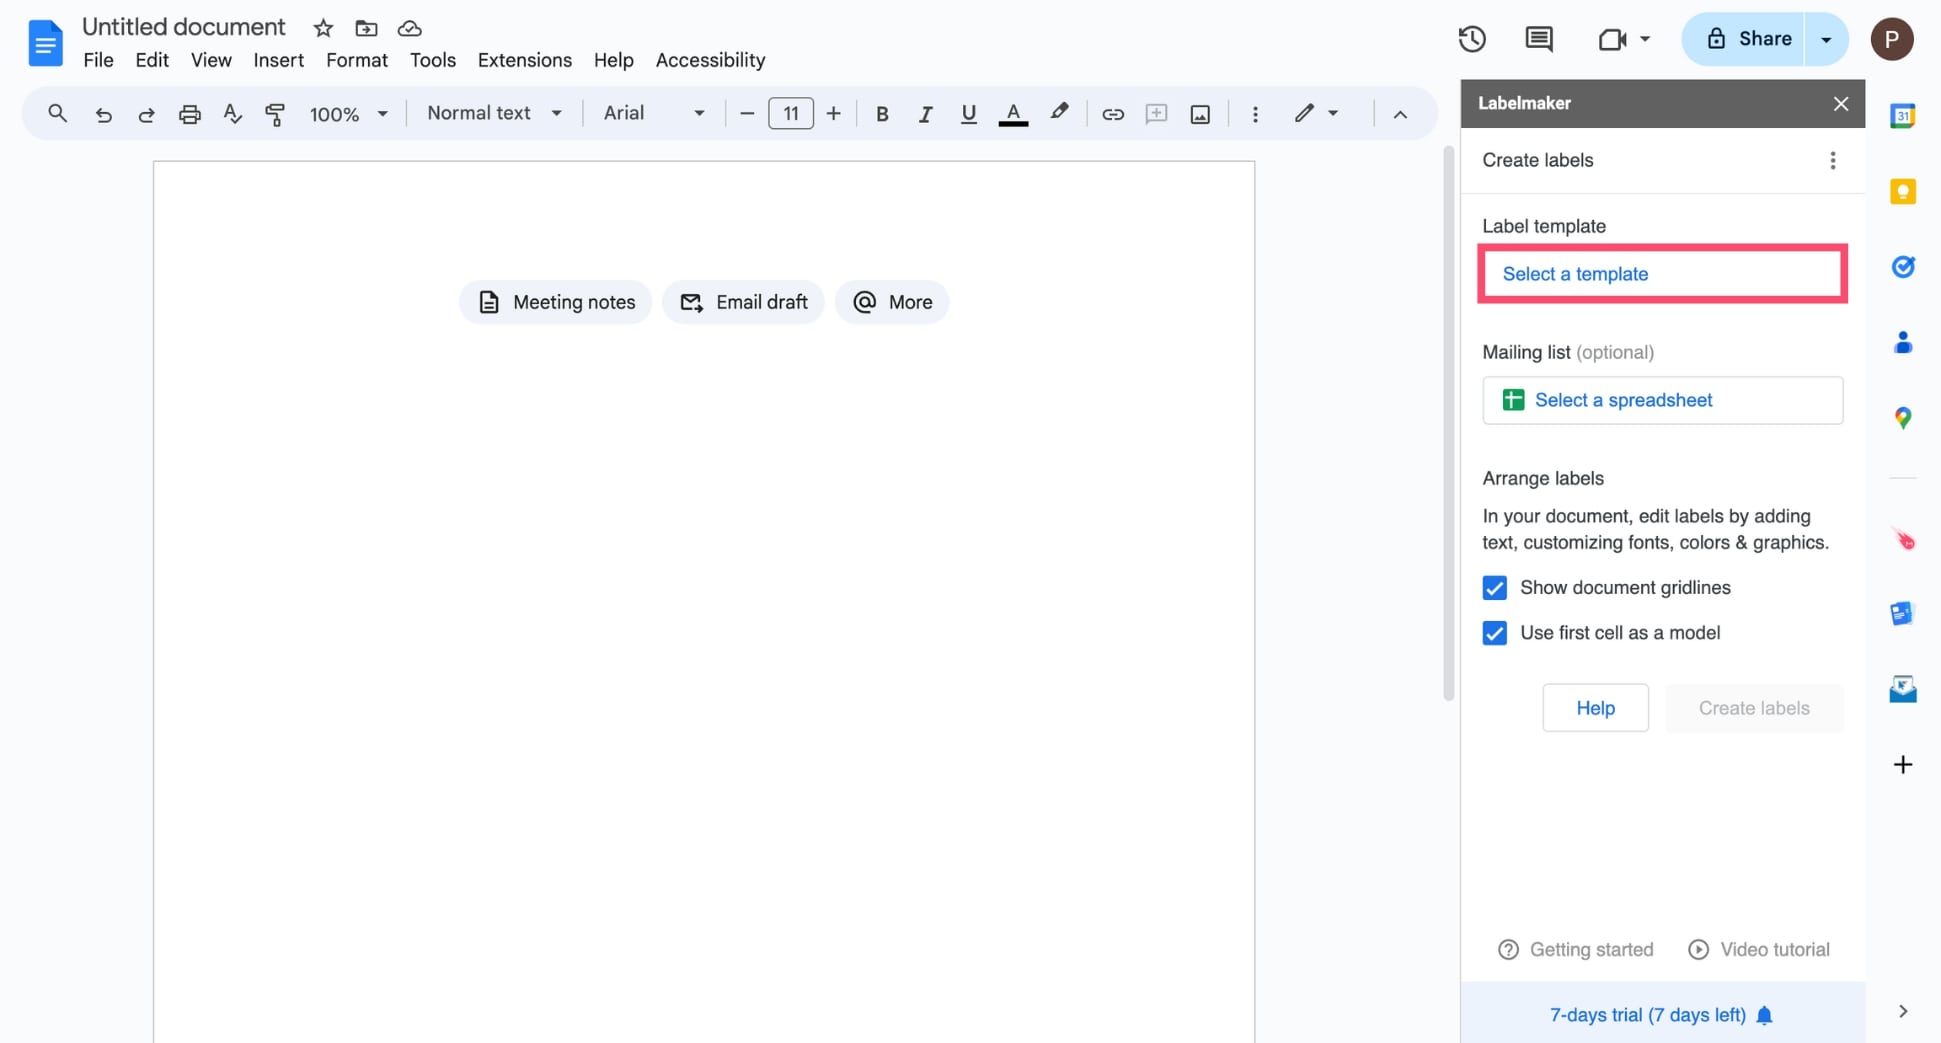
Step 3: Create a new document in Google Docs. Then go to Extensions > ** Create & Print Labels** > Create labels.
Step 4: Under Label template, click Select a template.
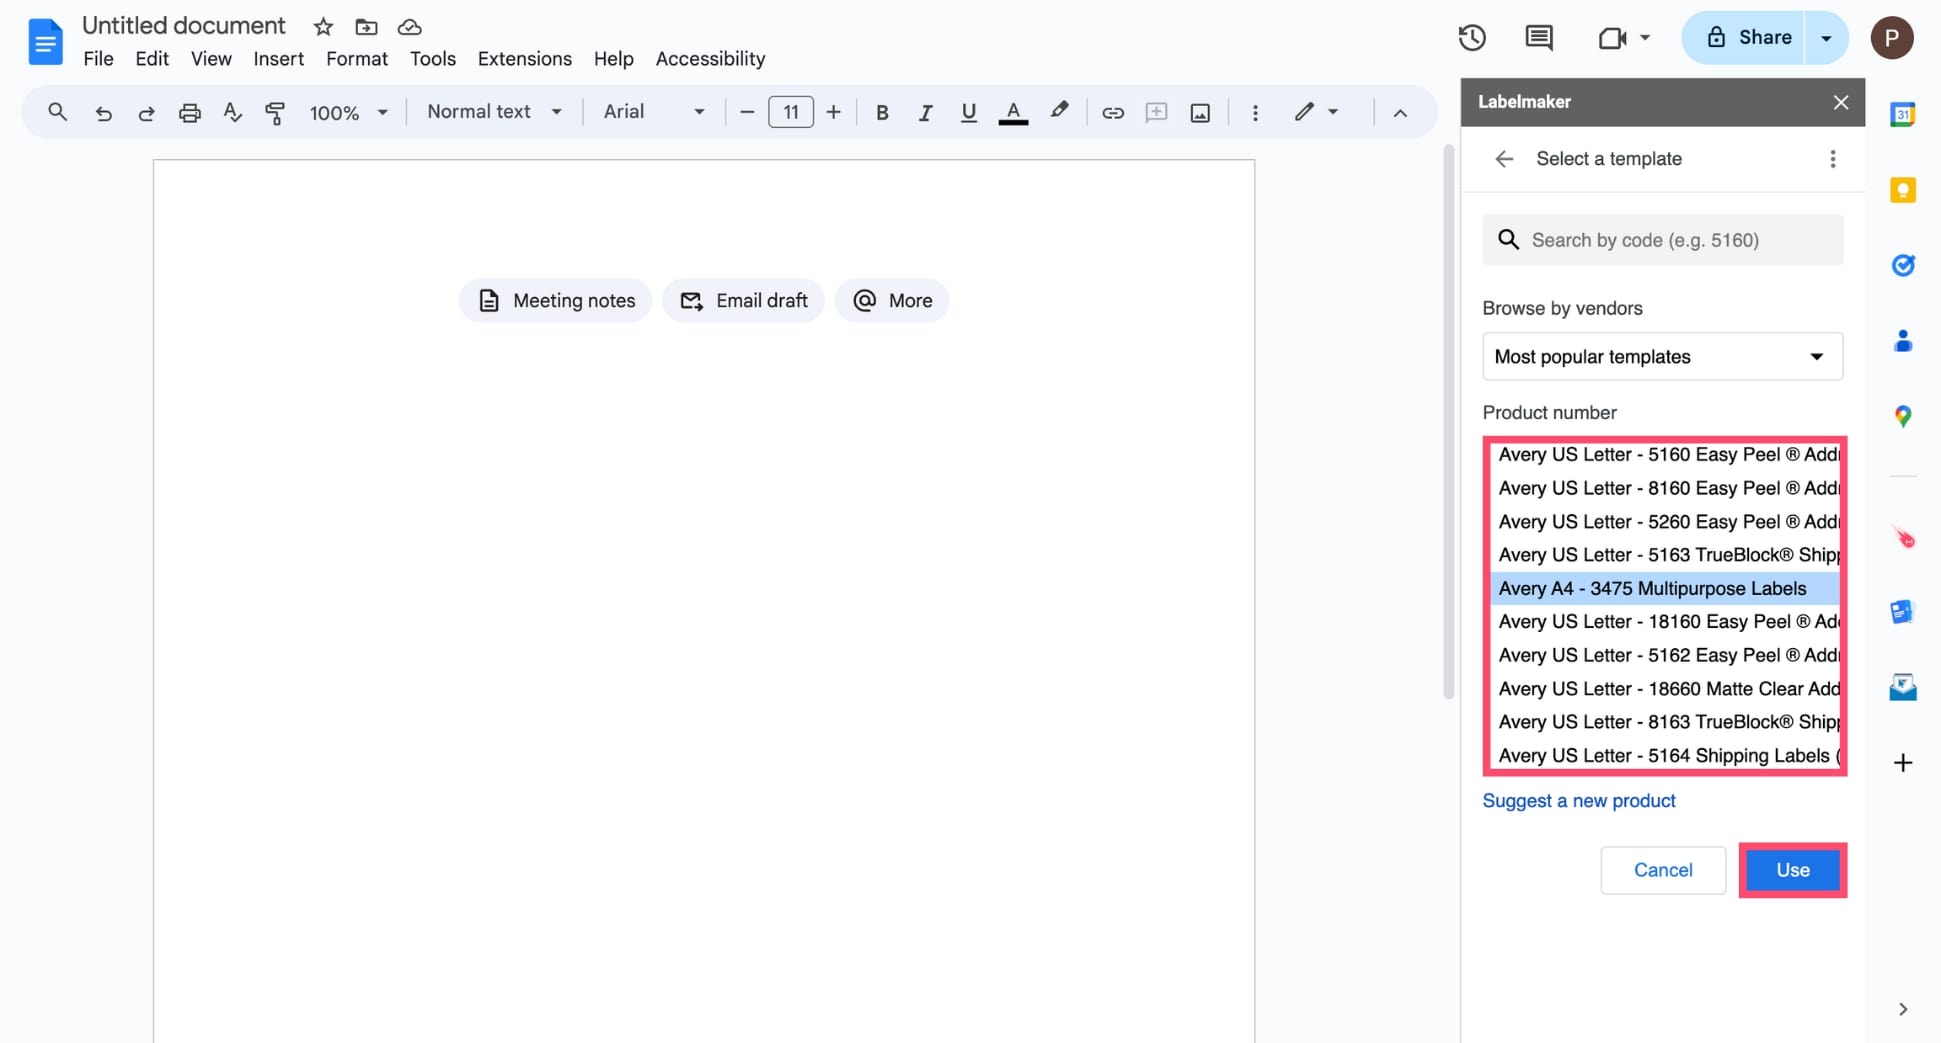
Step 5: Select a label template from the list. There are over 5000+ labels available, within multiple categories such as “Avery® US Letter”, “Sheetlabels.com”, “OnlineLabels.com”, and “Herma”. Then click Use.
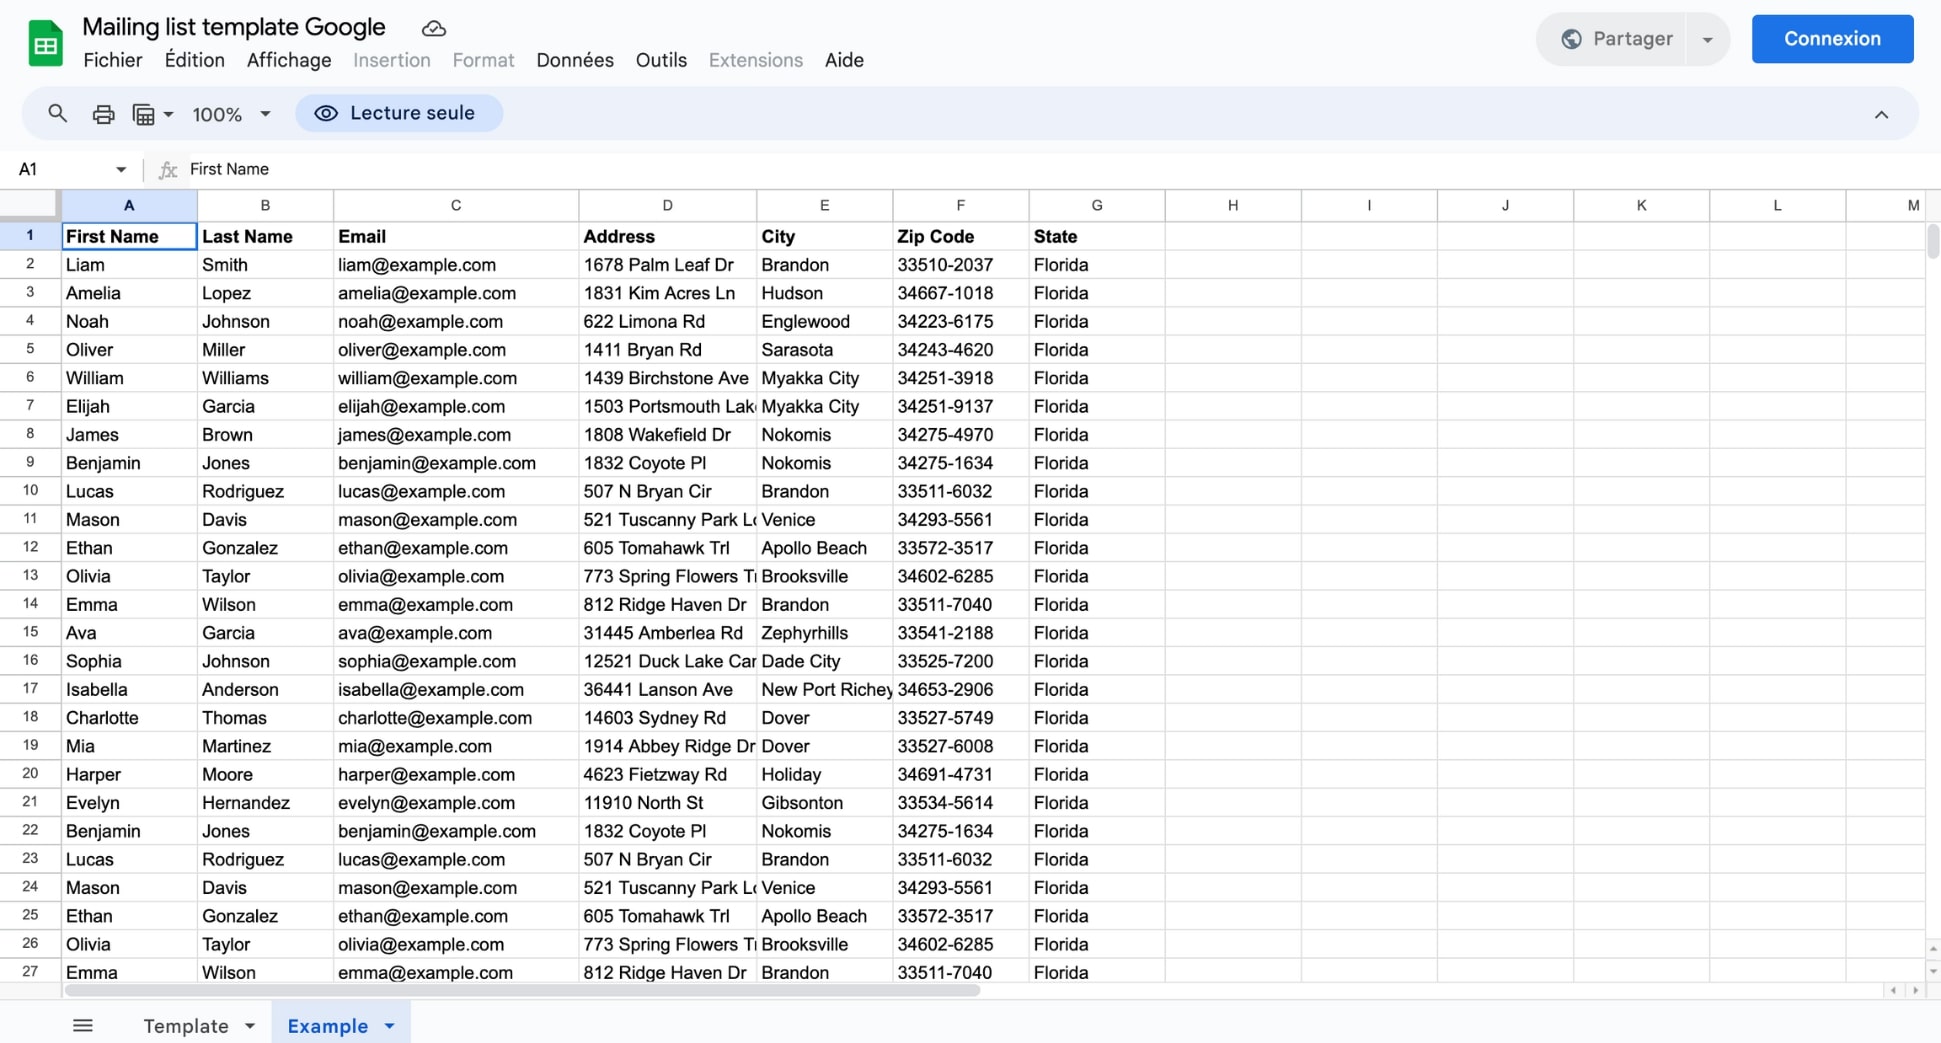
Step 6: Next, let’s prepare your address list using Google Sheets. Open a new spreadsheet, add a header to each column, then fill your columns with relevant data about your recipients.
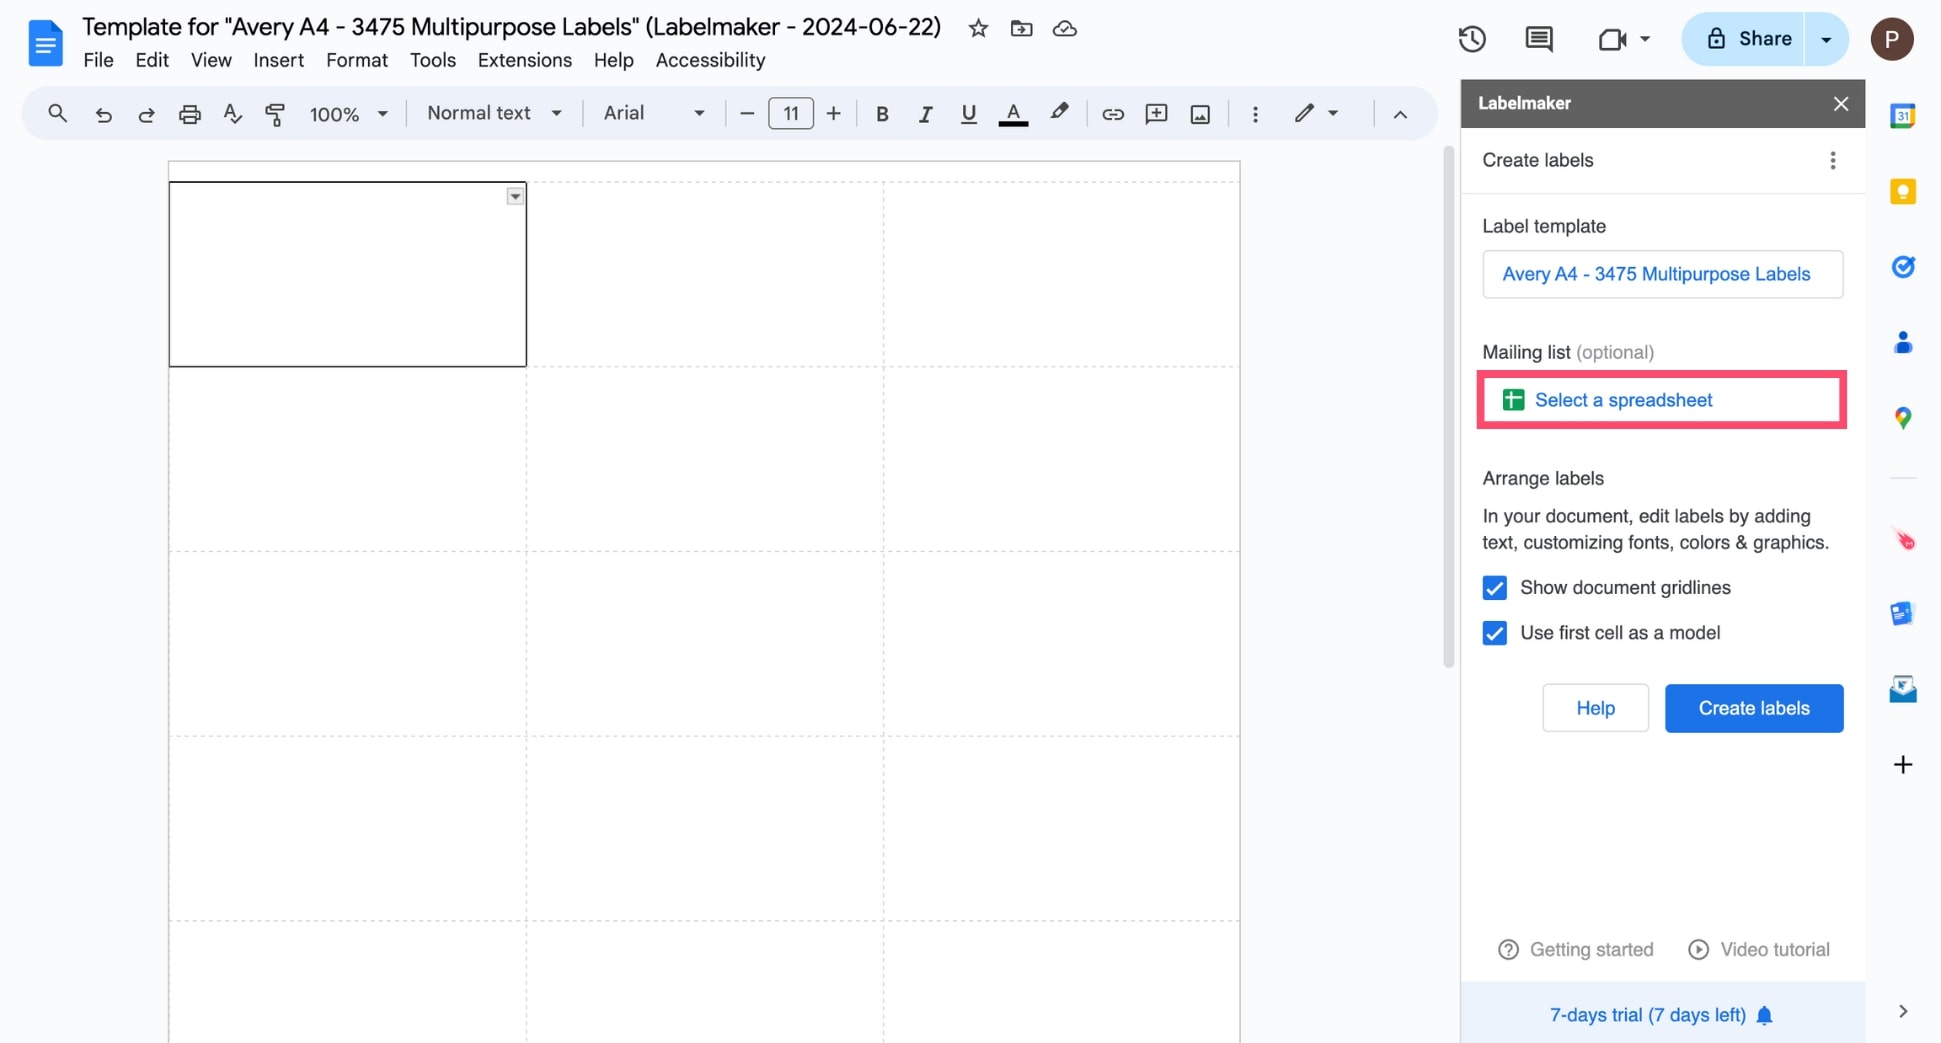
Step 7: Go back to your Google Docs, and click Select a spreadsheet. Then choose the Google Sheets spreadsheet you’ve just created.
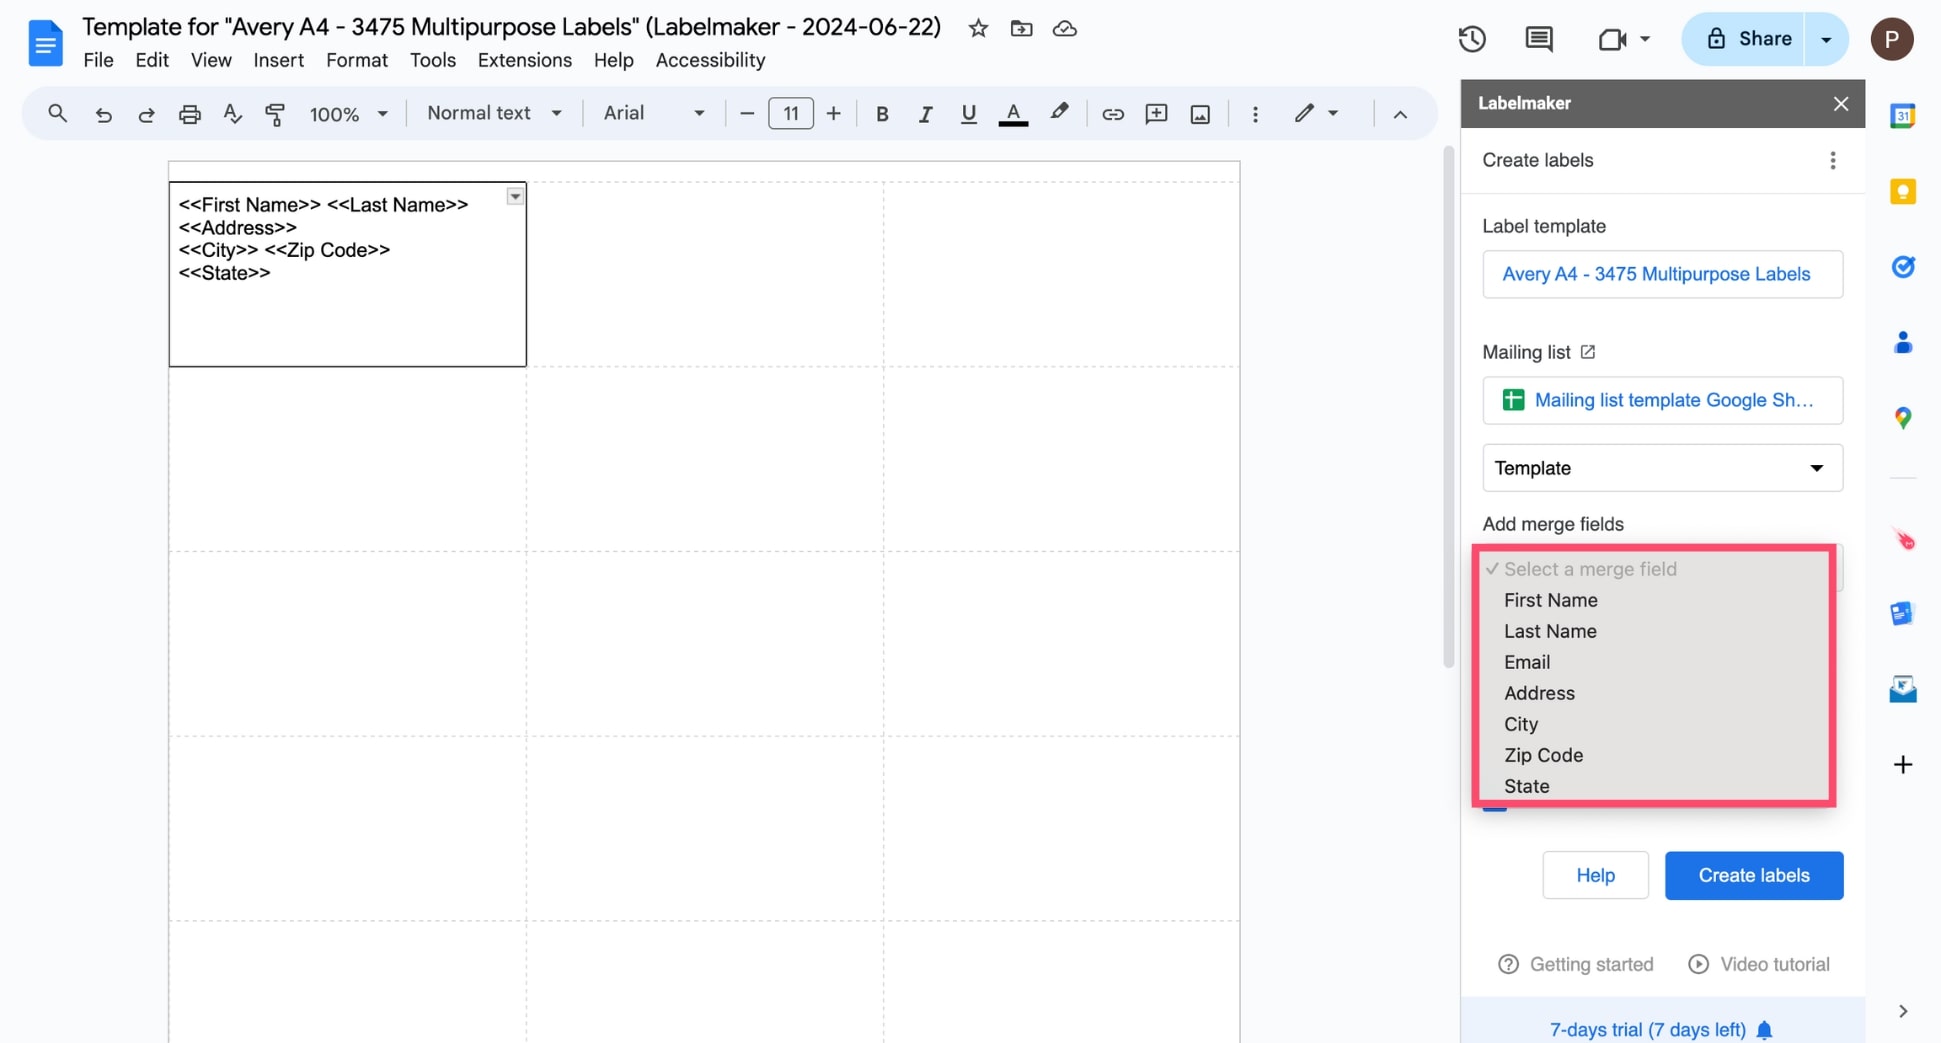
Step 8: Add text and formatting to the first cell of your Google Docs. You can use merge fields to insert dynamic content in your labels. To do so, under Add merge fields, select a merge tag, such as «First name», «Zip Code», or «City».
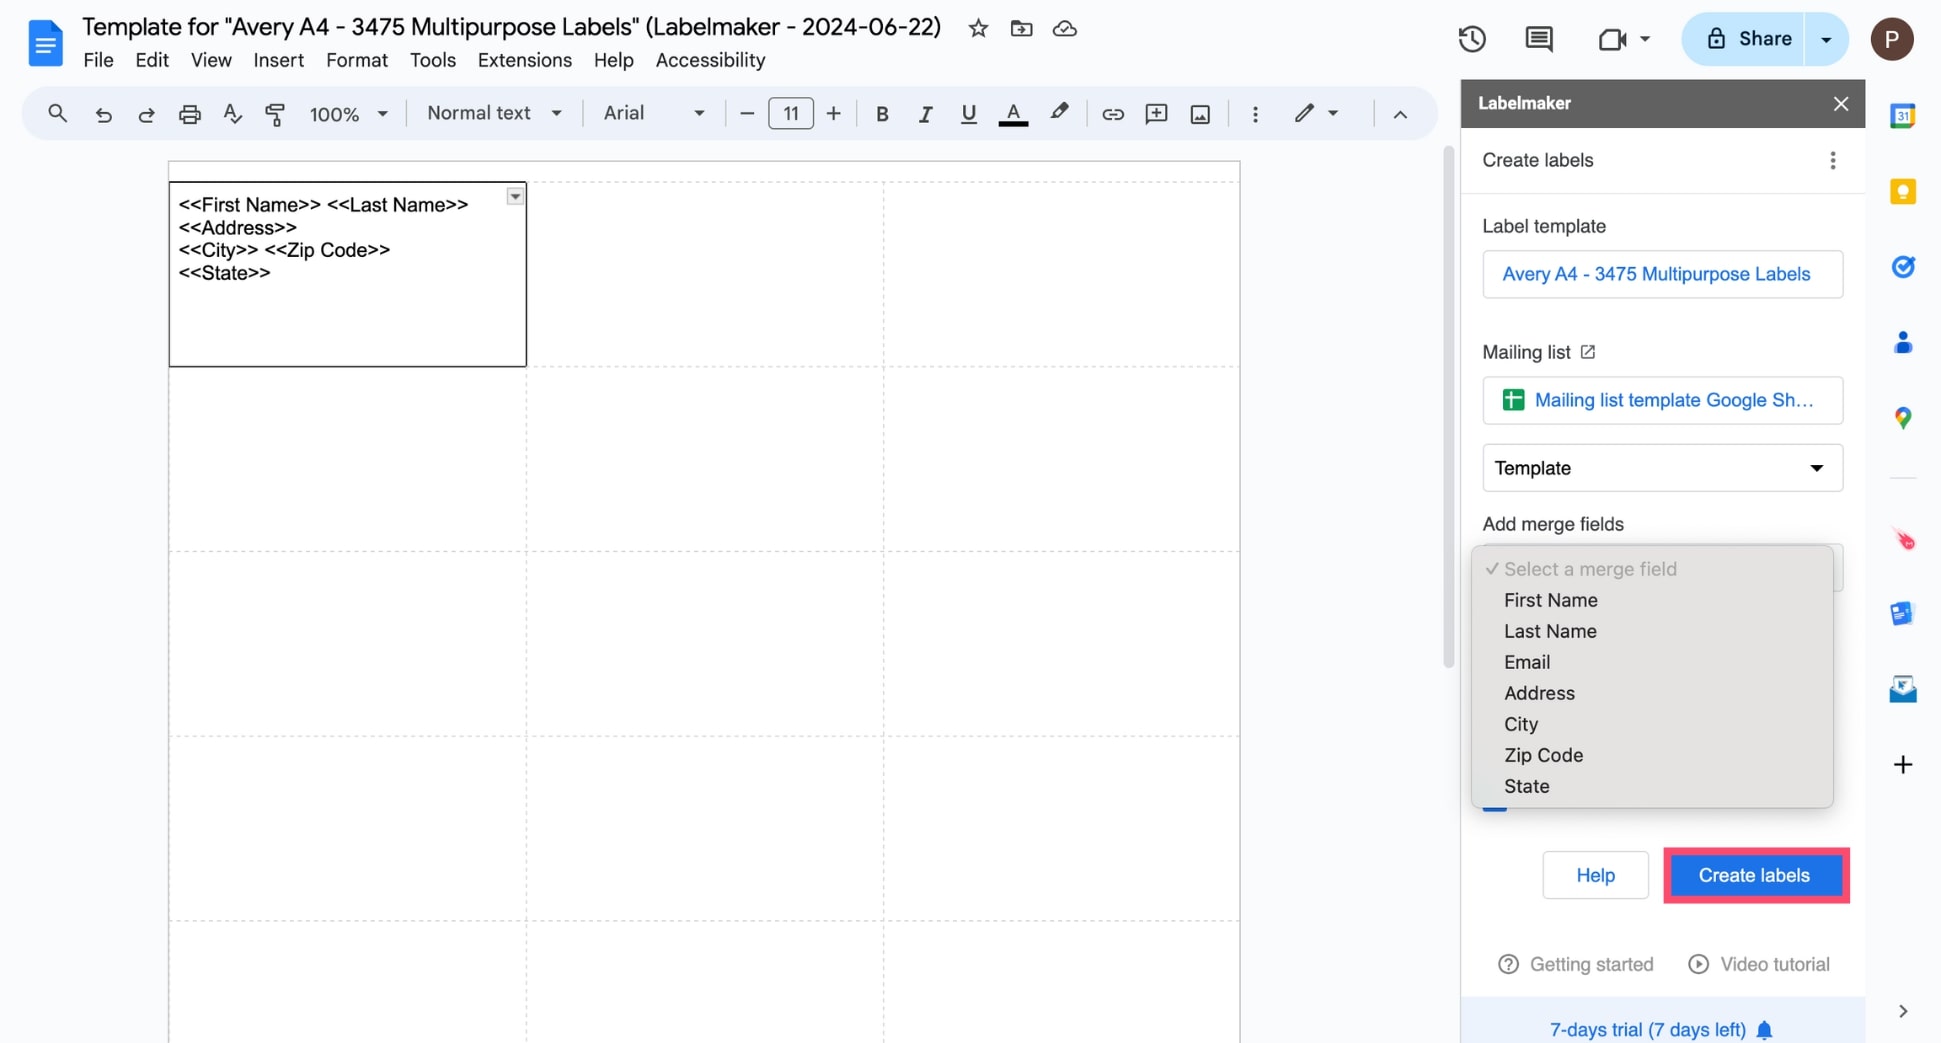
Step 9: Once your label template is ready, click Create labels to create a new document with a full sheet of labels replicated from the first label.
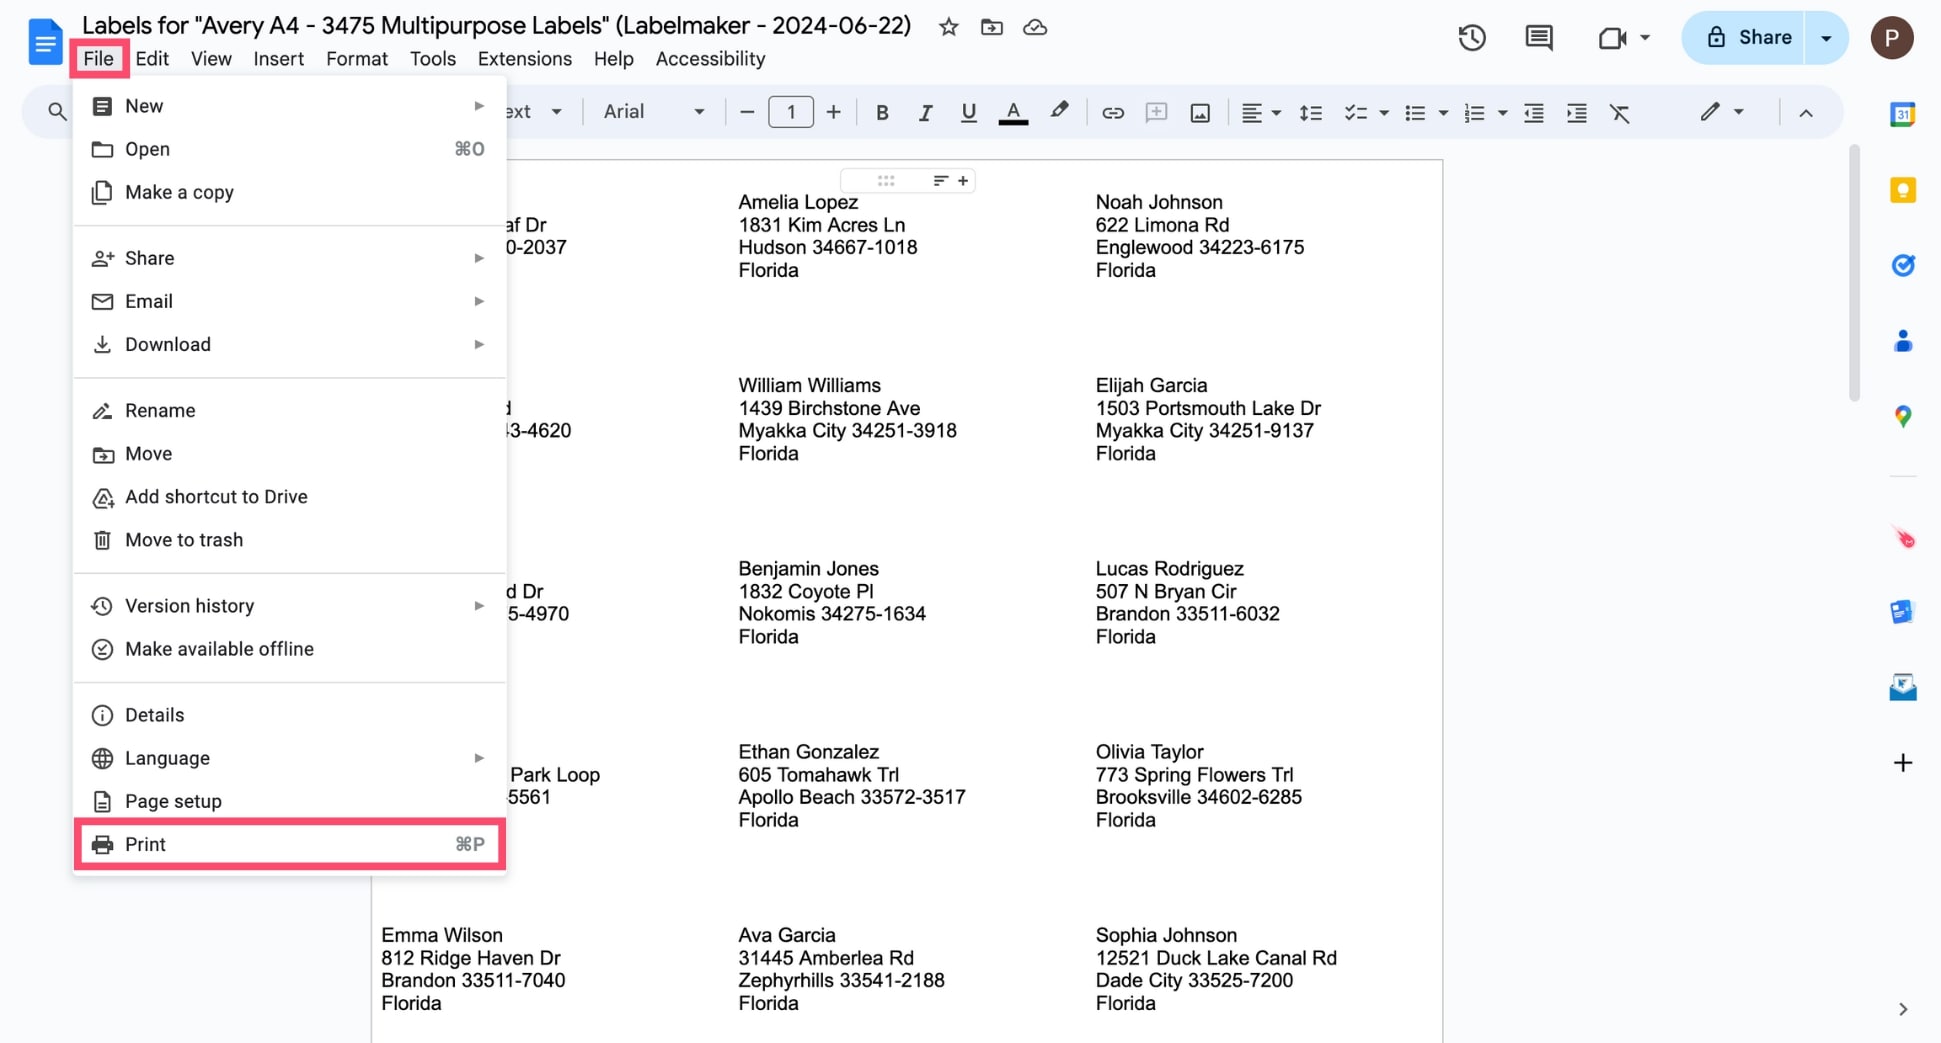
Step 10: Labelmaker will then replace your merge fields with the corresponding data from your Google Sheets spreadsheet, allowing you to generate personalized labels in bulk. To print your labels, go to File > Print.
And that’s it. You can now use Google Docs + Google Sheets to create and print personalized labels in minutes with Labelmaker.
Wrapping up
Label mail merges are a game-changer for creating, formatting, and printing labels. Whether you’re using Microsoft Word and Excel or Google Docs and Sheets, you can automate the process and save yourself hours of work.
At Mailmeteor, we use mail merge tools like Labelmaker to design and print labels effortlessly. This allows us to prepare our mailings 10 times faster, while making sure our labels are always pixel-perfect.
Want to do the same? Create your free Labelmaker account to start merging labels today. And if you’d like to see what mail merge can do for your emails, check out our guides on how to mail merge in Gmail or Outlook.
FAQs — Mail merge with labels
Can you turn an Excel spreadsheet into Avery labels?
You can turn an Excel spreadsheet into Avery labels using the mail merge feature in Microsoft Word. To do so, prepare your address list in Excel. Make sure each column has a header (e.g., Full Name, Address). Then open Word, go to Mailings > Start Mail Merge > Labels. Lastly, choose the appropriate Avery label template and select your Excel file as the data source.
What is the easiest way to print address labels?
The easiest way to print address labels is by using a mail merge add-on such as Labelmaker to design professional-looking labels in Google Docs, and fill them with data from a Google Sheets spreadsheet. This solution doesn’t require any technical knowledge and it’s super fast!
How to make sticker labels in Excel?
You can’t print sticker labels directly from Excel. However, you can use Excel to prepare your data and then print your labels from MS Word. To do so, create an Excel spreadsheet and fill it with the information you want on the labels. Then go to Word and navigate to Mailings > Start Mail Merge > Labels. Lastly, choose your label type, connect your Excel file as the data source, and complete the merge to automatically generate your sticker labels.
Does Microsoft Word have a label template?
Microsoft Word has built-in label templates for various label types, including popular brands like Avery. To access these templates, go to the Mailings tab, select Start Mail Merge > Labels, and choose the label vendor and product number from the list. This lets you create labels that fit perfectly on pre-made label sheets, making your mailings look clean and professional.


