Outlook is one of the most popular email clients for business usage. It is reliable, feature-rich, and user-friendly at the same time. Businesses worldwide trust Outlook to manage their email communication because it integrates seamlessly with other Microsoft 365 applications, commonly known as the Microsoft Office apps. Whether you are managing a small team or running a large enterprise, using Outlook for your emailing needs can boost your productivity and streamline your process.
In this guide, we will walk you through the necessary steps to get your business email up and running with Outlook and discuss some of the productivity benefits you can reap by doing so. We will cover:
- Requirements for using Outlook for your Business Email
- Creating a Microsoft 365 Business Account
- Connecting a Custom Domain with Microsoft 365
- Adding Business Email in Outlook for Web
- Adding your Business Email to Outlook for Desktop
- Advantages of using Outlook for your Business Email
- What is Mail Merge? -
- Frequently Asked Questions
- Sending Mass Cold Emails from Excel with Mailmeteor
Let’s dive in,
Requirements for using Outlook for your Business Email
Before you can start using Outlook for your business emailing needs, you will need to check a few boxes:
- Microsoft 365 Business Subscription: An active Business subscription to Microsoft 365 will let you create a custom business email.
- Domain Name: A custom domain (e.g., businessname.com) makes your business emails look professional. If you already have a business website, then you already have one! You can also purchase a new one from Microsoft, so there is no reason to worry.
If you do not plan to sign up for a Microsoft 365 Business subscription and already have an email service provider, you can still use the Outlook desktop client for your emailing needs. An email service provider can manage the mailboxes and email delivery for you, but you will need the proper credentials to add your mailbox to the Outlook desktop client:
- Username & Password: This is usually the Email Address and the associated password.
- SMTP Server: This is the server address that will send your outgoing emails.
- SMTP Port: Usually, the standard ports are 25, 465, and 587.
- Encryption Method: Information on whether to use SSL/TLS for secure connections.
All the above email credentials should be provided to you by your email service provider.
Creating a Microsoft 365 Business Account
Let us go through the quick process of signing up for the Microsoft 365 Business plan.
- Visit the Microsoft 365 Business Plan page.
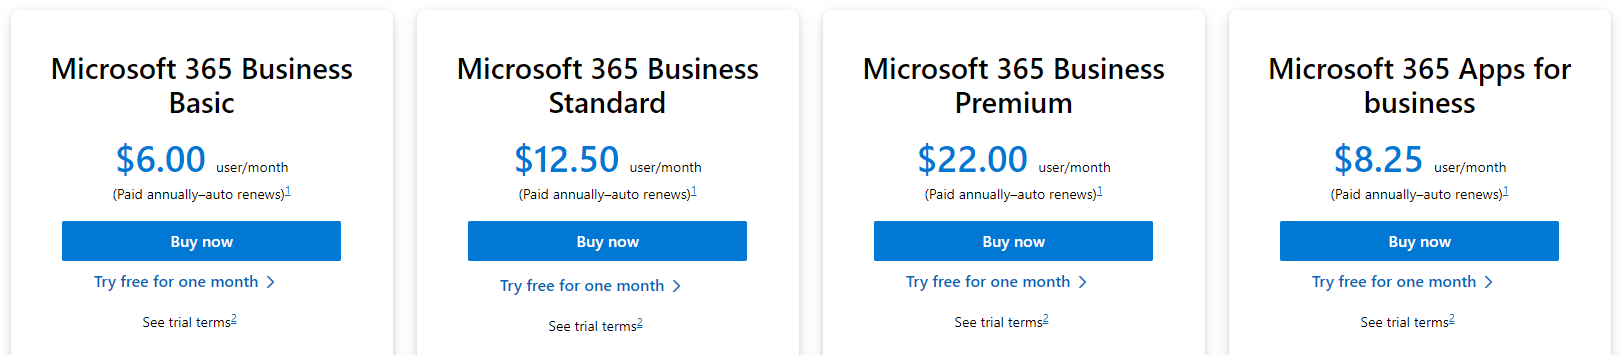
- We will be selecting the “Microsoft 365 Business Basic” plan for this guide. Keep in mind that it does not come with the desktop versions of the Microsoft Office apps.
- Click “Try free for one month” to start the sign-up process and to claim a free trial!
- Under “How many people is this for?” enter the number of accounts you will be signing up for.
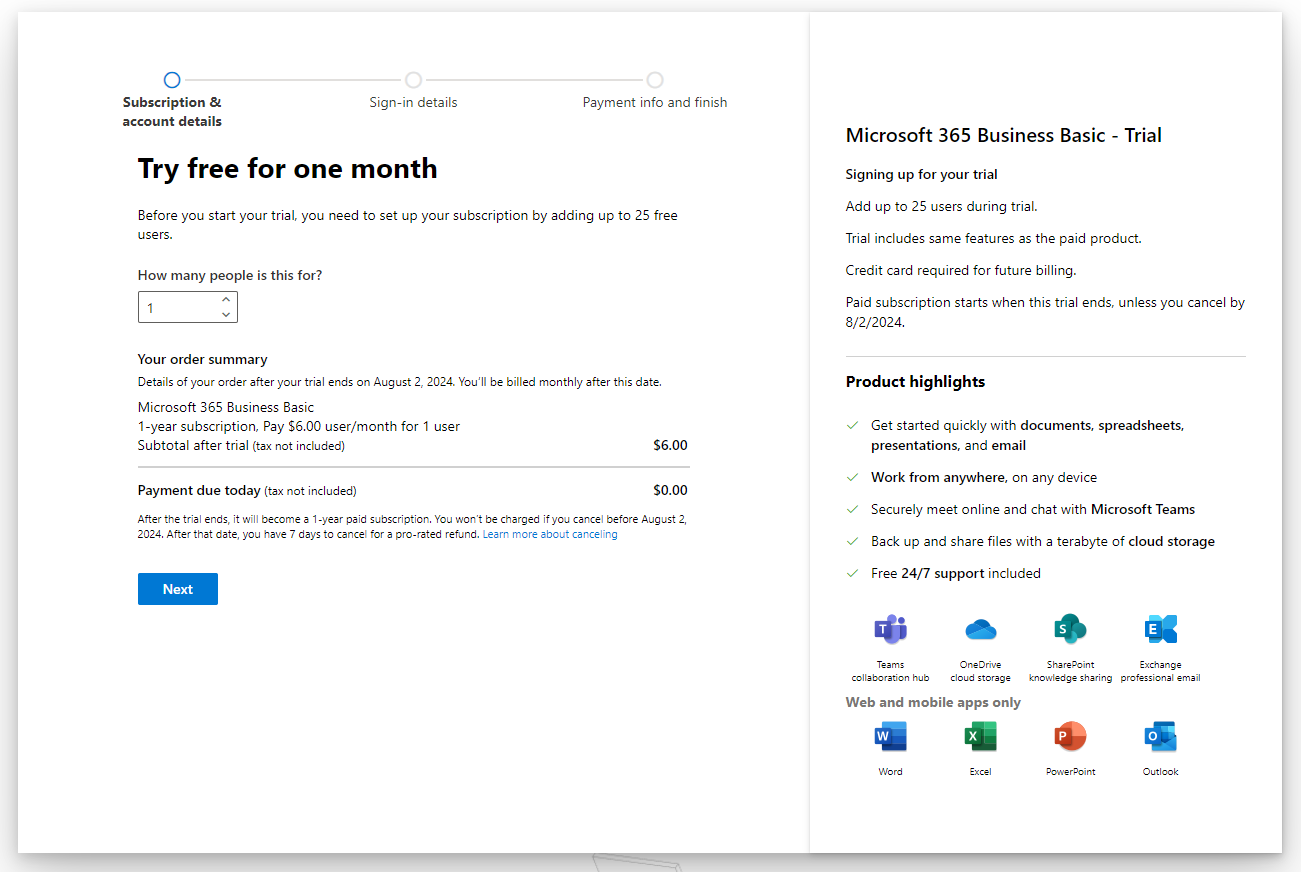
- Confirm the monthly amount under “Your order summary” – you will be paying this once your free trial ends.
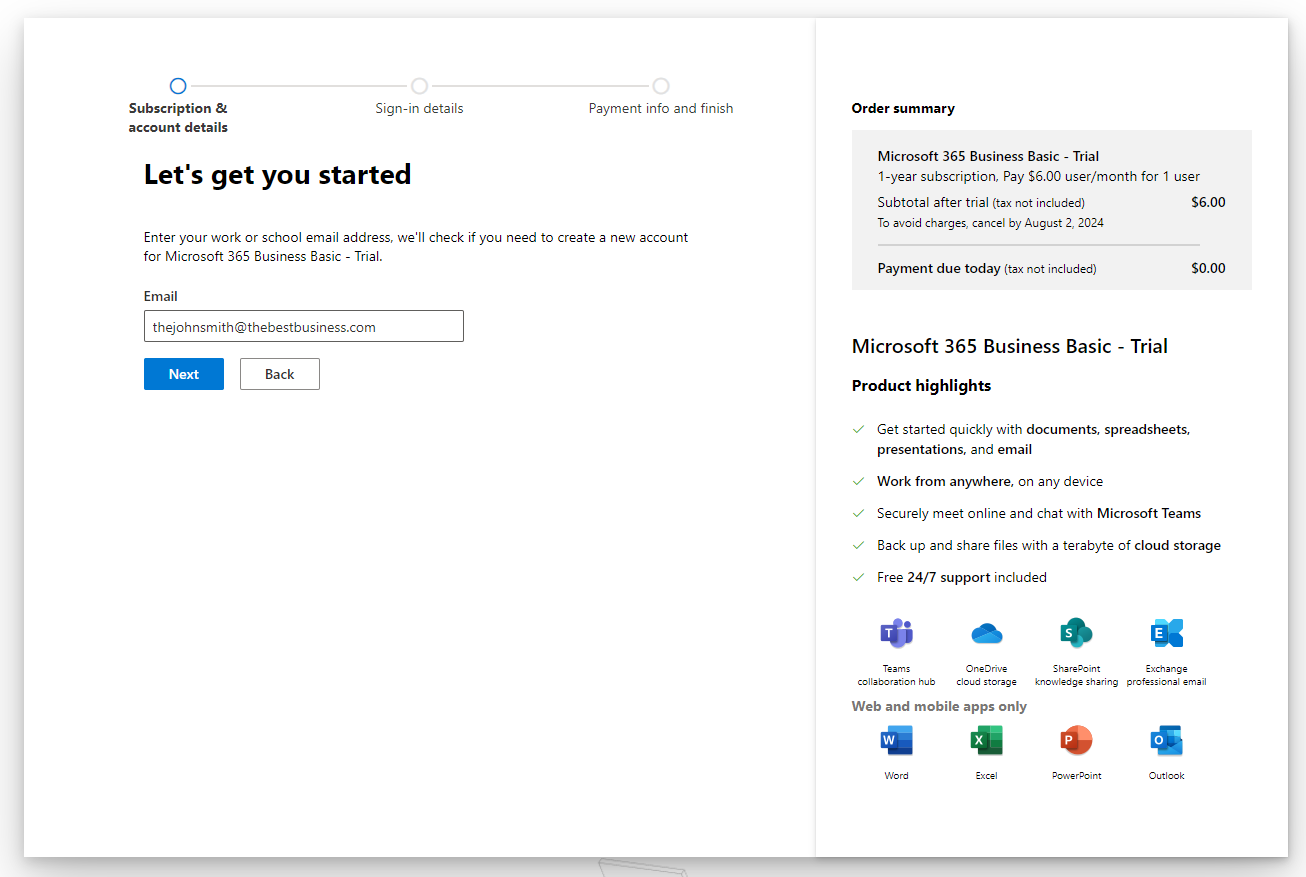
- On the next page, enter the email address you wish to use. This is just a step to make sure you do not accidentally sign up for a business account when your workplace already has one.
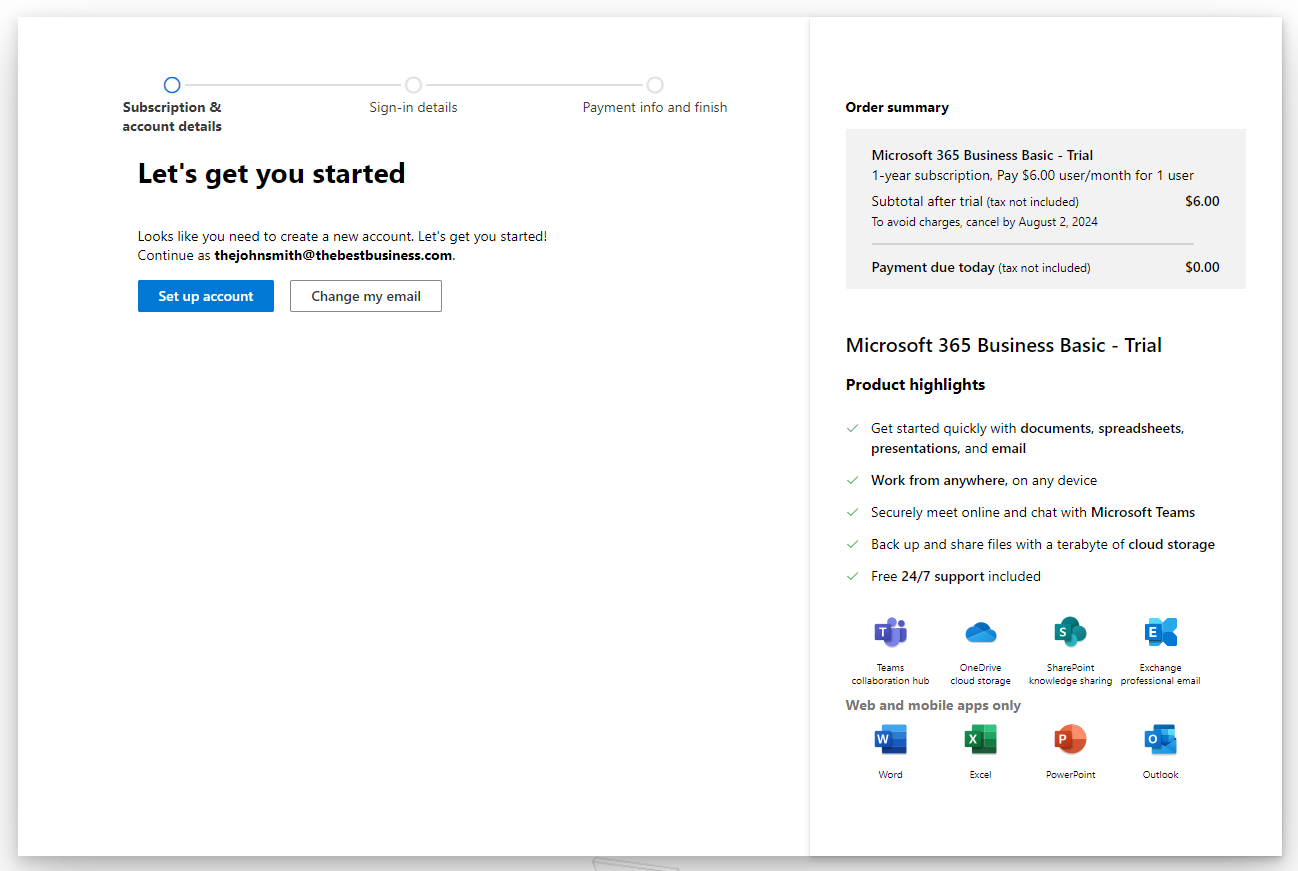
- Click the “Set up account” button to start the process!
 8. Enter your personal details and go through the sign-up process.
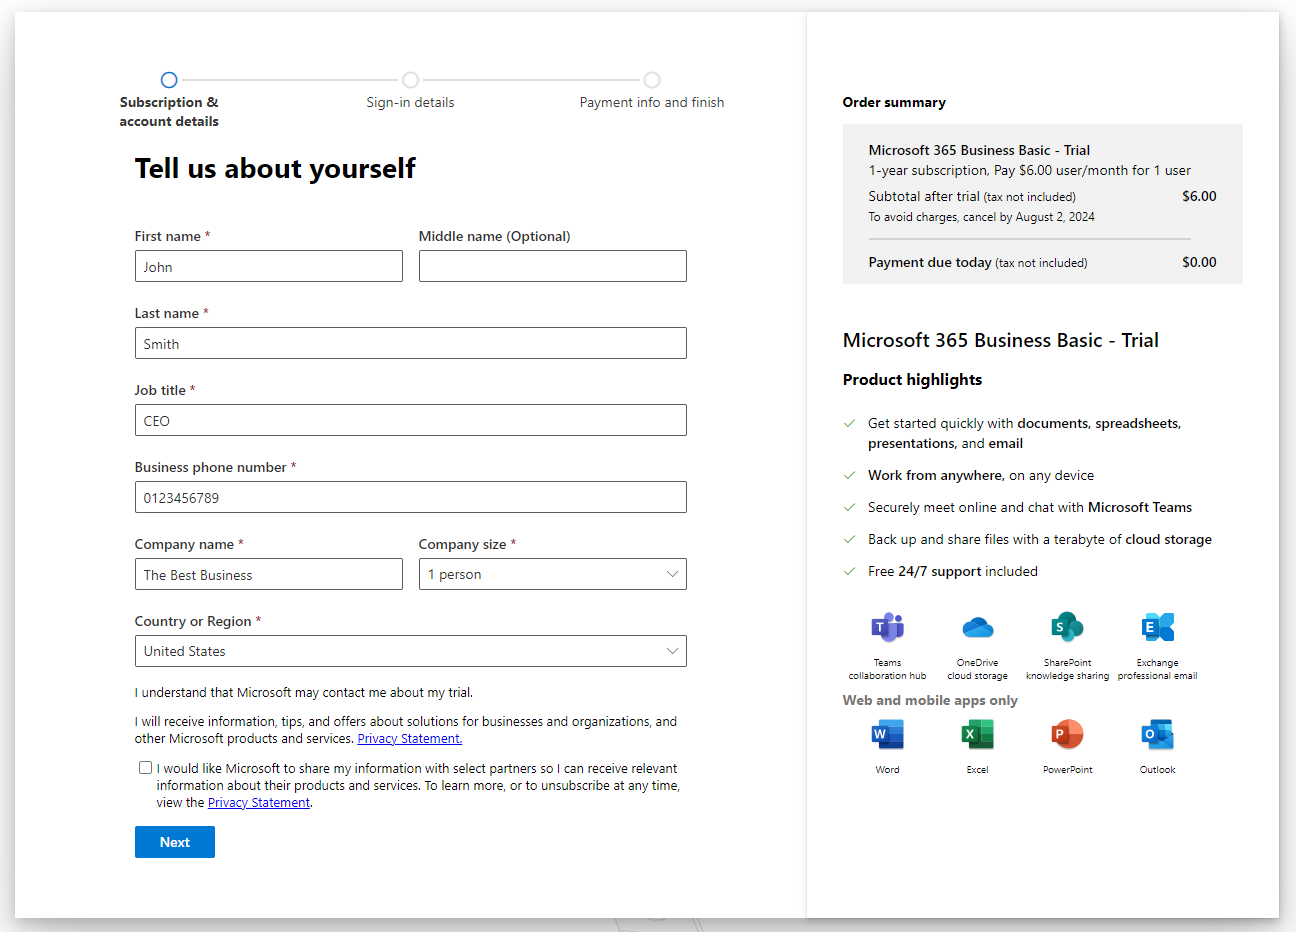
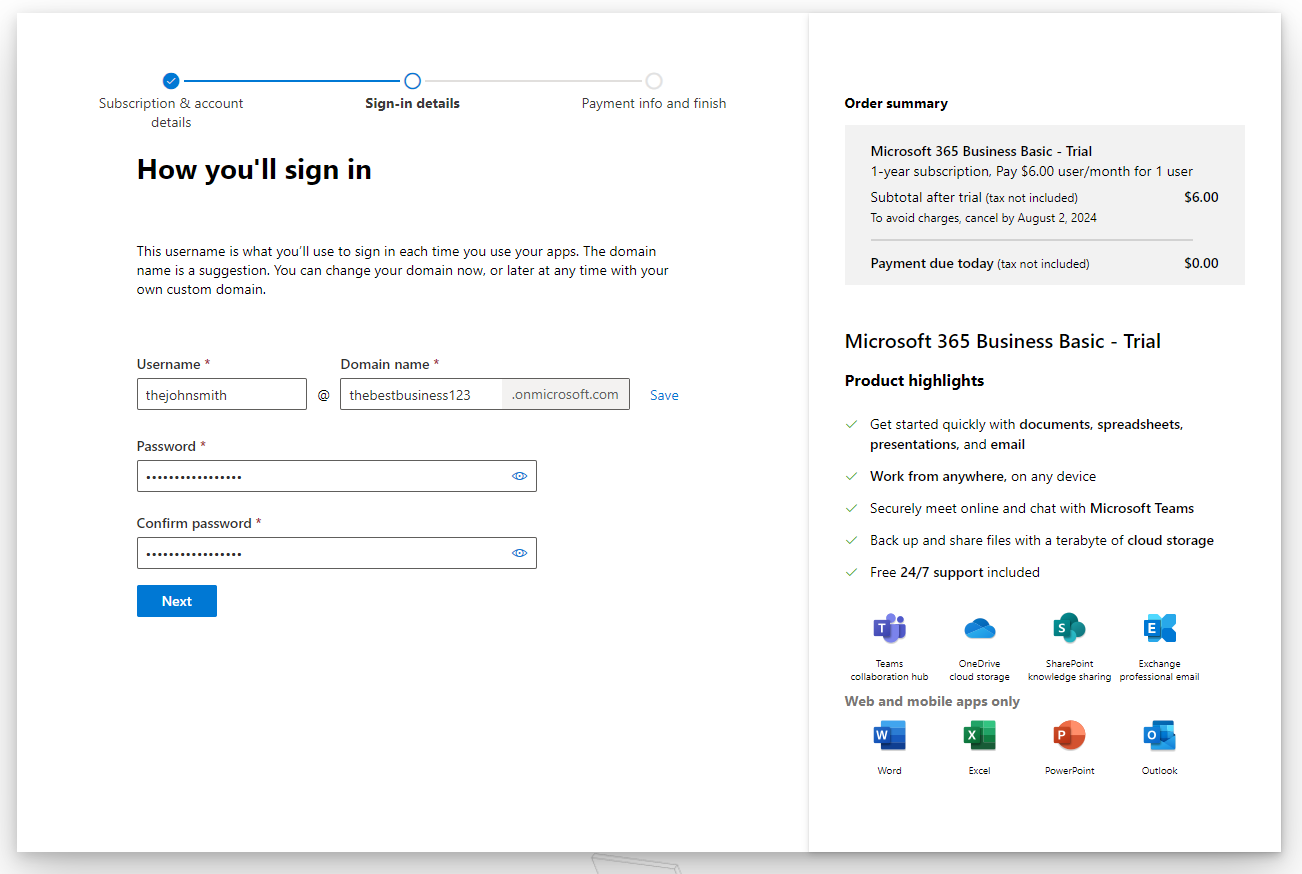
- Select a username and password. There is no need to worry about the “Domain Name” field because this is just a fallback domain which we will be changing.
- Enter your payment details and complete the registration process.

- Scroll down and click the “Start Trial” button.
You should now have a Microsoft 365 account for your business! Next, we need to connect your domain name with your Microsoft 365 Account.
Connecting a Custom Domain with Microsoft 365
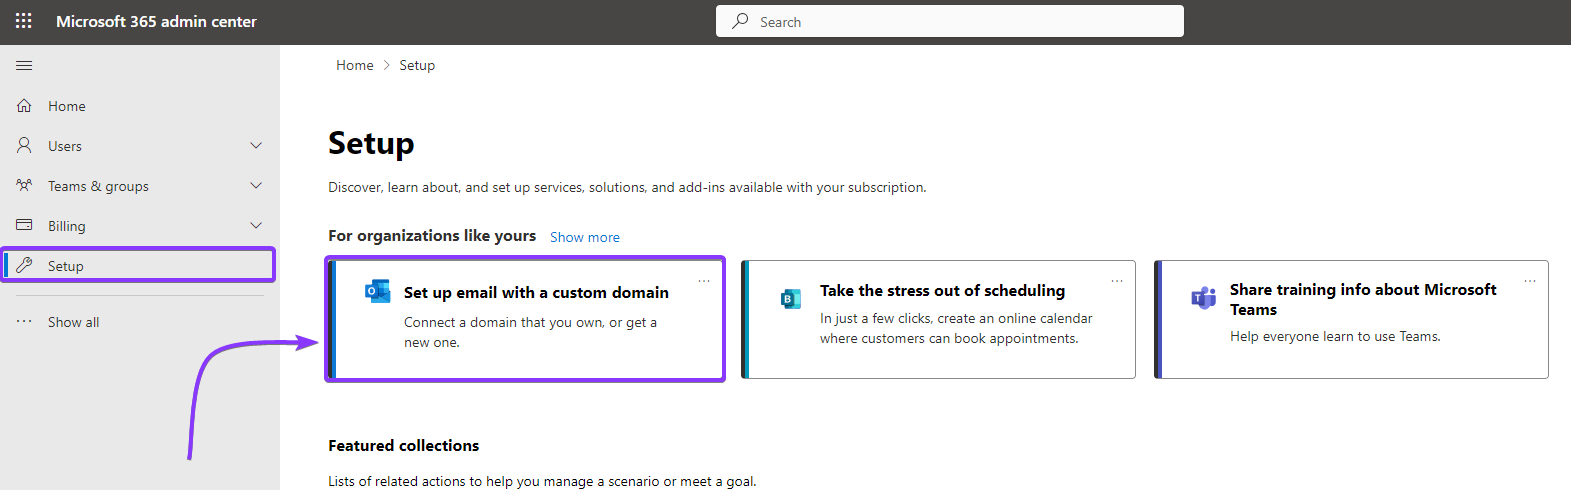
The Microsoft 365 Admin Center is your one-stop shop for managing this newly created business account.
- Visit admin.microsoft.com to access the admin center.
- From the left sidebar, click “Setup”.
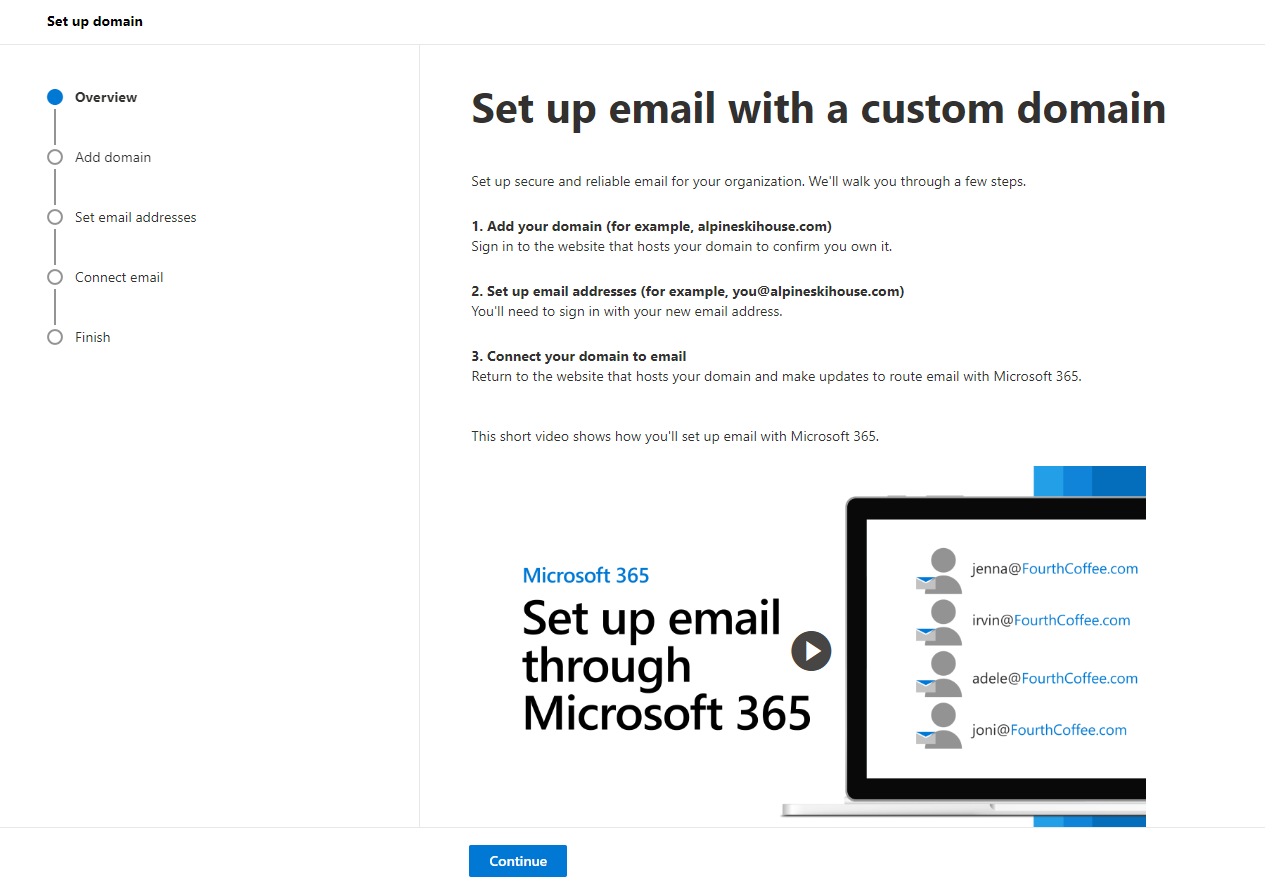
- Click on “Set up email with a custom domain” – or directly head to the Email Setup page.
-
You can use a domain you already own or buy a new one too. We will be using a pre-existing domain.
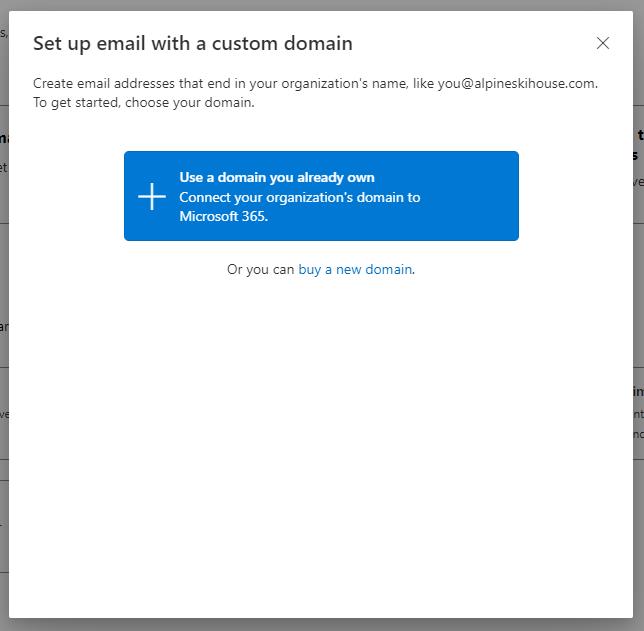
- Click “Continue” to start the process.
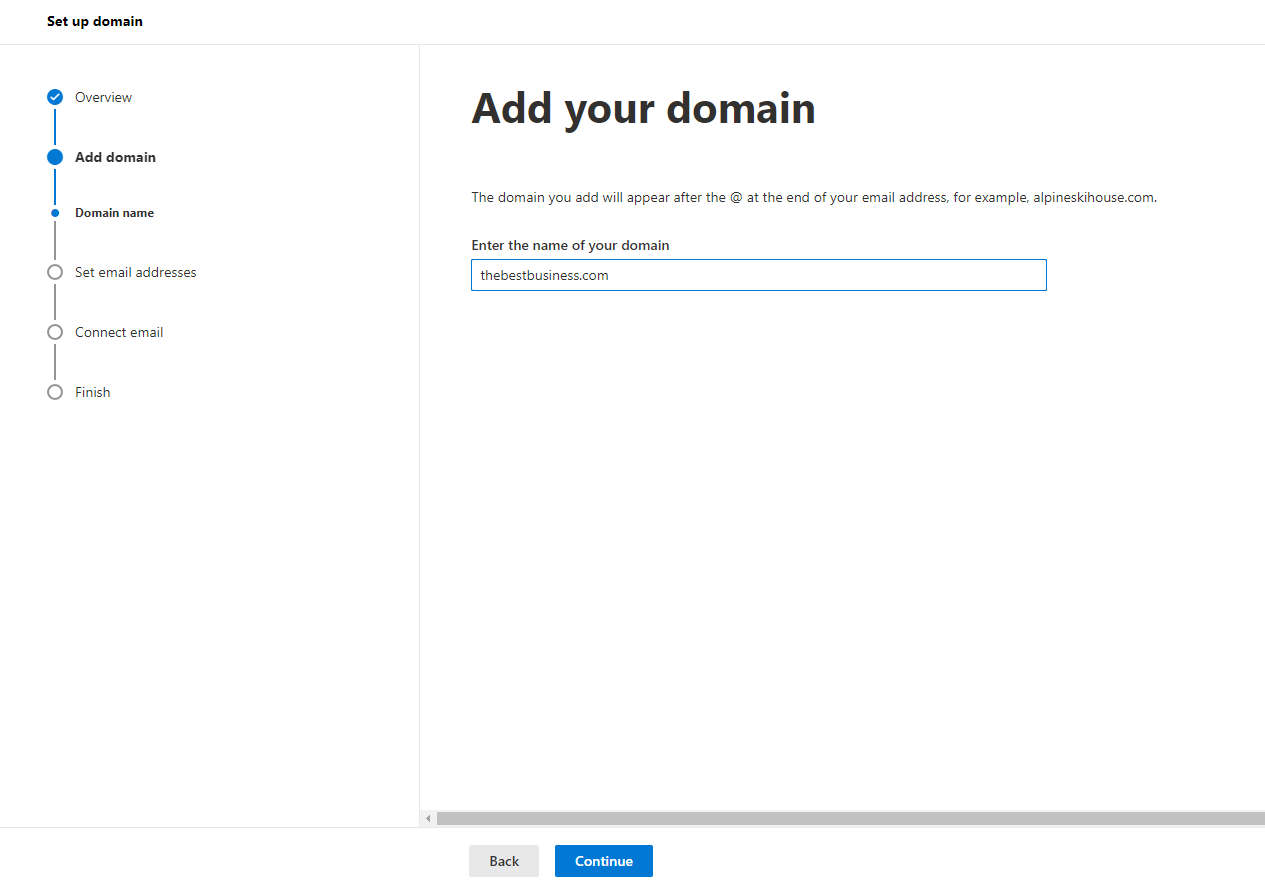
- Enter the domain name that you own, for example, we will be using “thebestbusiness.com”.
- You will need to follow the step-by-step instructions depending on your hosting service provider to add the TXT and MX records to your domain name. Once done, you may click on the “Verify” button to move forward.
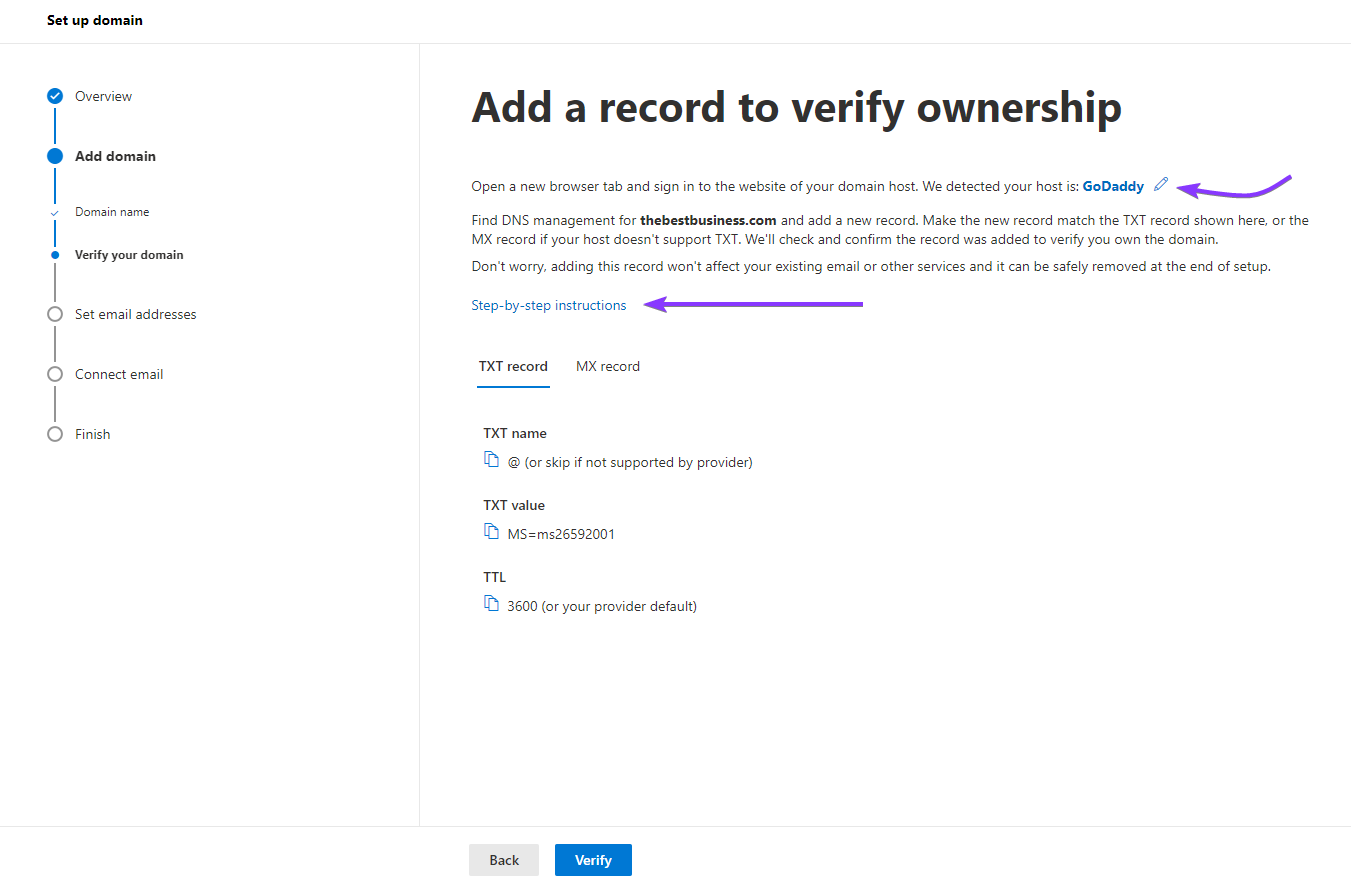
The DNS verification process can take up to 48 hours, depending on how fast the nameservers update their records. But once done, you will be able to move forward and complete the email account creation process. So don’t fret too much if you see this message:

Adding Business Email in Outlook for Web
Outlook for Web does not support business emails unless you follow the above instructions and create a Microsoft 365 Business account. Personal and Family tiers only work with “@outlook.com” addresses or other Microsoft email addresses such as @live.com, for example.
A lot of businesses and educational institutes use Microsoft services so you should still try this, just in case your account uses a compatible email service provider.
- Go to Outlook.com and log into your primary account.
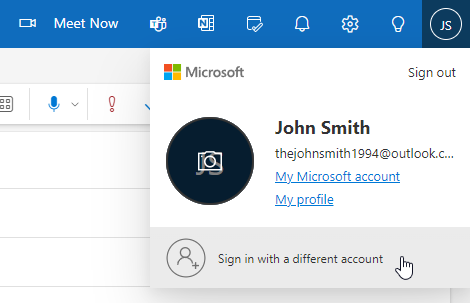
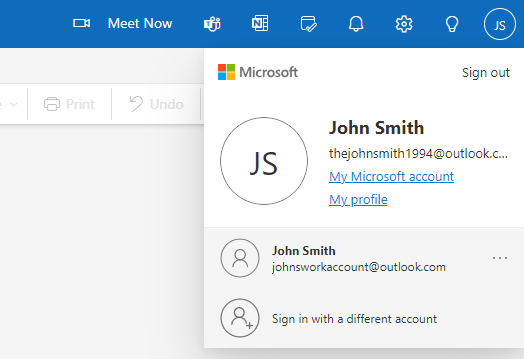
- In the top right corner, click on your profile icon to open the dropdown menu.
- Click the “Sign in with a different account” option from the dropdown menu.
- You will be taken to a regular sign-in page where you should be able to use your regular credentials to add your account to Outlook.
- This will also let you switch between the two accounts directly from within the Outlook web app.
If you are unable to log in, then that means your work or school email is not compatible with Outlook for Web. There is no need to worry though, the Outlook desktop application is far more powerful and acts as a fully featured email client which works with most email service providers.
Adding your Business Email to Outlook for Desktop
The Outlook desktop client is an incredibly powerful tool that helps you manage your email conversations efficiently and comfortably. Many individuals use Outlook’s desktop client to streamline their emailing efforts. Here is a step-by-step guide to get you started and make the most of Outlook’s features.
- Click on the “Settings” gear icon at the top right of the screen from your Outlook desktop client.

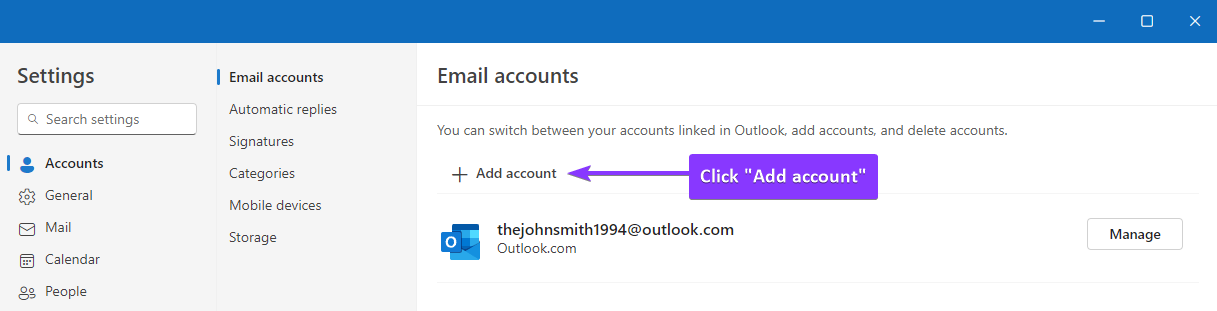
- Browse to the “Accounts > Email Accounts” from the settings page.
- Click on the “Add account” button in the settings panel.
- Type the email address you wish to add to your Outlook client.

*Follow the instructions as they appear, and you should be able to use Outlook for your business emailing needs right away!**
Advantages of using Outlook for your Business Email
Outlook’s seamless integration with other Microsoft 365 (Office) products makes it a no-brainer choice if you plan to use applications like Word & Excel. It makes it easier to manage tasks, schedules, and even supports mail merge when paired up with Excel. Let us go through some of the many advantages of using Outlook for your business email:
- Microsoft 365 Integration: Since Outlook has built-in integrations with other Microsoft 365 (Office) products, frequent users of applications like Word and Excel will find themselves at home when using it.
- User-Friendly: Decades of optimization and design improvements have made Outlook one of the most advanced email clients in the world while retaining its user-friendly interface that anyone can quickly familiarize themselves with.
- Combined Inbox: If you manage multiple email accounts, Outlook’s unified inbox displays all your emails in one place. Meaning that you do not need to switch between accounts to check your mail, saving you time and hassle.
- Offline Access: Since the Outlook client works locally on your computer, it gives you the ability to access your past emails without an internet connection. This is invaluable for times when you need to verify a conversation’s content but do not have an active internet connection. Any actions taken will synchronize once you reconnect to the internet, so you can even reply to emails and Outlook will send them off when it becomes possible.
- Organization & Productivity: Outlook features incredibly powerful labeling and filtering capabilities that can automatically organize and manage your emails for you. Combine this with Microsoft’s Calendar and Task Management applications which you can access from within Outlook, and you have an unbeatable set of tools for your email management.
However, one of the most notable features that Outlook empowers you with is its ability to work with Excel and Word to give you mail merge functionality, although it is cumbersome to use.
What is Mail Merge?
Mail Merge is a powerful feature that lets you send personalized emails to a large number of recipients using an email template. By pairing Word with Excel, you can pull information from a spreadsheet and insert it into emails automatically which Outlook sends. This is perfect for sending out newsletters, updates, or personalized offers without manually entering each recipient’s information.
Want to dive deeper into how mail merge works with Outlook? Check out our comprehensive Mail Merge Guide that covers everything you need to know, from setting up your data to sending your first mail merge email.
Frequently Asked Questions
Interested in learning more? Here are some of the most frequently asked questions about Outlook & Business Emails.
Can I use my existing domain name with Outlook?
Yes, you can use your existing domain name with Outlook. This will let you have a professional email address while utilizing all the features that Outlook offers. However, you will need a Microsoft 365 Business subscription in order to do so. You can skip the Business subscription if you already have an email provider. The Outlook desktop application is simply an email client and not a service provider, confusing? Yes, it is.
What email service providers does Outlook support?
Technically, Outlook supports all email service providers which allow SMTP and IMAP communication. But for big names like Gmail, Yahoo Mail, and of course, Microsoft Exchange, you can easily add them to Outlook with just your email address and password.
Is it possible to access my business email using Outlook for Web?
No, unless your workplace has a Microsoft 365 for Business subscription, you will not be able to use the web app version of Outlook for your emailing needs.
Can I use Outlook for Cold Email Campaigns?
Yes. As we discussed above, you can use Outlook for your mass mail-merge campaigns. But you will need to use Word & Excel at the same time in order to do so, which adds an extra layer of complexity and hassle. Mailmeteor gets rid of the complexity and lets you send out your cold email campaigns directly from within Excel.
Sending Mass Cold Emails from Excel with Mailmeteor
Mailmeteor’s Excel extension makes sending mass cold emails a breeze. With just a few clicks, you can send personalized emails directly from your Excel spreadsheet. Here are the key features you will love:
- Personalization: You can add names, company details, customized greetings, and personalized coupon codes, without the need to juggle between multiple apps!
- Automation: Email sequences, scheduling campaigns, and integration with thousands of other tools with Zapier, all without leaving your Workspace account.
- Auto Follow-Up: Mailmeteor lets you automatically schedule follow-up emails, so you never miss a lead. Did you know that a follow-up email has a 40% higher reply rate than the first email?
- HTML Templates: Are you tired of your emails looking like plain text? You can personalize email templates with Mailmeteor to make your emails stand out from the crowd!
- Free Tier: Mailmeteor comes with a generous free tier that lets you send 50 personalized emails per day while also benefiting from advanced features such as unsubscription management.
Ready to streamline your email campaigns? Check out our Excel Extension and follow our detailed guide if you need help!


