
Want to send a newsletter but don’t want to deal with complicated email marketing platforms? Good news – you can send a newsletter directly from Gmail.
Whether you’re a freelancer sharing updates, a small business announcing a product launch, or just someone looking to stay in touch with subscribers, Gmail is a surprisingly effective (and free) tool for simple email campaigns.
In this guide, we’ll show you how to send newsletters with Gmail — step-by-step. We’ll cover:
- Why Send a Newsletter with Gmail?
- How to Send a Newsletter with Gmail
- 3 Newsletter Templates for Gmail (Free & Customizable)
- Tips to Improve Gmail Newsletter Deliverability
Let’s dive in and get your first Gmail newsletter ready to send 🚀
Why Send a Newsletter with Gmail?
Unlike Mailchimp or Substack, Gmail might not be the first tool that comes to mind for email marketing. But for many individuals, freelancers, and small teams, it’s actually a (very) powerful and accessible option.
Here’s why:
- It’s easy to get started: If you already have a Gmail account, you can send newsletters right away — no need to set up a new platform or learn complicated tools.
- It feels personal: Newsletters sent via Gmail look like regular emails, not mass marketing blasts. That’s perfect for building trust, maximizing your email deliverability and getting more replies.
- It’s great for small mailing lists: If you’re sending emails to fewer than 500 contacts (or 2,000 with Google Workspace), Gmail gets the job done — without paying for expensive software.
In short, Gmail is great if you want to send simple, personalized newsletters without the learning curve or cost of traditional email marketing platforms. Which makes it ideal for freelancers, solopreneurs, and small companies.
How to Send a Newsletter with Gmail
Gmail doesn’t have a built-in newsletter tool like Mailchimp — but that doesn’t mean you can’t send newsletters. In fact, there are two easy ways to do it: using Gmail’s native multi-send feature or a Gmail add-on.
Method #1: With Gmail’s Multi-Send Feature
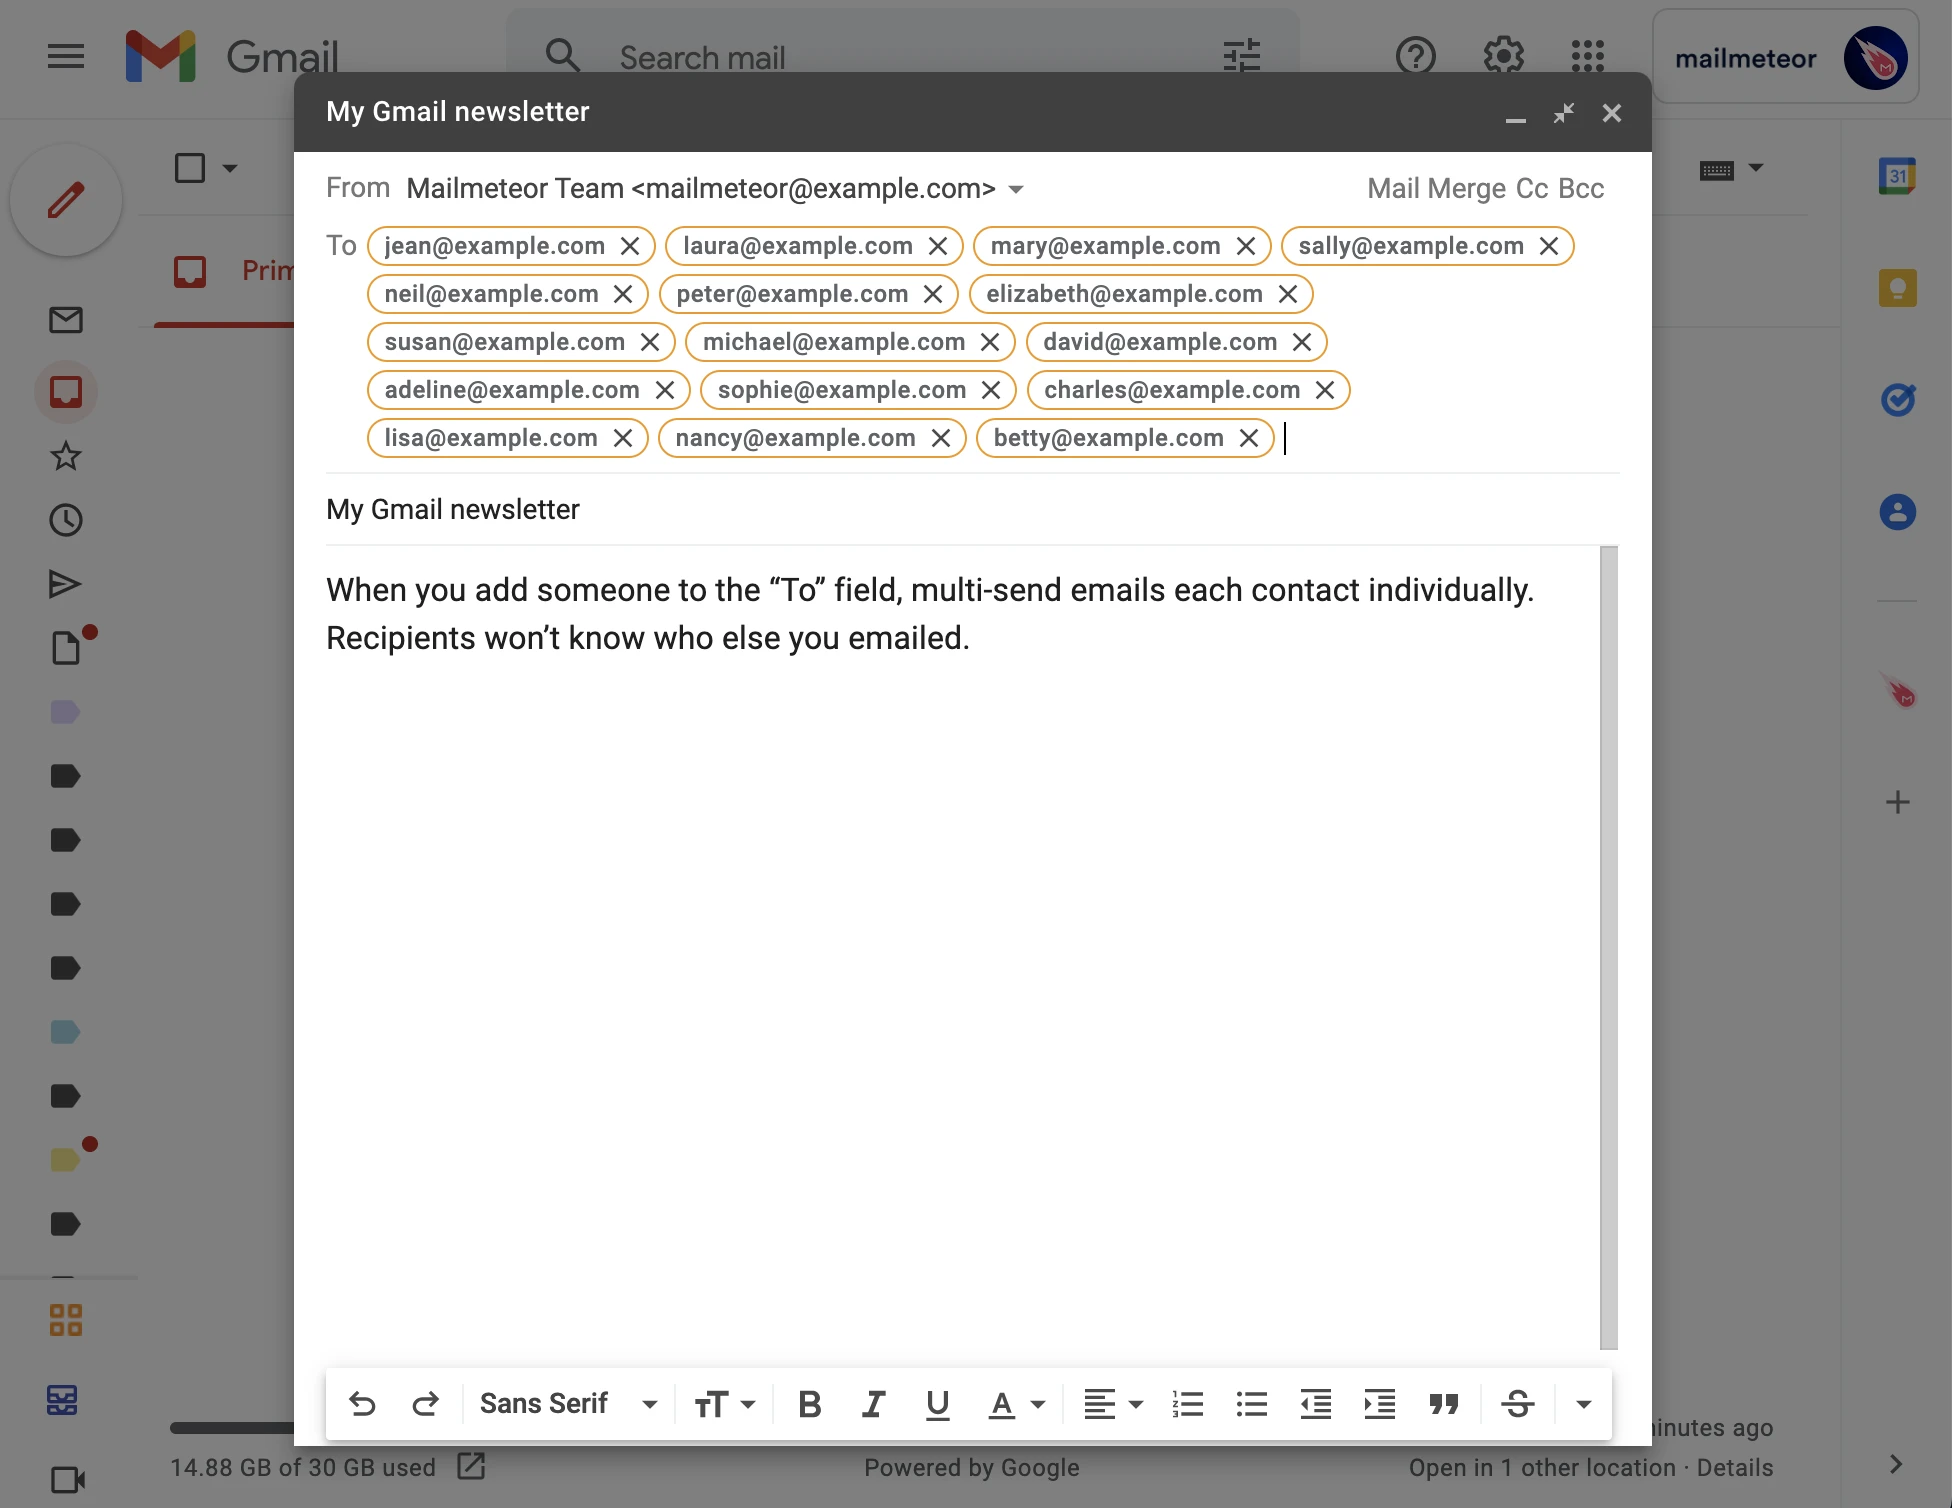
Gmail now includes a built-in multi-send feature that allows you to send newsletters, announcements, and other bulk emails directly from your inbox — no extensions needed.
This feature works like a simplified mail merge: instead of sending one email to a group, Gmail sends an individual copy to each recipient. That means your contacts won’t see each other’s email addresses, and your message will feel more personal.
Key benefits:
- Sends individual emails to each recipient
- Keeps your mailing list private (no CC or BCC)
- Supports basic personalization using merge tags like @firstname
However, there are a few limitations to keep in mind:
- No tracking: You won’t be able to track opens or clicks.
- No scheduling: You must hit send manually — there’s no way to schedule campaigns.
- Limited deliverability: Since it’s not designed for high-volume marketing, your emails could end up in spam if overused.
Also, multi-send is currently only available to Google Workspace Individual subscribers on desktop.
In short, Gmail’s multi-send mode is a handy way to send newsletters without extra tools — but it’s best suited for occasional, small-scale campaigns.
Method #2: With a Gmail Add-On
If you want more features, like email tracking, scheduling and segmentation, you may want to send your Gmail newsletter using a Google add-on. In this guide, we’ll use Mailmeteor, the top-rated Gmail newsletter extension.
1. Open Mailmeteor
First of all, log into Mailmeteor or install the Chrome extension to work directly from your Gmail inbox. All you need is a Google account.
Mailmeteor is the simplest way to send newsletters and announcements with Gmail. Mailmeteor is part of the Recommended for Google Workspace program and works with Gmail and Google Sheets to send personalized newsletters with Gmail.
2. Create a new email campaign
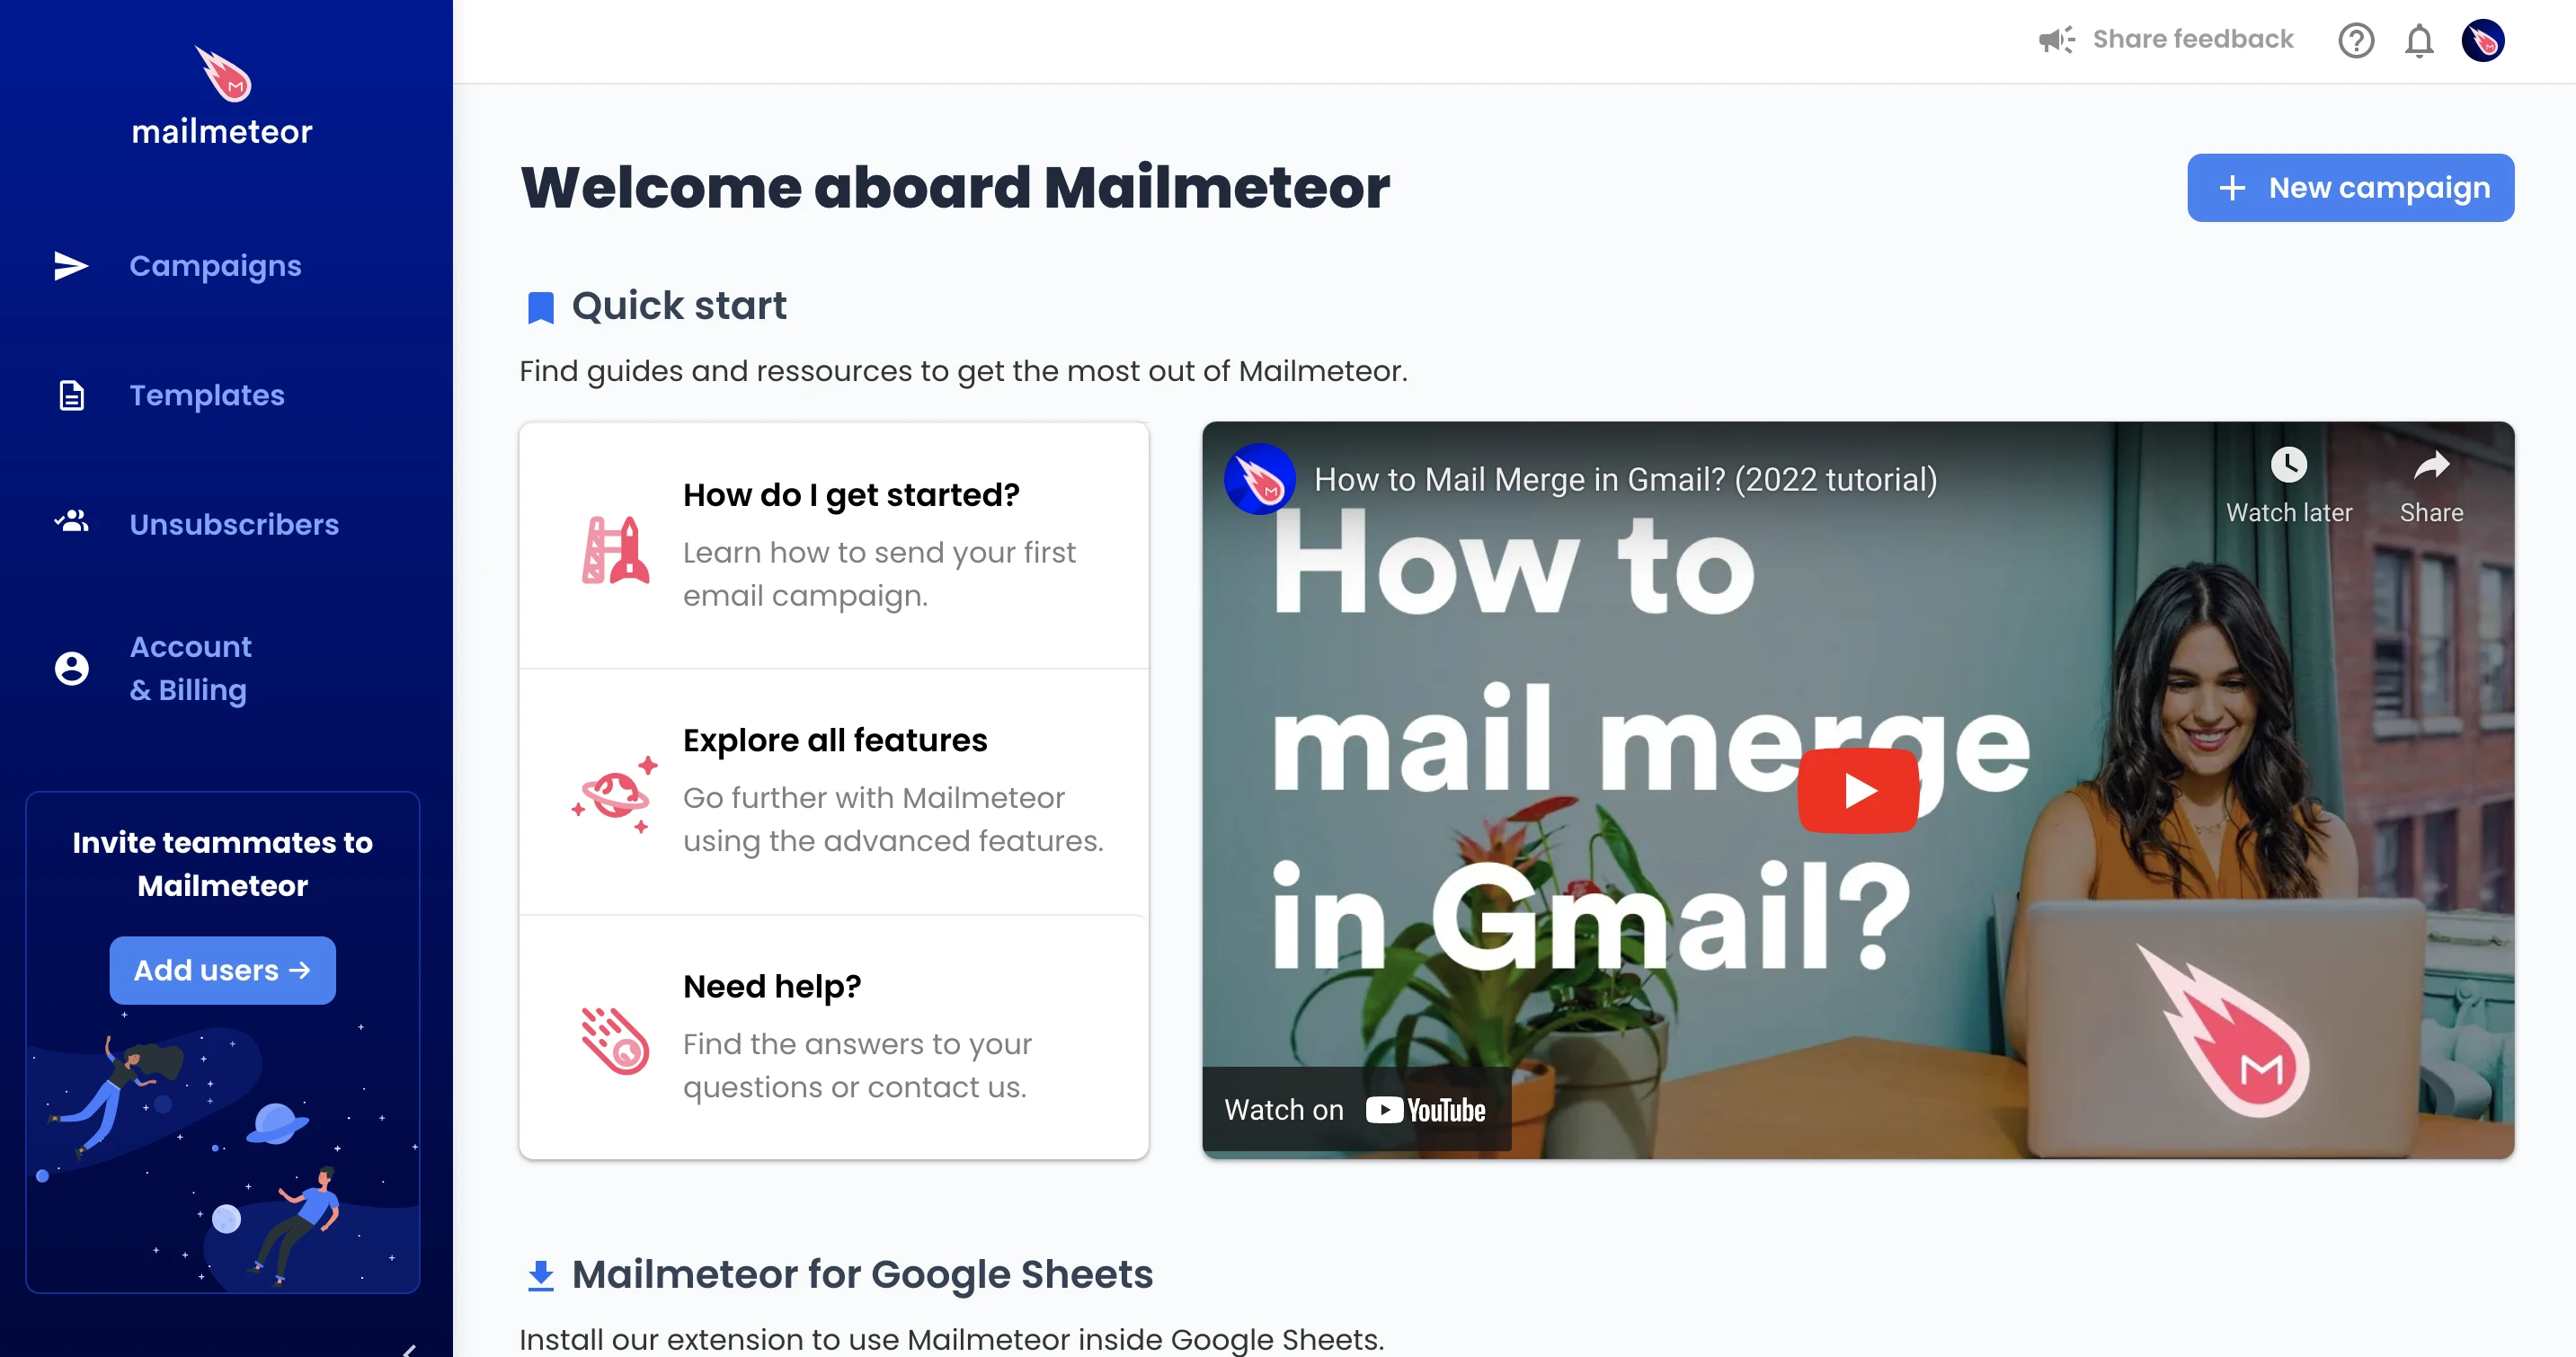
Create a new email campaign, then click on New campaign in the top right corner (there’s also a shortcut to the campaigns tab in the homepage).

As you can see the Mailmeteor interface is pretty simple to navigate. Let’s dive and see how it works with a concrete use case. We’ll take the latest newsletter we sent to our customers as an example.
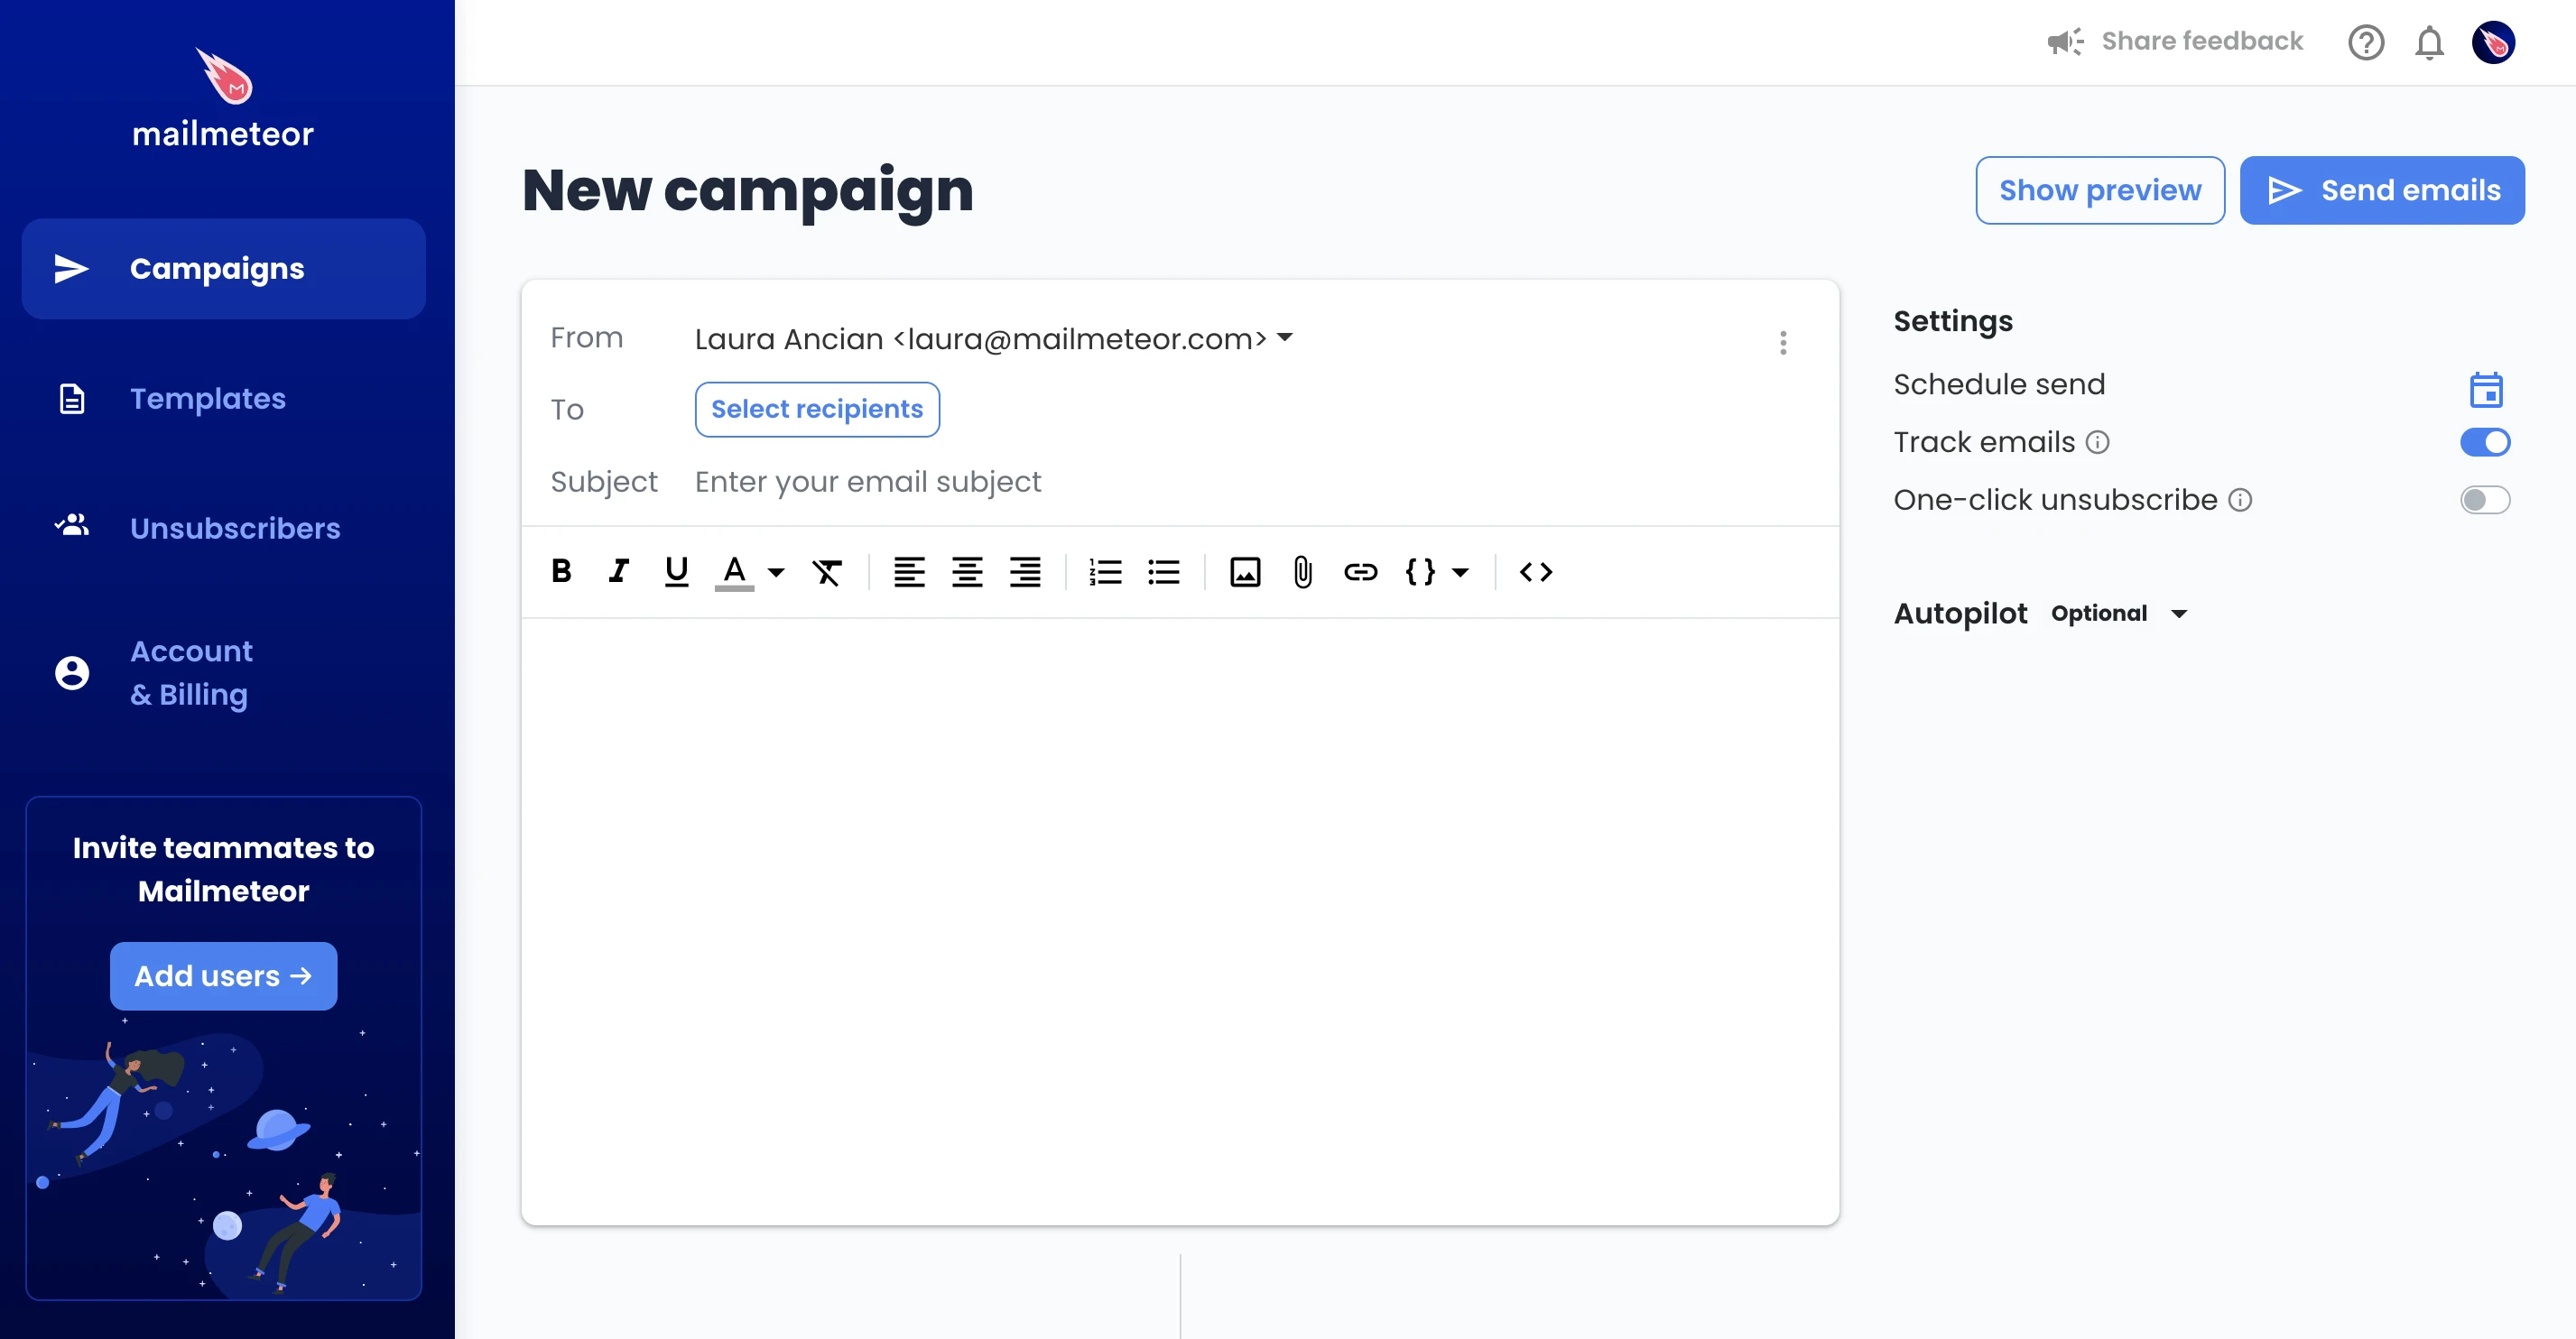
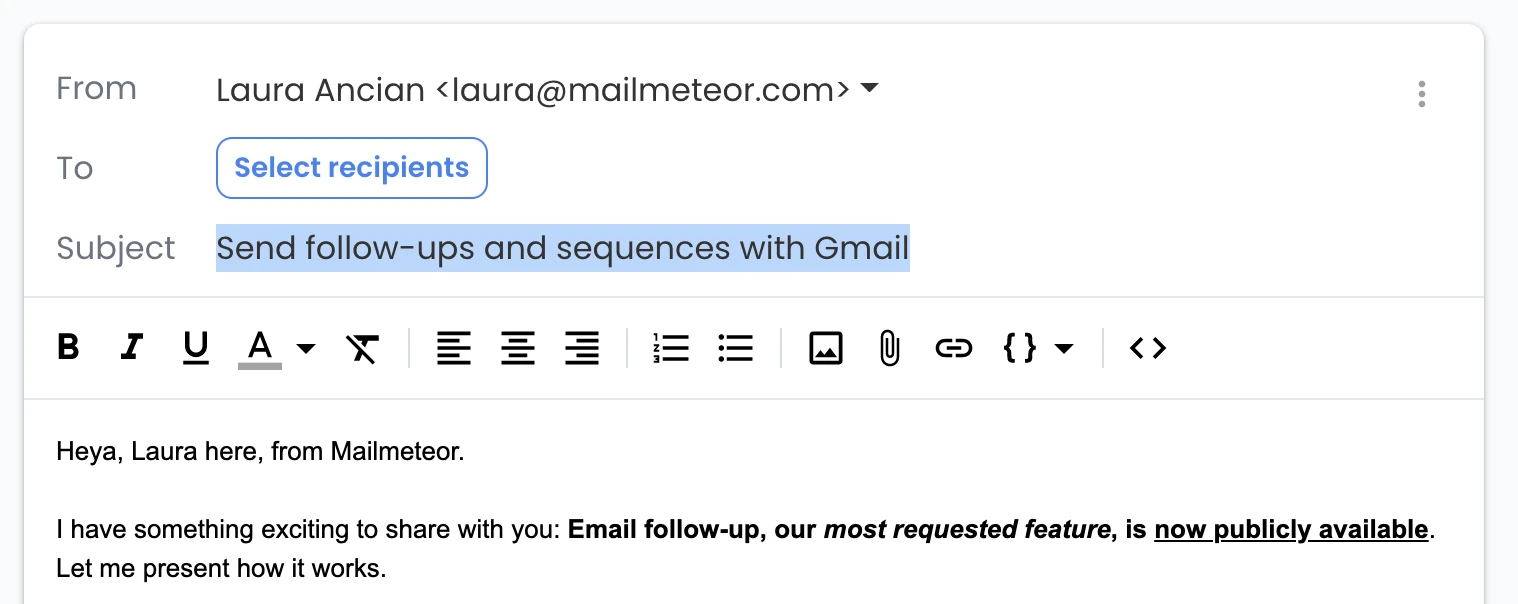
3. Compose the newsletter
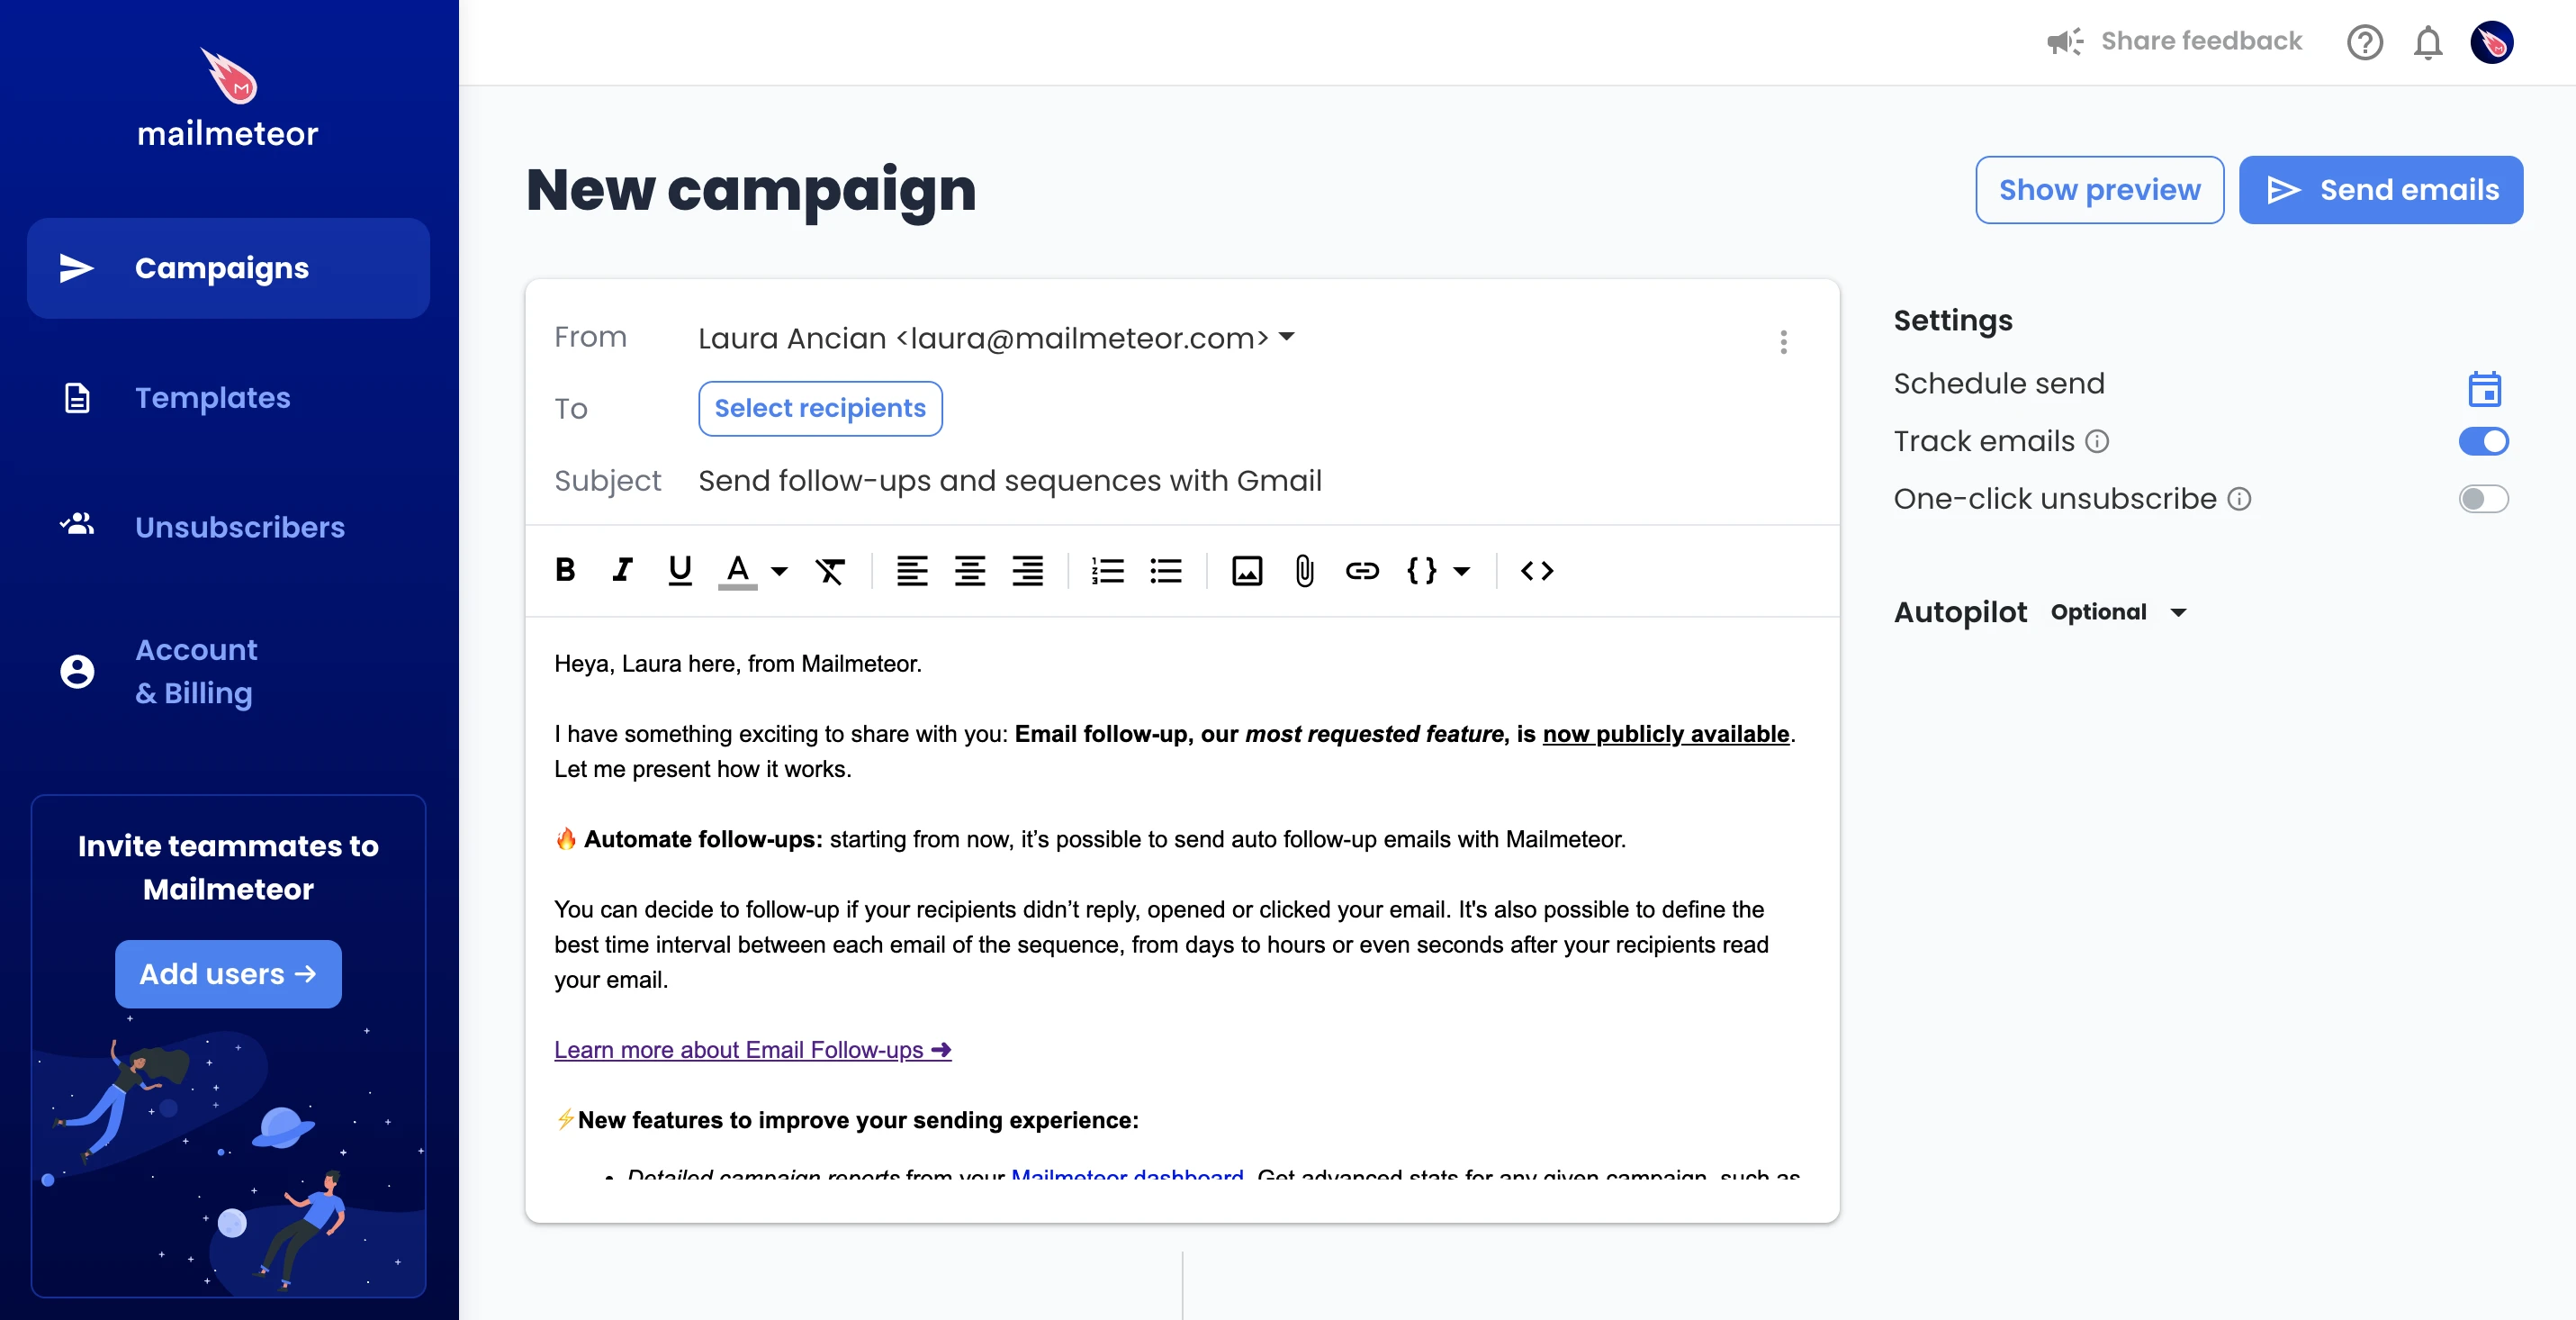
You can compose your newsletter in the space provided for the email body. In our example, we chose to use plain-text only. We used some emojis to spice up the newsletter itself.
In our example the sender is Laura, our customer success manager. She’s addressing a monthly newsletter to our customers in a personal tone of voice. From our experience, the simplest plain-text newsletters are the ones performing the best.
Note that it’s possible to personalize your newsletter, by adding a first name or any personal information you might want to include in the email.
4. Design your newsletter
Make a newsletter in Gmail using a HTML template:
Of course, it is possible to include images and formatting to your newsletter.
You can insert images or use a HTML template to create custom designs. Check out our guide on Gmail templates, visit our free library of email templates, or design your own using our HTML email editor.
Make a newsletter template in Google Docs and send it with Gmail:
Alternatively, you can design your own template using Google Docs. Once you have created your design in Google Docs, you’ll just need to copy and paste your template inside the Mailmeteor editor. Or you can send your newsletter directly from Google Docs with our add-on.
5. Craft the subject line
In the Subject field, type in your subject line. Most people don’t pay enough attention to the subject line, whereas this is probably one the greatest factors in your campaign’s success.
Thus, we would recommend you to come up with several subject lines ideas in advance and not to think about it at the latest moment. The best subject lines are short, informative and do a great job of arousing your subscriber’s interest. You can use our Email Subject Line Tester to test the performance of your email’s subject and generate AI-powered alternatives.
Check out these 74 Subject Lines for ideas, or boost your open rates with these 39 Sales Subject Lines.
6. Select your recipients
Once you’re done setting up your campaign, you can select your recipients.
With Mailmeteor, you can choose several sources of data at your convenience. It’s possible to import a CSV file, copy-paste your recipients or even pull your contact list from a Google Sheets spreadsheet. You will then be able to manage your contacts within the app itself.
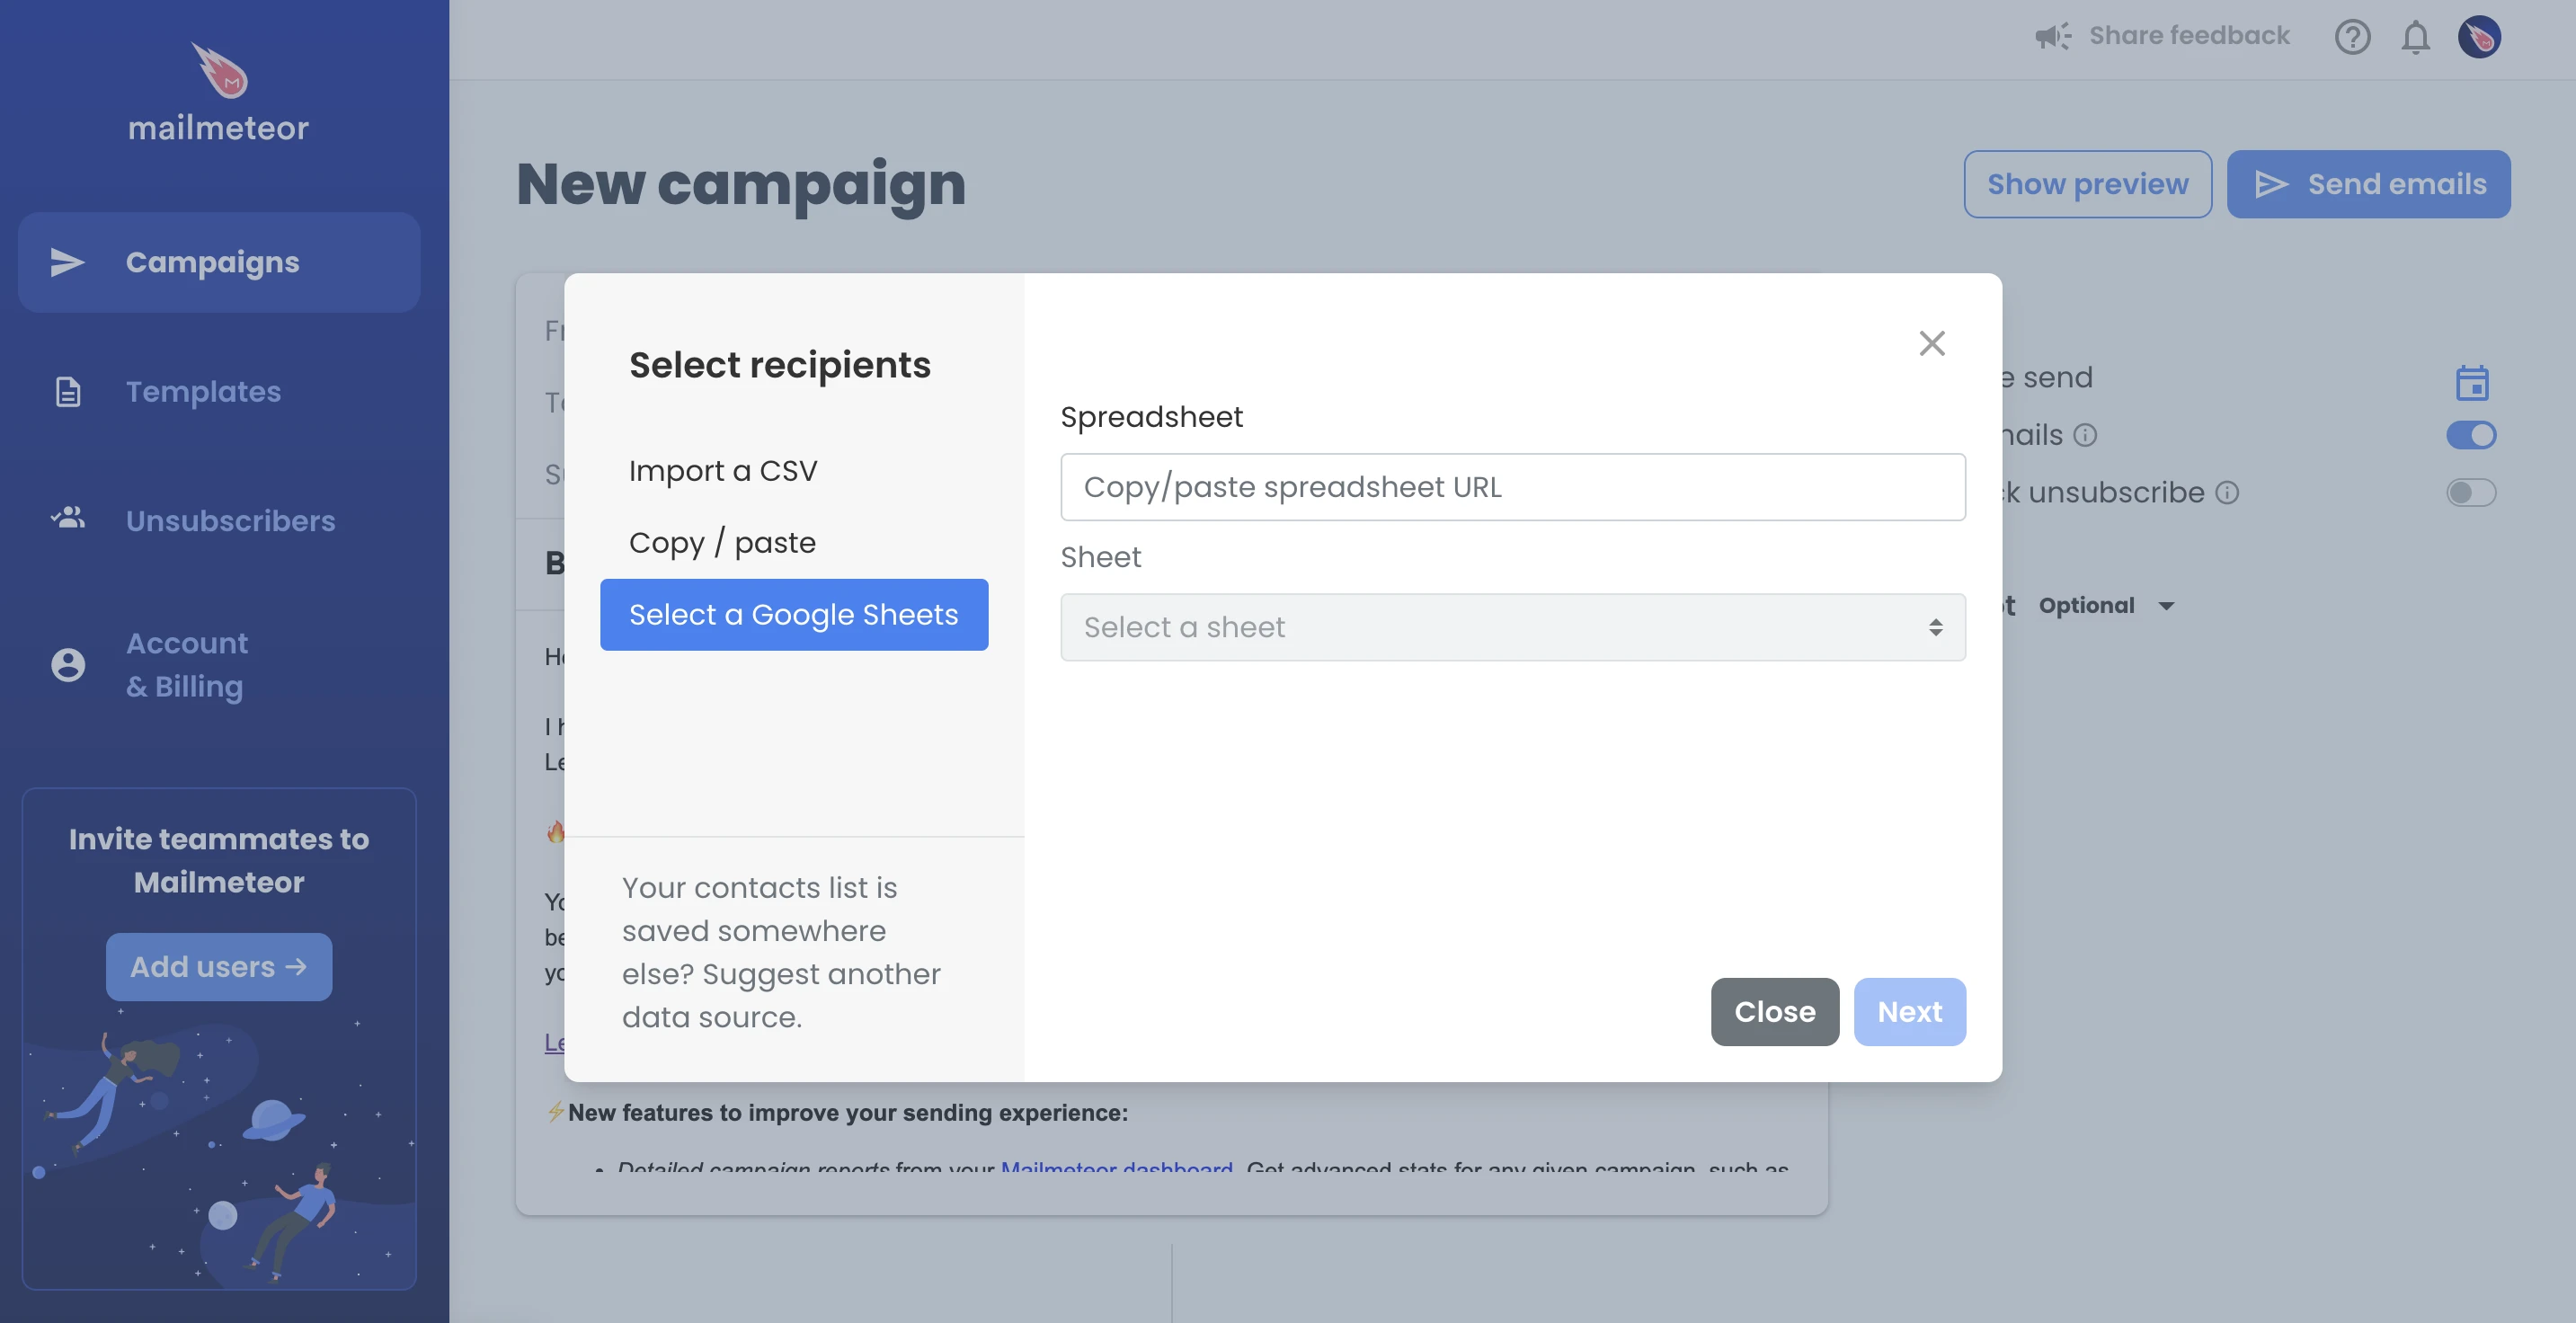
The fact that Mailmeteor is tightly integrated with Gmail and Google Sheets is what makes it so powerful. You don’t have to leave the tools you’re already familiar with. Also, your data remains safe inside your Google ecosystem.
7. Add an unsubscribe option
You ought to offer a means of opting out to your newsletter in order to comply with the spam laws applicable in your situation.
Mailmeteor offers an easy way of inserting an unsubscribe link. Also, you could mention at the end of the newsletter that people can express their will to unsubscribe by replying to the email.
This second option is less marketing-ish and may seem more natural, even though it’s less convenient for your recipients to unsubscribe. In any case, make sure that you’re complying with the anti-spam laws in your country and the ones of your recipients.
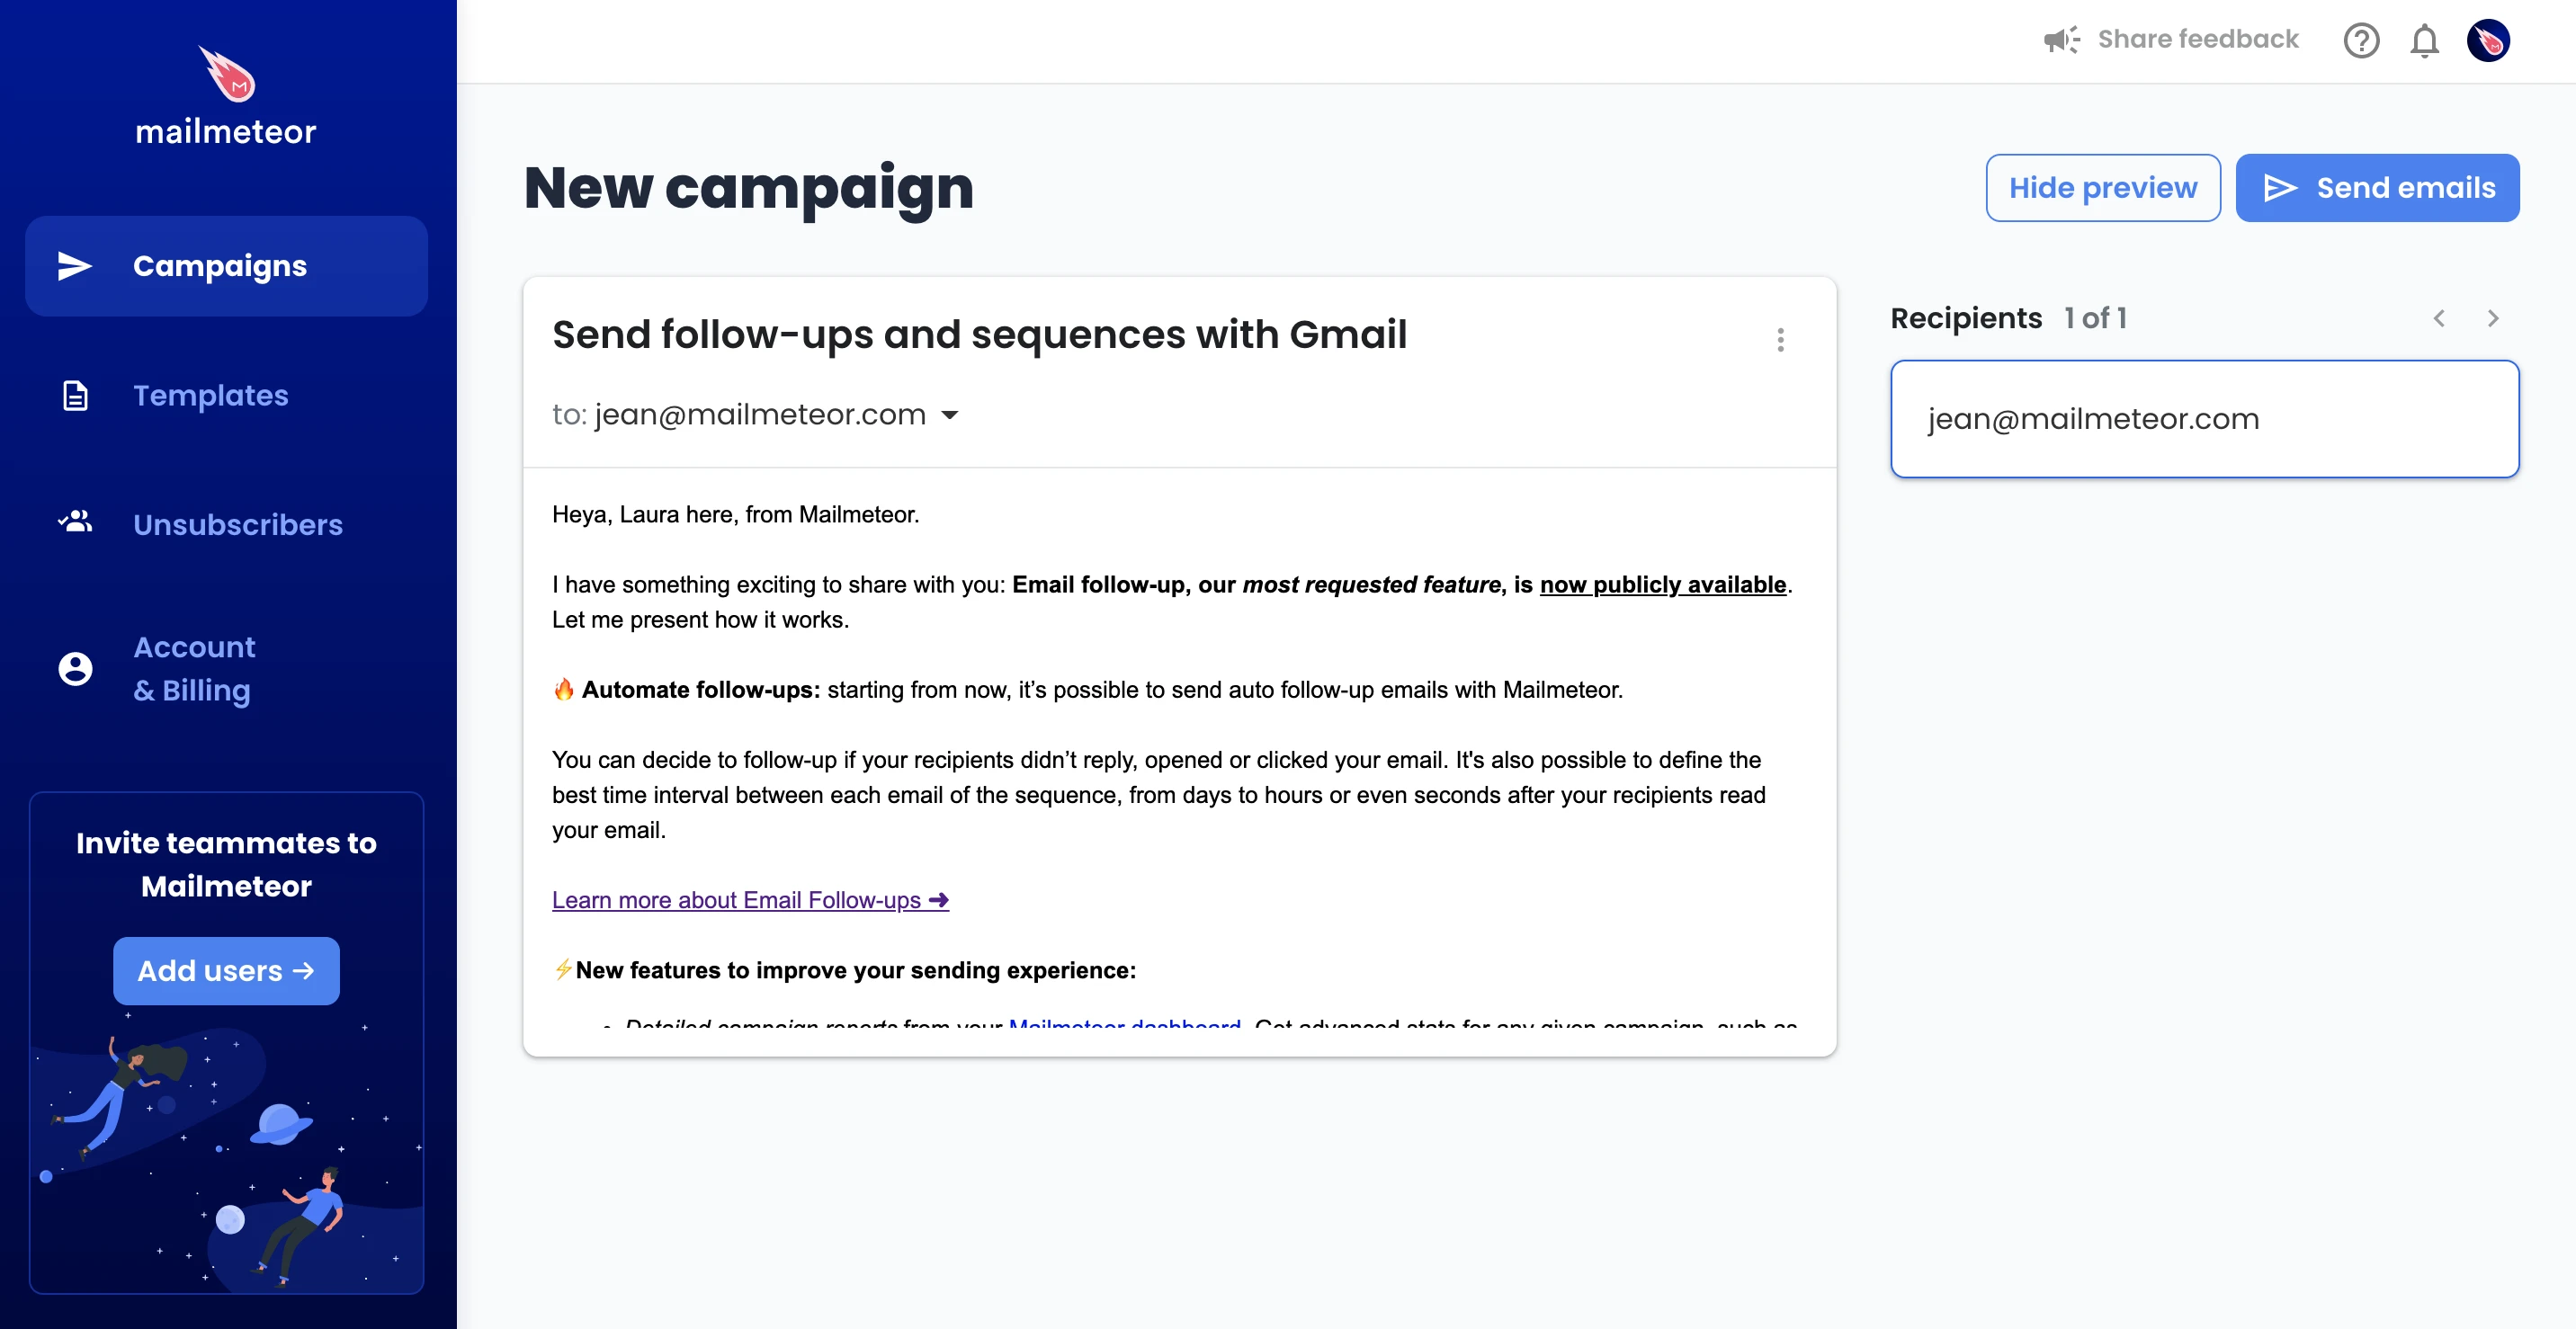
8. Review your newsletter
Now it’s time to ensure everything is alright:
- Check that the sender’s address is correct. It’s possible to add a new sender should you want to change which email address will send the newsletter.
- Preview your email before sending. Mailmeteor lets you review how the newsletter will look like by clicking on the “Show preview button”
- Send a test email to yourself to make sure the newsletter looks great. If your email contains a link, ensure they’re working fine. Check the spelling and grammar. Try to open your newsletter in several different devices (mobile, desktop) to check that it displays correctly.
9. Set up advanced parameters (optional)
Before sending your newsletter with Gmail, you may be interested in exploring some of the advanced features offered by Mailmeteor.
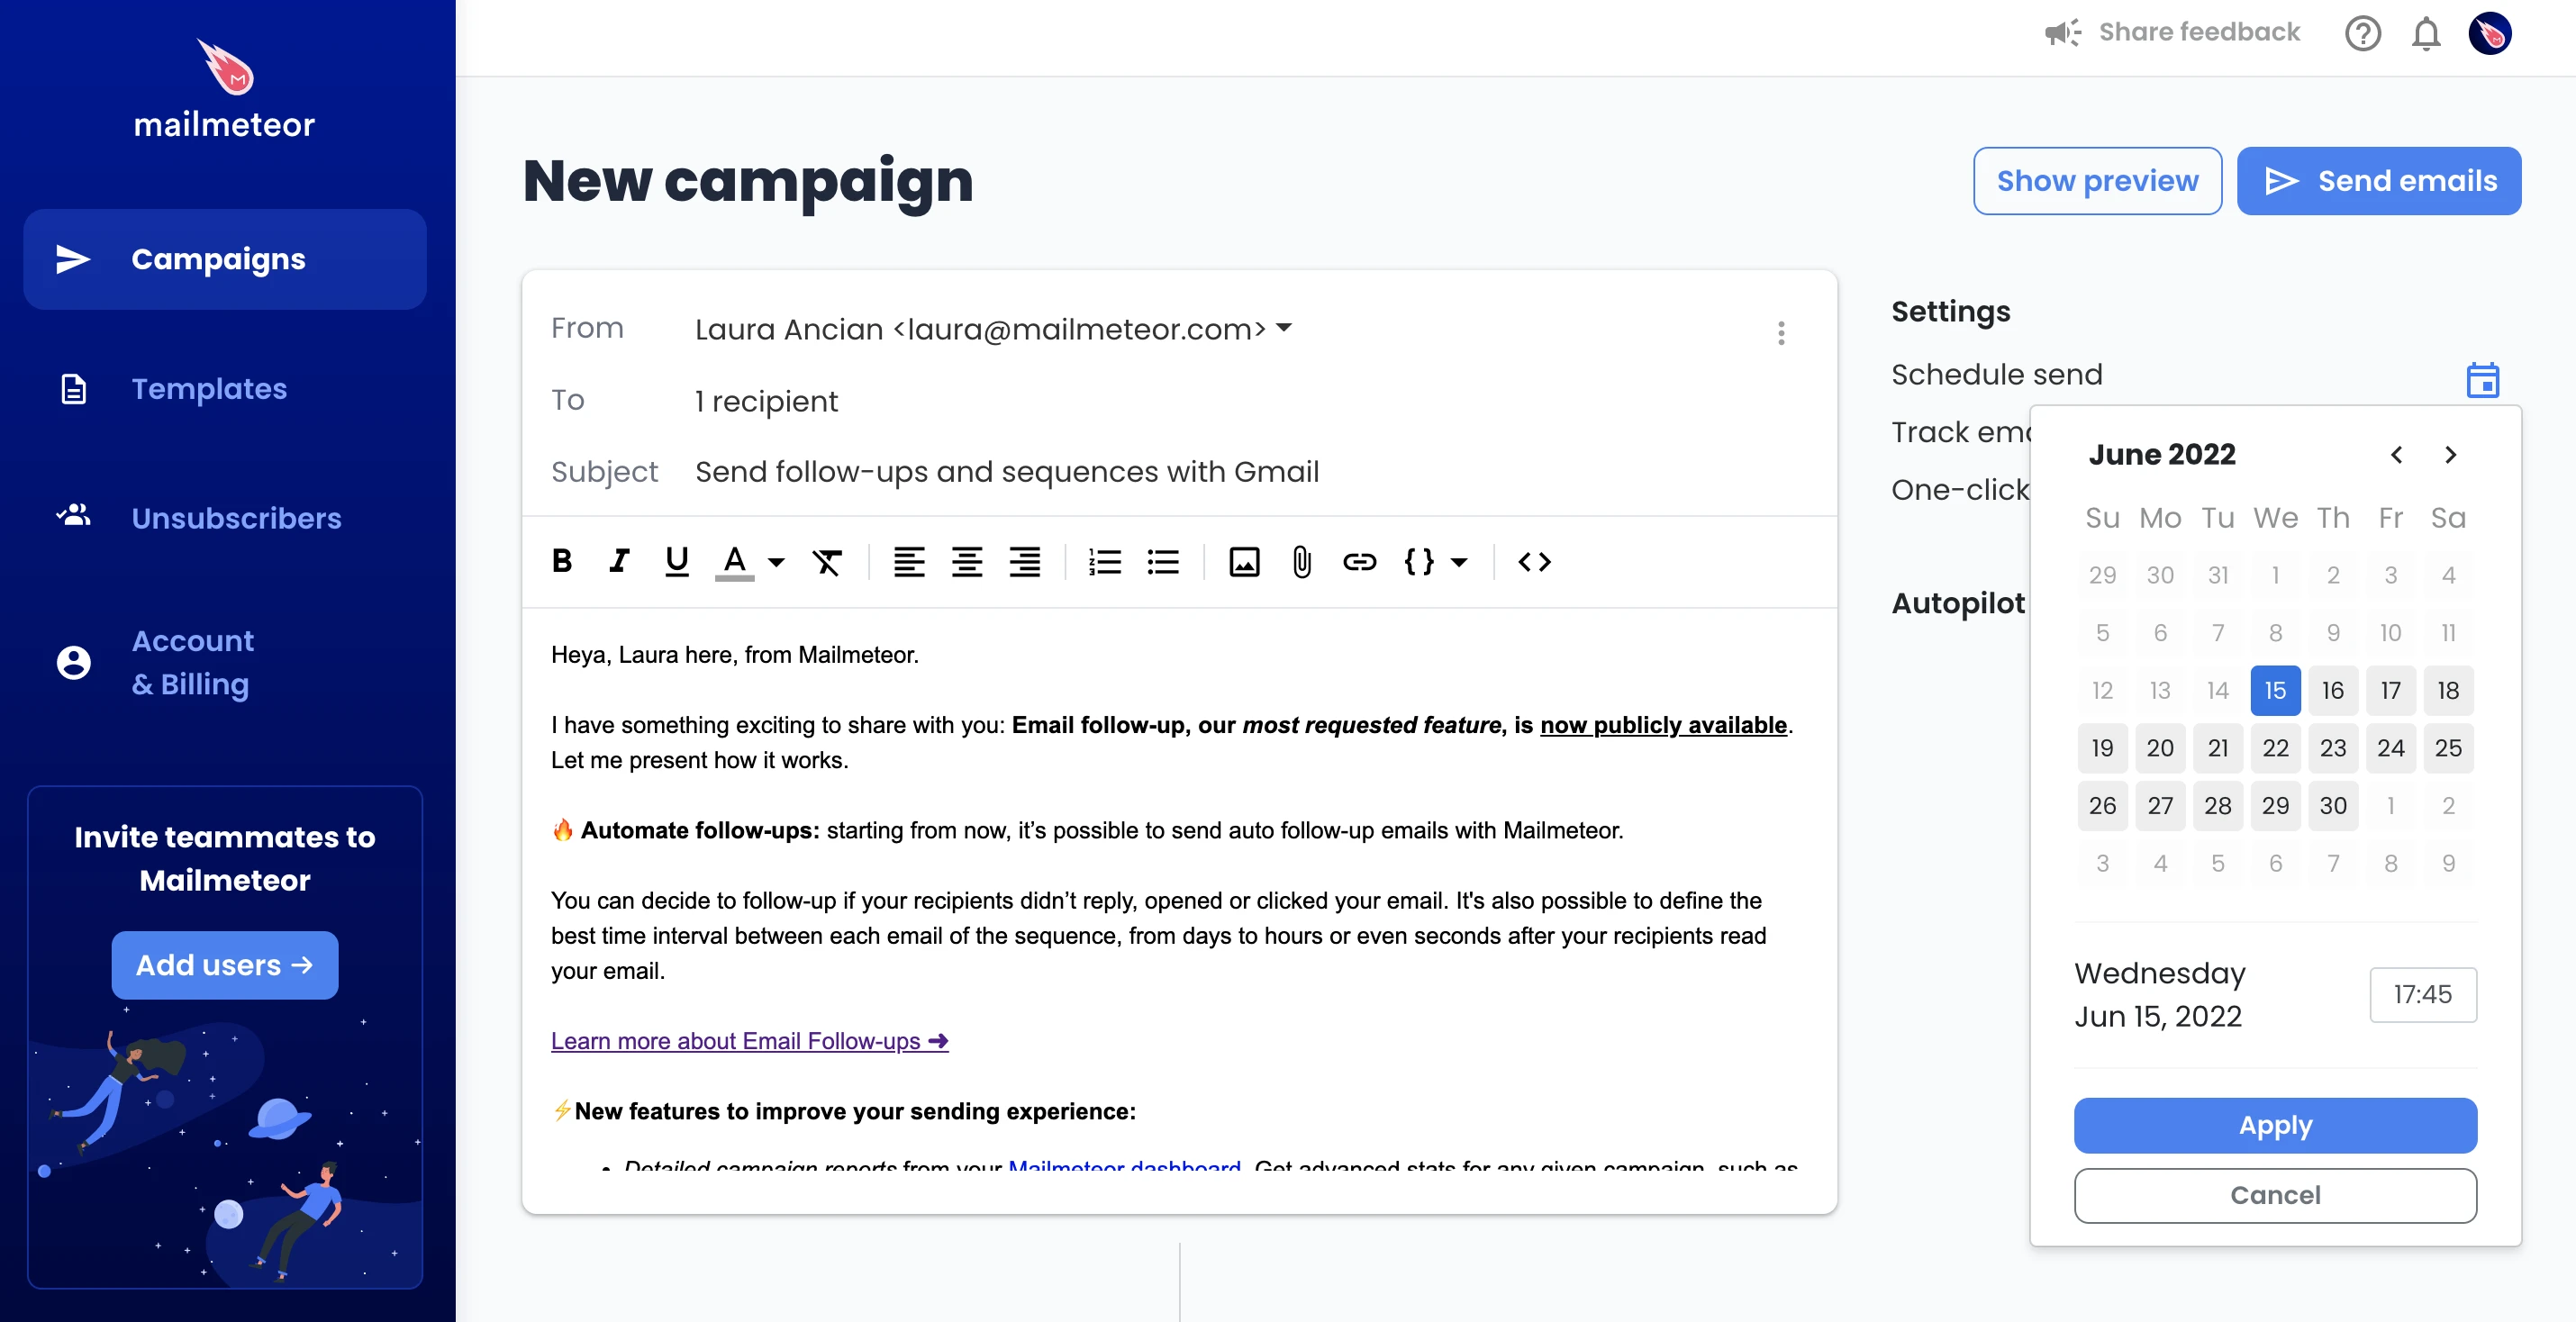
You can decide to track emails in order to get a report of how many recipients opened or clicked your newsletter for example.
It’s possible to schedule the newsletter in advance and send it at a later date in time. We strongly recommend you to take advantage of Mailmeteor’s Autopilot feature, which will let you send your newsletter across several days instead of shooting all emails at once. This will ensure that you get the highest email deliverability.
Lastly, it’s possible to add follow-ups emails to your Gmail newsletter in the event you’d like to resend an email to recipients who didn’t engage with your email in the first place.
10. Send your newsletter with Gmail
It’s time to send your newsletter campaign with Gmail! We know that sending your newsletter can be quite intimidating at first, but don’t worry, if you follow these steps everything will run smoothly.
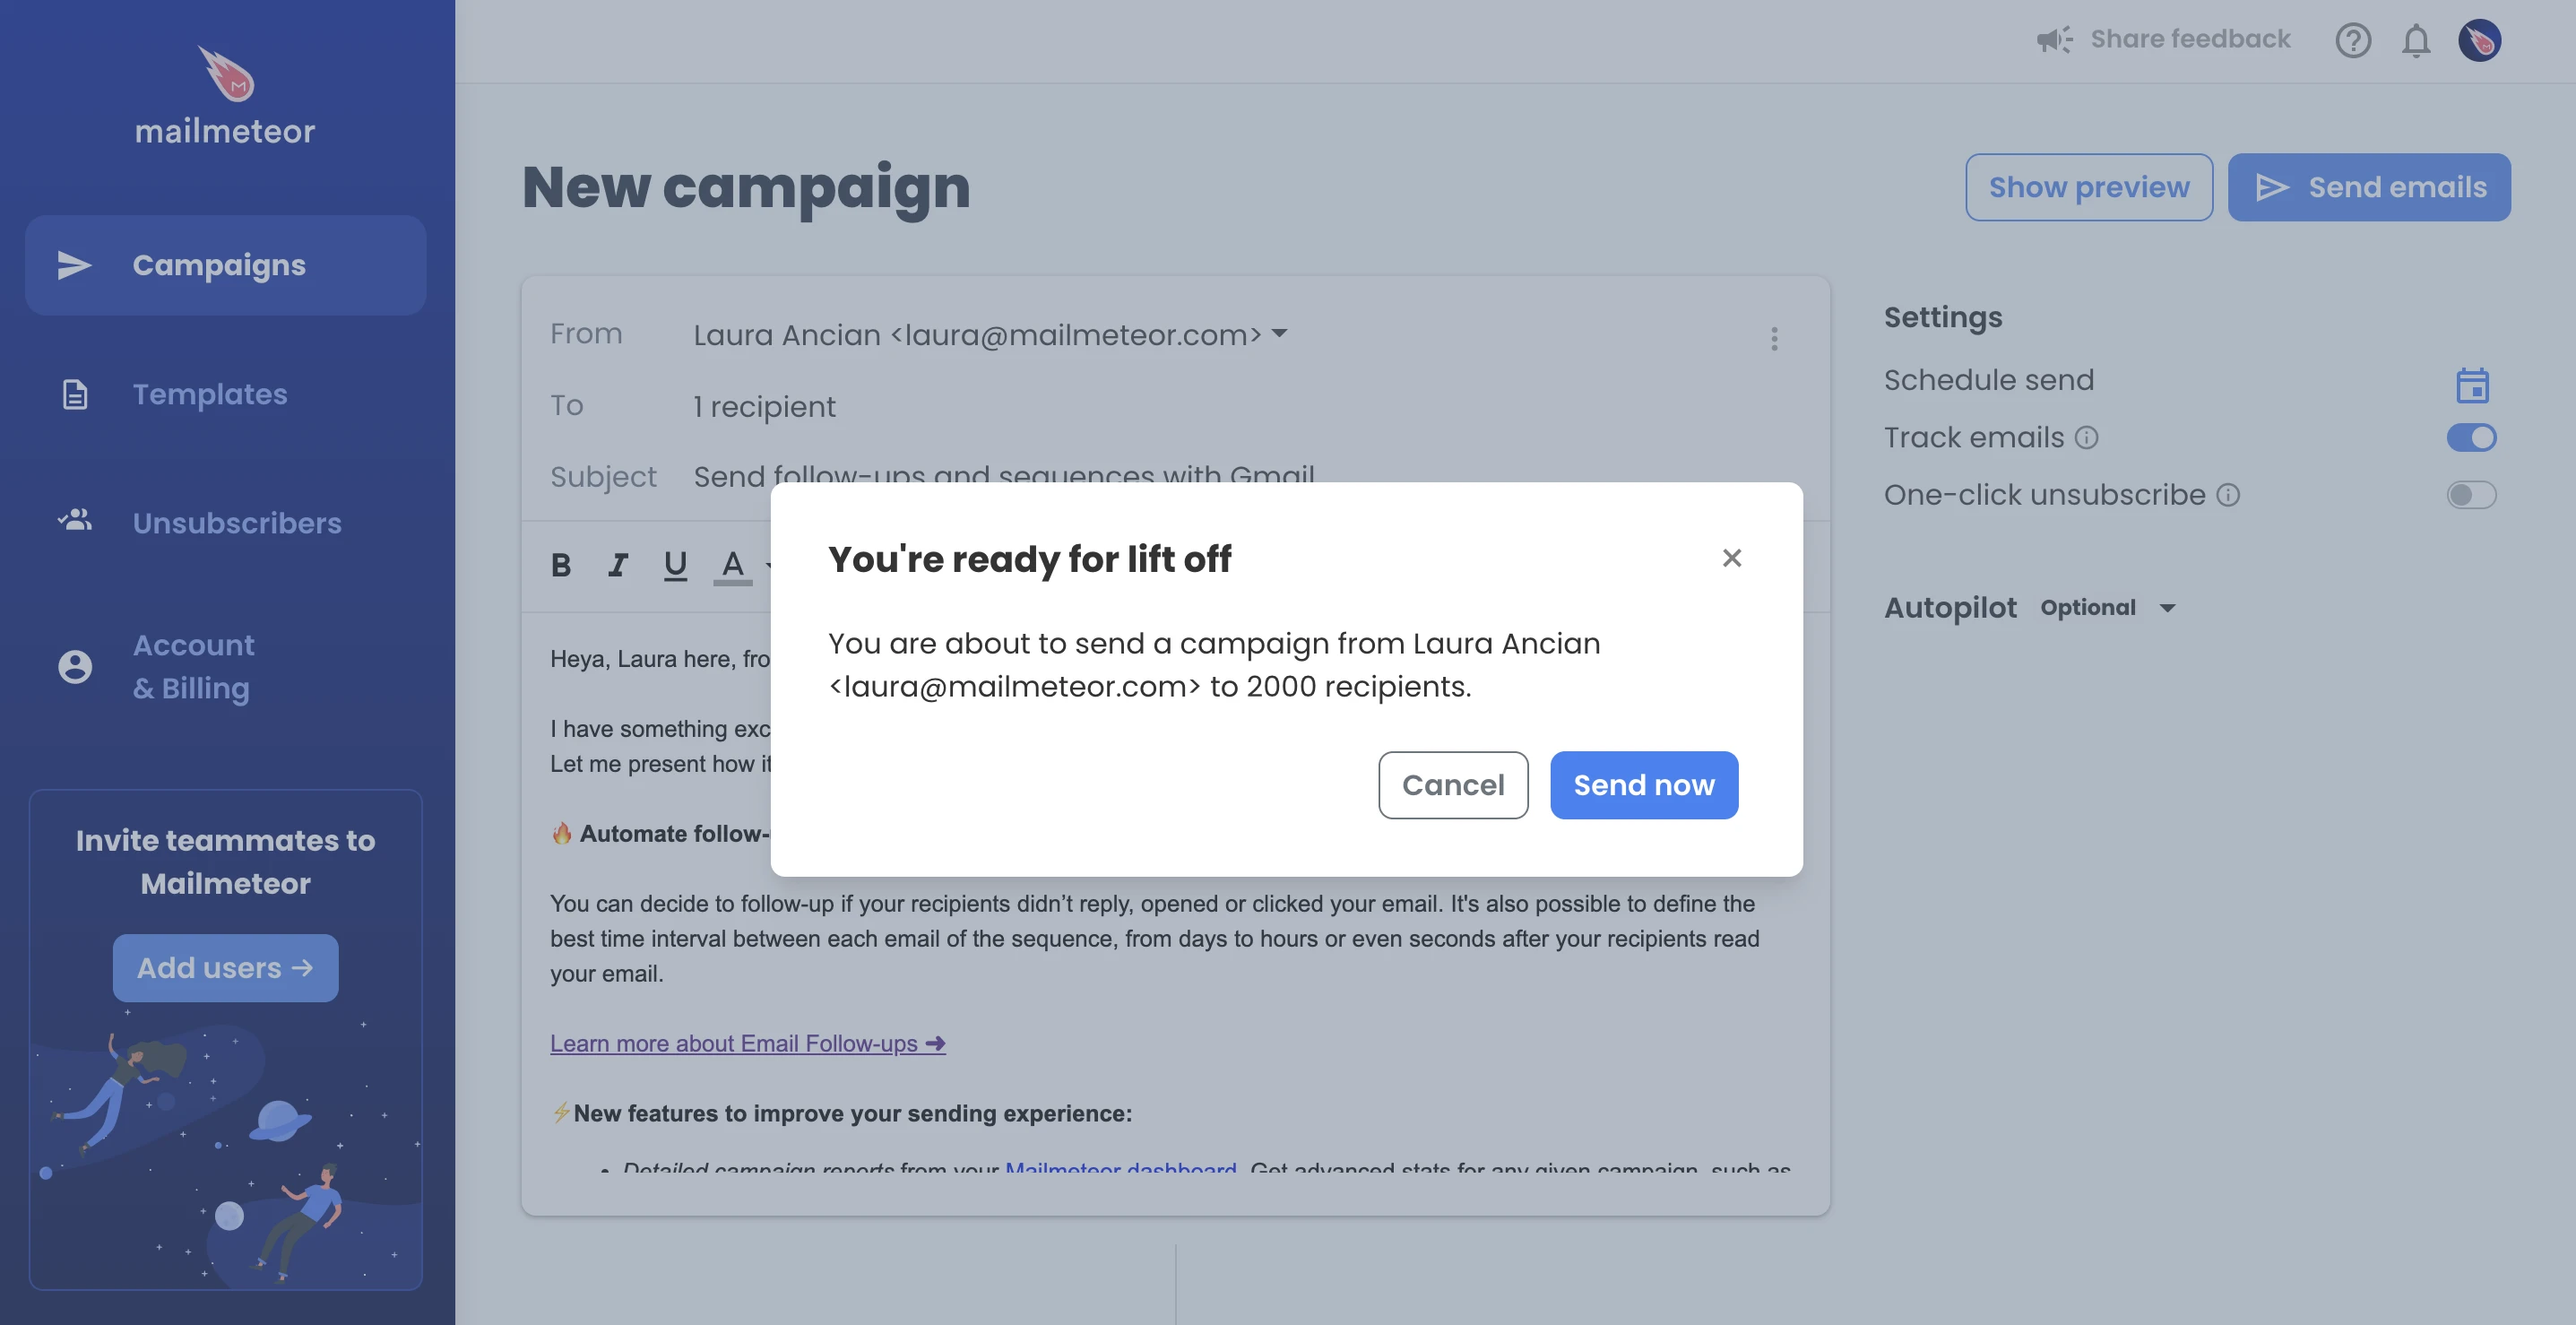
When you’re ready, click on Send emails to launch your newsletter with Gmail!
3 Newsletter Templates for Gmail (Free & Customizable)
Looking for inspiration to kickstart your Gmail newsletter? We’ve got you covered. Whether you’re promoting your latest blog post, announcing a new product, or just staying in touch with subscribers, these ready-to-use Gmail newsletter templates will help you get started in minutes.
1. Product Announcement Newsletter
Perfect for: Startups, product teams, app launches
Where to find it? Get your customizable copy here.
2. Monthly Newsletter Template
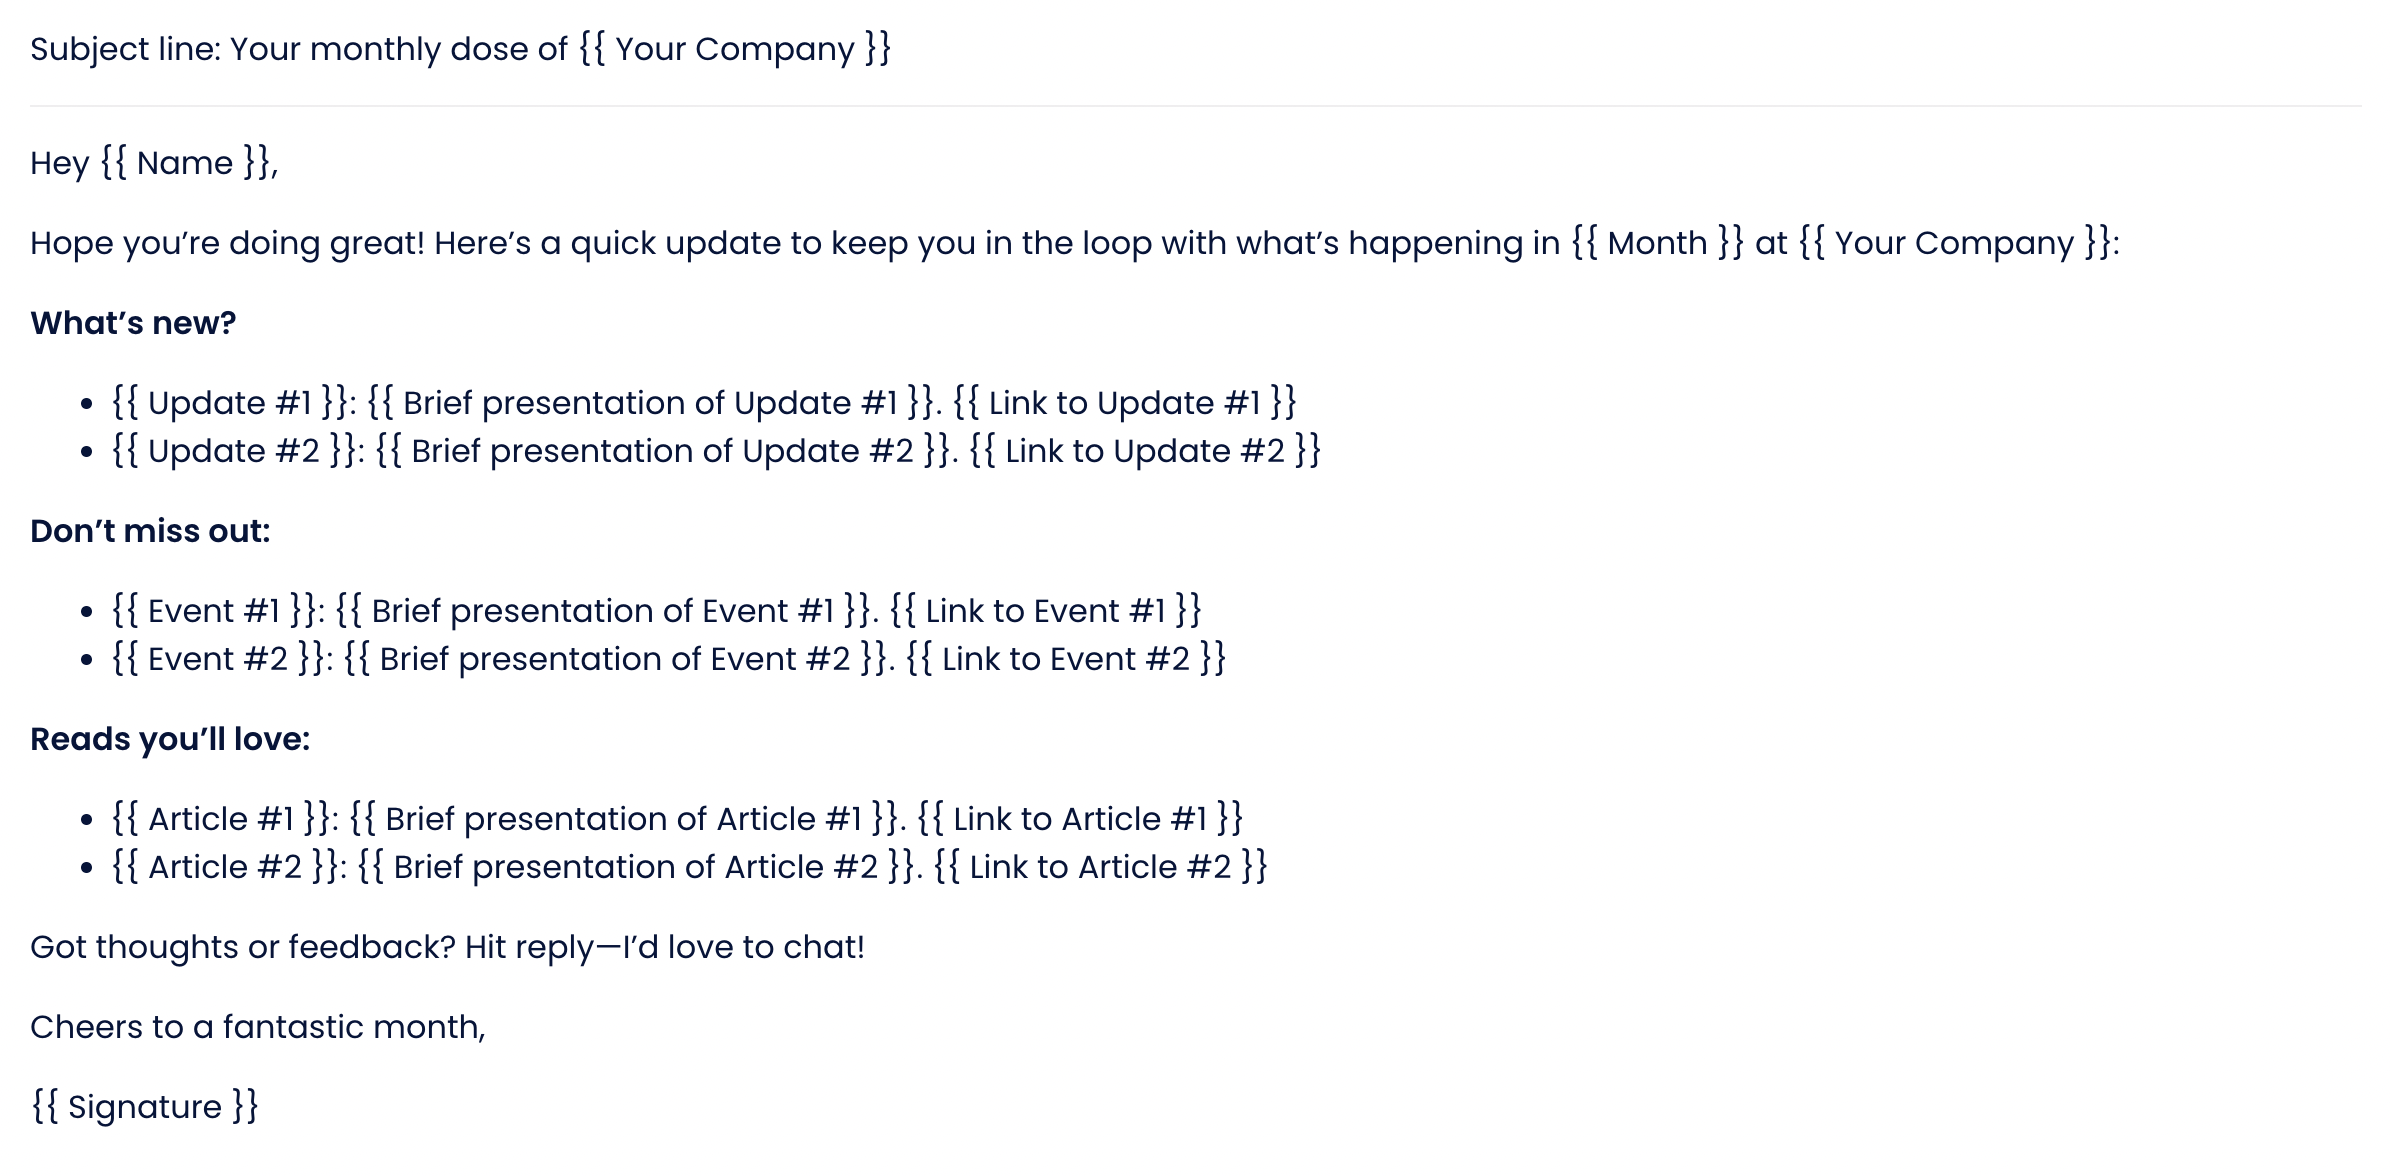
Perfect for: Bloggers, content creators, communities
Where to find it? Get your customizable copy here.
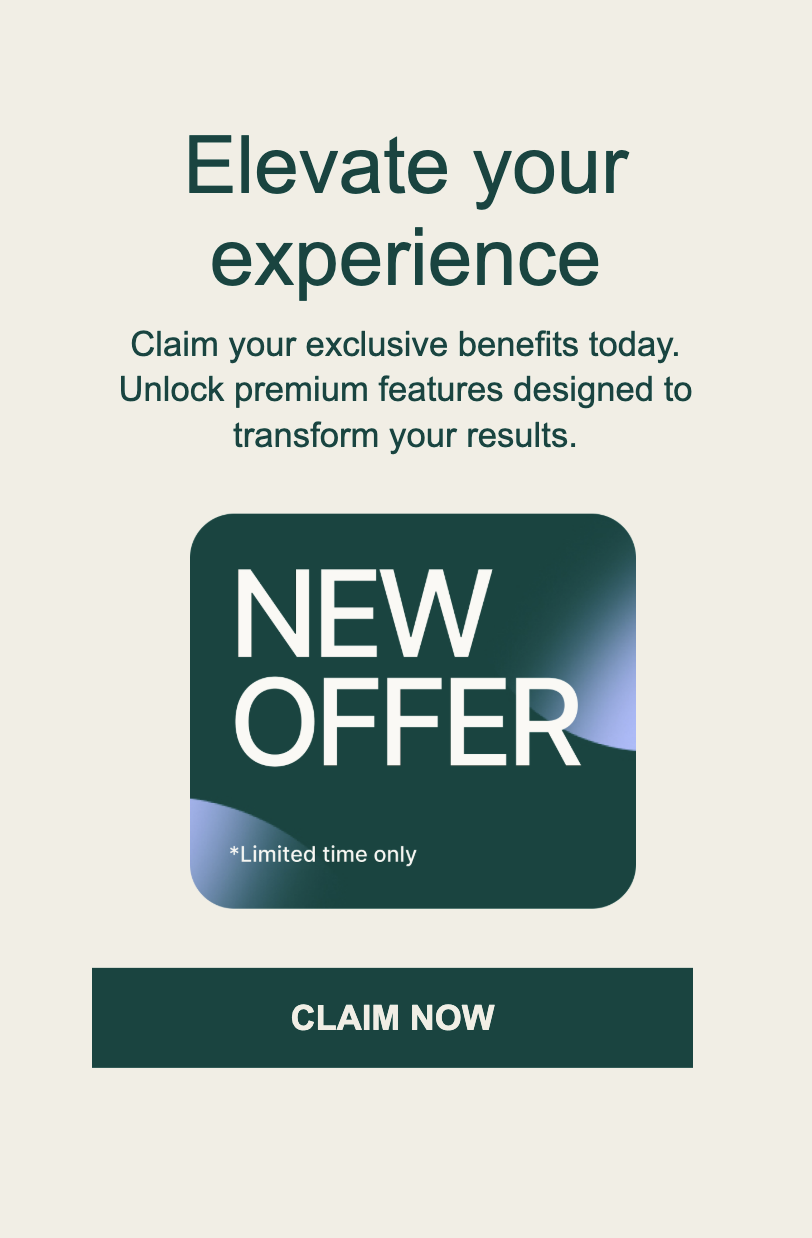
3. Special Offer Newsletter
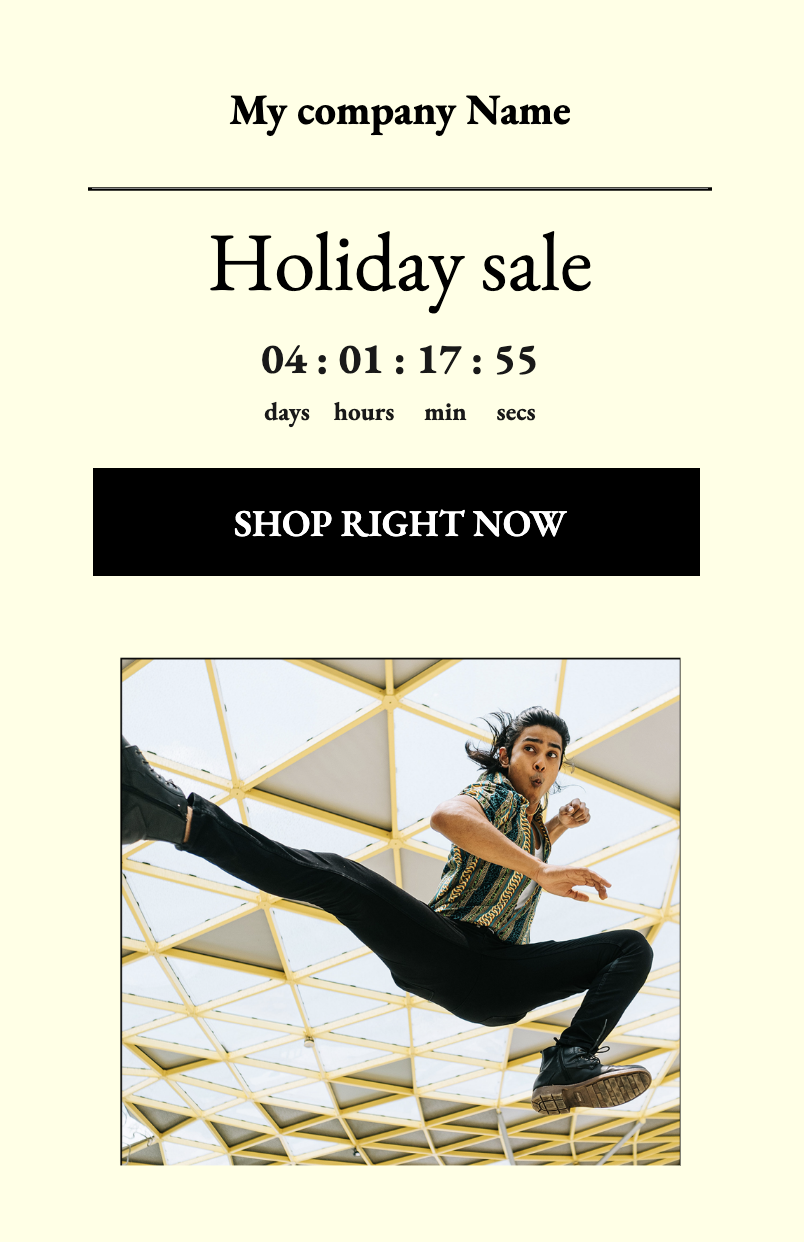
Perfect for: eCommerce stores, freelancers, coaches
Where to find it? Get your customizable copy here.
Tips to Improve Gmail Newsletter Deliverability
Sending your newsletter is only half the battle — getting it into the inbox is what really counts. If your Gmail newsletter keeps landing in spam, these tips will help you improve your email deliverability and reach more subscribers:
1. Authenticate Your Domain (SPF, DKIM & DMARC)
If you’re using a custom domain to send emails, make sure to set up domain authentication. This includes:
- SPF: Proves that your emails come from authorized servers
- DKIM: Ensures your email content hasn’t been tampered with
- DMARC: Tells Gmail how to handle suspicious emails from your domain
Without these, Gmail may treat your messages as untrustworthy — even if they’re legit.
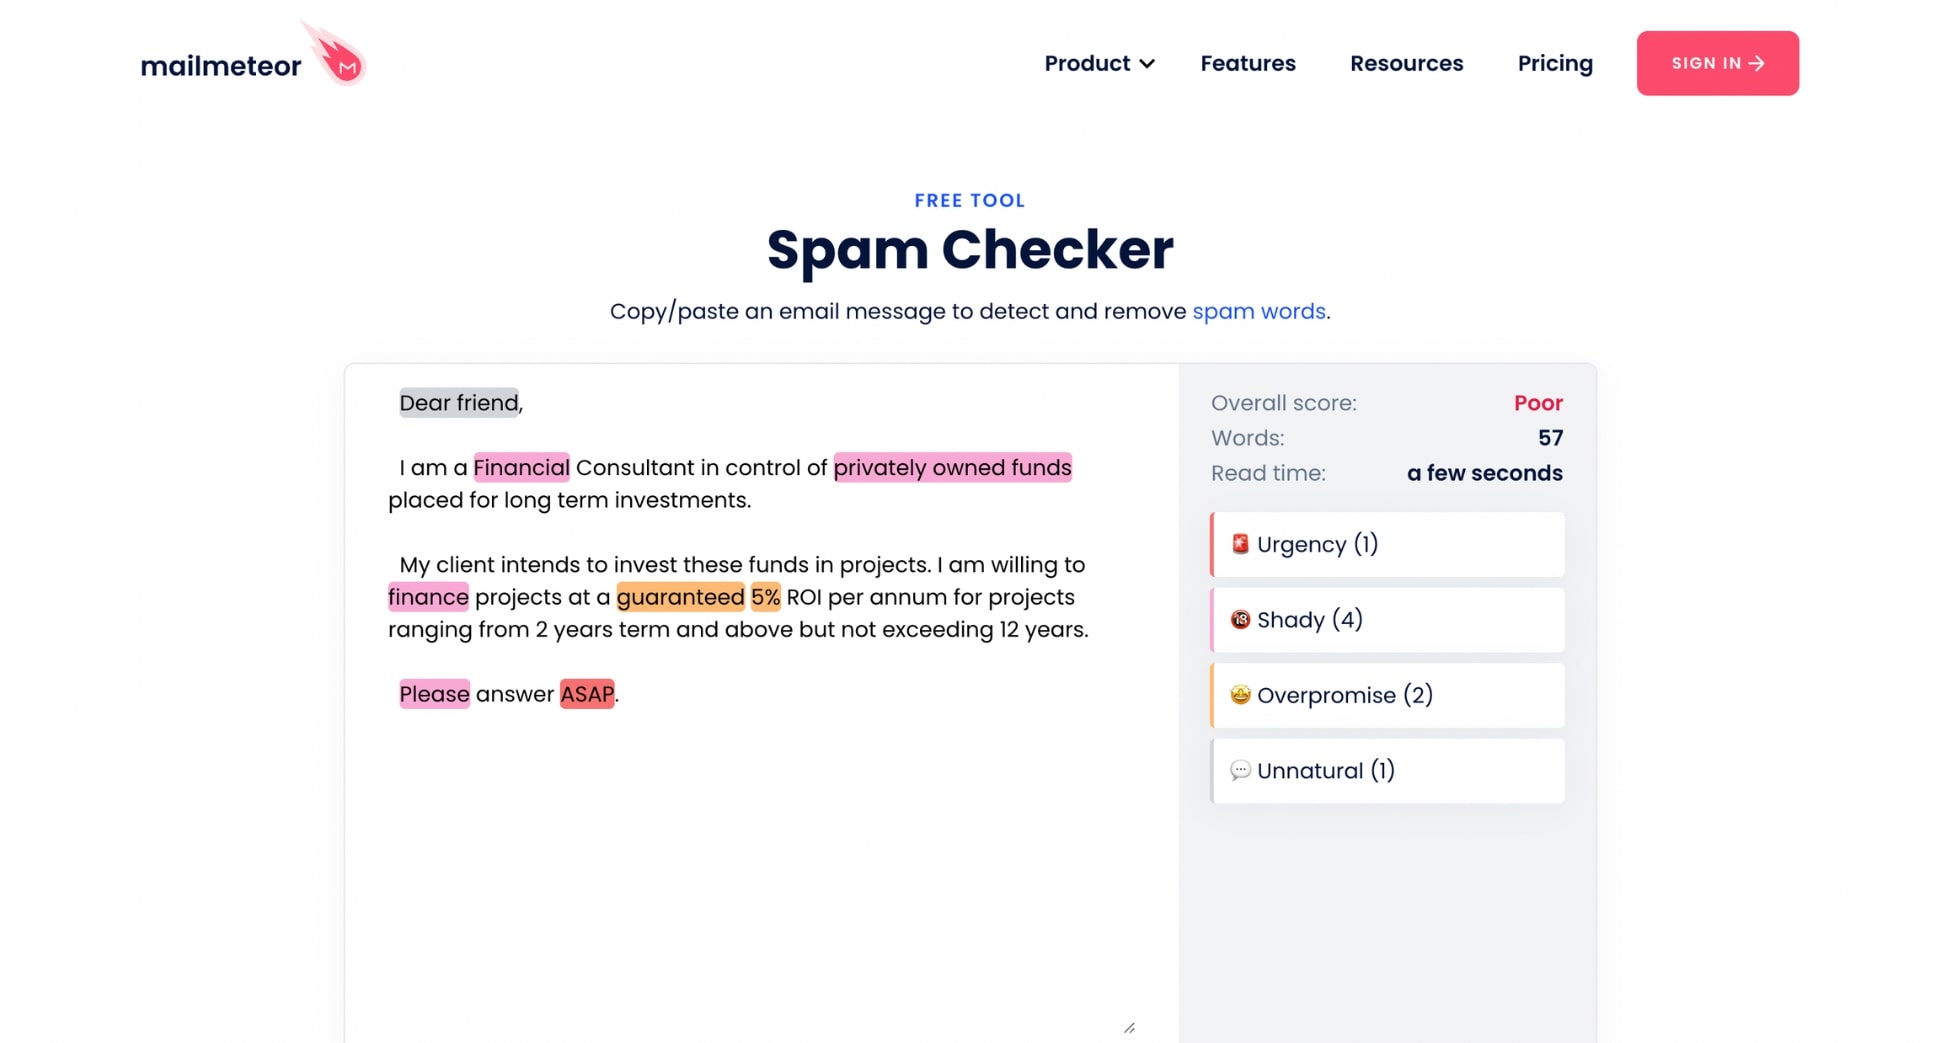
2. Avoid Spam Trigger Words
Words like “Free!!!”, “Buy now”, “Click here”, or “Guaranteed” can raise red flags with spam filters.
Write like a human — not a pushy marketer. Use clear, conversational language, and avoid using all caps or too many exclamation marks.
Our free spam checker helps you spot spam trigger words and remove them from your newsletter to boost your email deliverability.
3. Clean Your Email List Regularly
Sending newsletters to invalid or inactive addresses will hurt your reputation fast. Make sure to:
- Remove bounced or unengaged emails
- Use email verification tools (like the one built into Mailmeteor)
- Only send to people who’ve opted in
A clean list = better deliverability.
4. Don’t Send All Emails at Once
Blasting 500+ emails in one go can trigger Gmail’s spam protections.
Instead, use email throttling — a method that sends your emails gradually over time. Mailmeteor’s Autopilot lets you add custom delays between each email, making your sending pattern look more natural.
Final Thoughts
Sending a newsletter with Gmail might seem like a workaround — but for many individuals, freelancers, and small teams, it’s one of the simplest and most effective ways to reach an audience.
Whether you’re announcing a product launch, sharing updates with clients, or nurturing your community, Gmail gives you the power to send clean, personalized messages without switching platforms.
That said, Gmail alone has its limitations. If you want to:
- Personalize emails at scale
- Track opens and clicks
- Add unsubscribe links automatically
- Improve deliverability with email throttling
- And schedule campaigns in advance
…then using a tool like Mailmeteor makes a big difference.
So if you’re ready to take your Gmail newsletters to the next level, get started for free – and see why over 7M+ people trust Mailmeteor to send better emails, every day.
FAQs
Can I send a newsletter from Gmail?
You can send a newsletter directly from your Gmail account using either Gmail’s built-in multi-send mode (available for Google Workspace users) or a third-party add-on like Mailmeteor. While Gmail isn’t a full-fledged email marketing platform, it’s great for sending small, personalized newsletters without leaving your inbox.
Does Google have a newsletter service?
Not exactly. Google doesn’t offer a dedicated newsletter service like Mailchimp or Substack. However, Google Workspace users can use the multi-send feature in Gmail to create and send simple newsletters. For more advanced features (like tracking, scheduling, and segmentation), you’ll need an add-on like Mailmeteor.
Does Google have a template for a newsletter?
Yes, Gmail’s multi-send mode includes a few built-in newsletter templates that you can customize with your own content. Alternatively, you can use Gmail add-ons like Mailmeteor (which comes with a library of 100+ free email templates), or design your own layout using Google Docs, then paste it into your Gmail draft.
What is the best Gmail extension to send newsletters?
One of the best Gmail extensions for sending newsletters is Mailmeteor. This add-on is used by 7M+ users and rated 4.9/5 out of 12K+ reviews. It lets you create personalized email campaigns, send bulk emails from Gmail, schedule emails, track opens & clicks, and manage your audience — all without leaving your inbox. Plus, it’s fast, privacy-friendly, and works directly with Gmail, Google Sheets and Google Docs. And the best part? You can send up to 50 emails a day for free.
What are the limits of sending newsletters through Gmail?
If you’re using a free Gmail account, you can send up to 500 emails per day. With a Google Workspace account, the limit increases to 2,000 emails per day. These limits apply to both the multi-send mode and any Gmail extension you use. Exceeding these limits may lead to temporary sending restrictions.
Can I track opens and clicks with Gmail newsletters?
Not natively. Gmail doesn’t include built-in open or click tracking. However, tools like Mailmeteor or other email marketing tools let you track open rates, click-throughs, bounces, and replies — giving you more insight into your email performance.
Can I schedule a newsletter in Gmail?
Yes! Gmail has a built-in Schedule send feature that lets you send your newsletter at a later time or date. If you’re using an add-on like Mailmeteor, you can also schedule email campaigns in bulk and control exactly when each message is delivered.
Is it legal to send newsletters through Gmail?
Yes, it’s legal to send newsletters via Gmail — as long as you follow email marketing laws, like including an unsubscribe option and only emailing people who have opted in. Gmail isn’t designed for mass marketing, so make sure your emails are compliant with laws like CAN-SPAM and GDPR to avoid deliverability issues.


