Add attachments
From your Mailmeteor Dashboard, you can easily attach multiple files to your mail merge. Use this feature to add a PDF document, a short video, or an audio file to your message.
Here’s how to attach a file to your email campaign from the Dashboard:
- Open Mailmeteor Dashboard.
- Create a new template or edit an existing one.
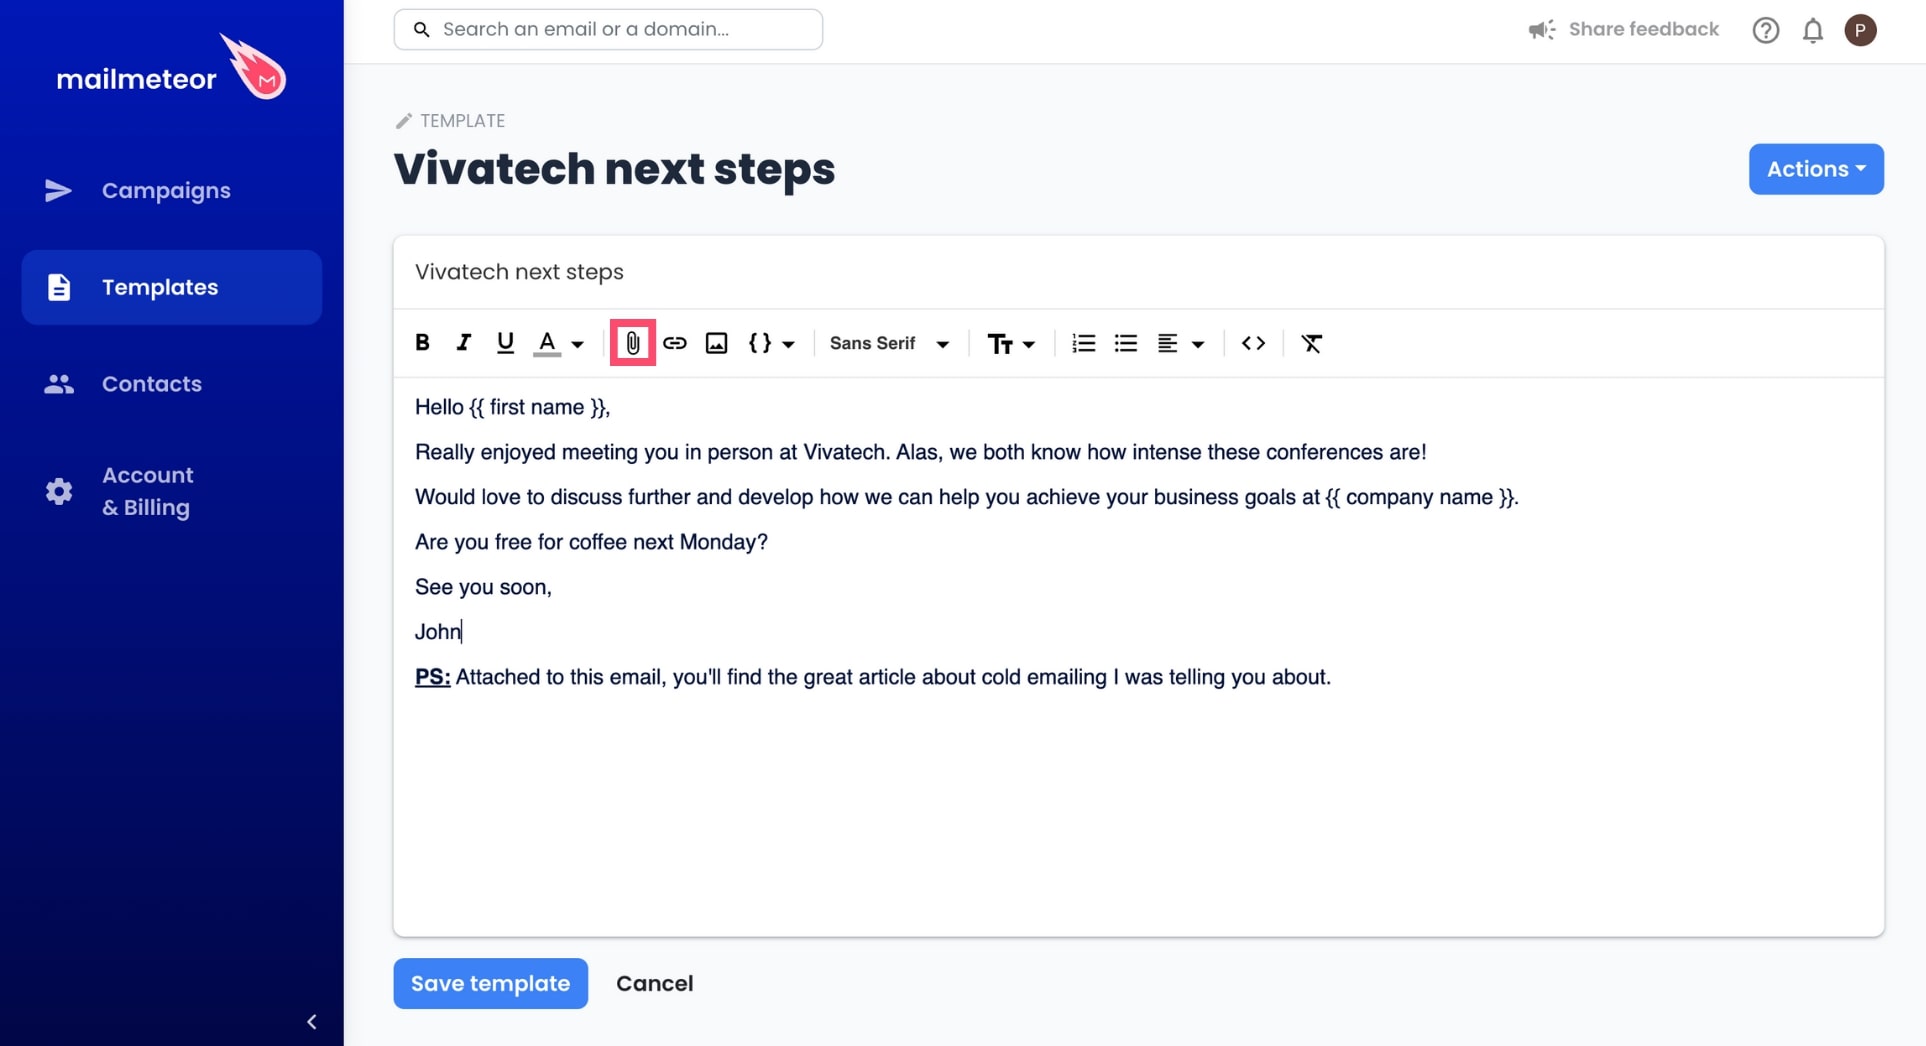
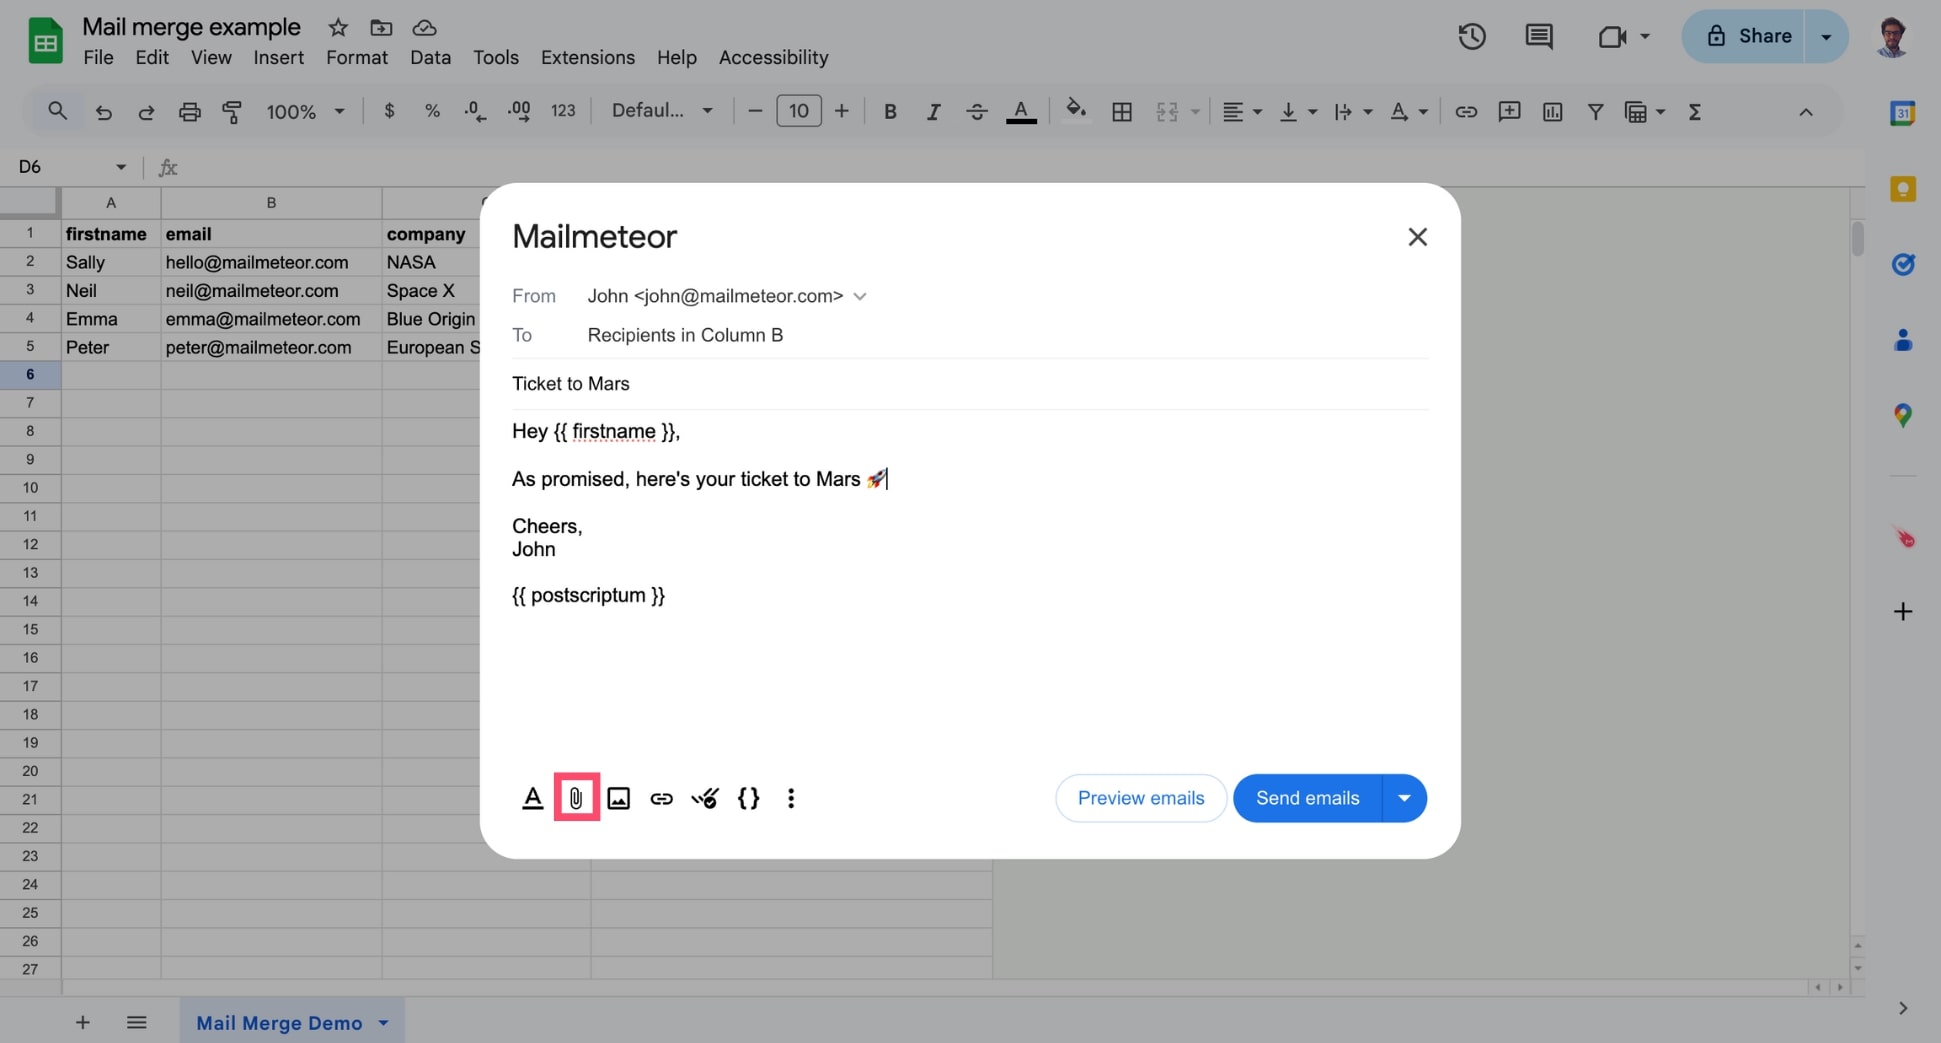
-
In the Mailmeteor editor, click the paper clip icon to attach a file.
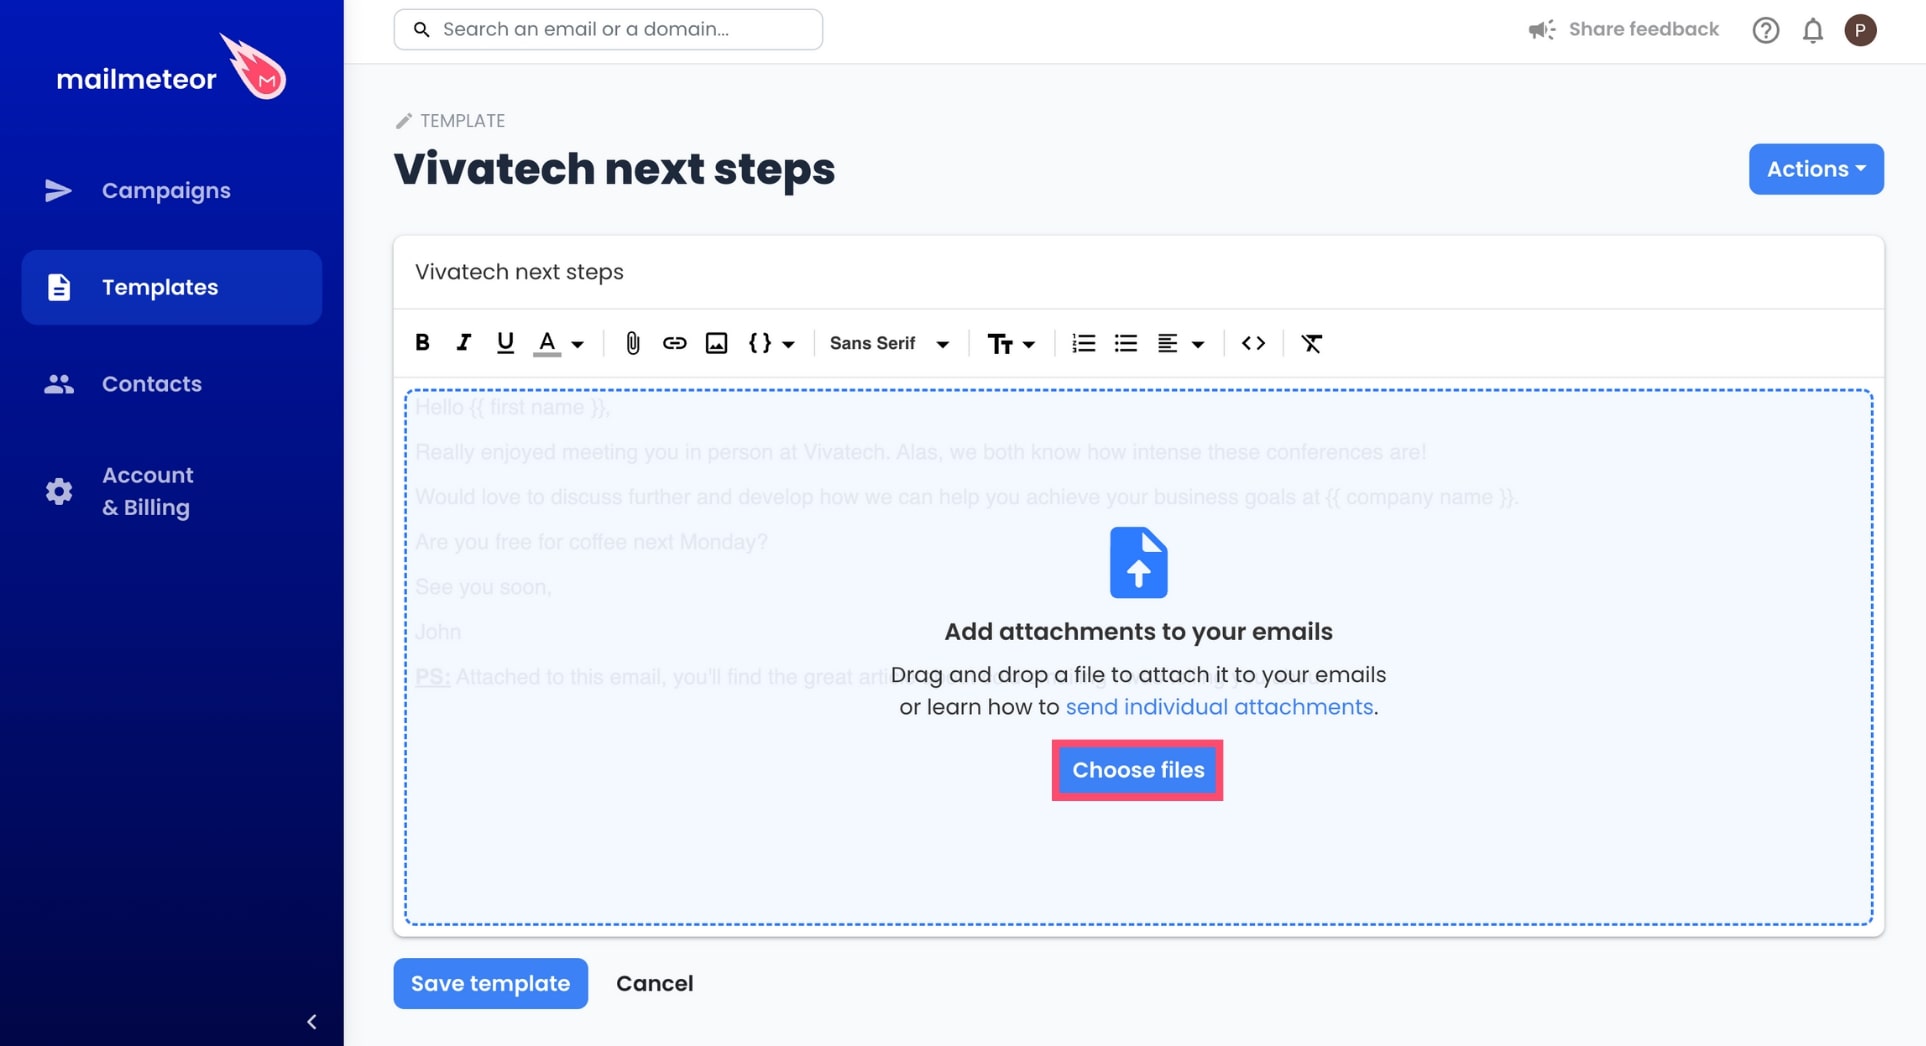
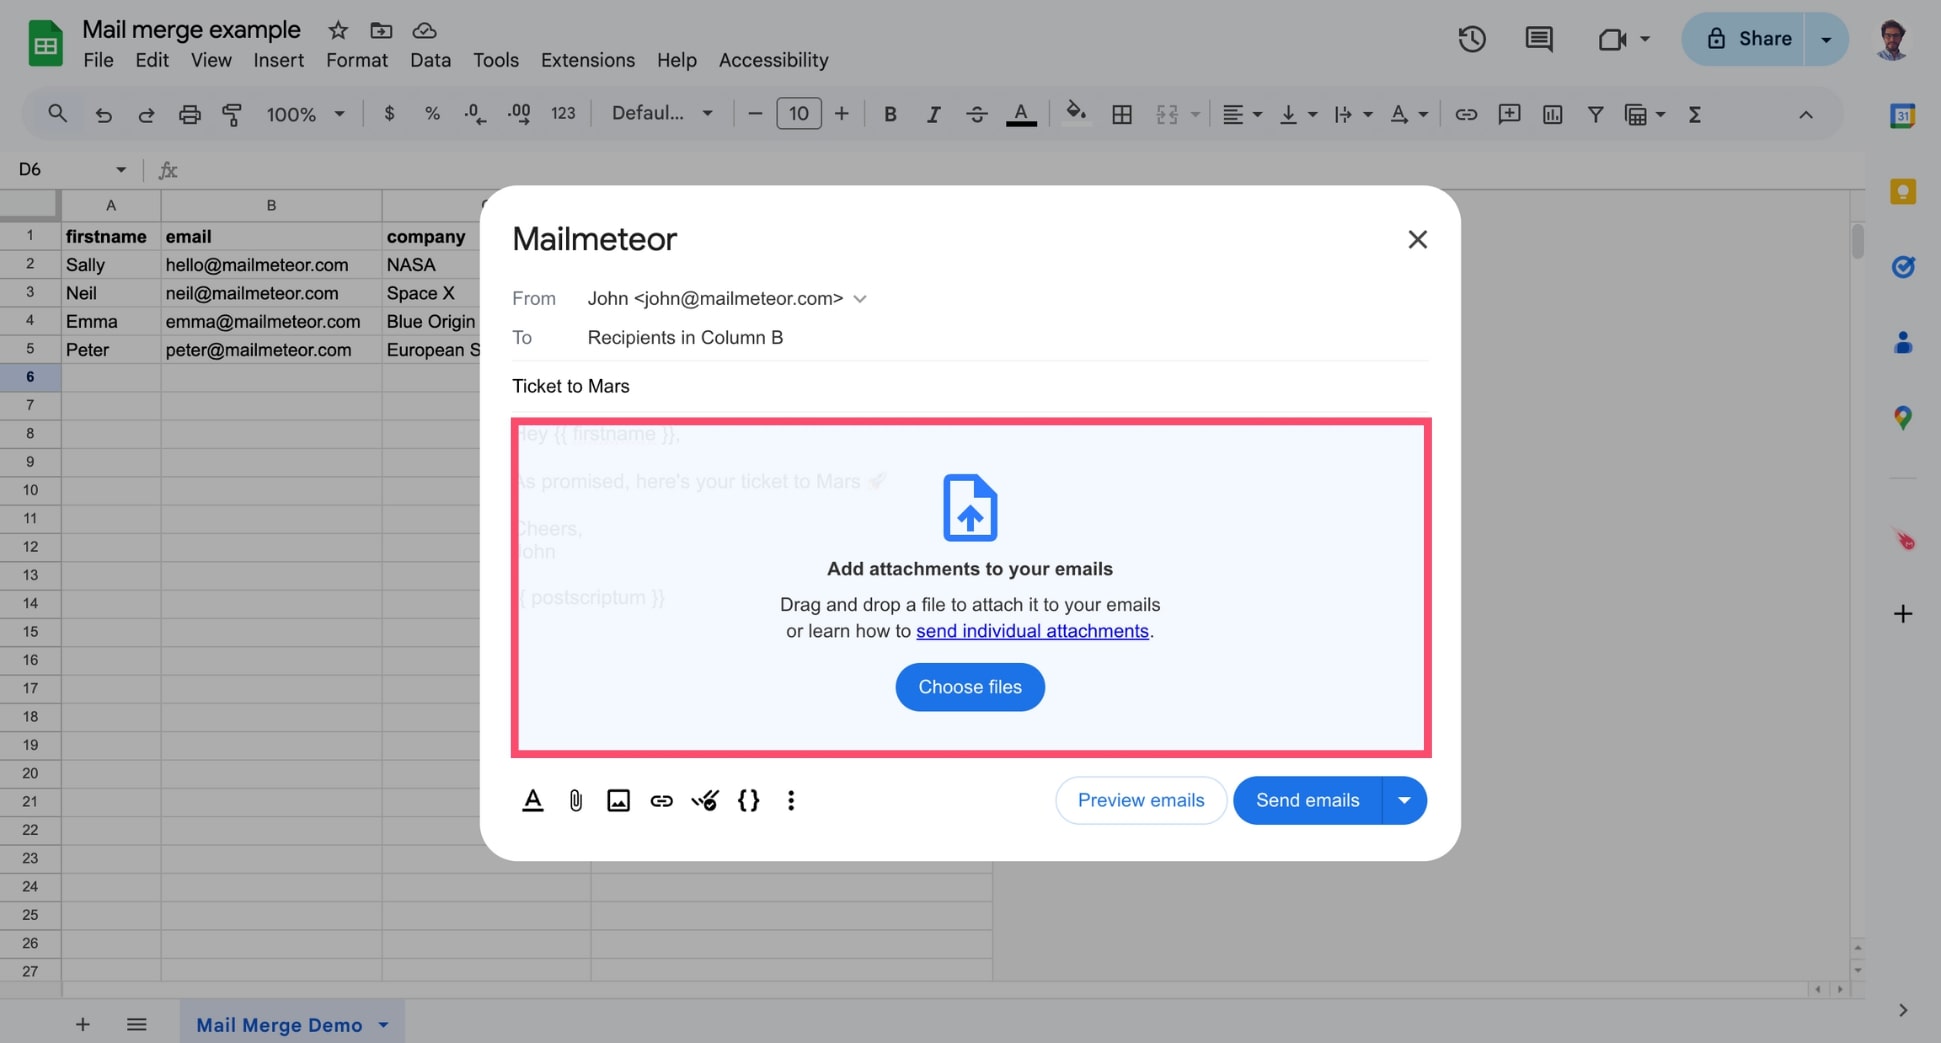
-
Next, click Choose files or drag & drop your files.
You can add up to 5 attachments per email. The overall size of your email shouldn’t exceed 5 MB. If you want to send larger files, check the next section.
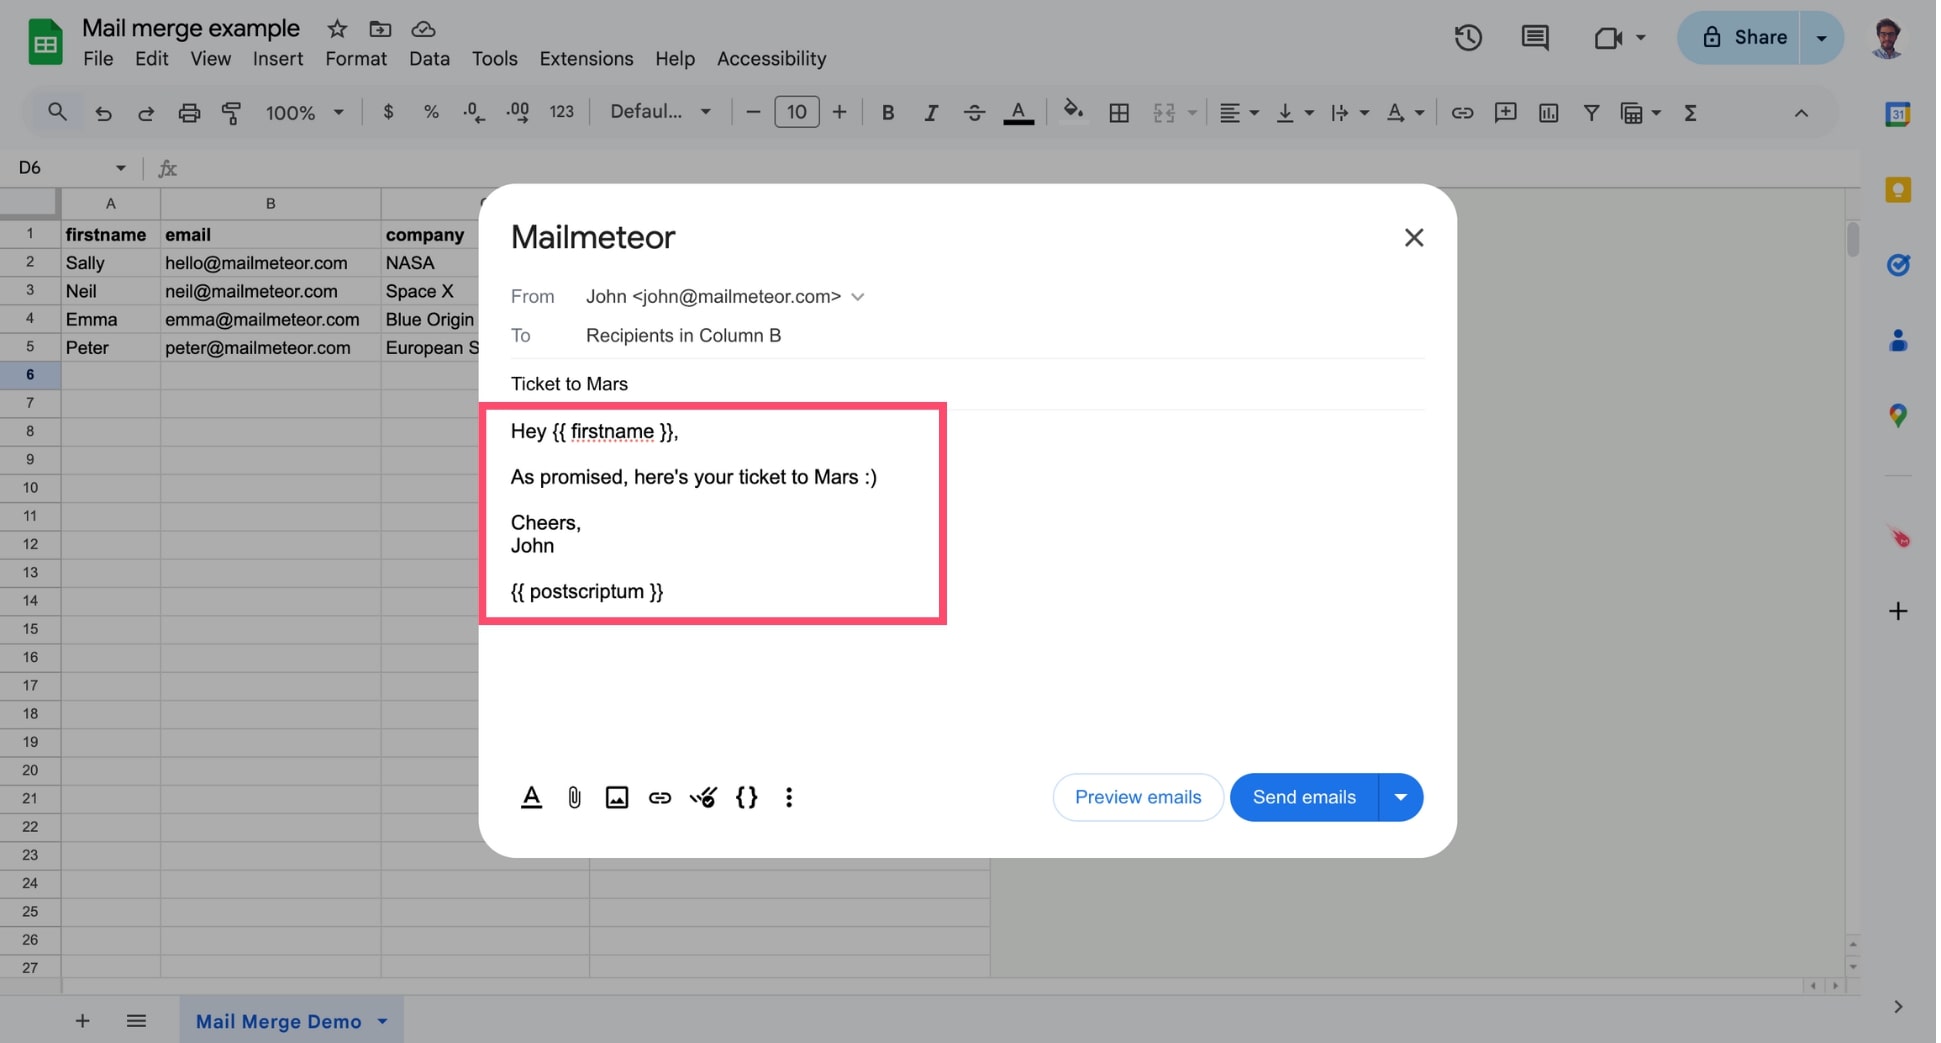
Once you’re done, the attached files will appear at the bottom of your message. Here’s how it looks ⤵️
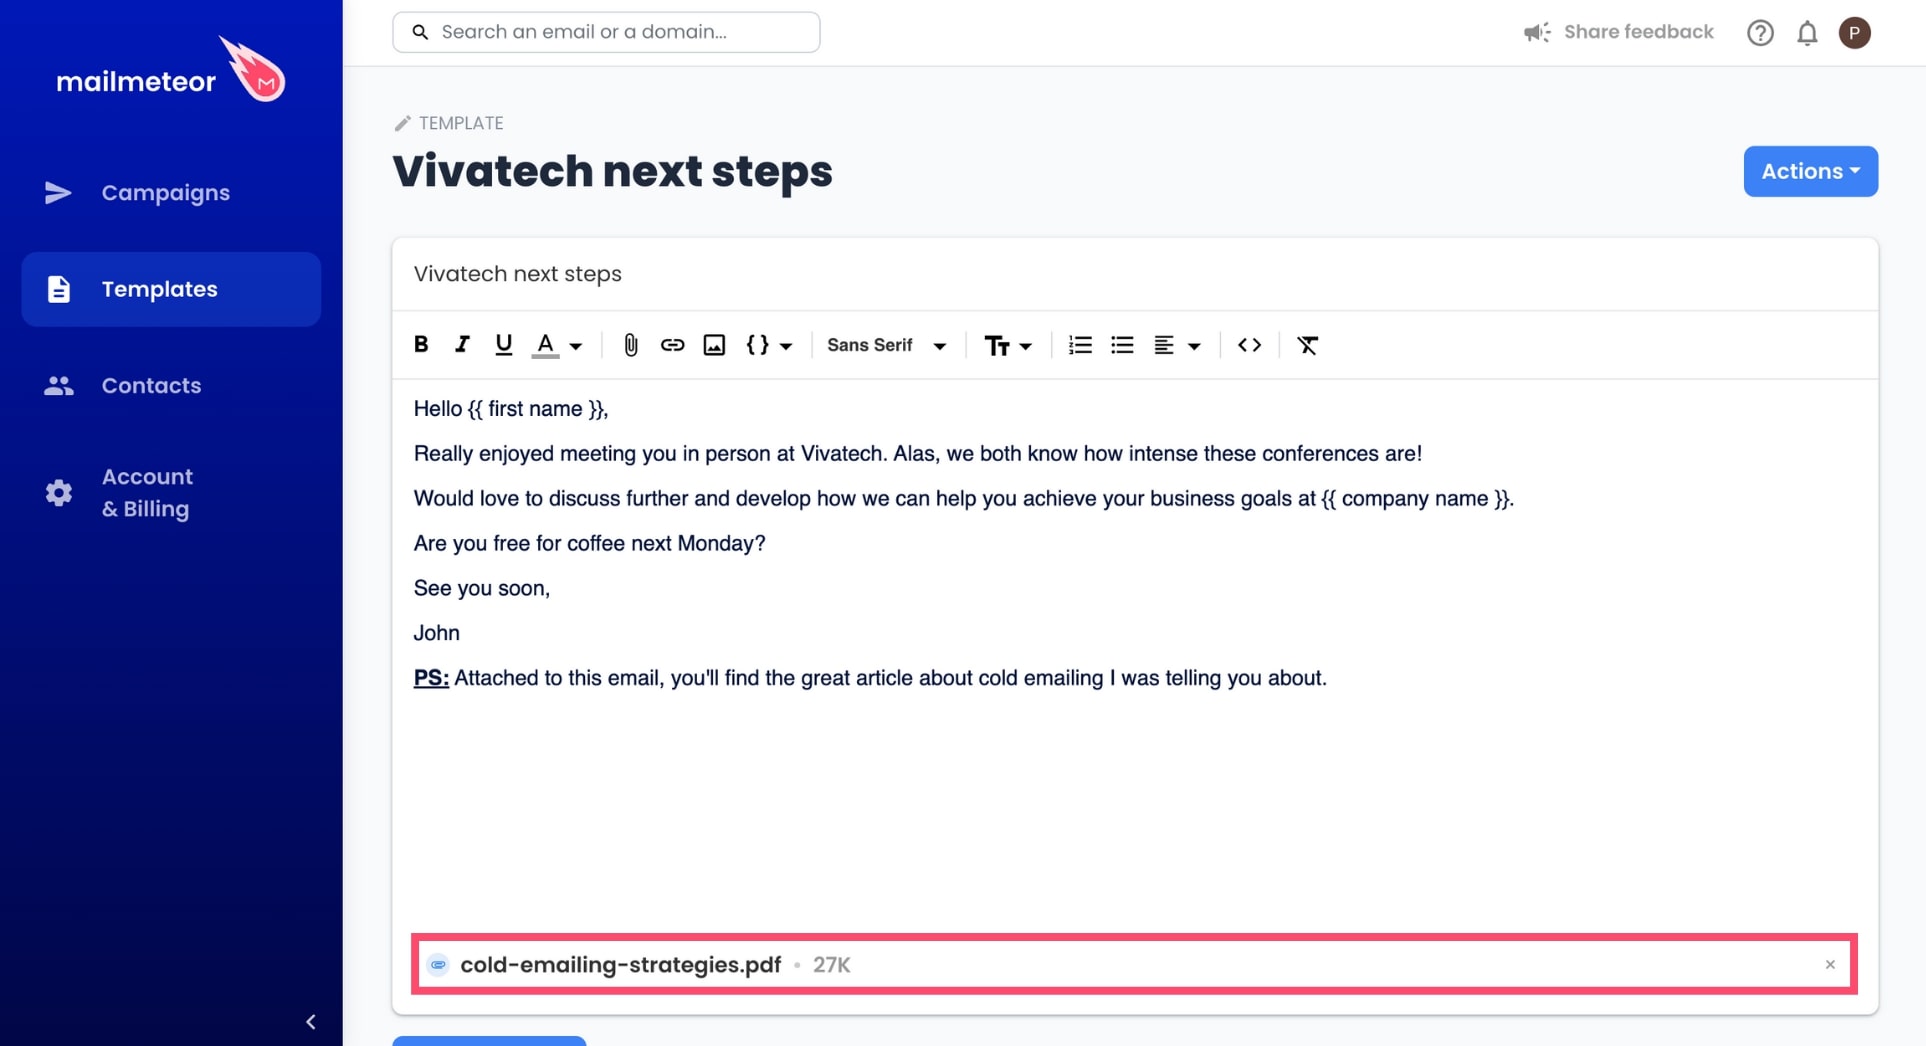
If you want to remove an attachment, just click the X sign next to it.
How to send personalized attachments
If you attach a file to your message using the Dashboard, this file will be sent to all your recipients. If you want to send personalized attachments to each of your recipients, you can do so using our Google Sheets add-on.
Here’s how to attach a file to your mail merge from Google Sheets:
-
Open Mailmeteor.
-
Compose your email or select a template.
-
Click Attach files.
-
Drag and drop one or multiple files. Or click Choose files to browse your local files.
How to send personalized attachments
Sending mass emails with personalized attachments is a great way to save time when you want to send invoices to your customers or payslips to your employees.
To automate this recurrent task, here’s what you can do ⤵️
- Upload your files to a Google Drive folder.
- Select a file and right-click on it.
- Go to Share > Share
.
- Under General access, select Anyone with link.
- Copy the link and paste it into your spreadsheet under a column where you will add all your personalized attachments. The column should be named “Attachment” or “Attachments”.
-
Repeat these steps for each recipient.
.png)
-
Once you’re done, open Mailmeteor.
-
Select your template or create a new one.
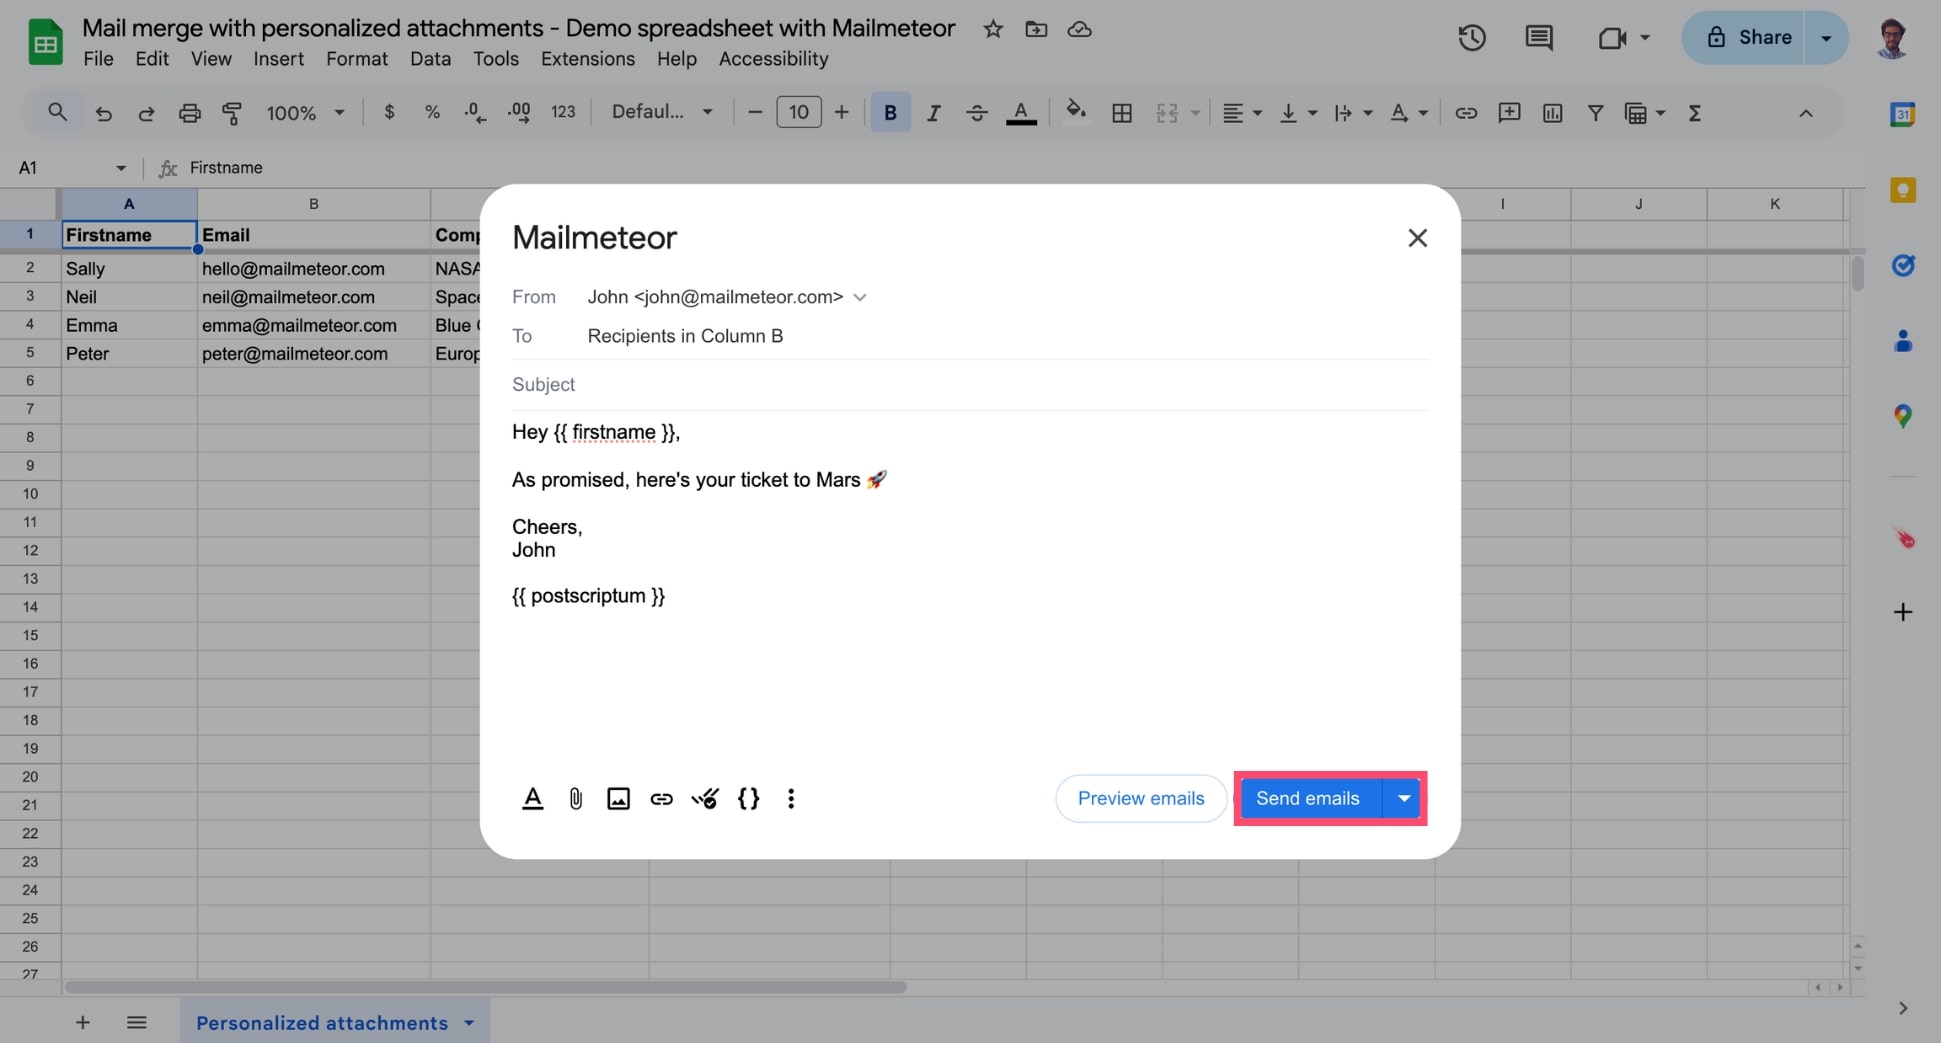
-
Click Send emails. Mailmeteor will then automatically pull out each file and attach it to the relevant email.
If you are not familiar with Google Drive, take a look at this in-depth tutorial on how to send a mail merge with personalized attachments (with screenshots).
Mailmeteor recommends that you upload your files on Google Drive. But you can also use other tools, such as Dropbox or Amazon S3, as well as your own servers. To make sure Mailmeteor can attach your files, just make sure they’re publicly accessible on the web.
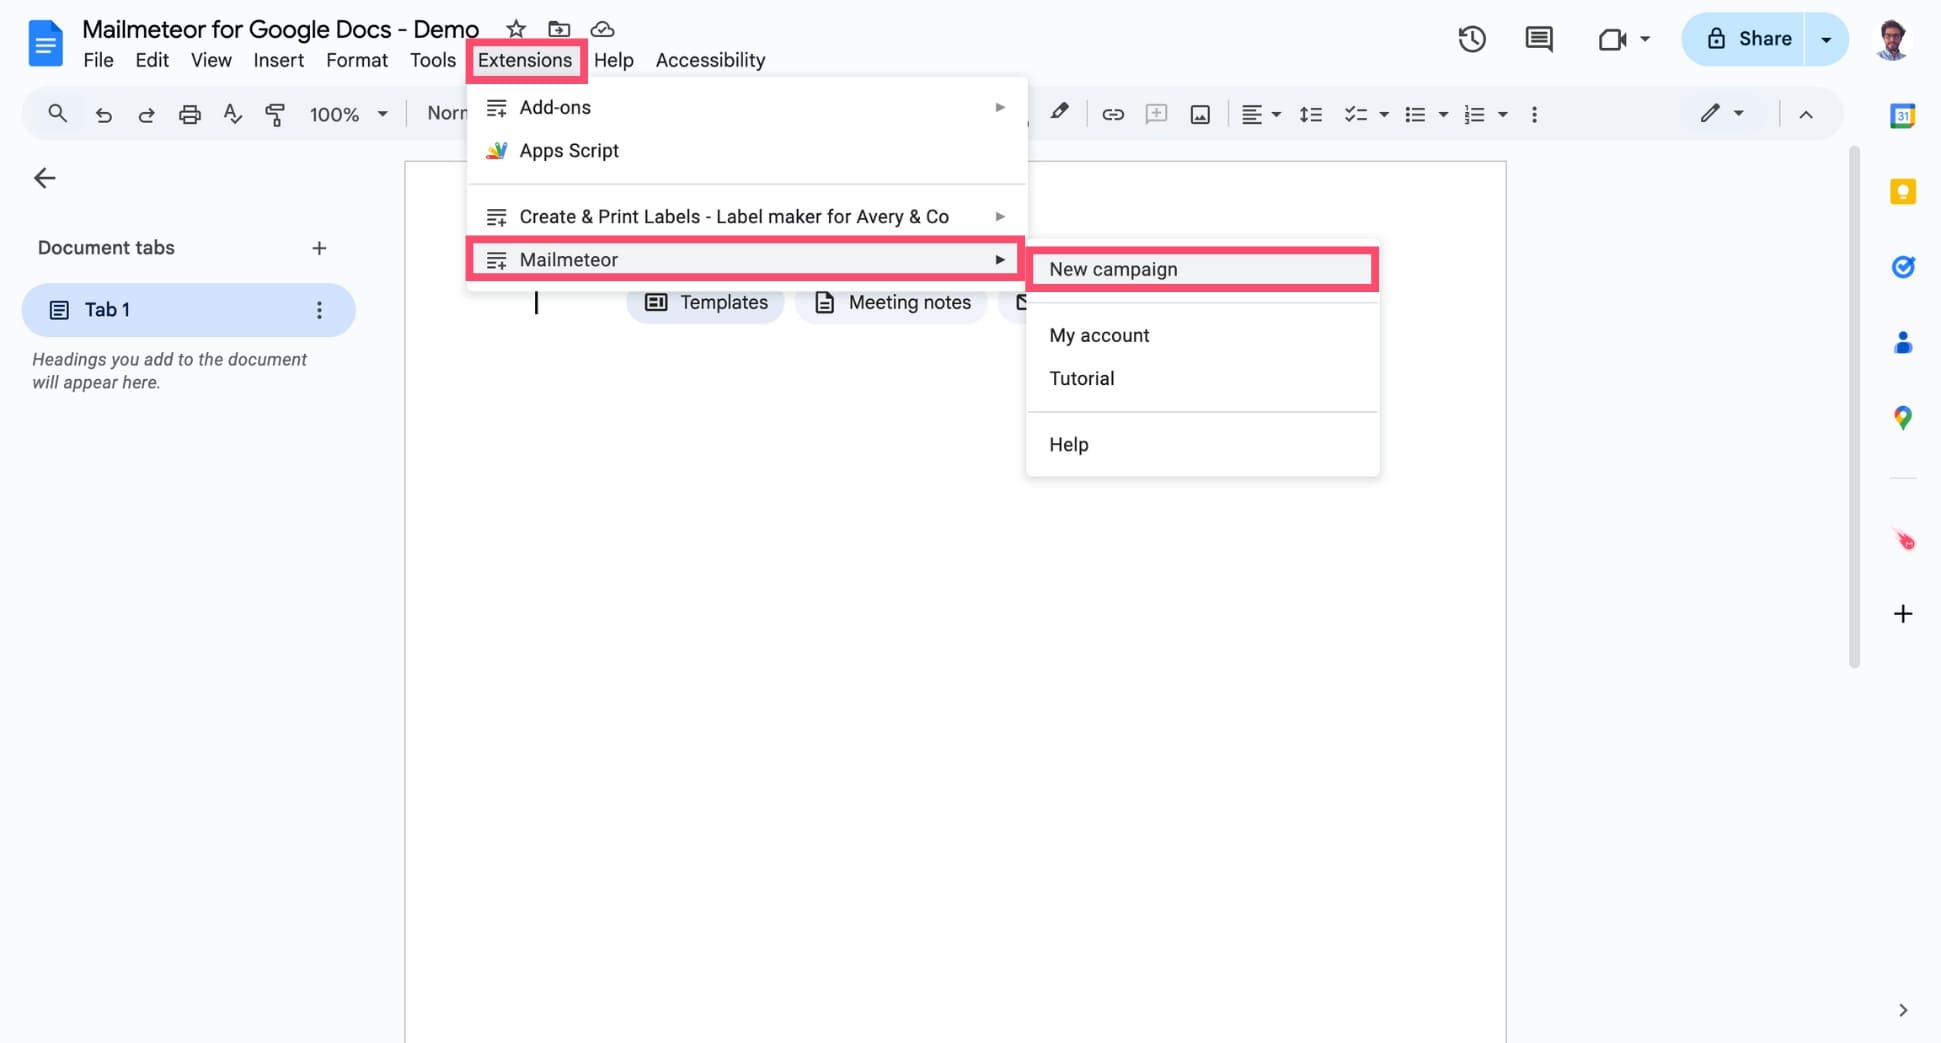
Here’s how to attach a file to your mail merge from Google Docs:
- Open Google Docs.
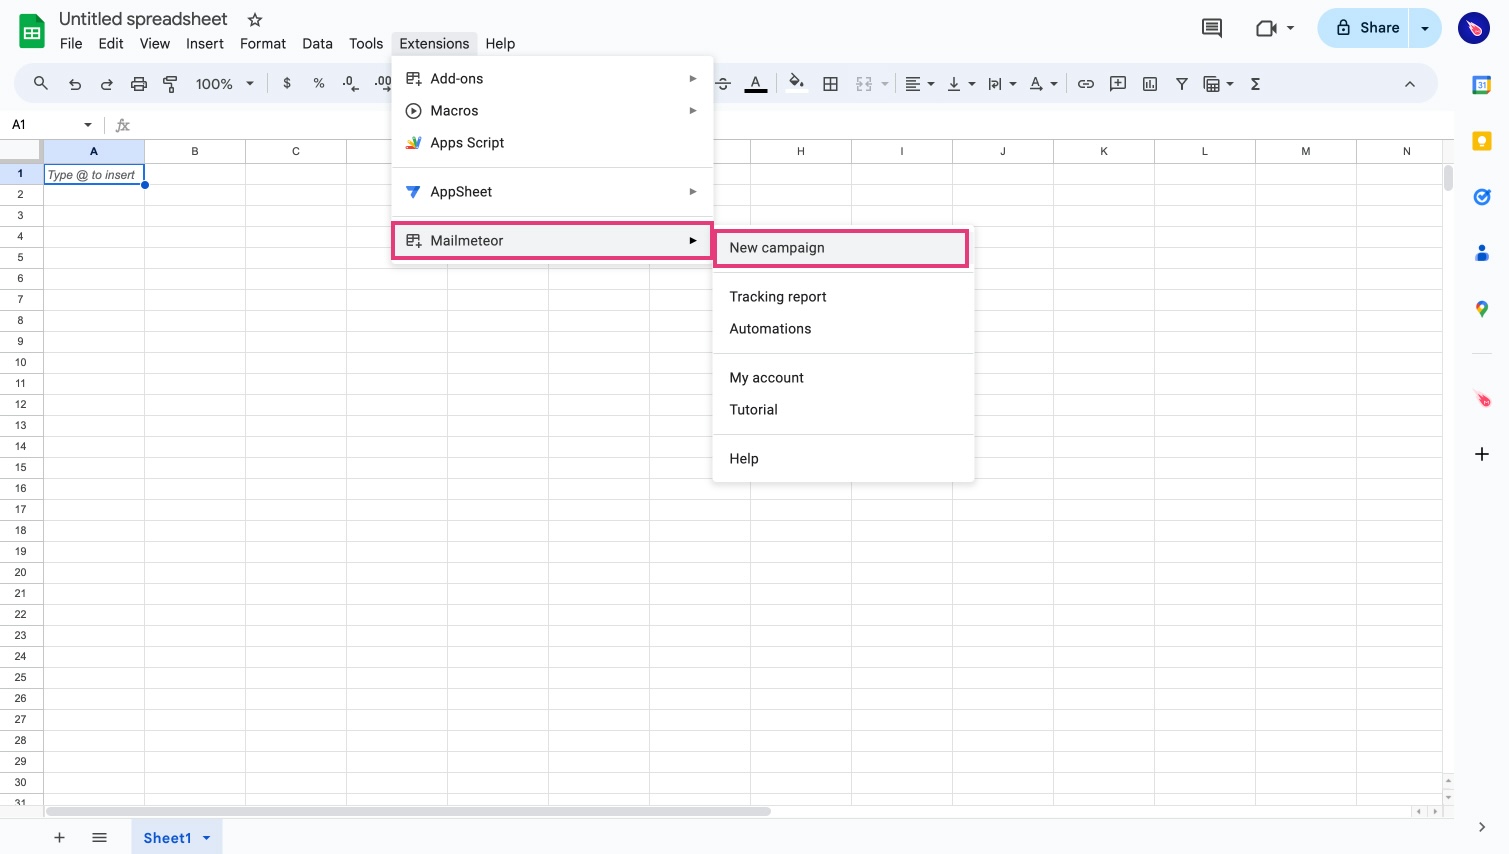
-
Navigate to Extensions > Mailmeteor > New campaign and create a new campaign.
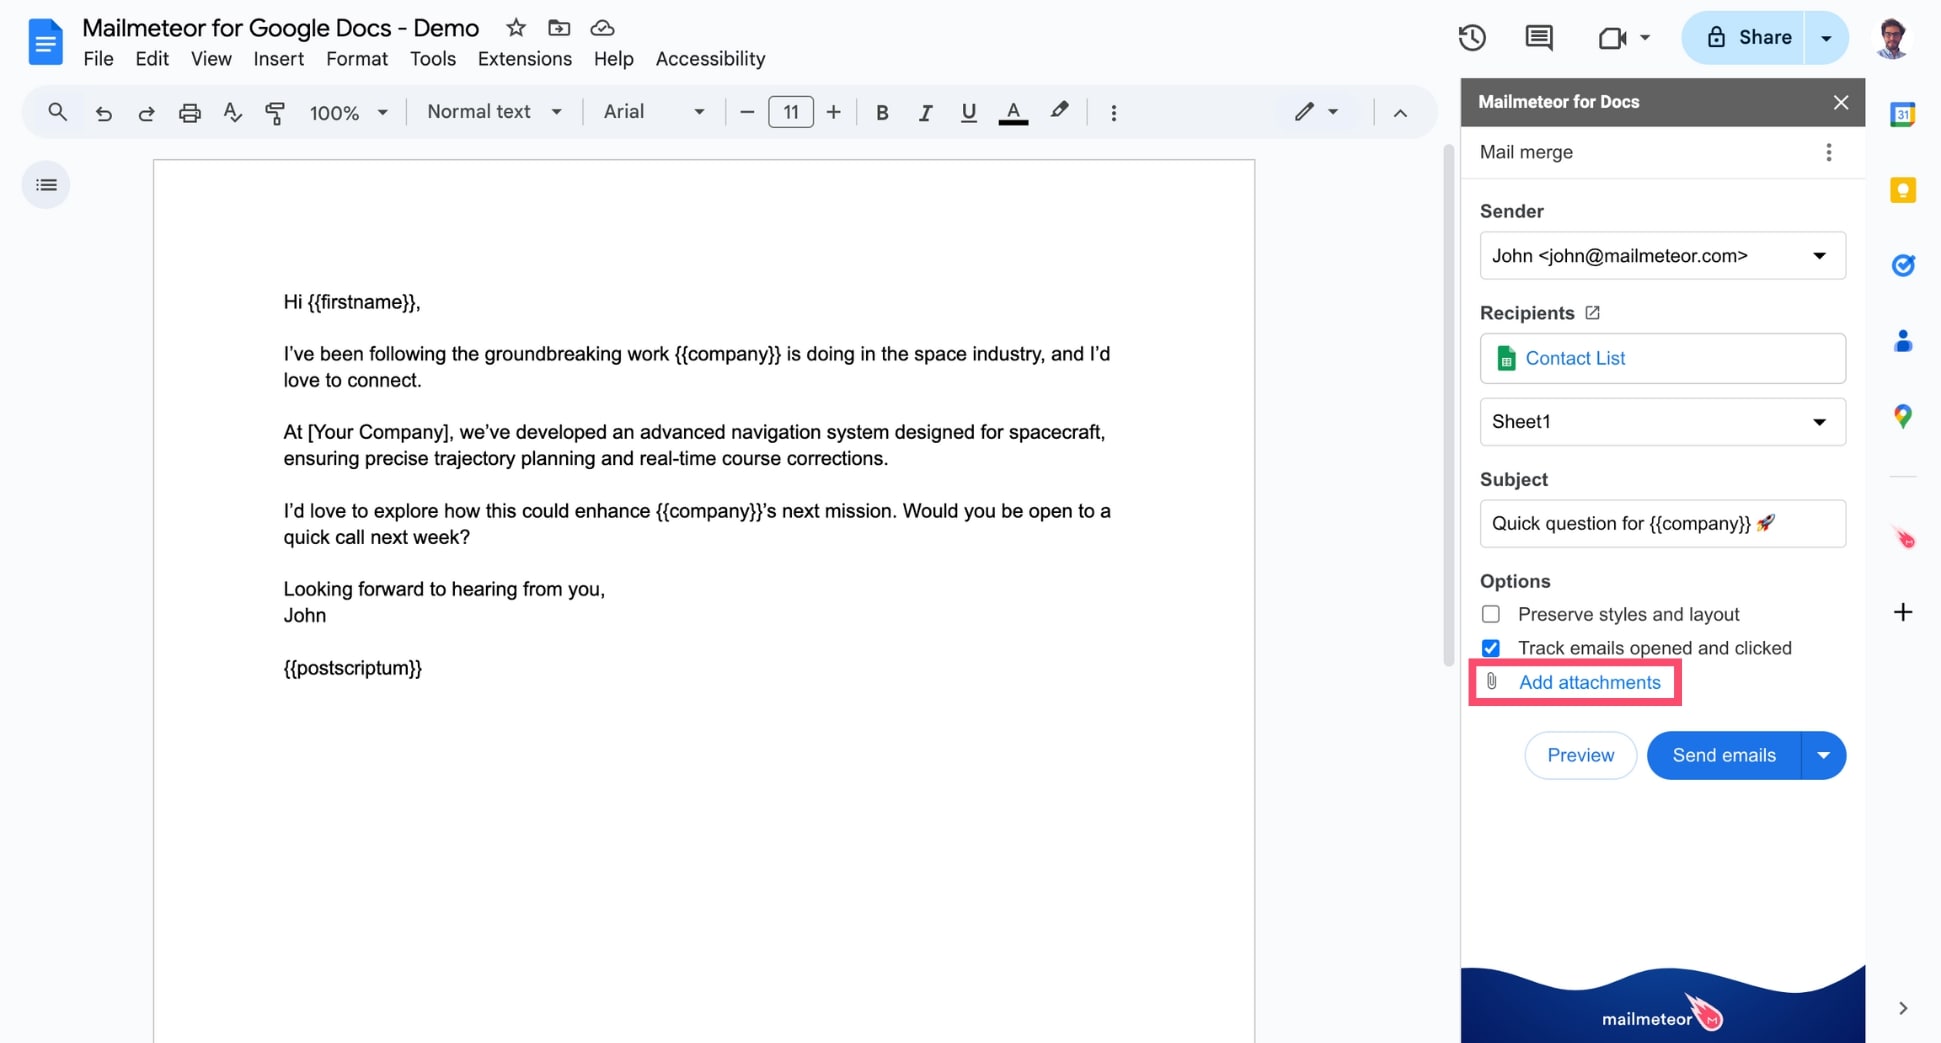
-
Click Add attachments.
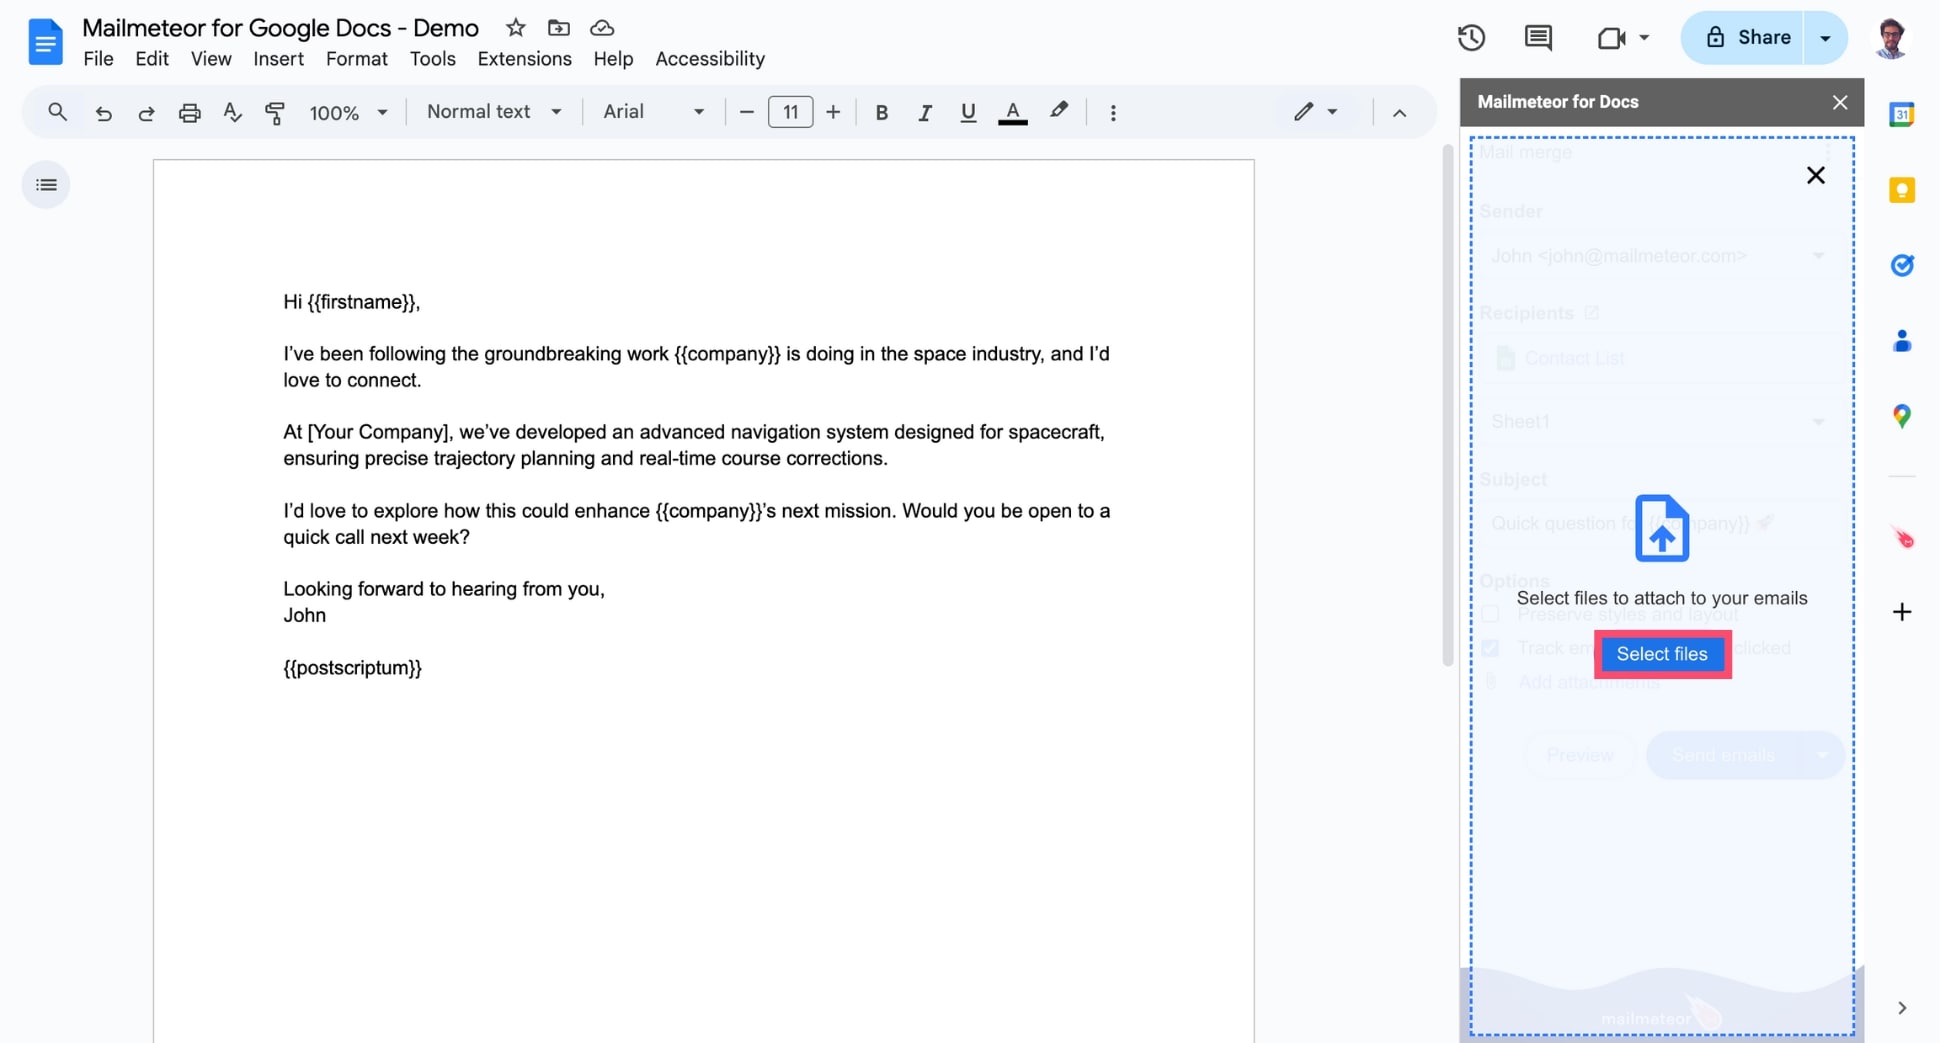
-
Then click Select files and browse your device to find the documents you want to add as attachments.
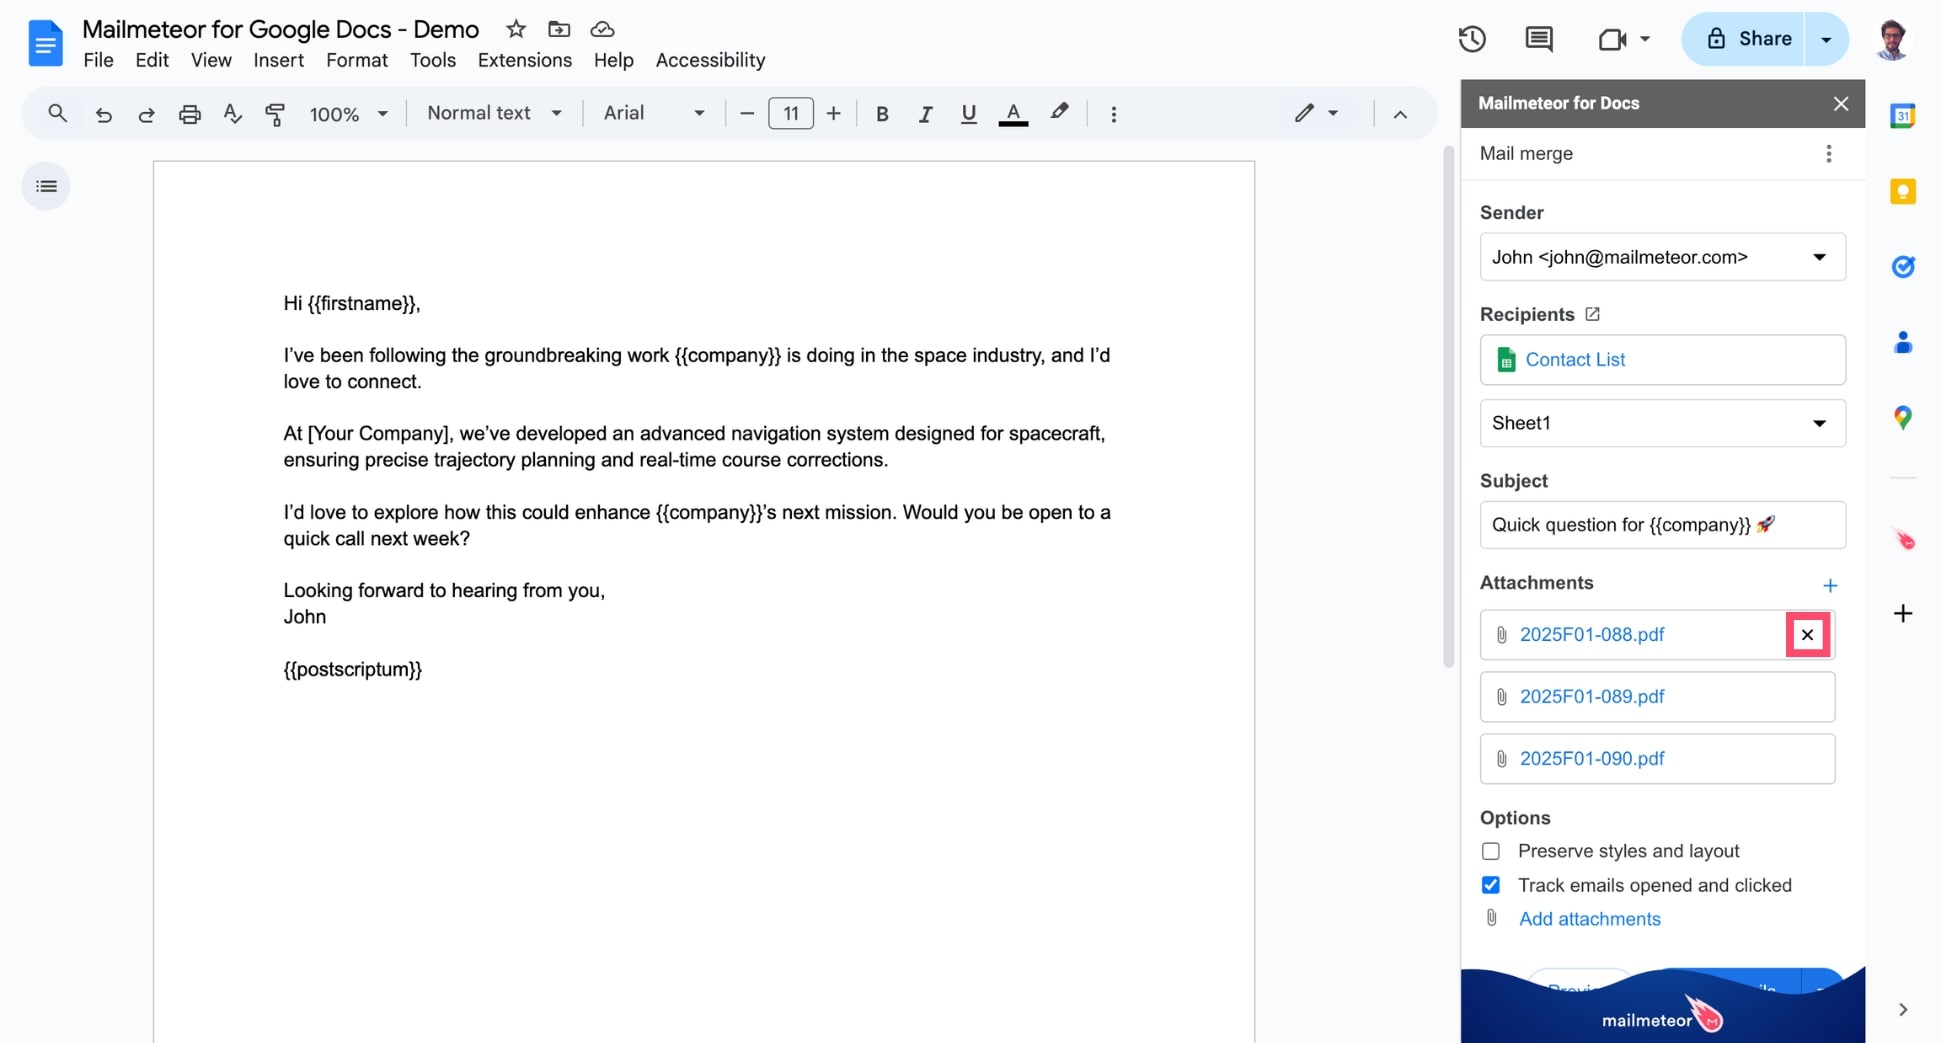
Your attached files will now appear under Attachments.
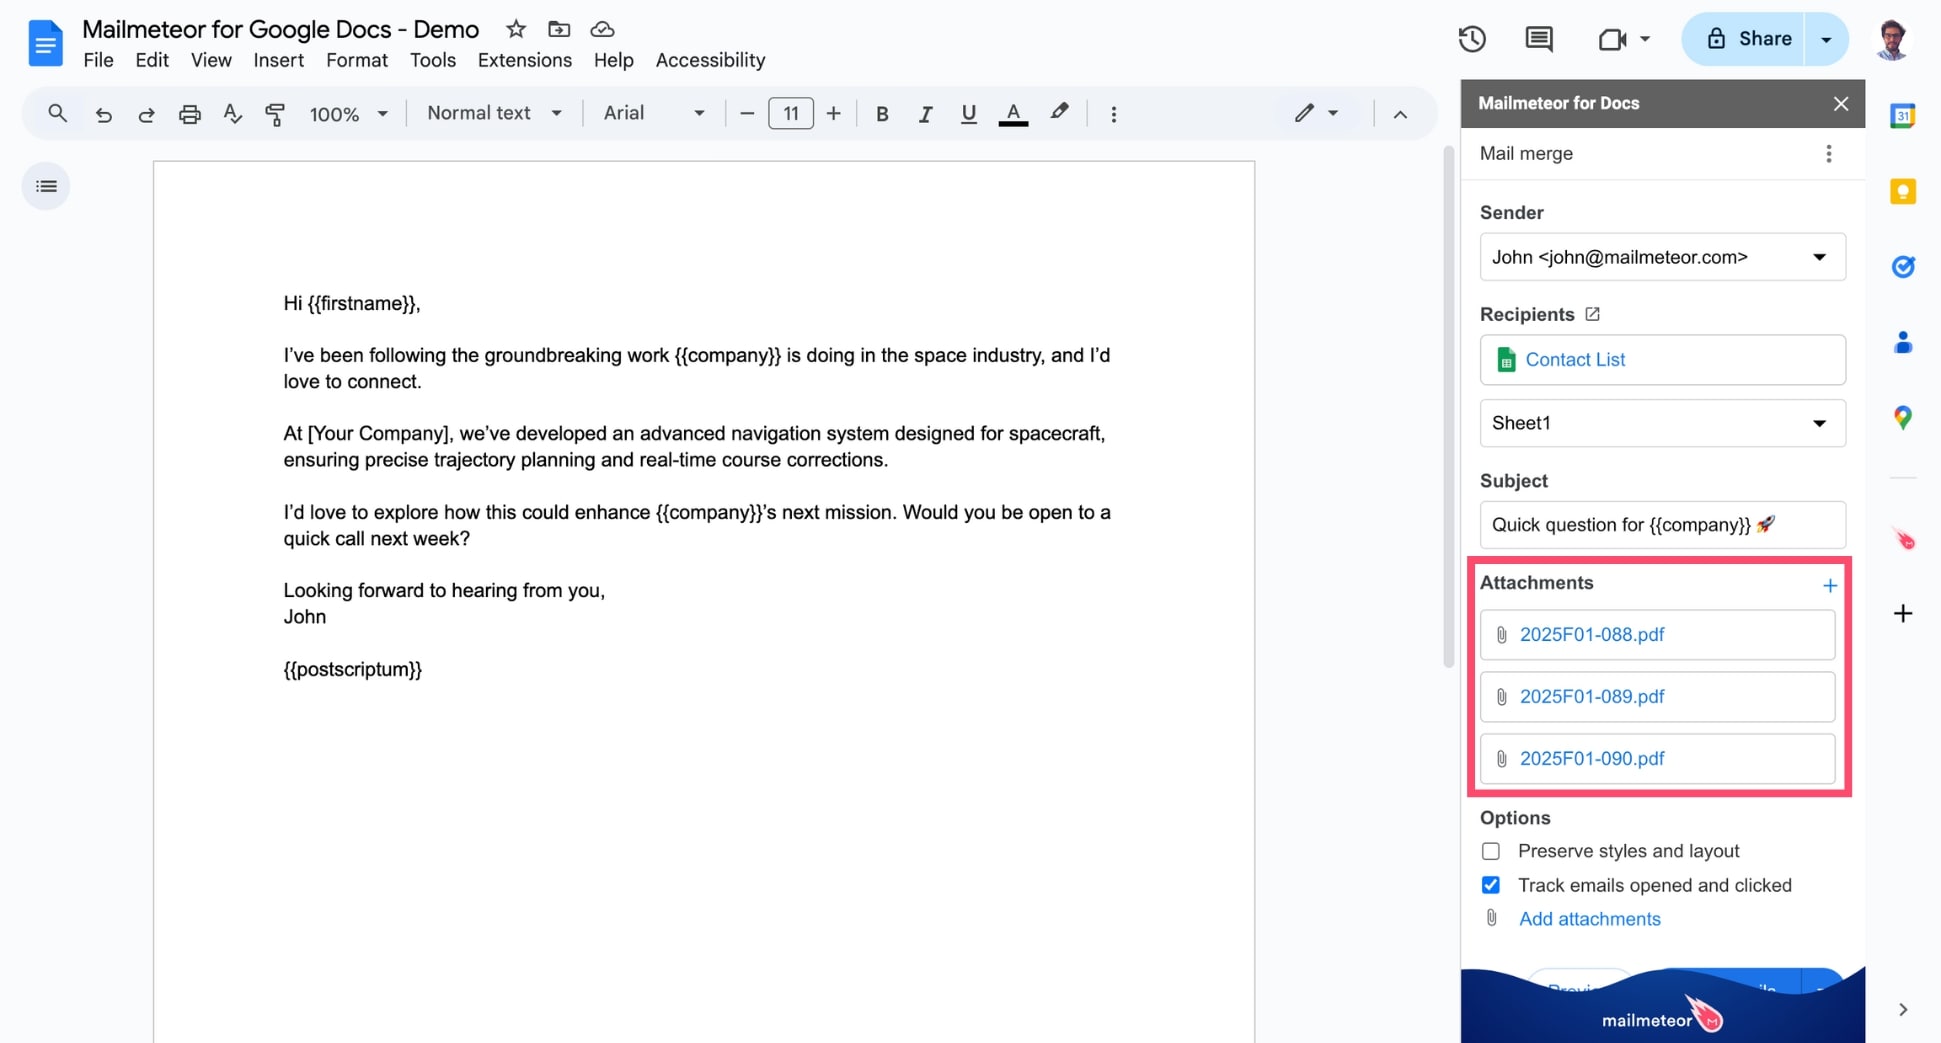
And voilà. You can now press send to share these files as attachments with all your recipients. Use this feature to share brochures, reports, infographics and all kinds of media or documents.
Some limits to have in mind:
- You can add up to 5 attachments per email.
- To send multiple attachments, select multiple files.
- The total size of your attachments should not exceed 25 MB in size. If you want to send larger attachments, check out this guide.
With this method, all recipients will receive the same files. You can’t send personalized attachments for each recipient from Google Docs (yet). But this can be done with our Google Sheets add-on.
How to remove attachments
Made a mistake? No problem. Simply hover over the attachments you want to remove. Then click the small “x” to remove this file.
How to send large attachments with Mailmeteor
To improve your email deliverability, Mailmeteor only lets you attach files up to 5MB. If you want to send larger files, we recommend using a Google Drive link.
Here’s how to do it:
- Upload your file to your Google Drive.
- Right-click on your file.
- Go to Share > Share
- Under General access, select Anyone with link.
- Copy the link that Google Drive gives you.
- Open a template in Mailmeteor. Or create a new template.
- Paste the link in your template.
This will add a link into your emails. Your recipients can then click on that link to access the file. You can even create an text anchor, such as “Click here to download the file”.
In Gmail, Google Drive links also appear as an attachment in your recipient’s inbox. So it’s totally transparent for your recipient.